3.0 EMR
The Electronic Medical Record (EMR) is fully integrated with the Patient Management System in your BoomerangFX login. The EMR is found in every single patient profile and automations are set in place to make navigation easy and smooth.
Boomerangfxalpha
1. Go to BoomerangFX
2. To access a patient's EMR, users need to go through the patient list
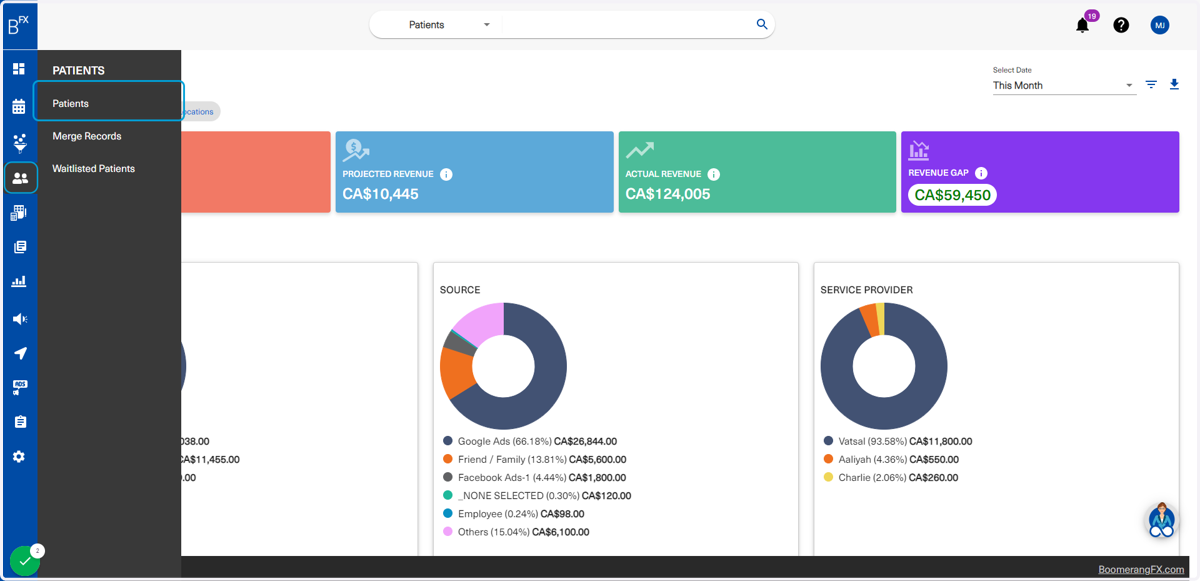
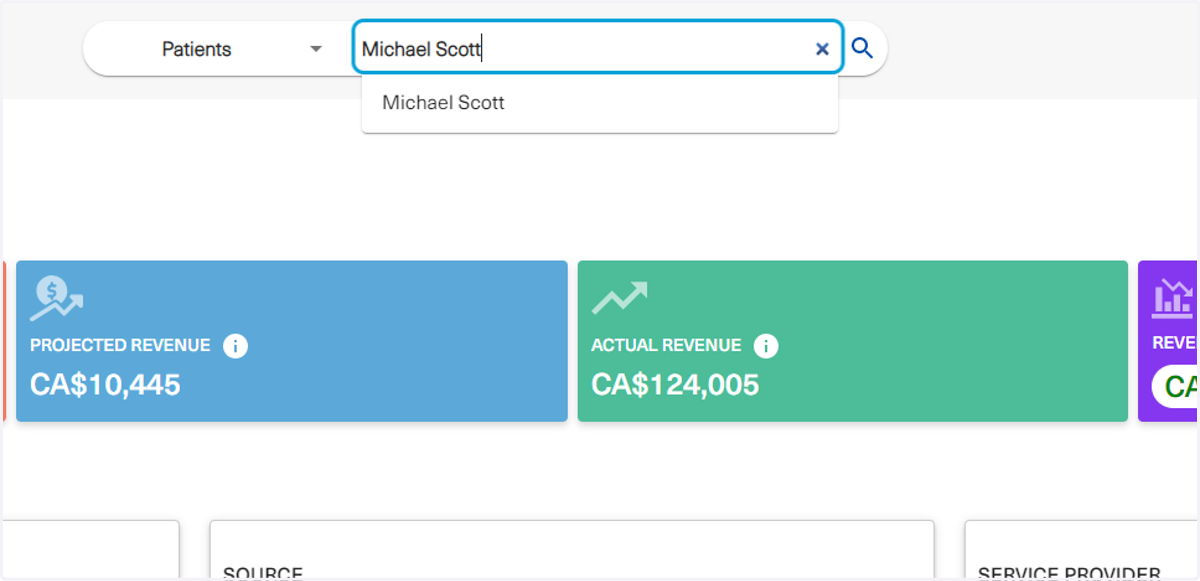
Select Patients
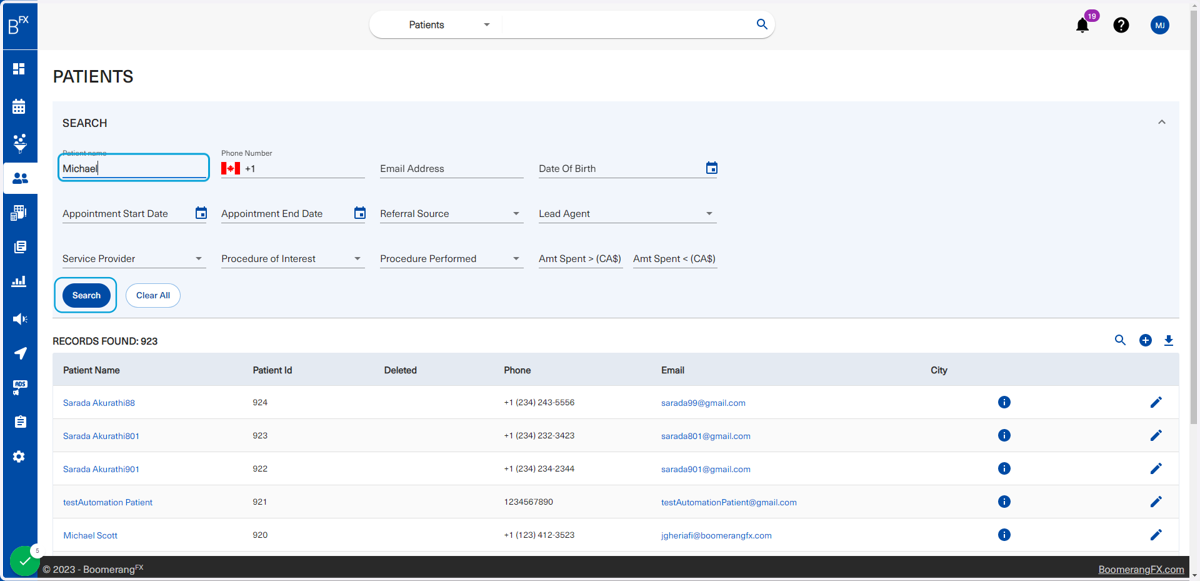
3. Search for a patient
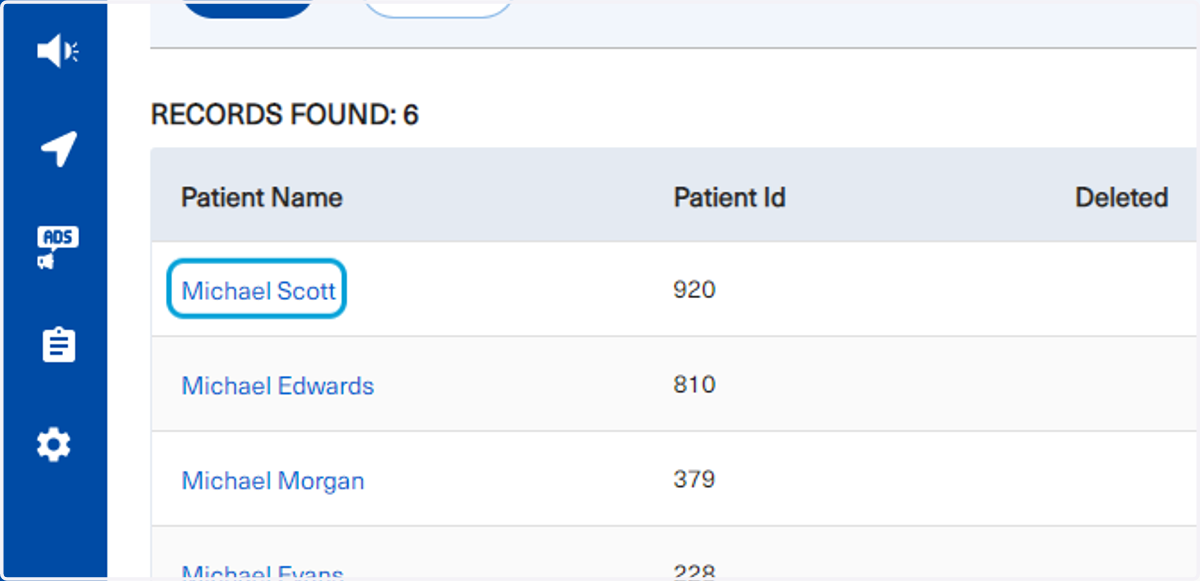
4. Click on Michael Scott
5. Users may also search for patients using the main top search bar
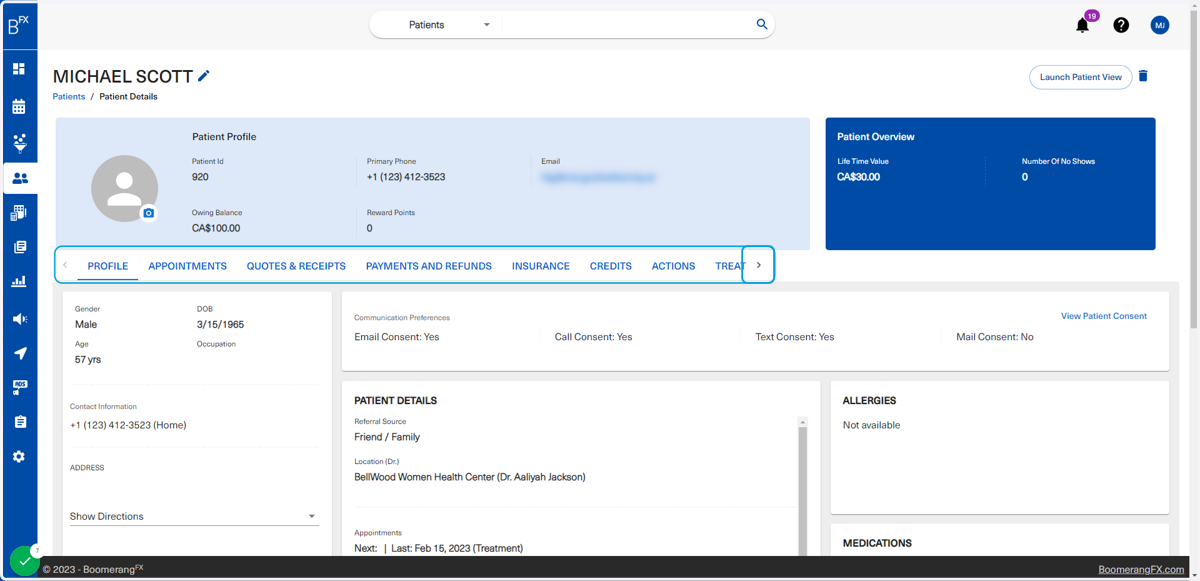
6. In the patient profile, users will slide the menu bar found in the middle, or click on the arrow to navigate to the EMR menu button
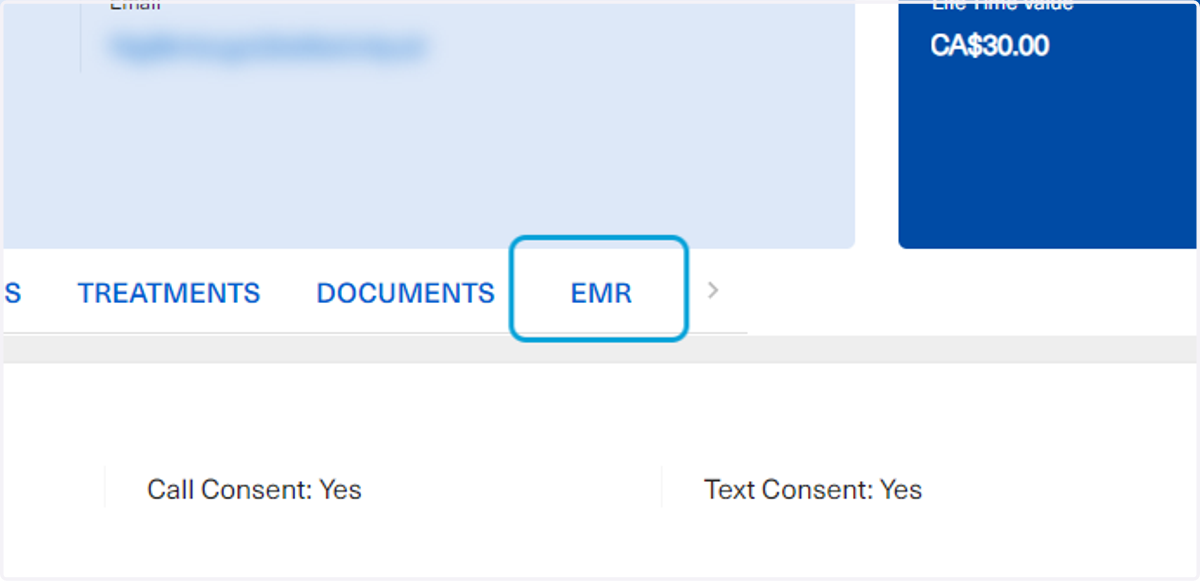
7. Click on EMR
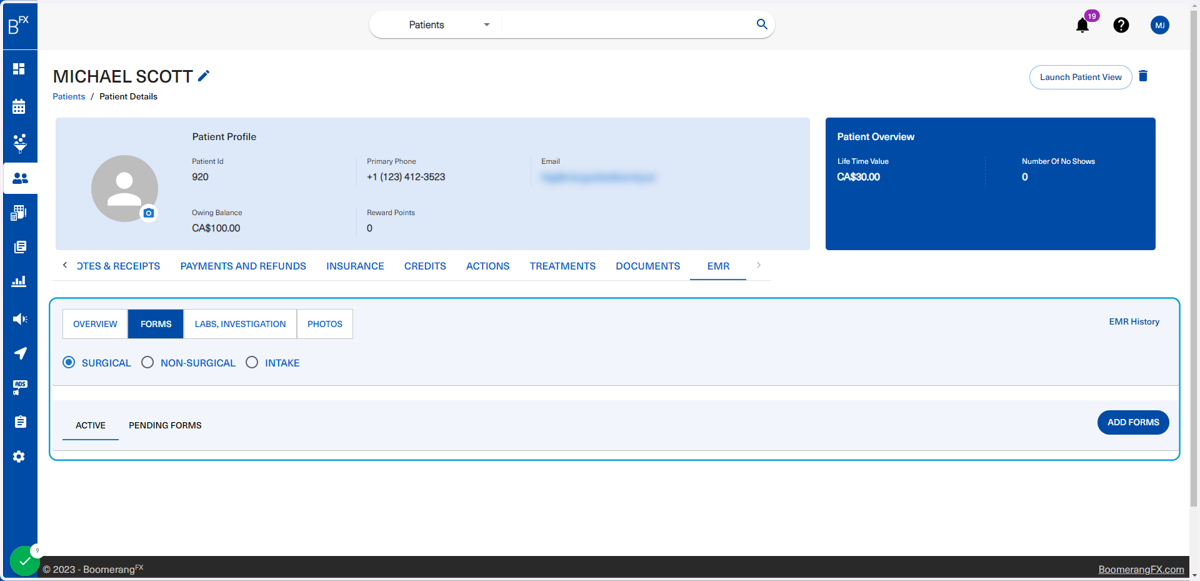
8. The patient's EMR will appear at the bottom
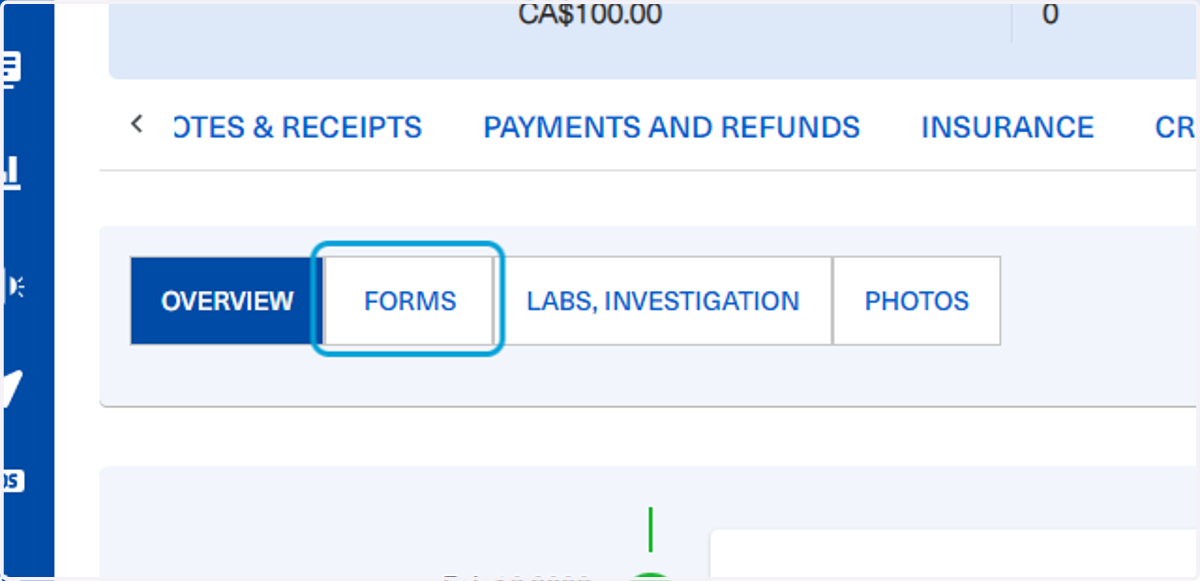
The default tab will typically be FORMS, however, the user may navigate to other sections. Electronic forms will be setup by your implementation specialist and will be available for users to assign to patients after booking an appointment.
9. EMR - Overview
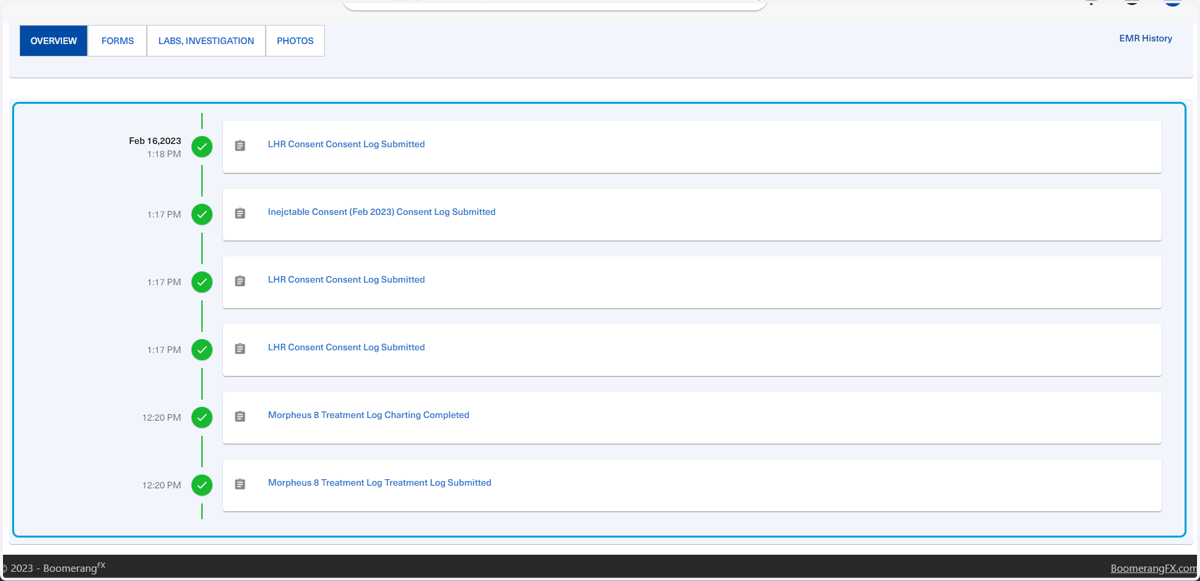
This tab shows users all activity that took place in a patient's EMR regarding forms submissions and documents.
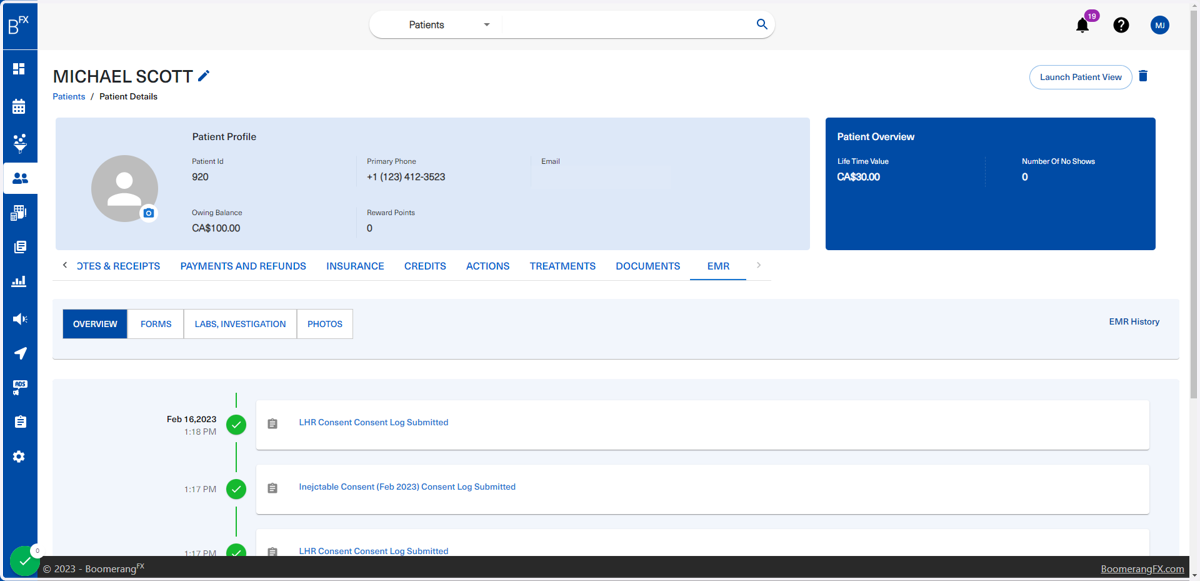
10. The updates are displayed from latest to earliest
11. EMR - Forms
12. Users may choose between Surgical, Non-surgical, and Intake
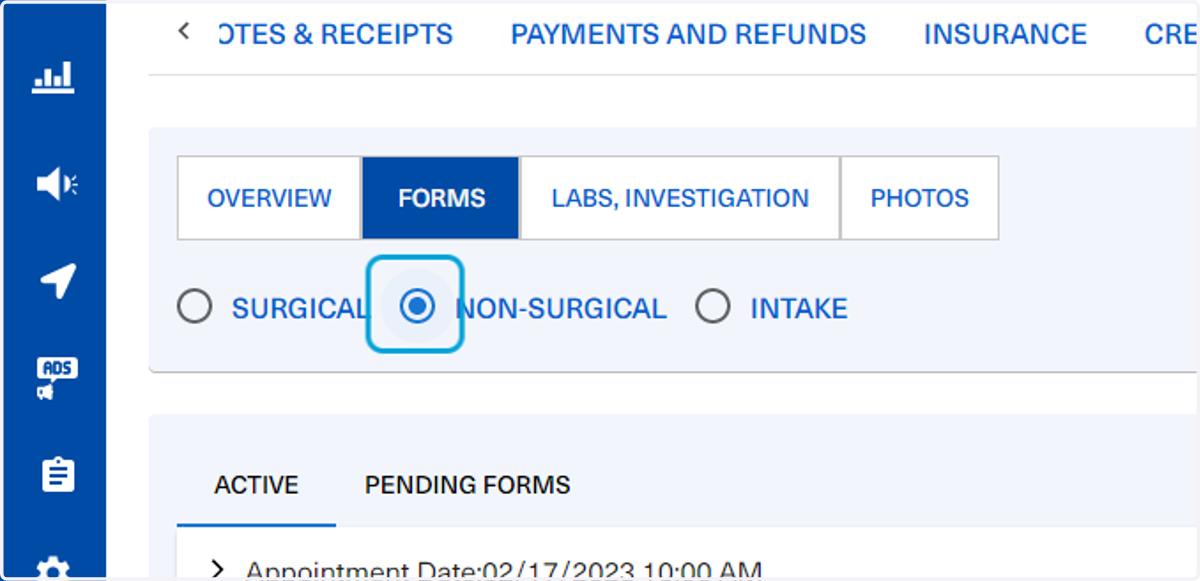
13. Under Forms, there are active and pending forms. When a user assigns a form to a client by clicking on Add Forms, it will appear under Pending Forms
Users must choose a booked appointment slot in order to assign a form. Pending Forms are assigned but NOT yet submitted by the patients. Active Forms are all forms that have been assigned and submitted by the patients.
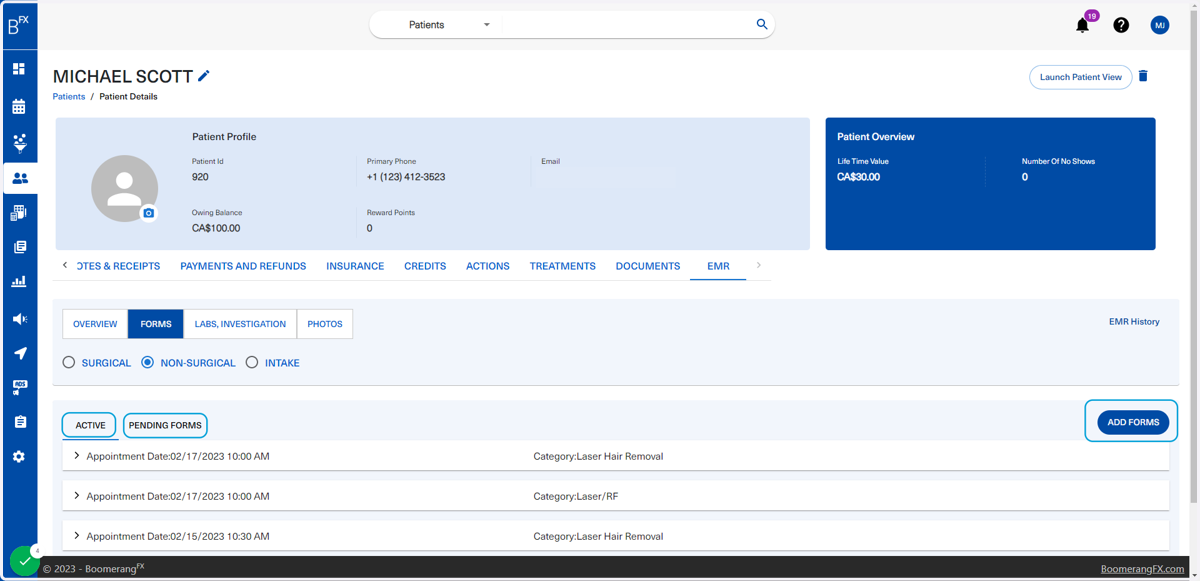
14. EMR - Labs, Investigations
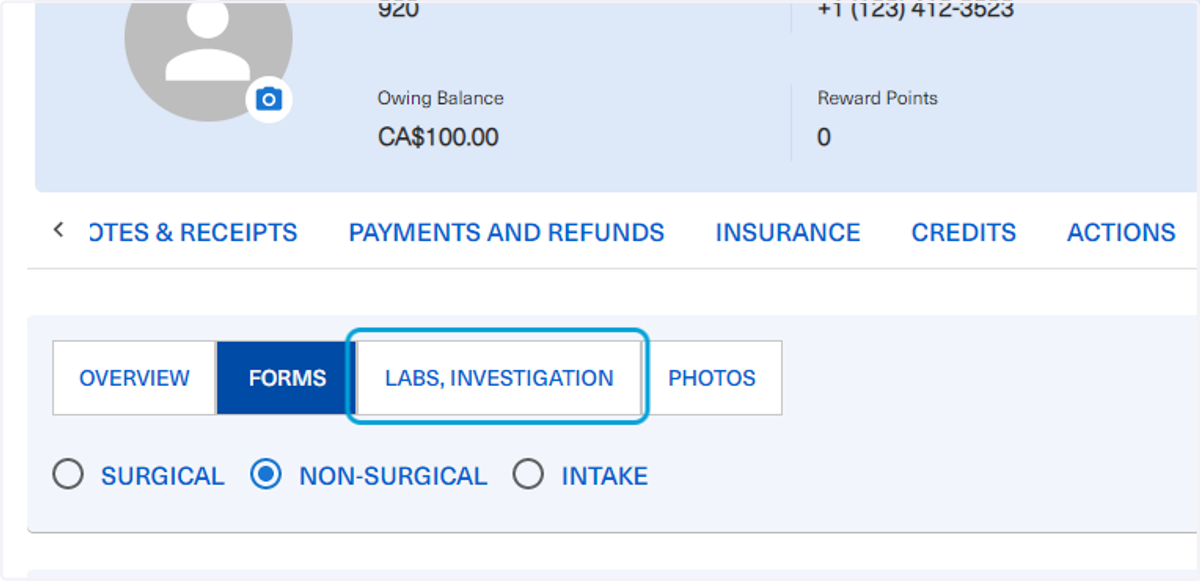
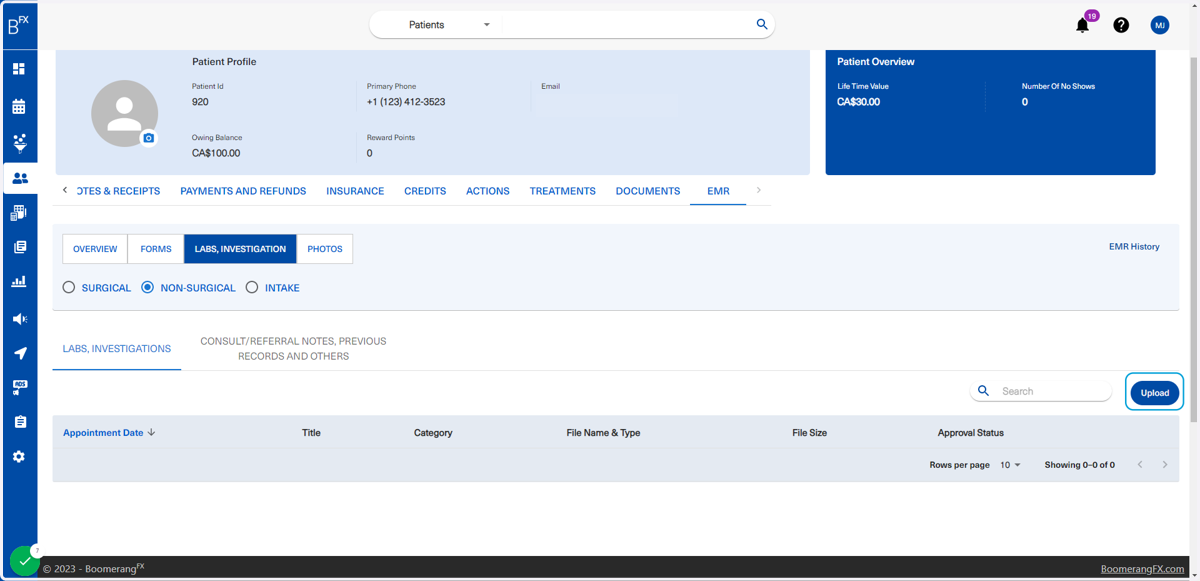
15. Users may upload Labs, investigations, consults, referrals, notes, and previous records all under this tab
To upload a document, the user will click on Upload as shown below
16. EMR - Photos
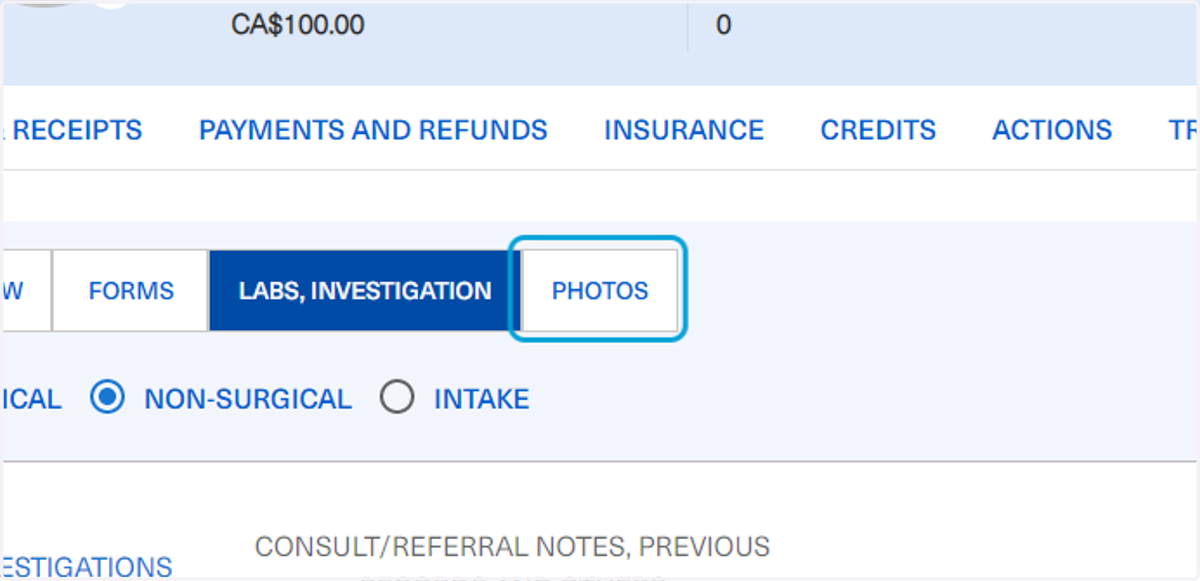
17. Users are able to upload patient photos in this section
All photos will be visible as thumbnails in the white space provided at the bottom of the page. Users will click on Upload Photos to do that and can compare 2 photos. This feature is typically used to compare before and after photos.
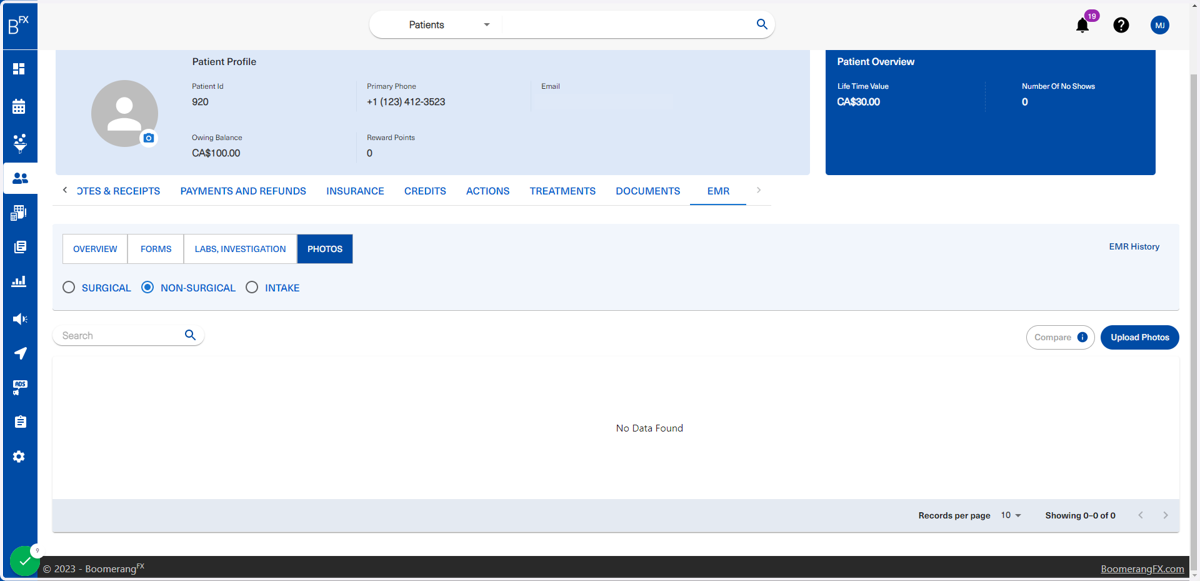
18. Users may also launch a patient view to allow their patients to fill their forms on site
The customer journey and experience is essential in a medspa, and this feature can be utilized to elevate it. When a user assigns a form to a patient, an email is sent to the patient allowing them to fill the form on their own browser. In some cases, patients may not have the time to log in and submit the form. A patient view feature is useful in such cases where the patient walks into the medspa without having signed the consent form before hand and has the option to sign it directly on the device at hand before walking into treatment.
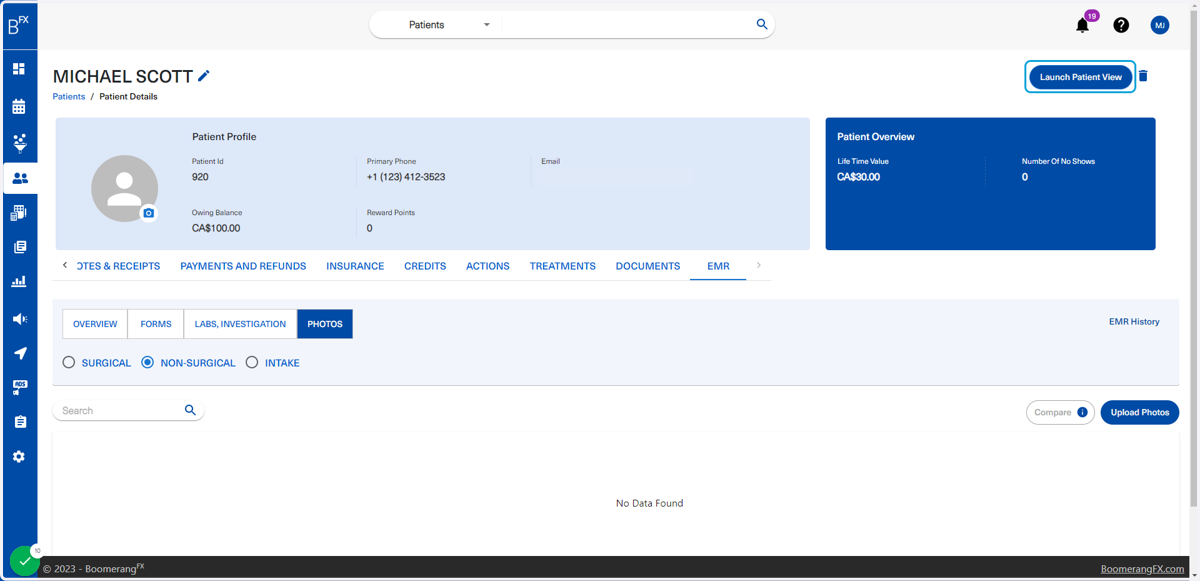
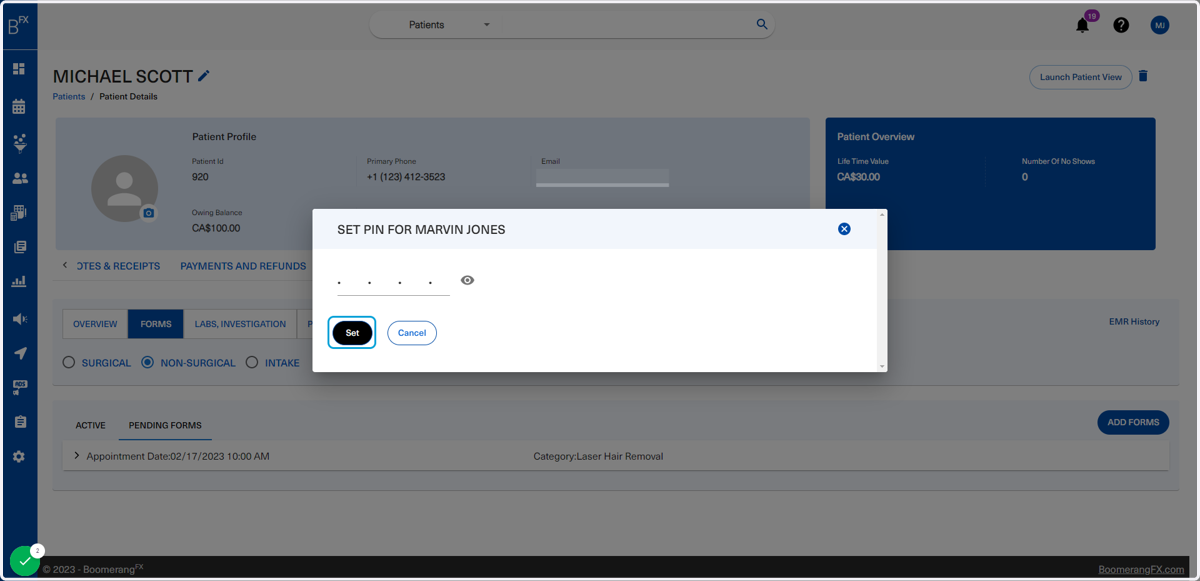
19. Once Launch Patient View is clicked, this pop-up will appear prompting the user to enter a 4 character code
This code could be a combination of letters, numbers, or both. The user logged in should choose a code that they will remember. This code will be set once. In the case that the user forgets the code, a quick reset is available.
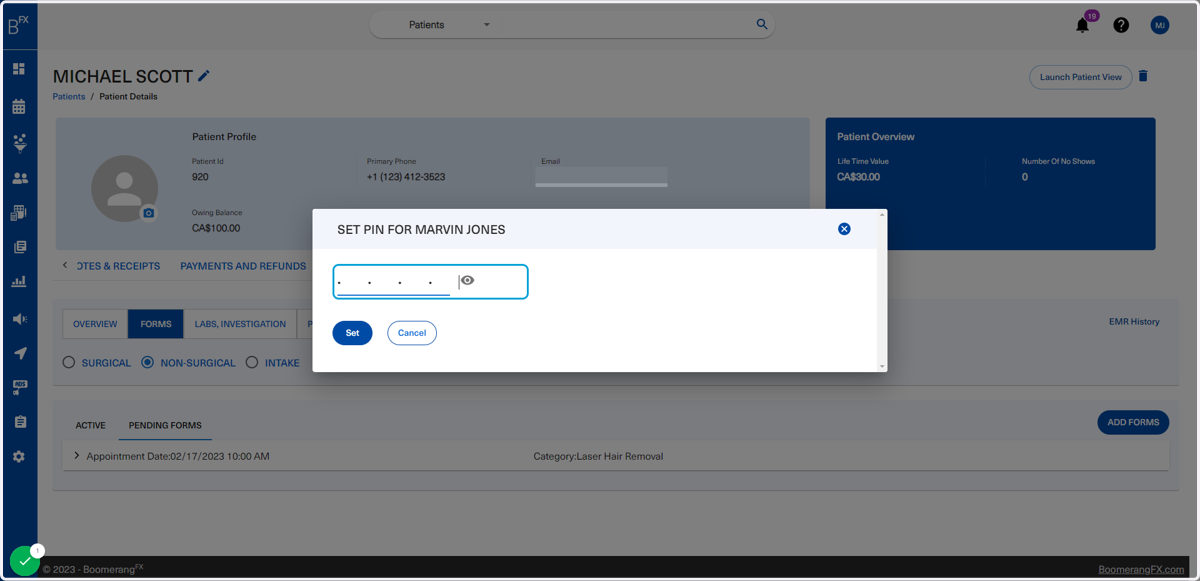
20. Click on toggle password visibility to view the code and confirm your entry
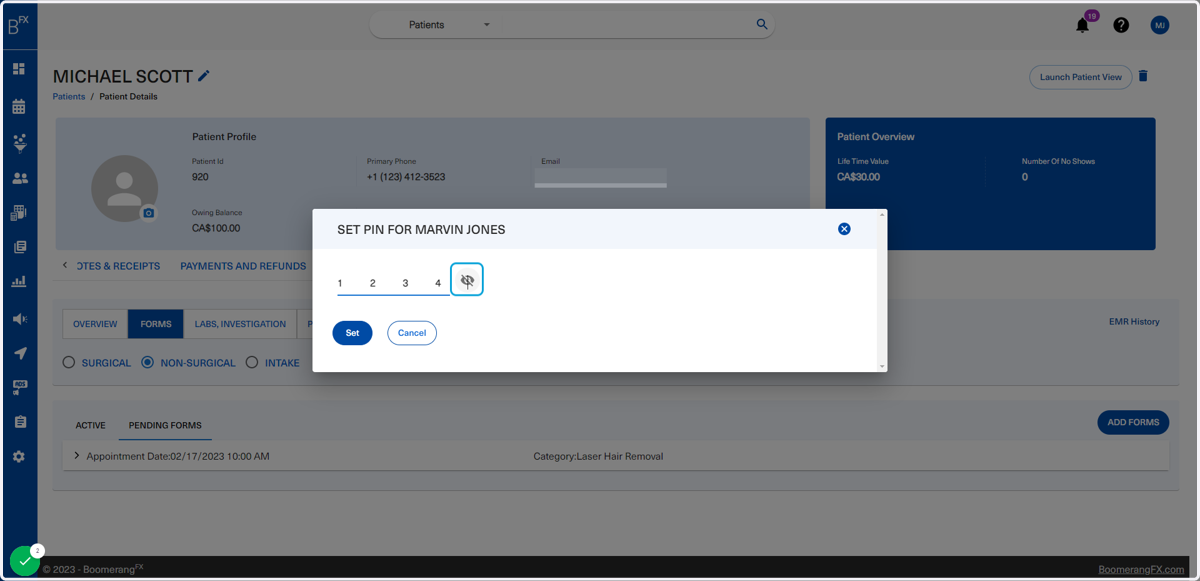
21. Click on Set when ready
22. This is what the patient view looks like
It will only display pending actions required from the patient
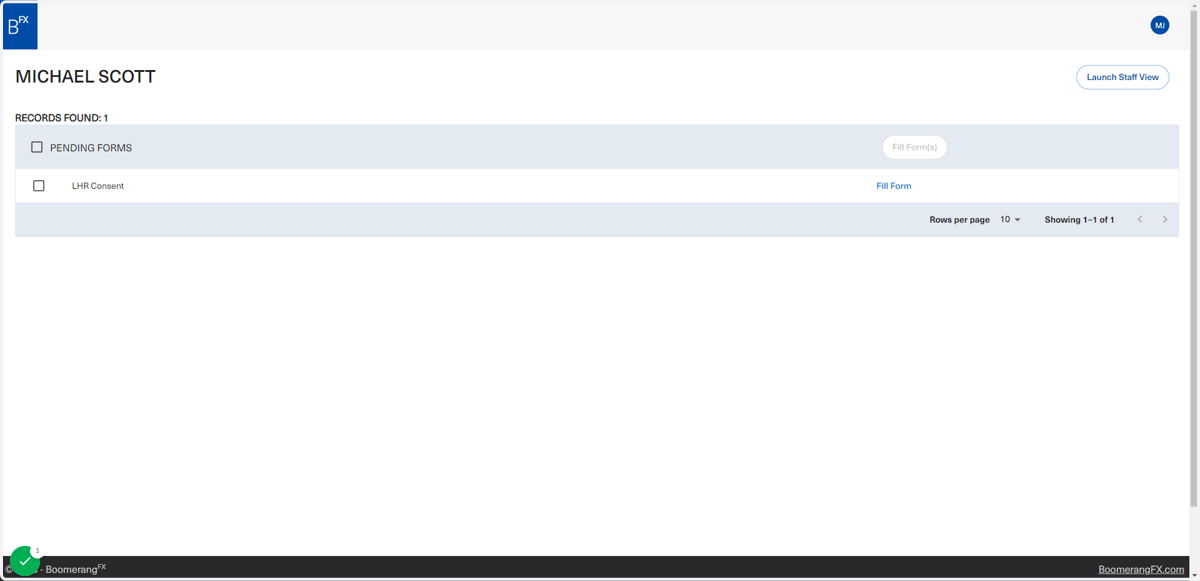
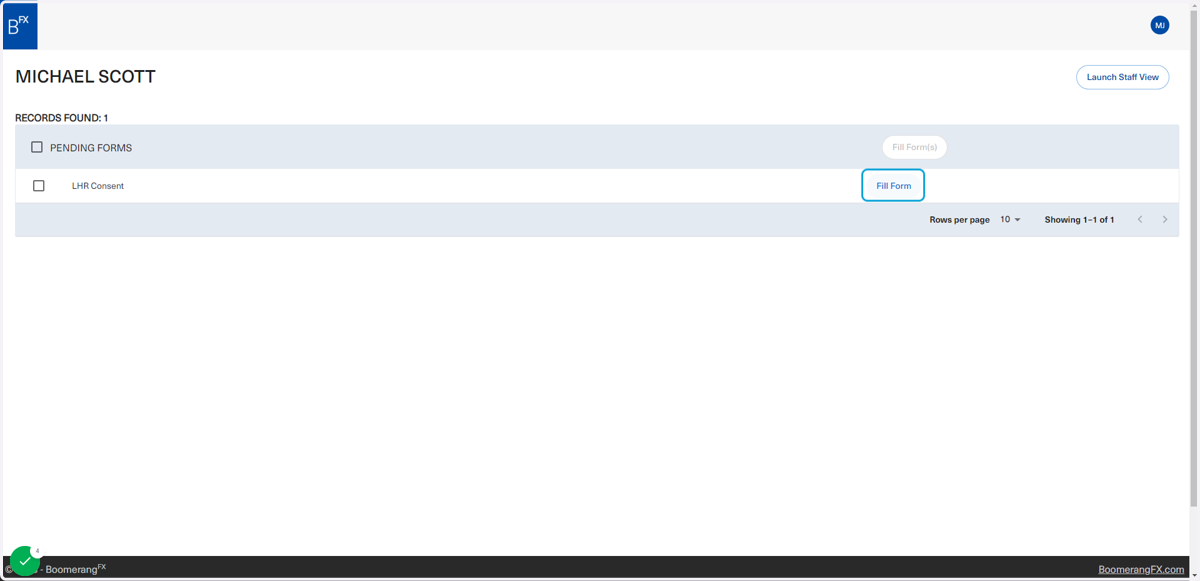
23. The user or patient may click on fill form to complete filling the form
When there are multiple forms in the list, the checkbox on the left can be clicked for as many forms as necessary and the Fill Form(s) button will be enabled. The patient will then be given the chance to fill and submit multiple forms in order without having to click on fill form for each form they will be submitting.
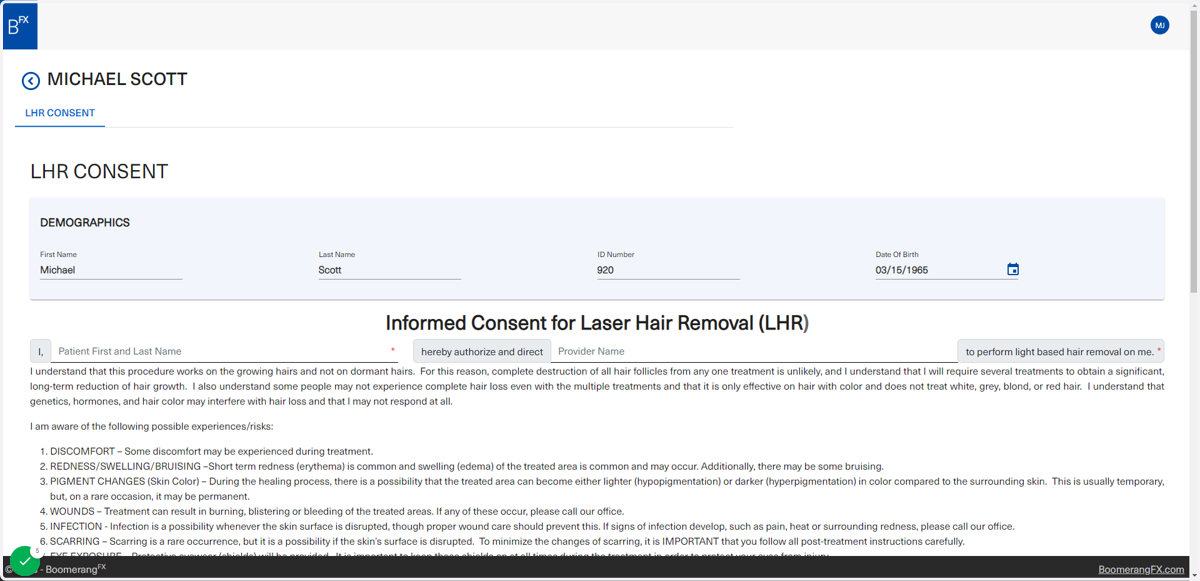
24. This is an example of what the form will look like
Patients will fill all fields as necessary
25. The patient may review their answers and confirm they have filled out all the fields that are required
Fields with red asterisks can be identified as "required".
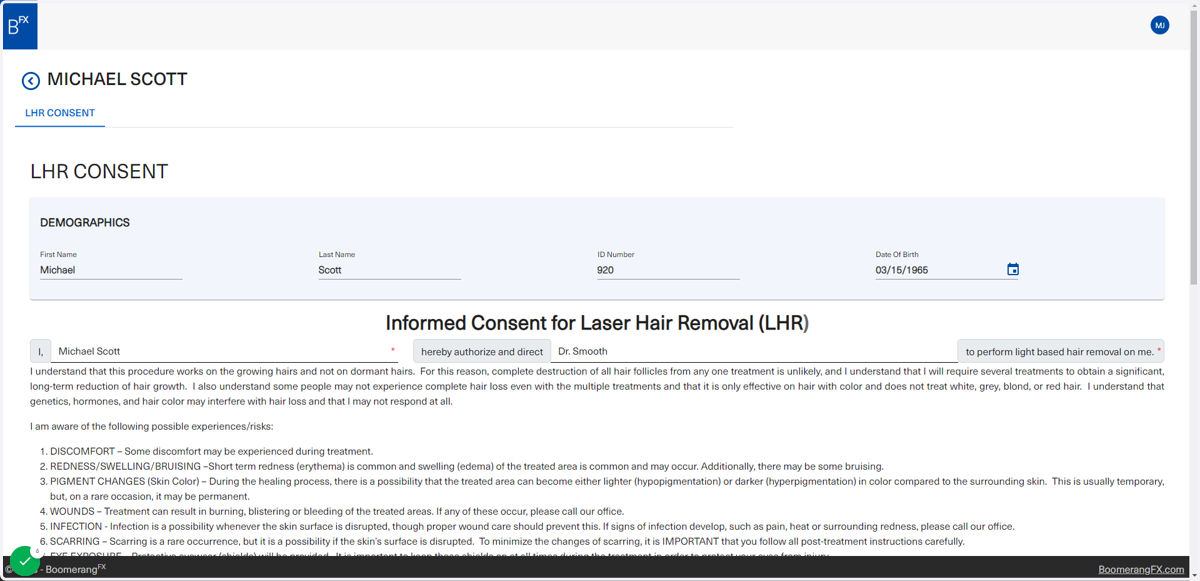
26. The patient will click on Submit once all fields are filled as necessary. The user may also click on Cancel if they wish to not proceed with a specific treatment or form submission.
The patient should be recommended to avoid filling out the fields that are not directed towards him/her directly, however, if a patient happens to fill those fields out, the staff member who will be reviewing the form is able to delete those field submissions and re-enter the correct information.
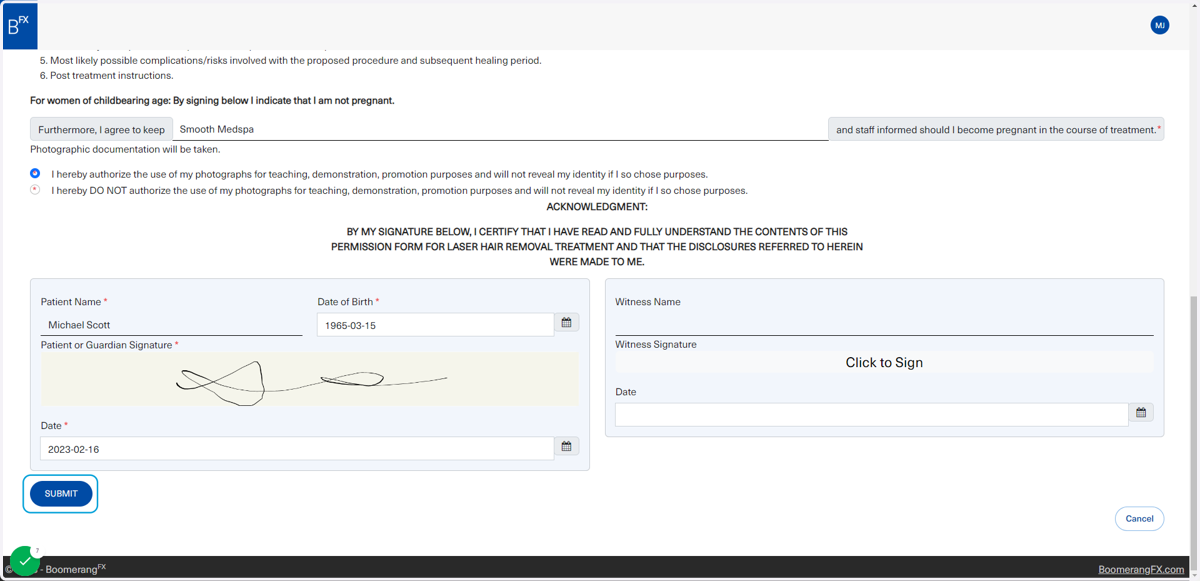
27. As shown in this page, a green dropdown will appear for confirmation
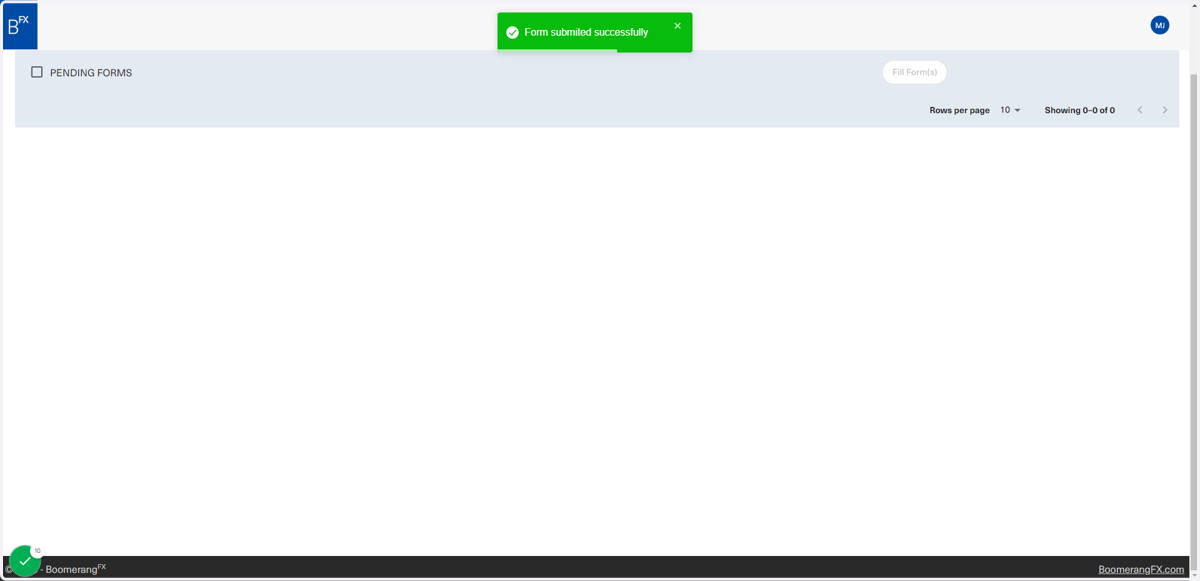
28. Once all has been completed, the staff member may Launch Staff View
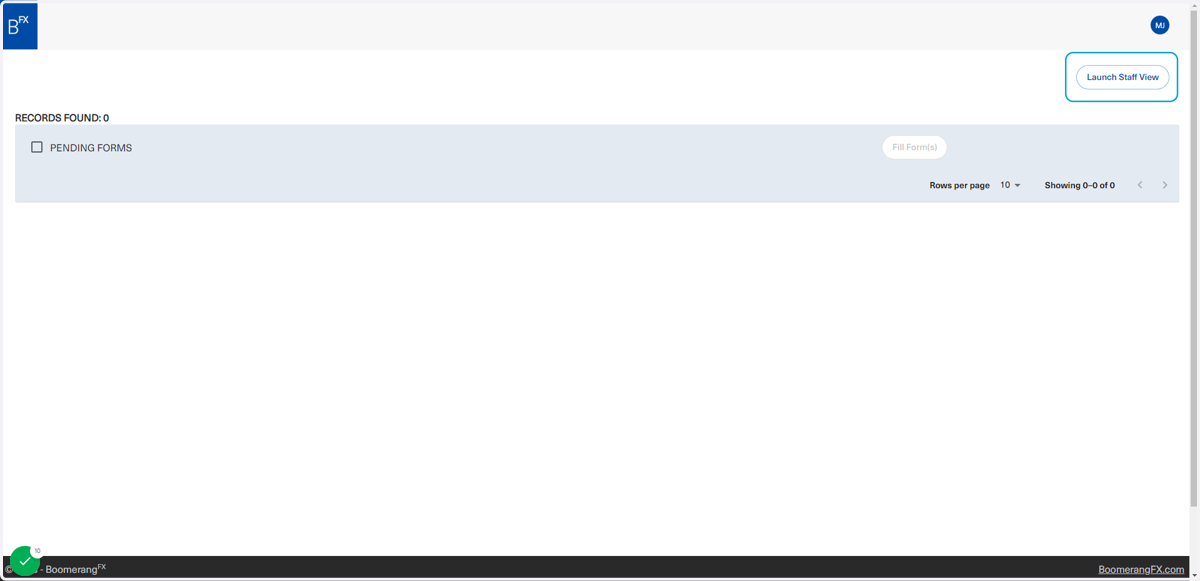
29. The staff member will be prompted to enter the code they crated upon launching the patient view
Patients will typically return the device to the staff member upon submitting the form, however, some patients may attempt clicking on other buttons. This safety feature is in place to avoid having curious patients explore the staff's login which may contain sensitive information about other patients.
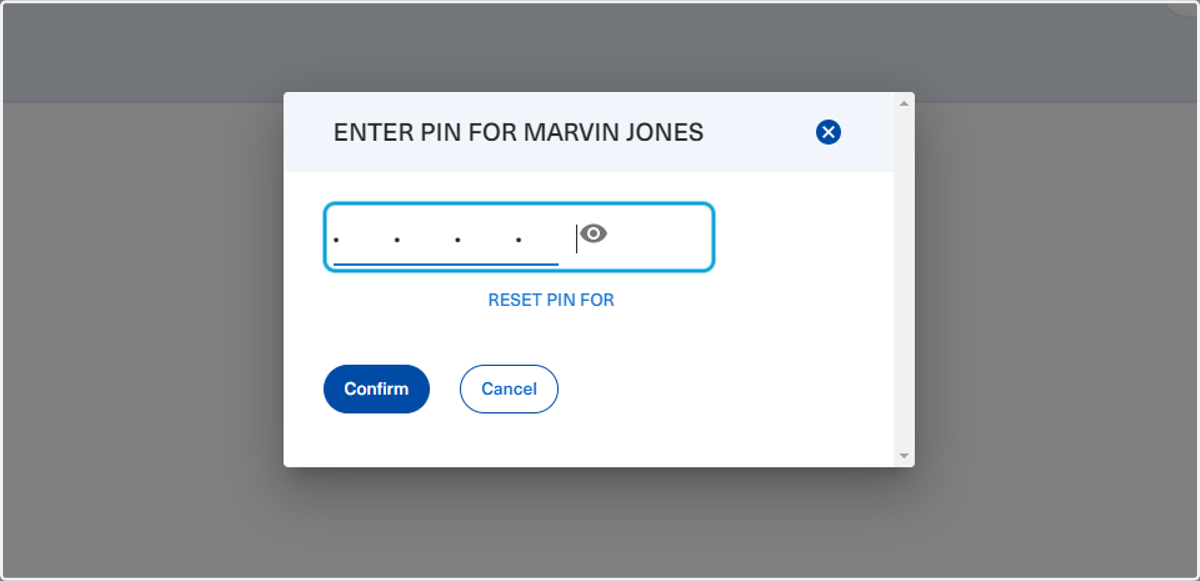
30. In the event that a staff member forgets the code that was created, a Reset Pin option is available
Once this button is selected, the user will get a prompt to confirm their selection and to agree that they will be logged out in order to reset the pin. The user will have to log back in with their login credentials and redirect towards the patient's profile to proceed with any activities on that end. All information before that step will be saved.
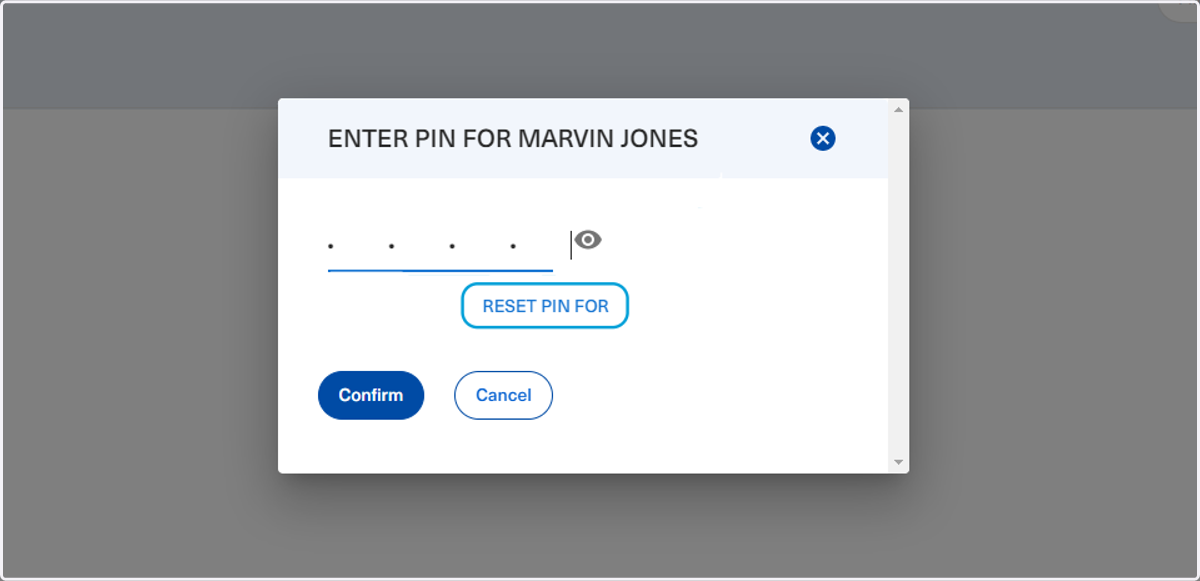
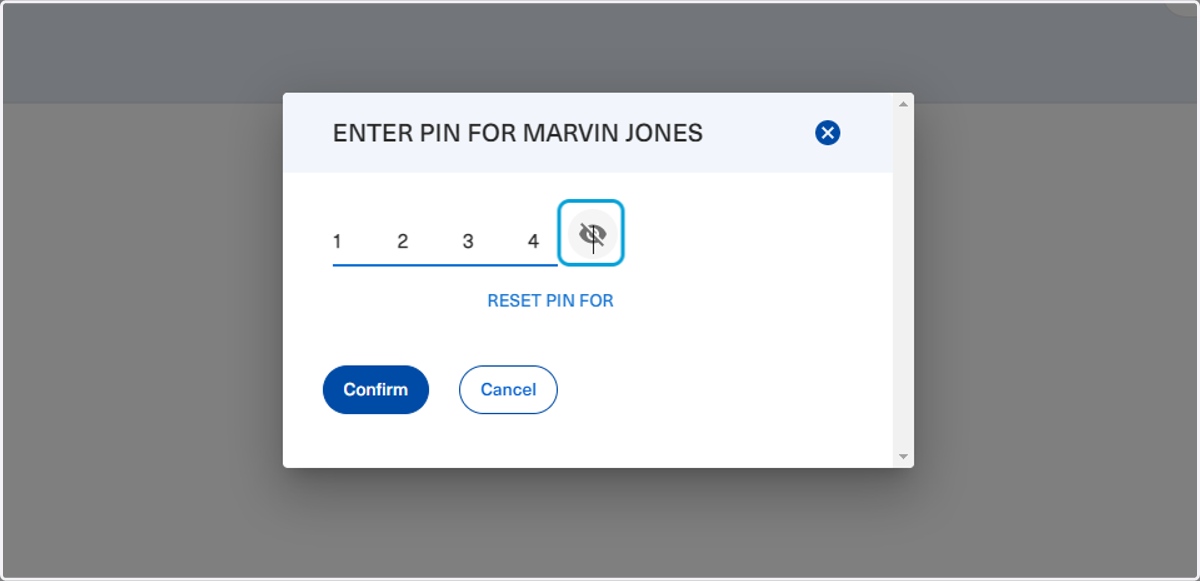
31. If the staff member does remember their code, they may click on the toggle password visibility icon to confirm their entry
32. Once done, click on Confirm
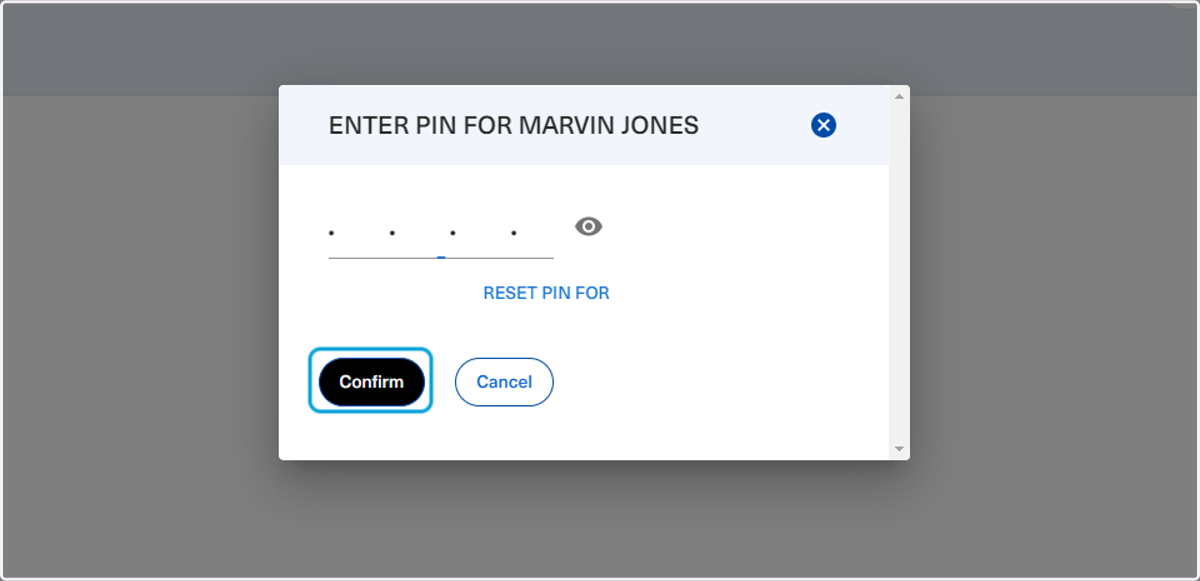
33. The form that was submitted will now appear in the Active subtab under the Forms tab
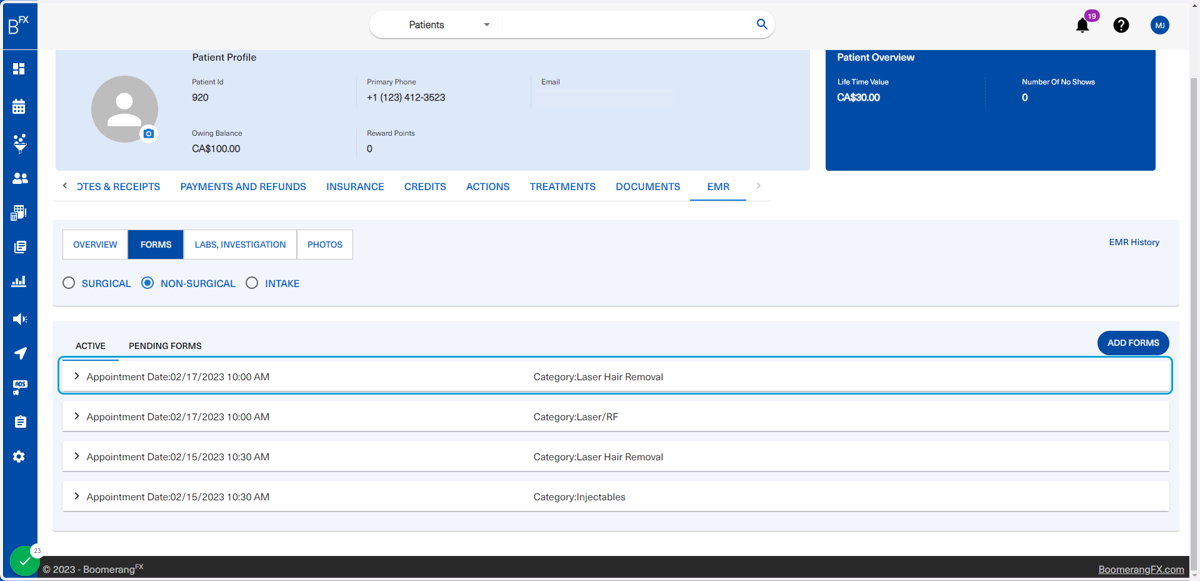
34. The form will be visible to the staff and editable as well
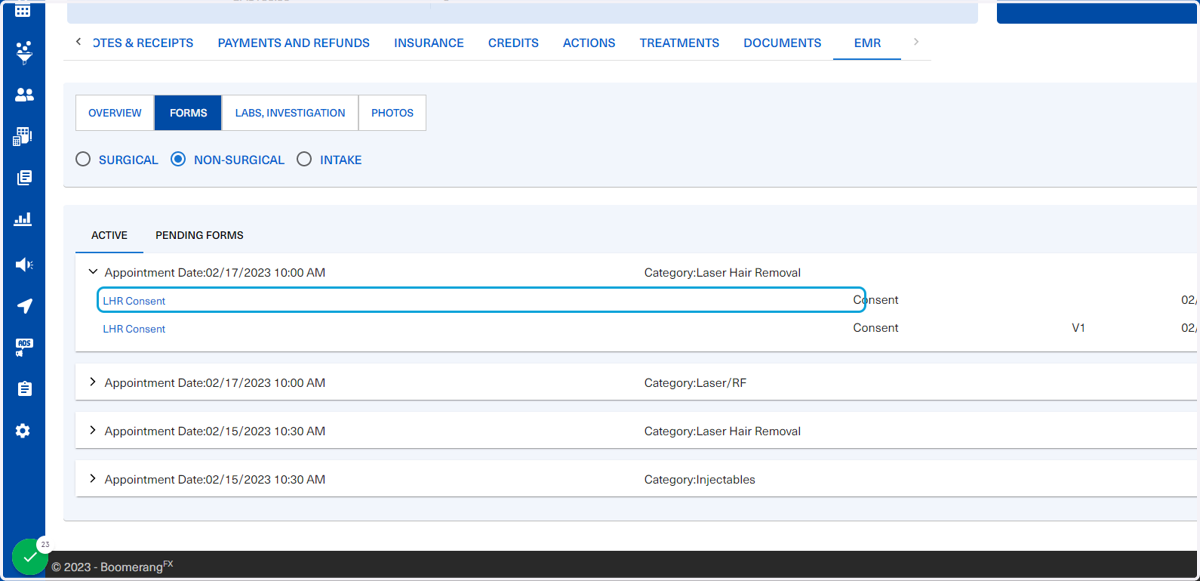
35. The staff member will need to fill the fields that are directed towards them and then Submit the form again
Those fields will not be required. The staff members are to remember to add the information related to them as necessary.
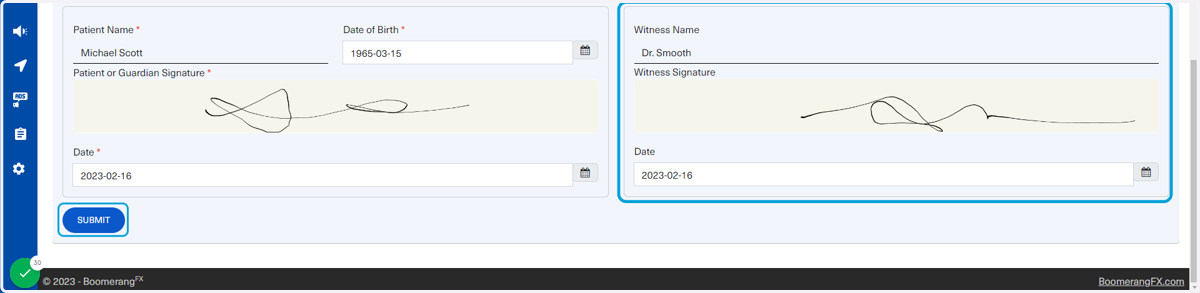
36. Once the form has been submitted, the user will return to patient's EMR and a green dropdown will appear for confirmation
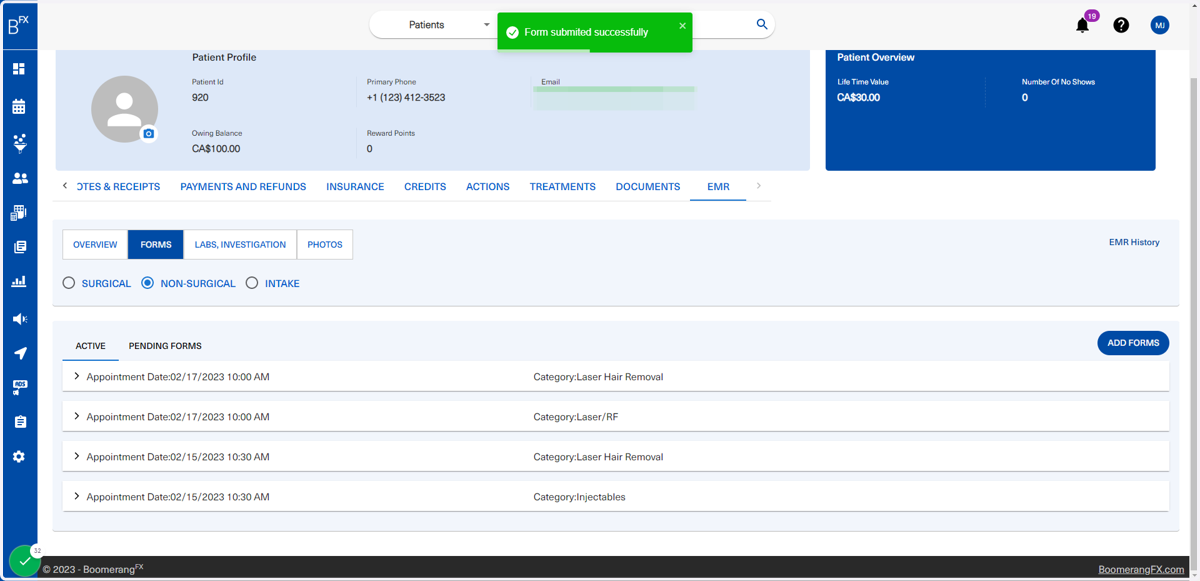
37. To view the added form and staff review, click on the Overview tab
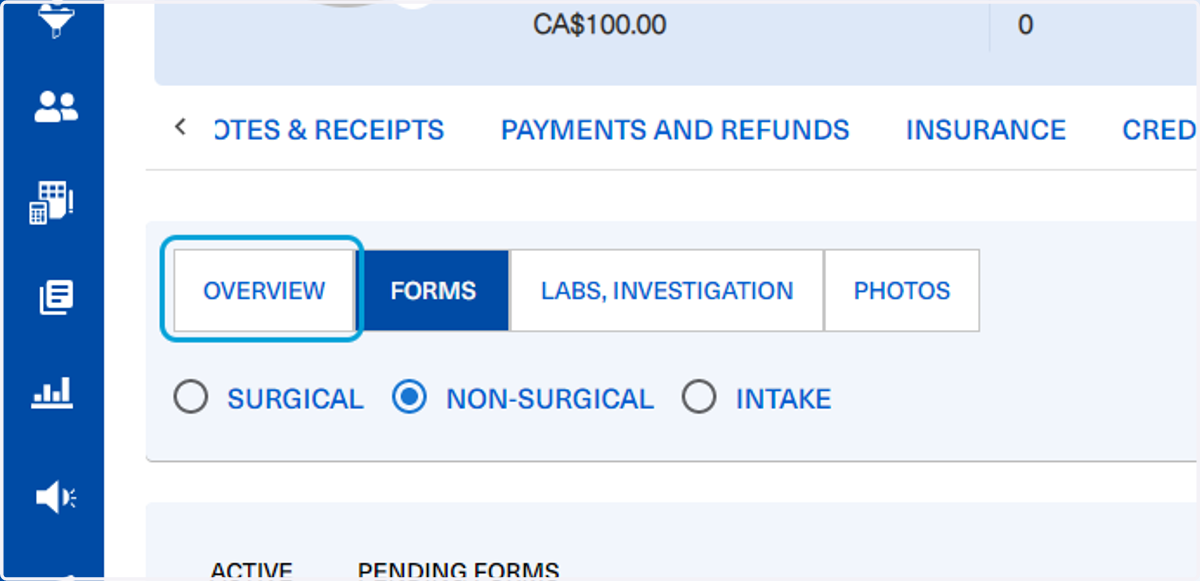
38. As mentioned earlier, the updates are provided from latest to earliest
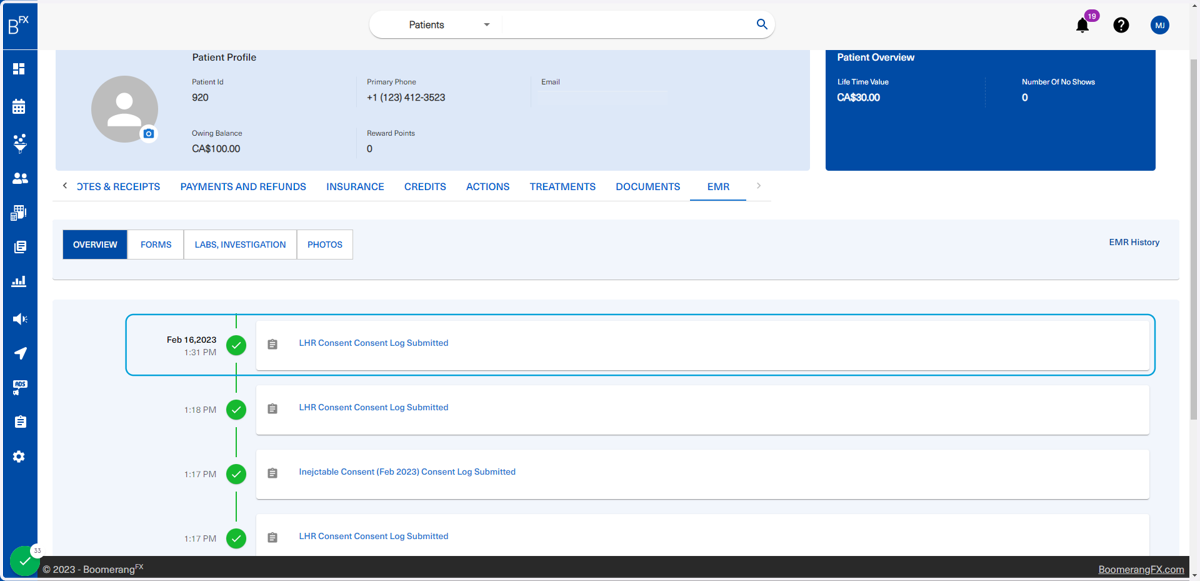
39. Users will also have access to other EMR features by clicking on the EMR button shown below
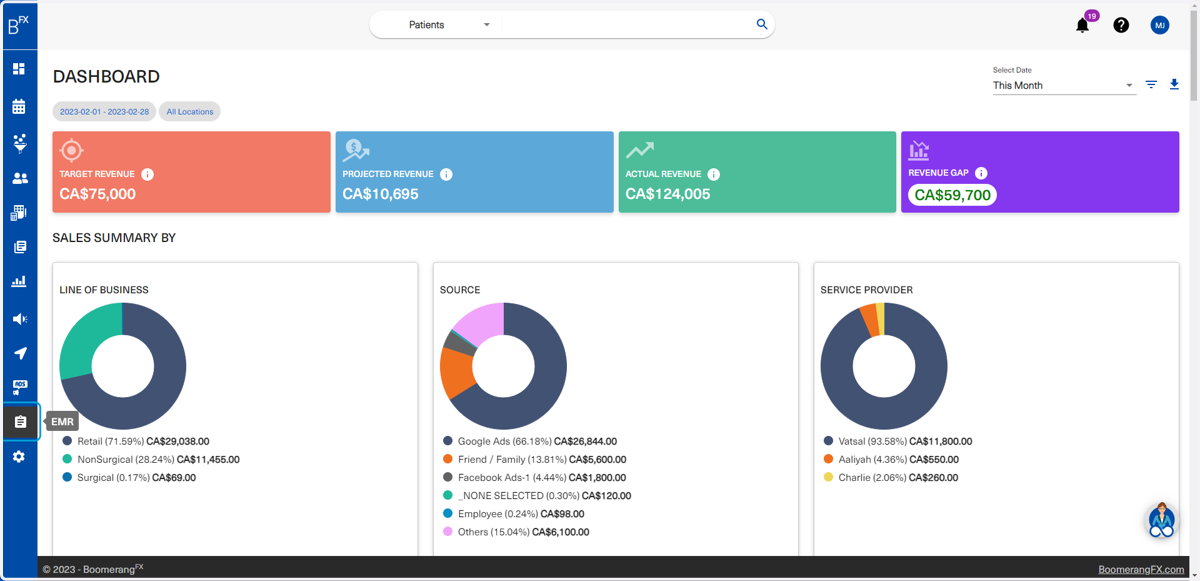
40. EMR
This tab entails the following:
Form Builder: Creating electronic and fillable PDF forms
Photo Search: Showcasing patient images who have signed their photo release form
Import EMR Data: Importing any additional new data through a file upload
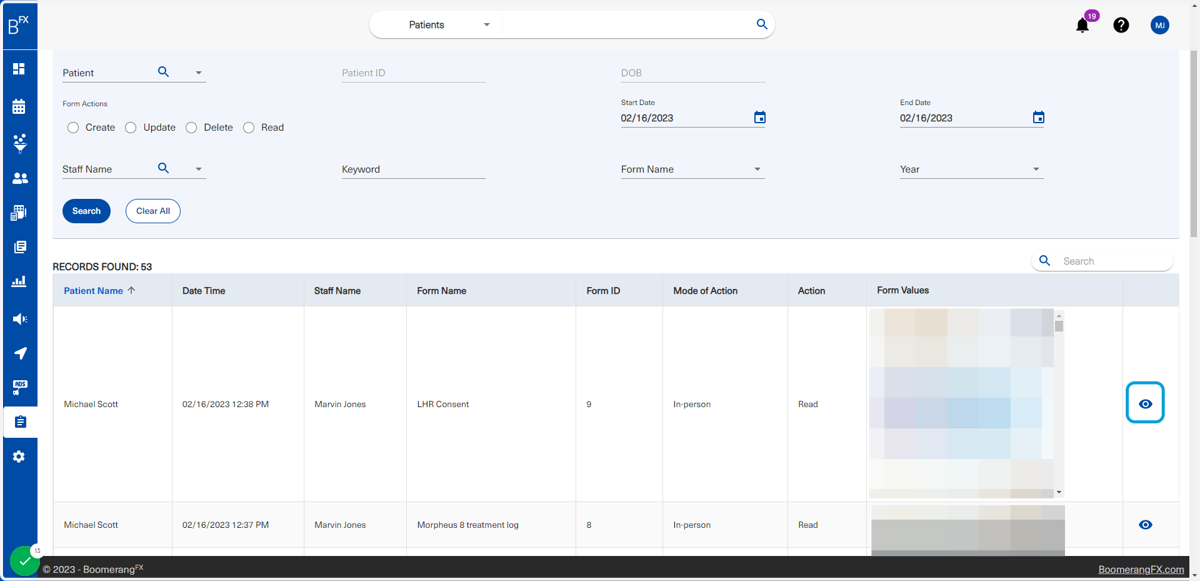
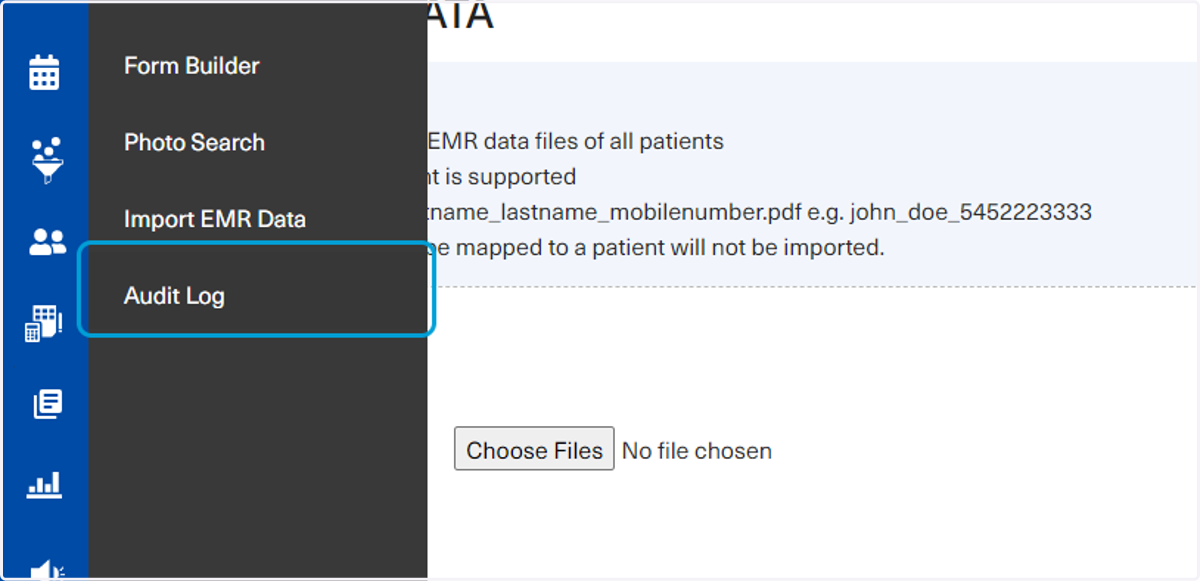
Audit Log: Reviewing and previewing form submissions
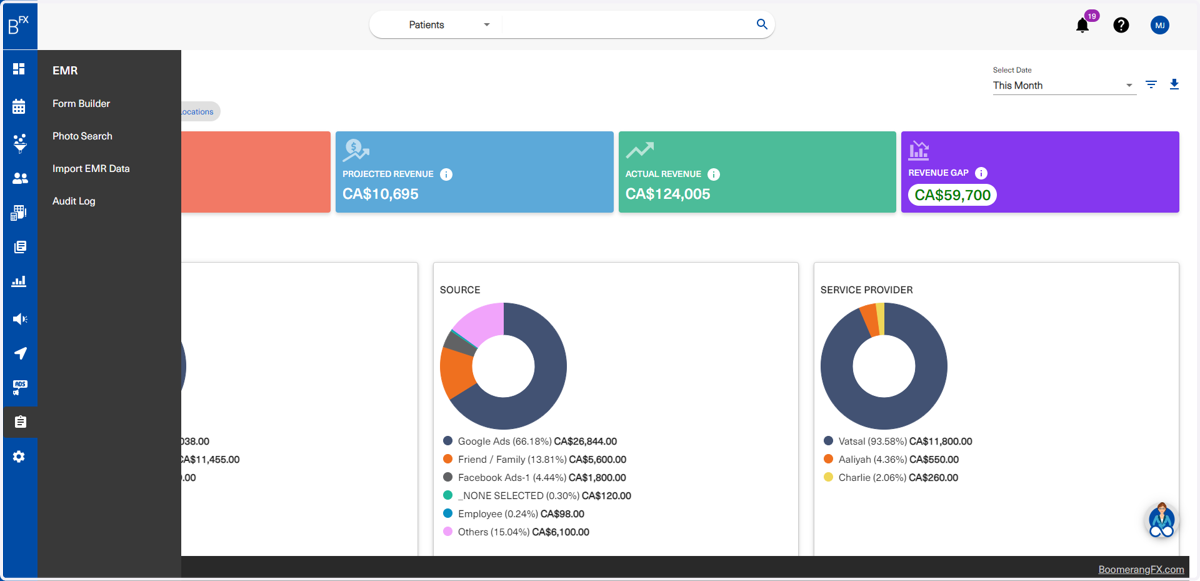
41. Click on Form Builder
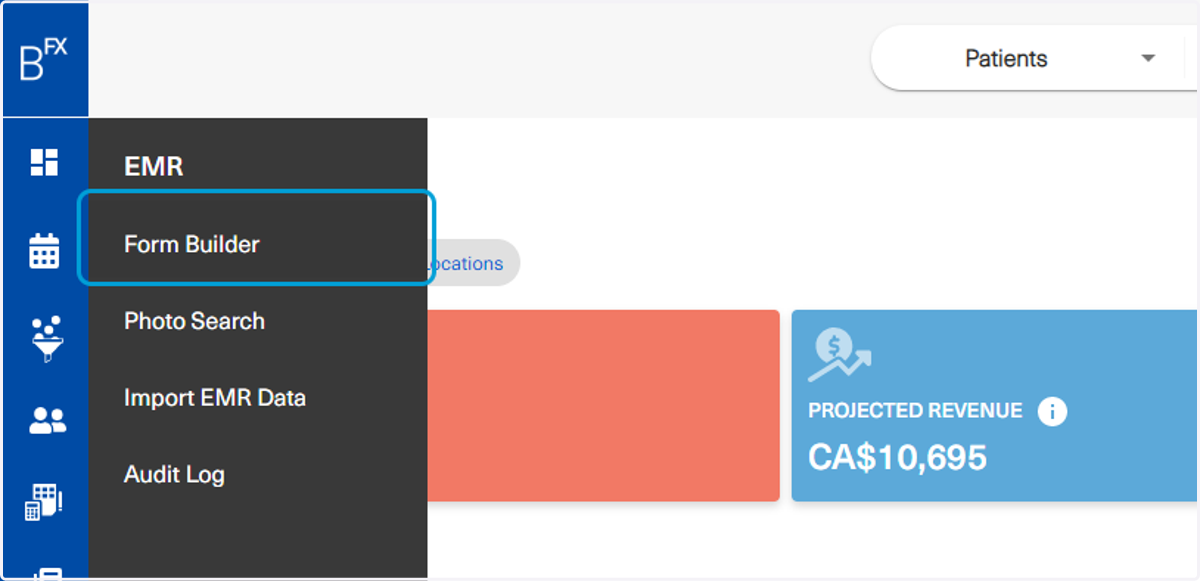
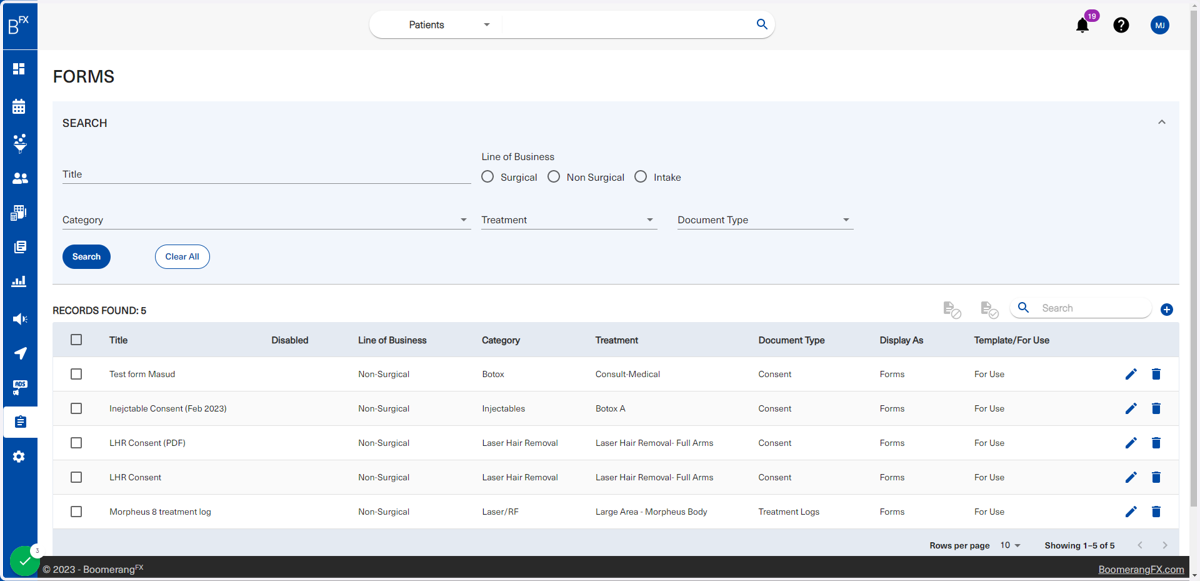
42. The form builder is accessible for users to create or edit their own forms as they may see fit
Typically, the implementation specialist will set up the forms for you based on the treatments your medspa offers. Those forms will be also reviewed with you to confirm you are satisfied with the outcome. However, you are free to add or edit any forms as per your preference. Changes are always expected and this feature allows for such customization.
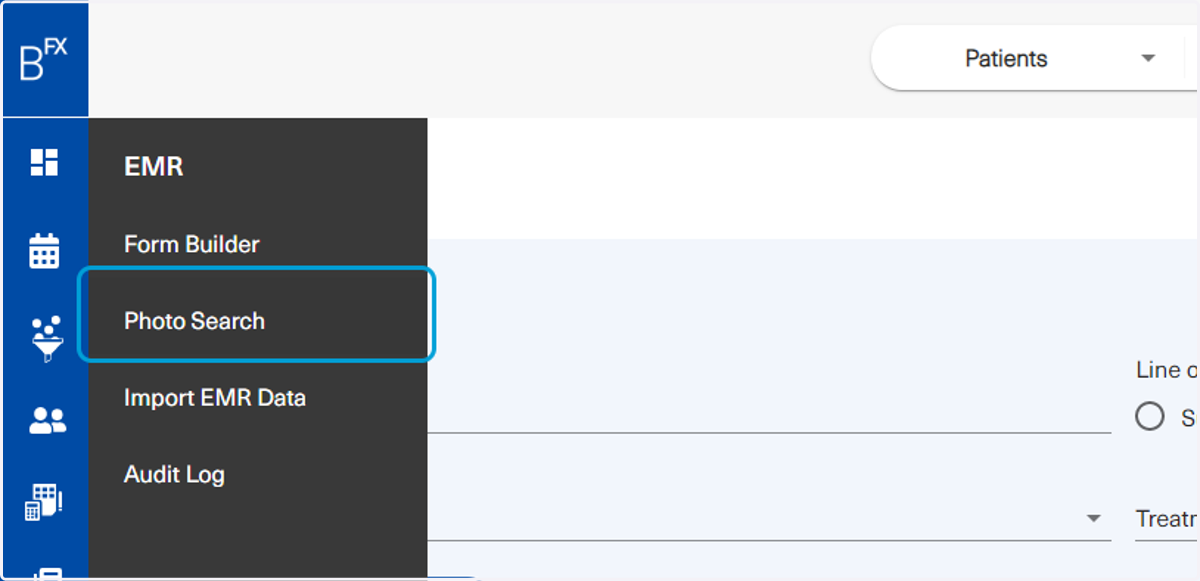
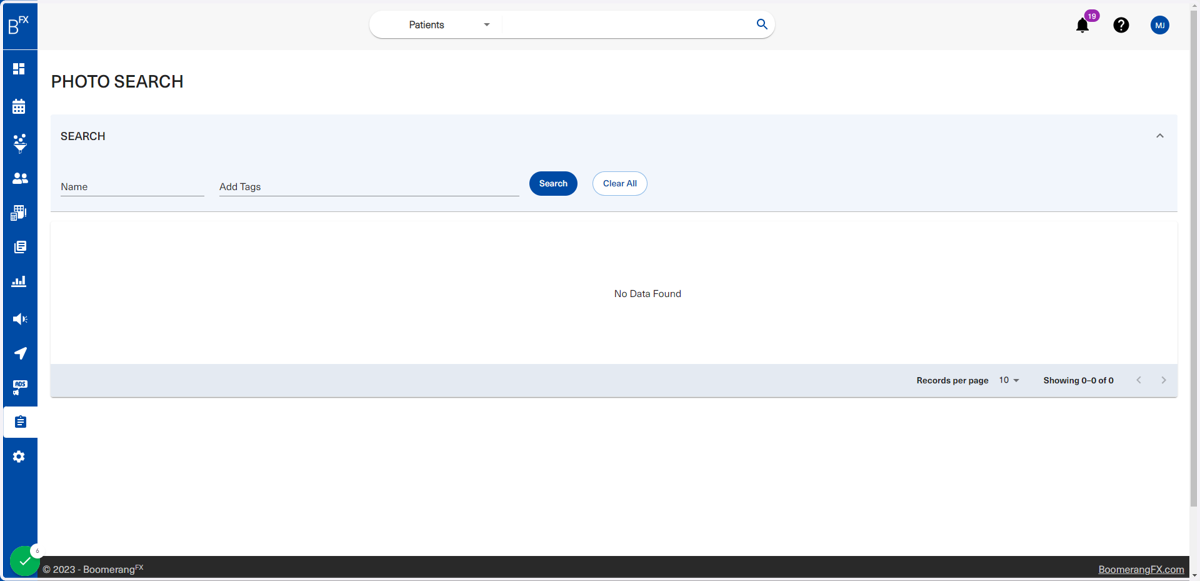
43. Under Photo Search, users may preview all photos saved for all patients who have signed their Photo Release Consent Form
44. Thumbnail previews will appear in the white space provided below and can be selected to view them as bigger pictures
Photos can also be filtered by a patient name search or a tag search.
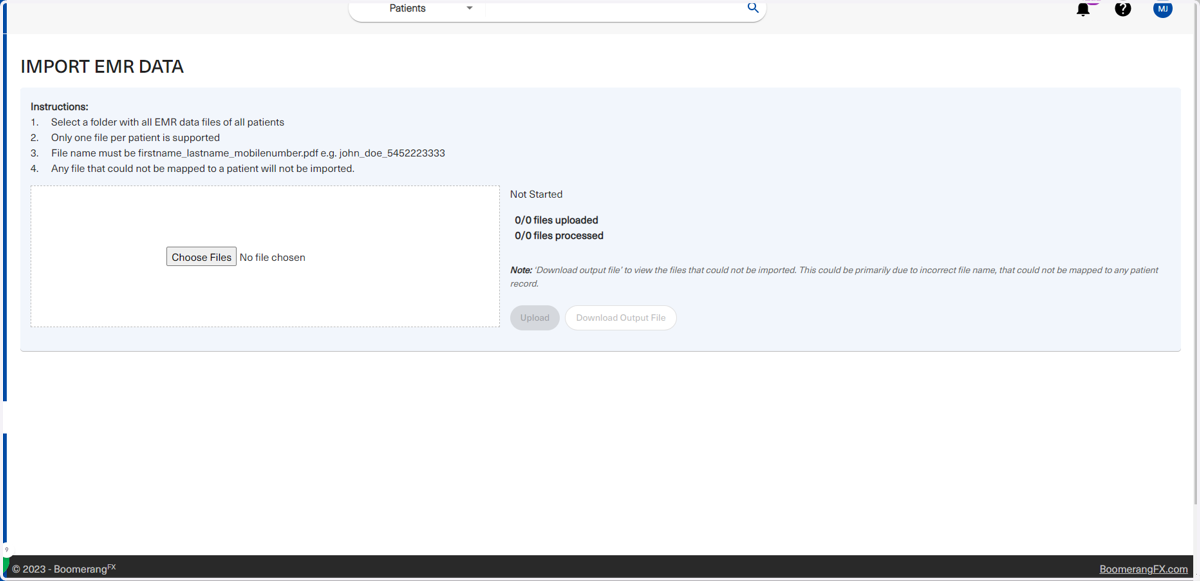
45. Users are able to import any data in bulk through the Import EMR Data section
The medspa industry is growing and advancing, prompting changes in the procedures offered and the technologies used. We have incorporated a data import feature allowing medspas to keep up with the industry by independently updating their own suppliers, procedures, products, and more. Our support team is also always available for any additional help.
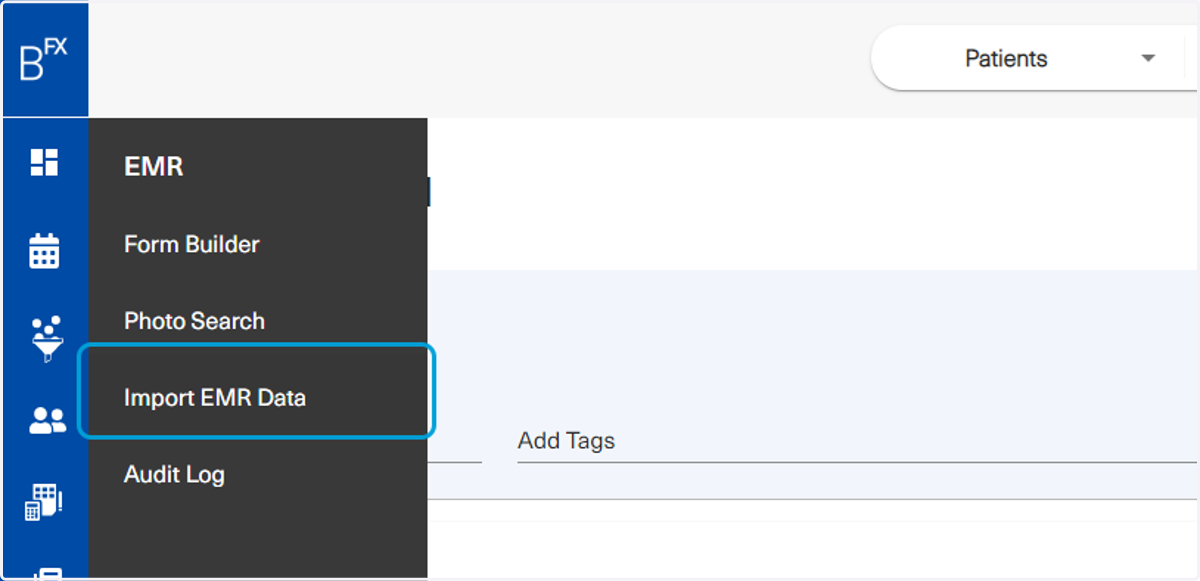
46. To import data, the users will upload a downloadable excel file template that includes procedures, products, patients, etc.
Users can fill as many entries as an excel file can handle.
47. Finally, under the Audit Log, users can view all activity that occurs with forms, submissions, details, etc.
48. Users can search by multiple different fields
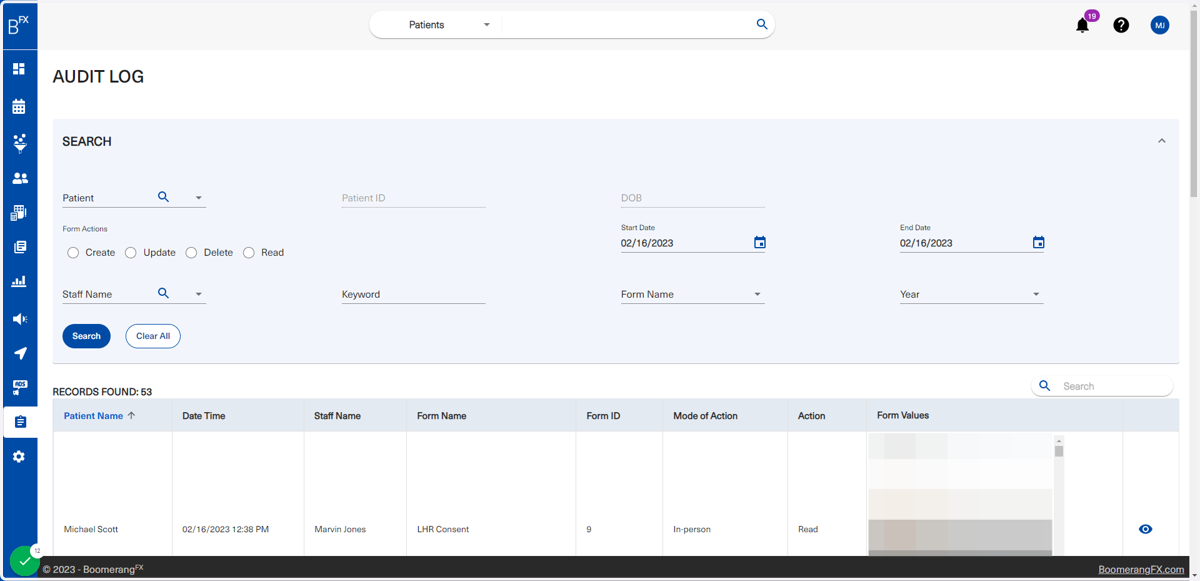
49. Users are also able to review the form submission by clicking on the eye icon
Previewing the form allows users to view all entries made, however, none of the fields are editable.