[TUTORIAL] How to Create a New Page
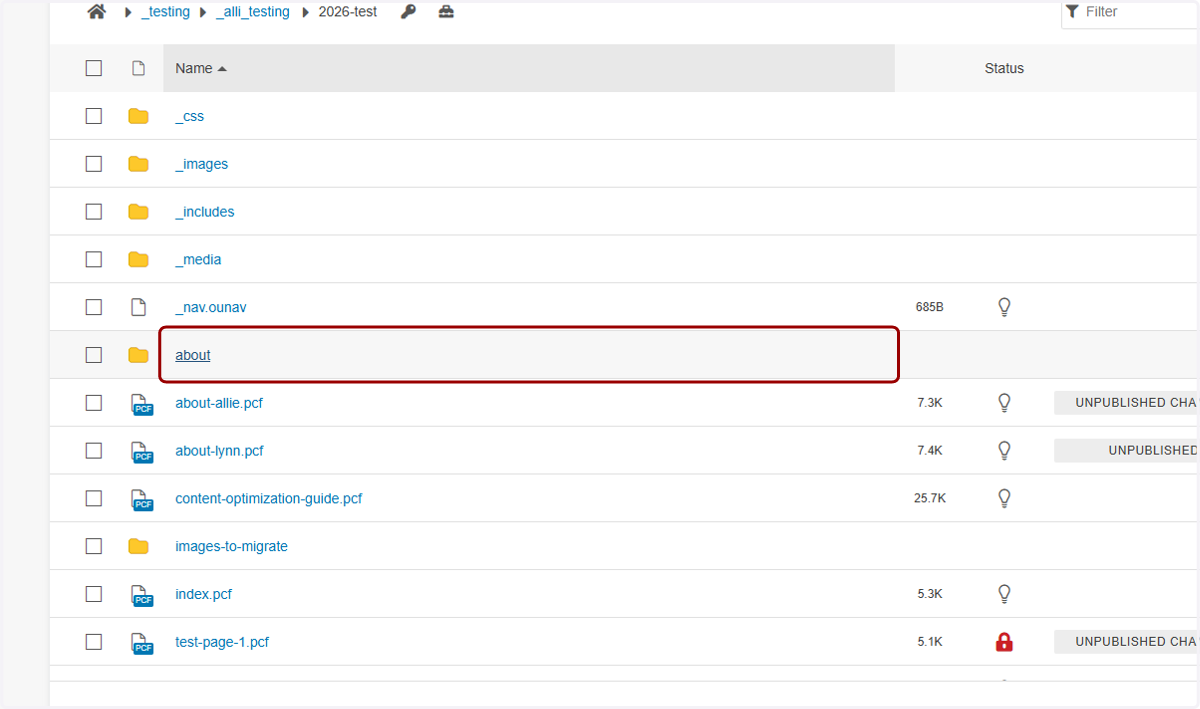
1. First, go to the root folder or directory where you want this page to live. For this example, we'll create a new page in the "about" directory. Click into the directory...
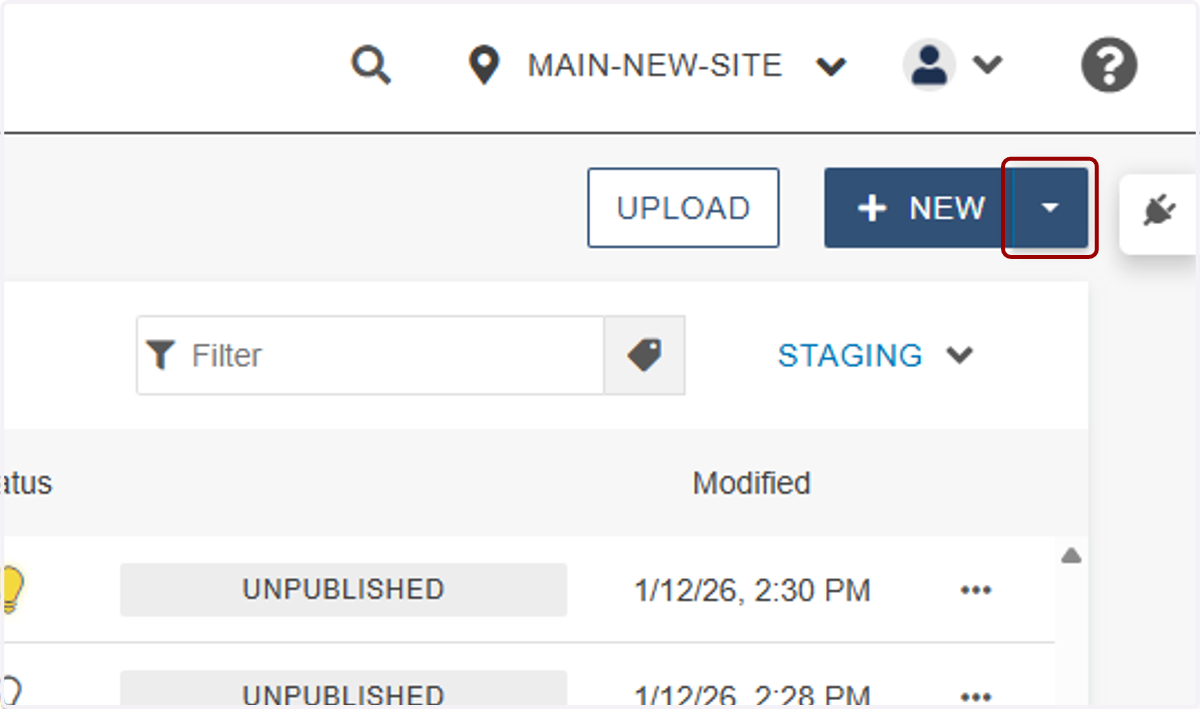
2. ...then click the New dropdown in the upper right corner.
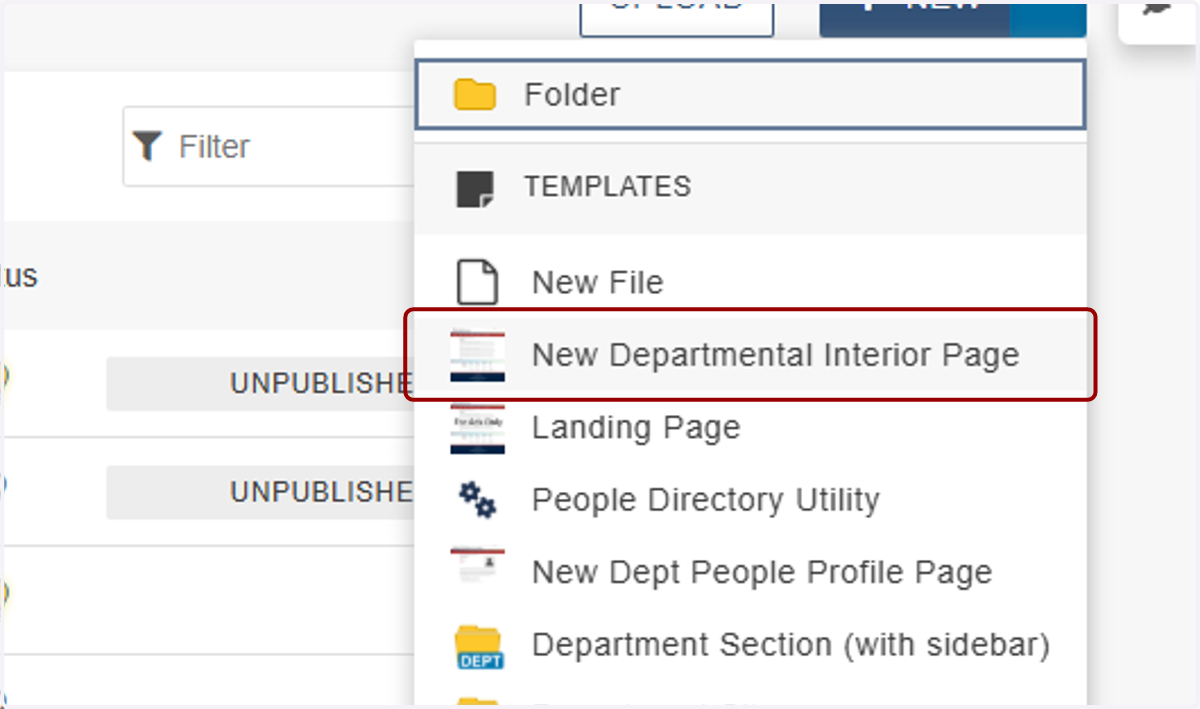
3. Click "New Departmental Interior Page..."
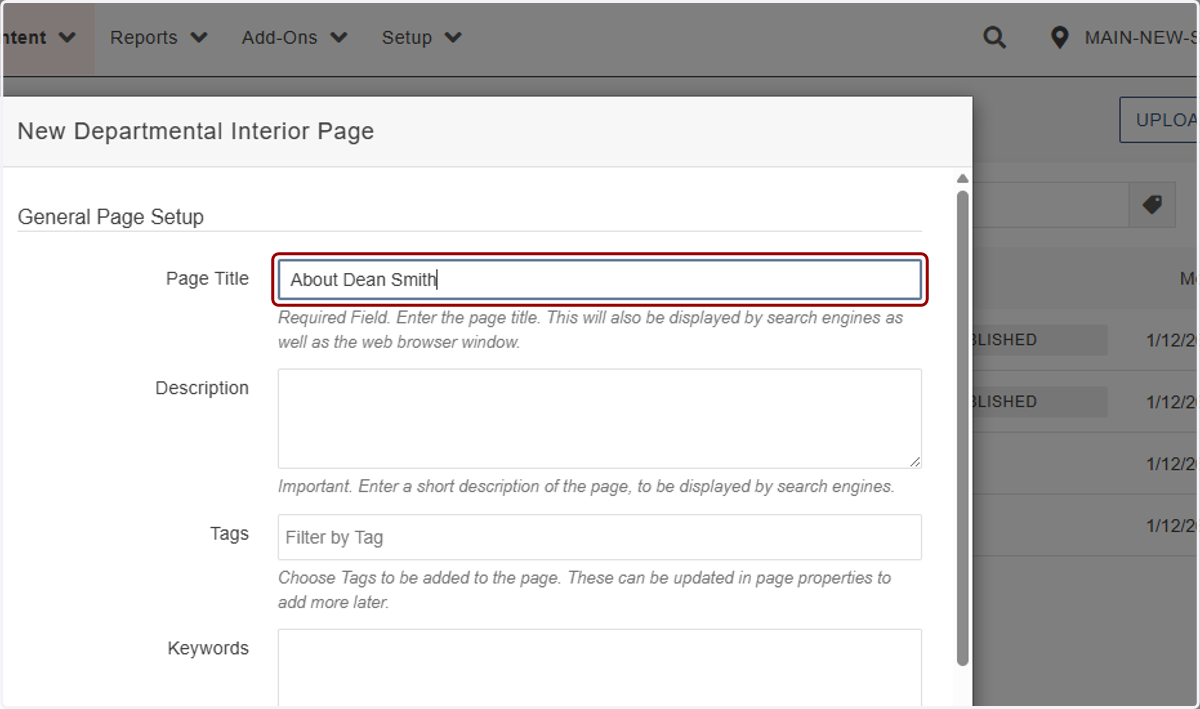
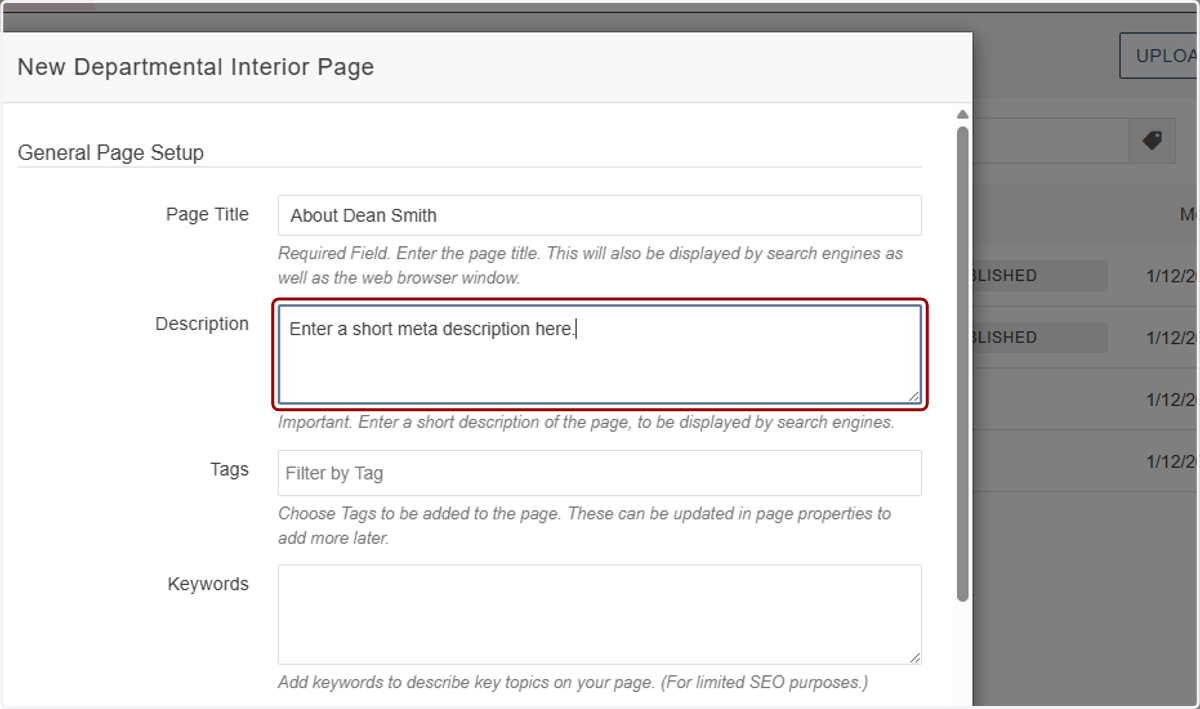
4. ...and a modal will pop up to enter more information about the page. in General Page Setup, "Page Title" will be the name that shows on browser tabs and in search engine results.
5. Next is the Description field. This description will also show up in search engines.
You'll want to write a clear, concise summary of the page in 1–2 sentences (about 150–160 characters) that reflects the content and encourages clicks. Include key terms naturally and avoid duplicate descriptions across pages.
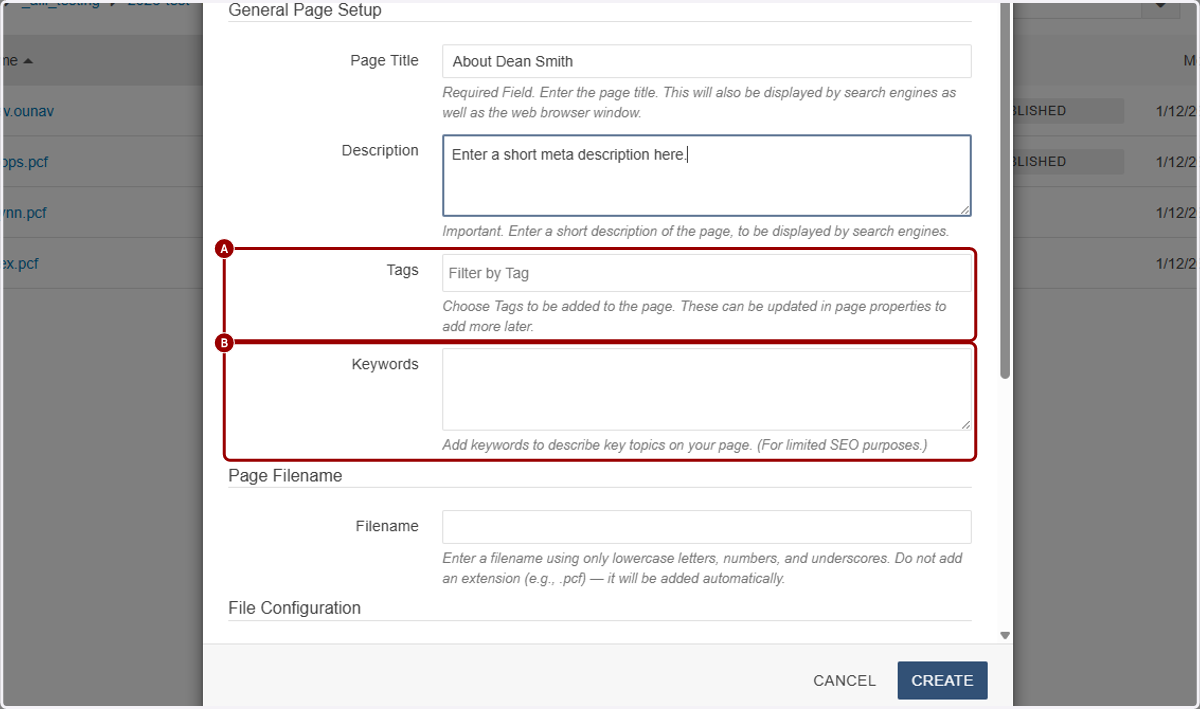
6. A. You can skip the Tags,
6. B. and Keywords fields for now. Search engines no longer pay attention to Keyword fields.
7. Next, move to the Page Filename section. Enter a descriptive filename using only lowercase letters, numbers, and hyphens. Don't use spaces or special characters, like hashtags or ampersands.
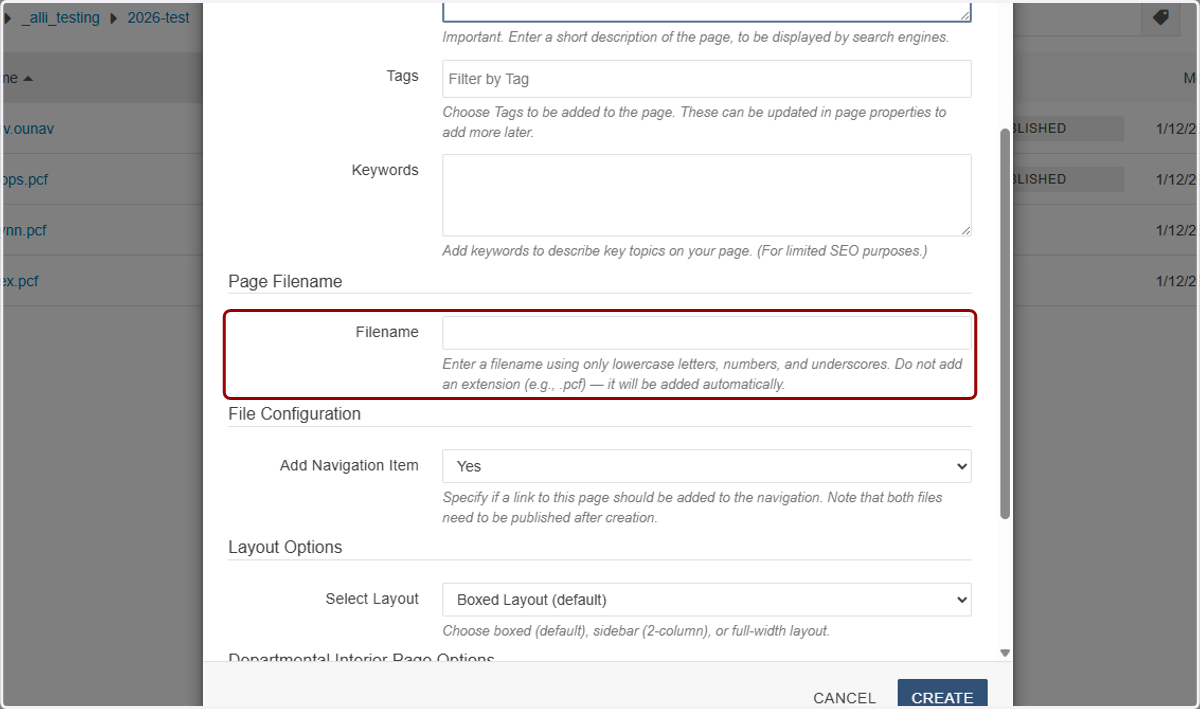
8. You don't need to add a file extension after, as that will be added by the system automatically.
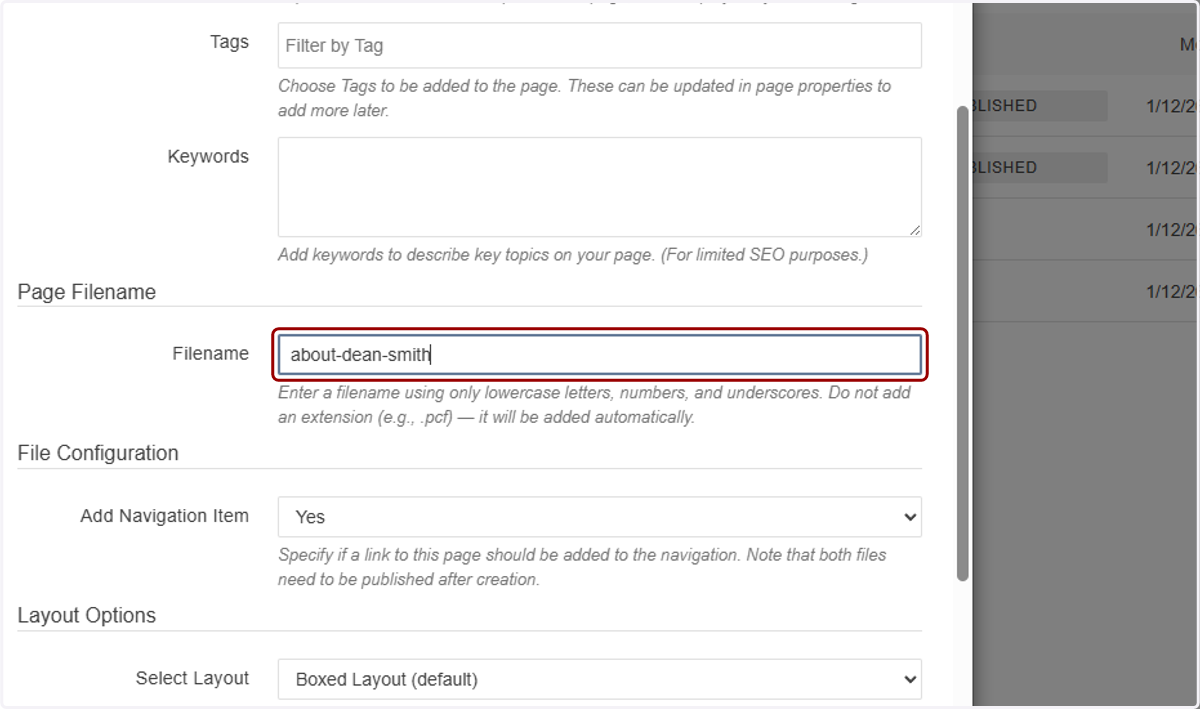
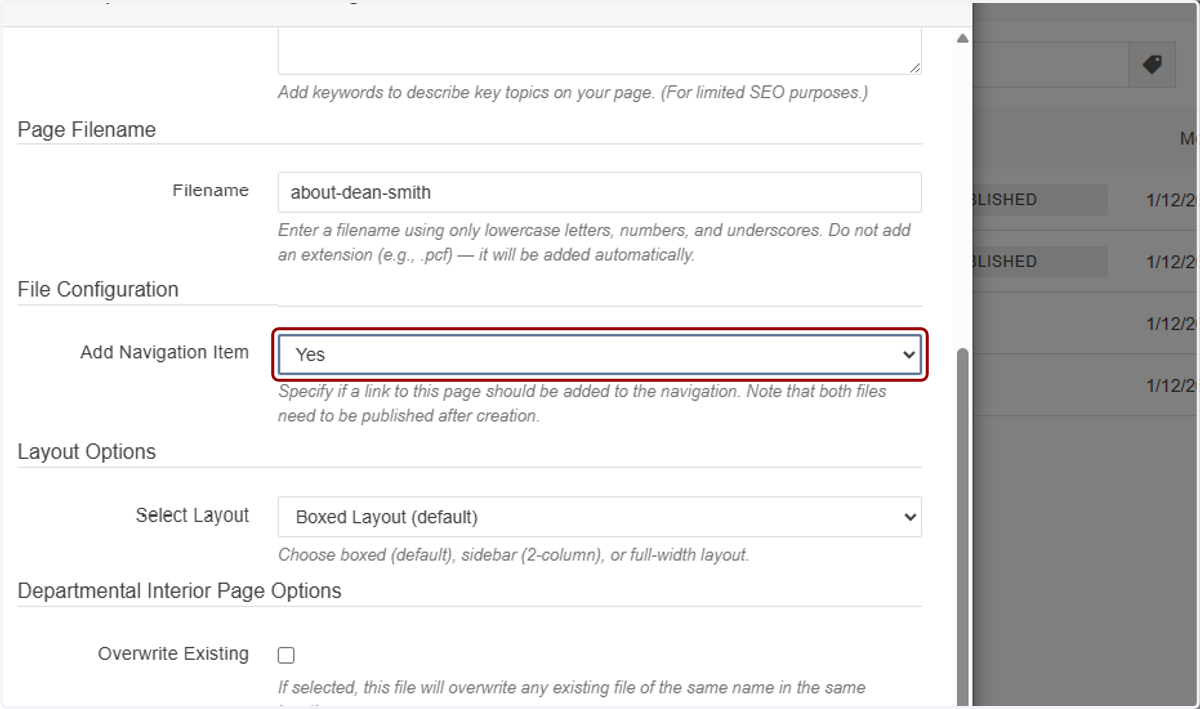
9. In the File Configuration section, you'll see "Add Navigation Item." If you select Yes here, it will be added to Side Navigations for this section automatically, wherever you have Side Navigations enabled.
10. You'll find the Sidebar Layout and other choices in the Layout Options section. Under Select Layout, you have your choice of boxed, which is the default and confined to the center of the page, Sidebar Layout, which has the side navigation menu, and Full Width.
Full width spans the entire width of the user's browser window. See our "Page Layout Options" article on the Web Support help site to learn more about these layout options.
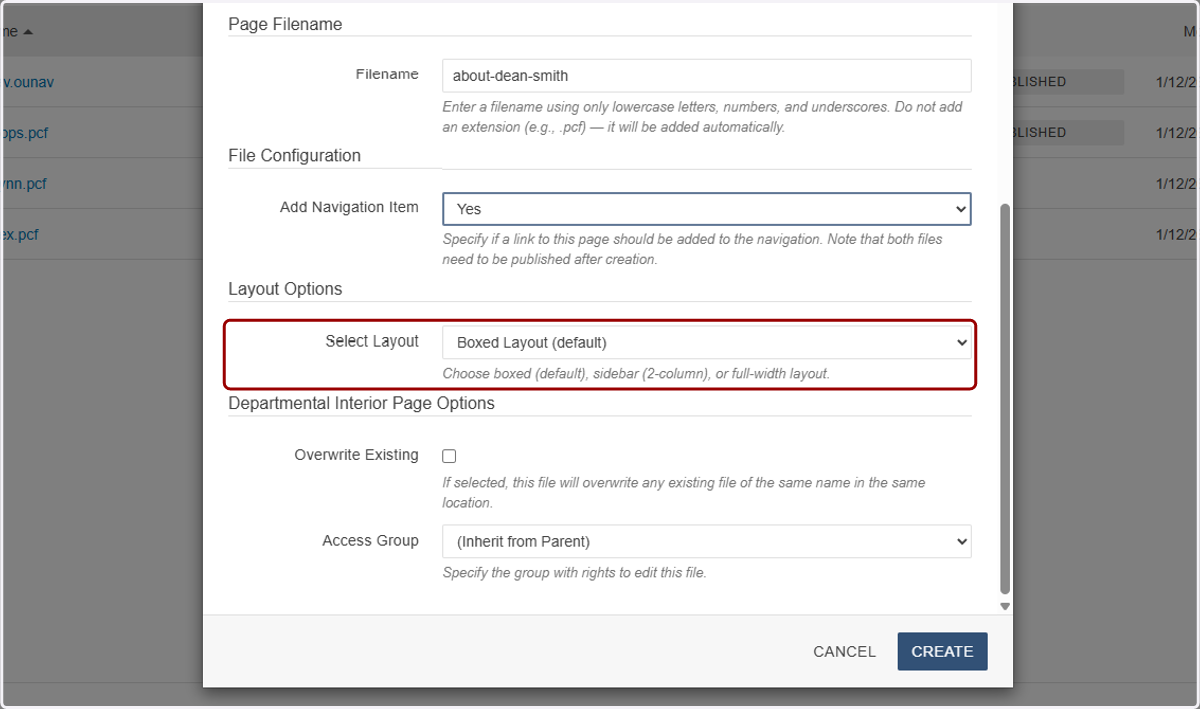
11. We recommend using side navigations for most interior pages.
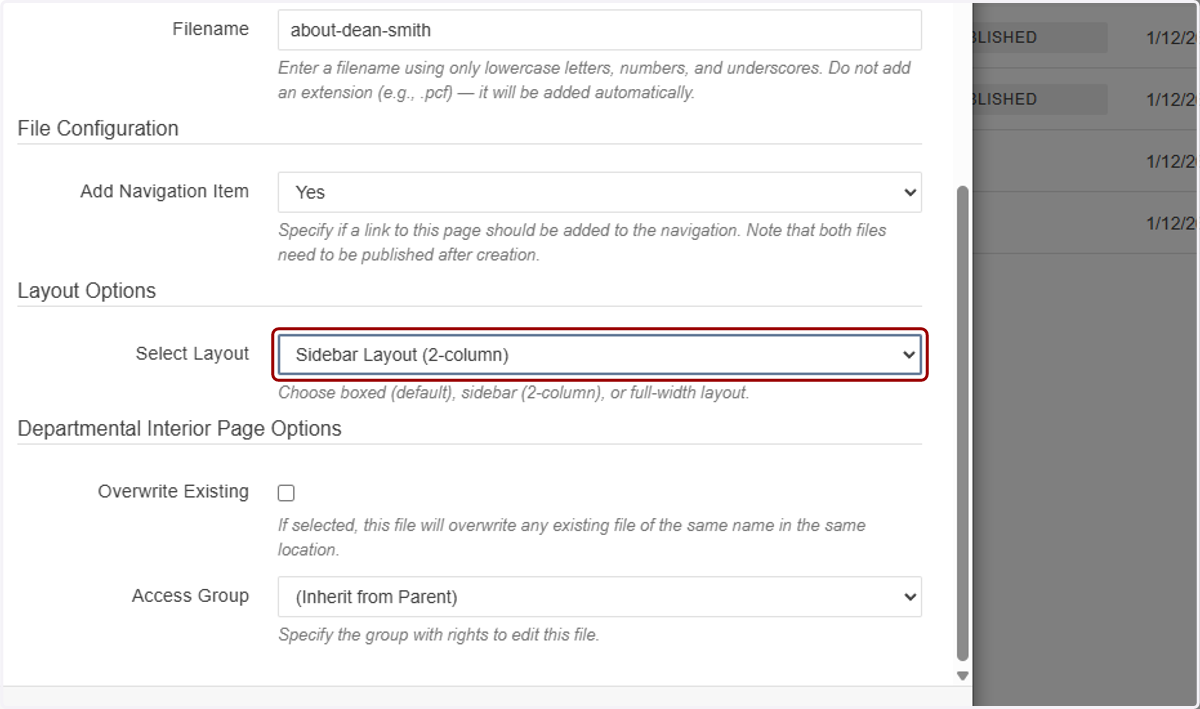
12. If this page is replacing another page with the exact same filename, you can check this "Overwrite Existing" checkbox in the "Departmental Interior Page Options" section.
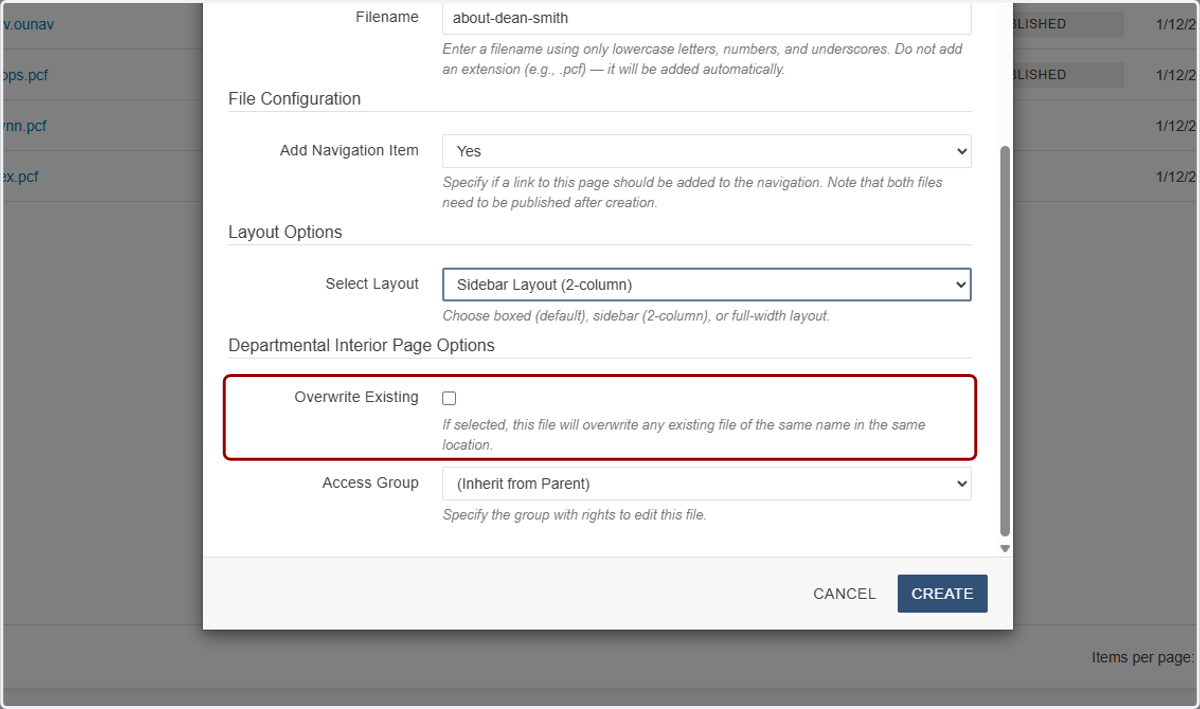
13. You can leave this Access Group dropdown alone.
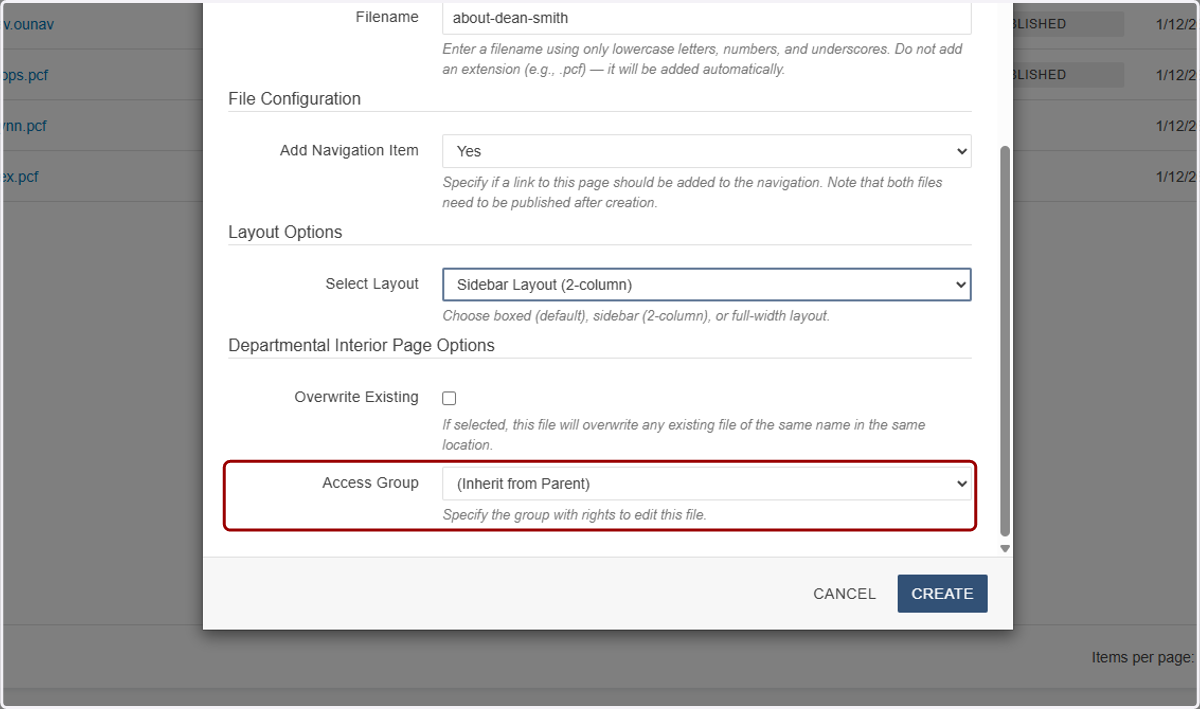
14. Once you're done, click Create.
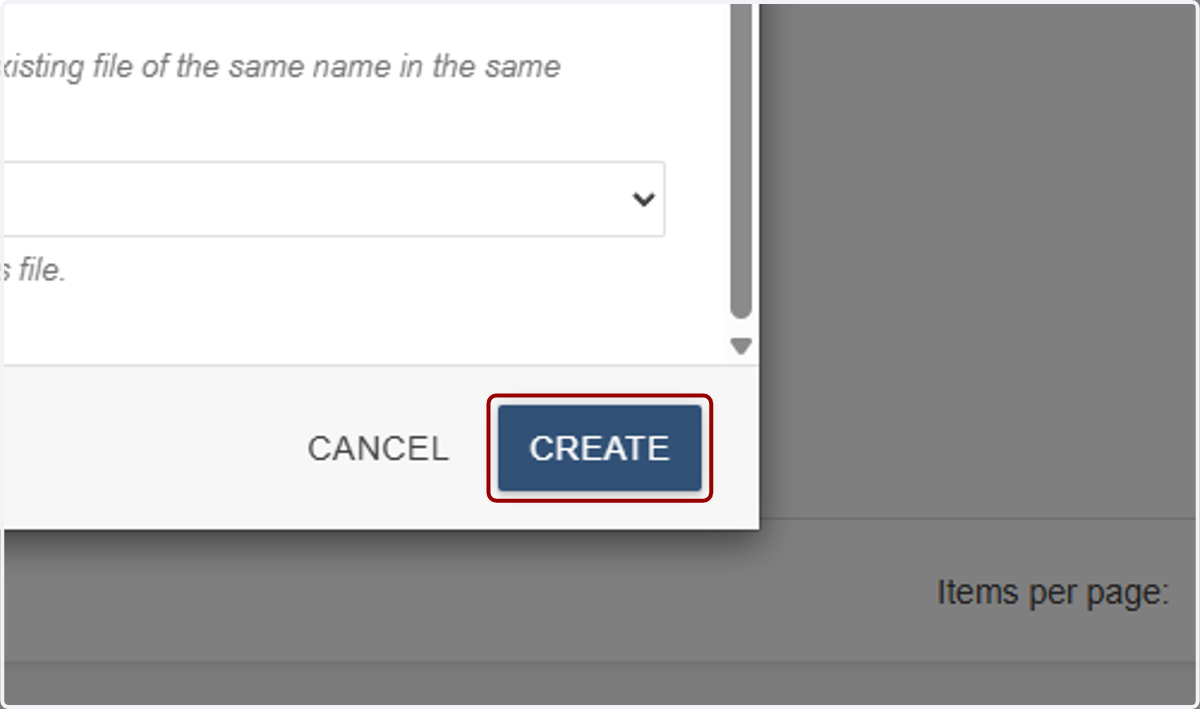
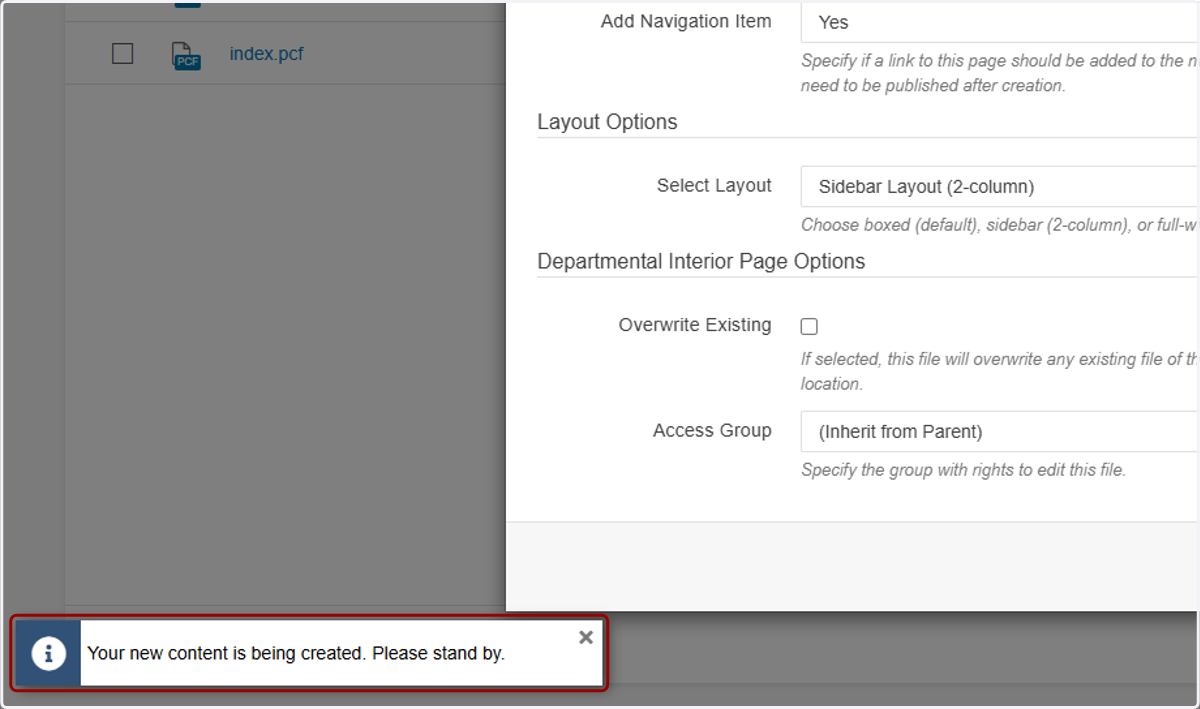
15. You'll see a notification that the page is being created,
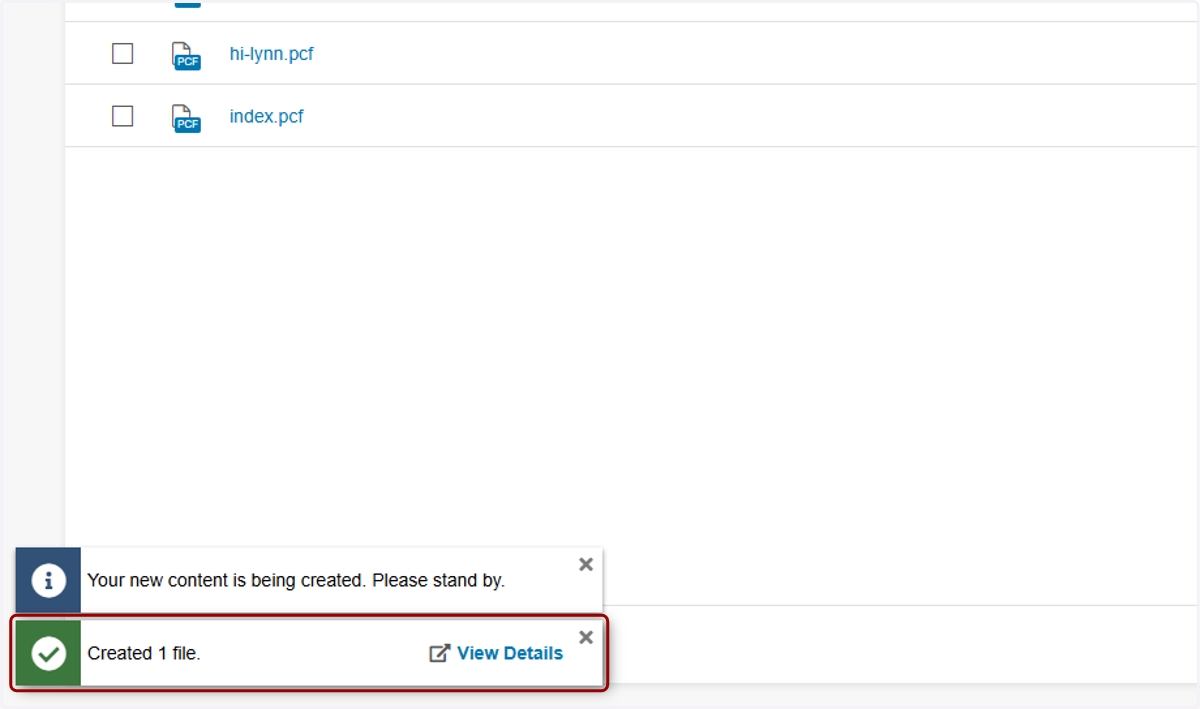
16. and another notification once it's done.
17. The new page will open automatically after it's created.
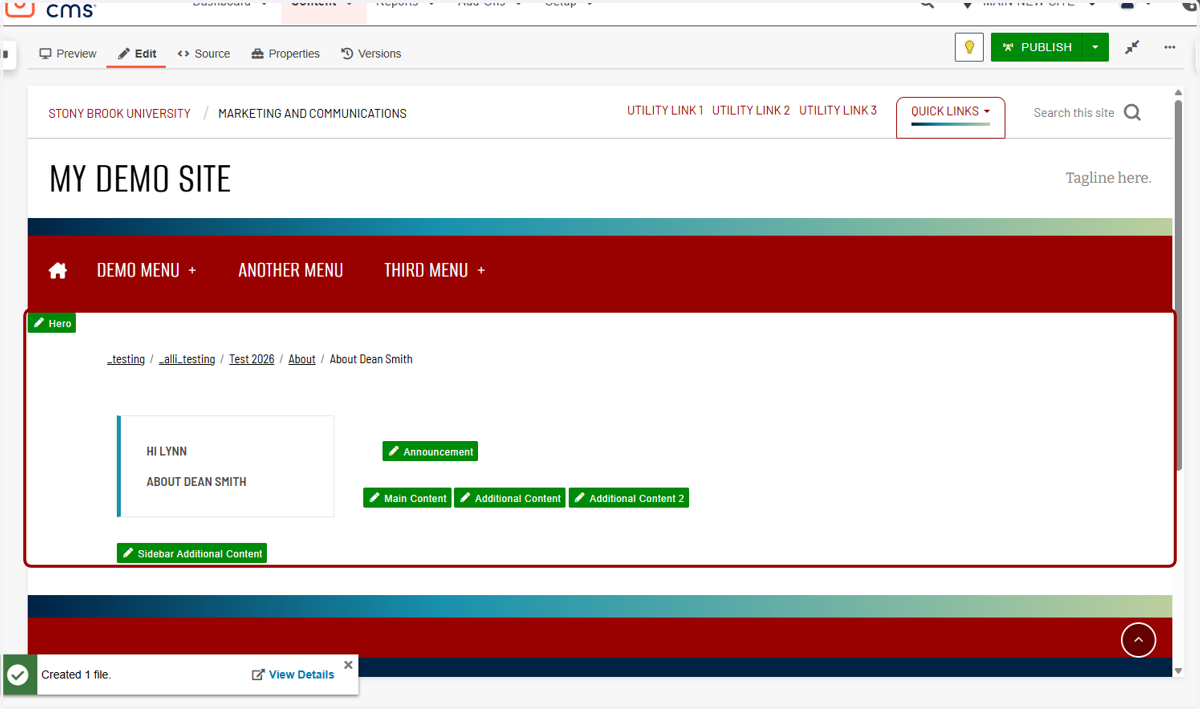
18. If you set your page to have a Sidebar and checked off the Navigation Item checkbox, you'll see your new page in the side nav here.
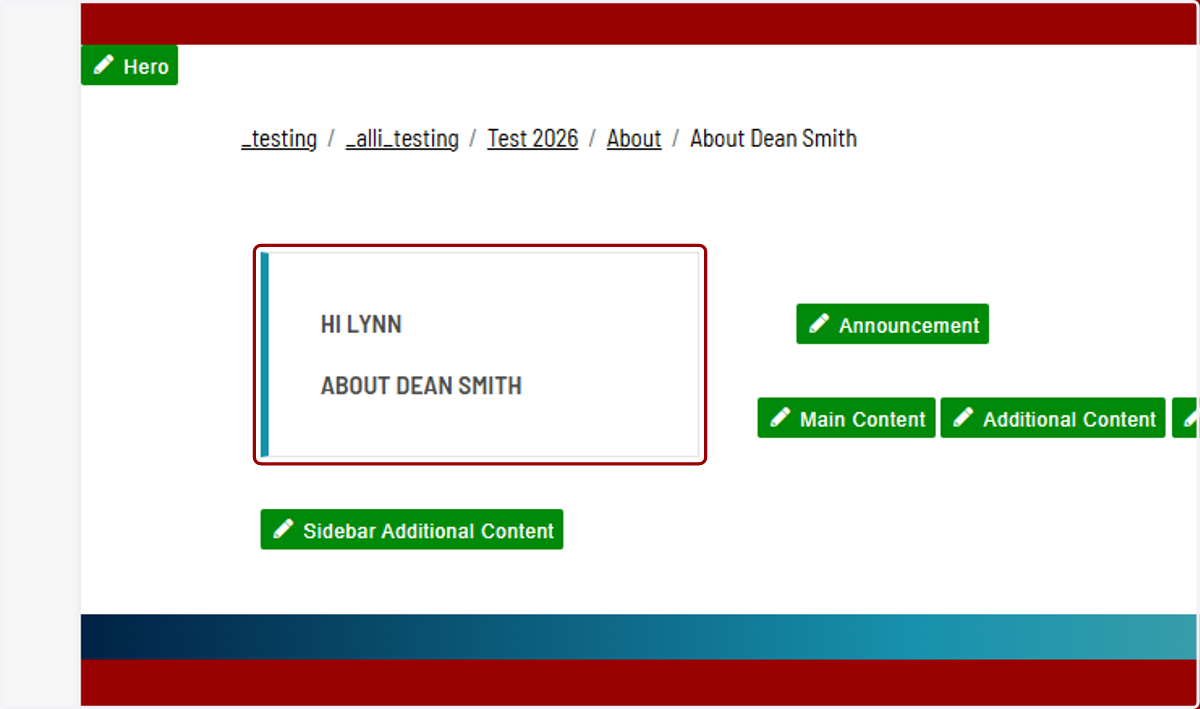
19. Before you being populating the page with content, make sure the page is checked out, then click Properties.
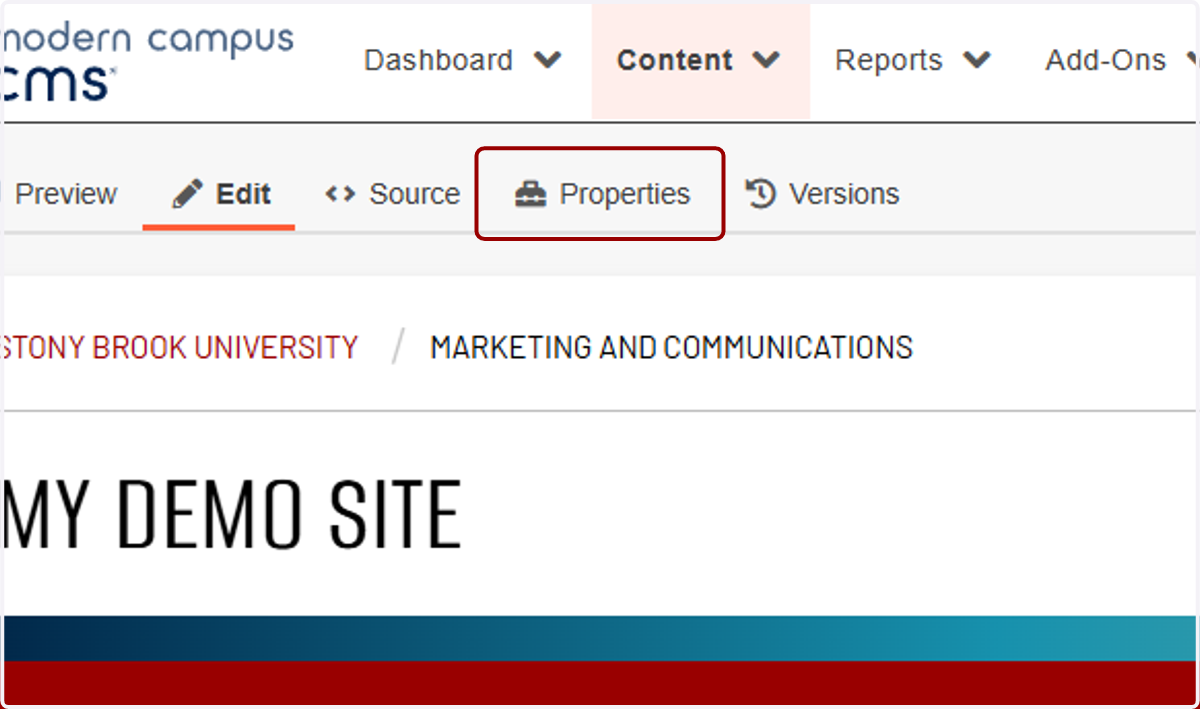
20. Here is where you can edit the Title and Description fields you filled in earlier, plus a few other options.
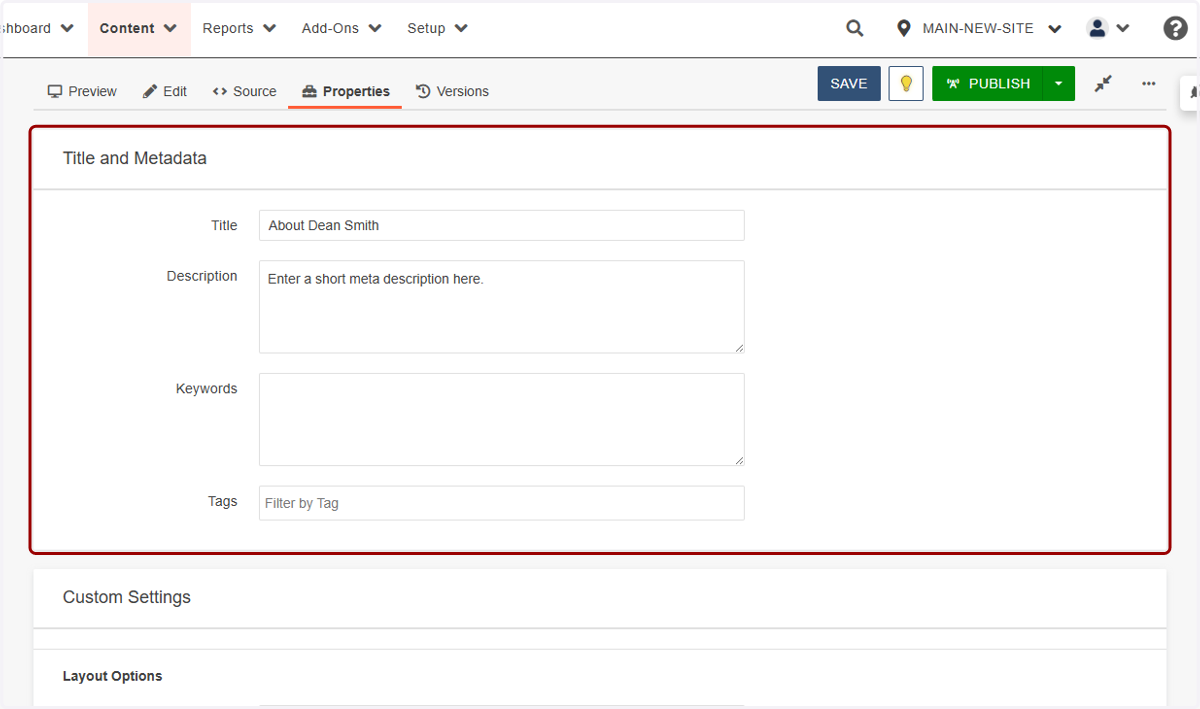
21. You can change the layout in the Layout Options section.
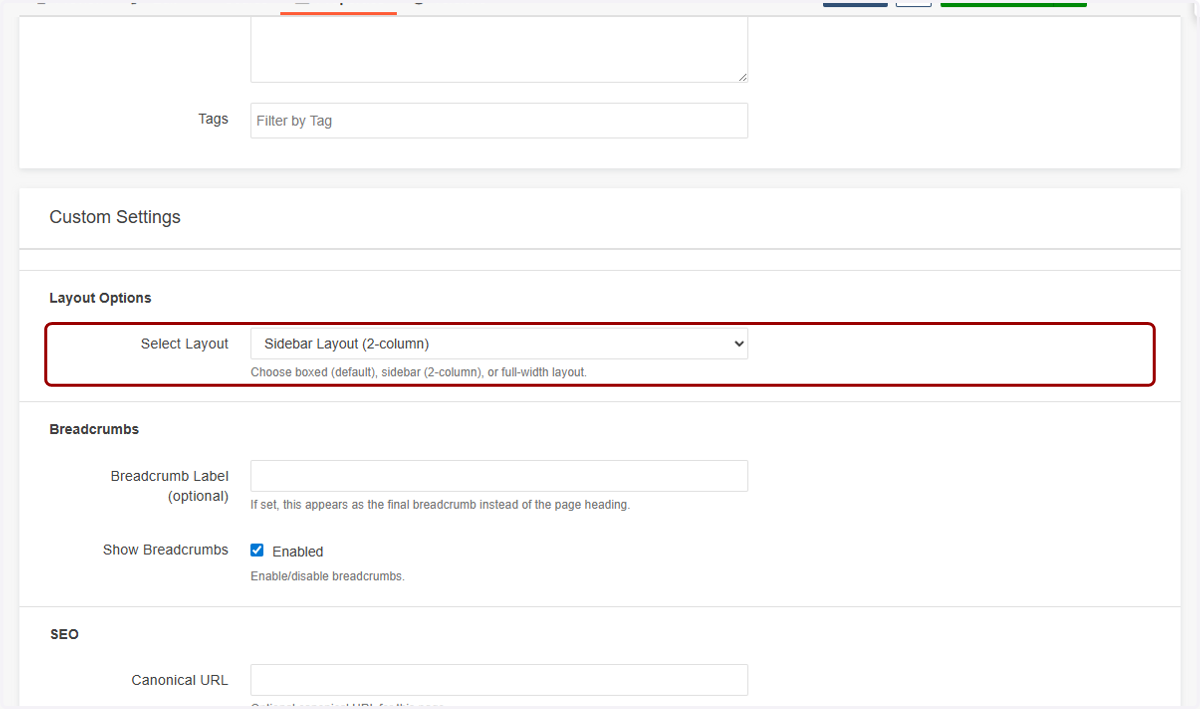
22. In the Breadcrumbs section, the Breadcrumb Label will replace the Title in the breadcrumb bar. Use this if you want it to be different than what you put in your Title tag.
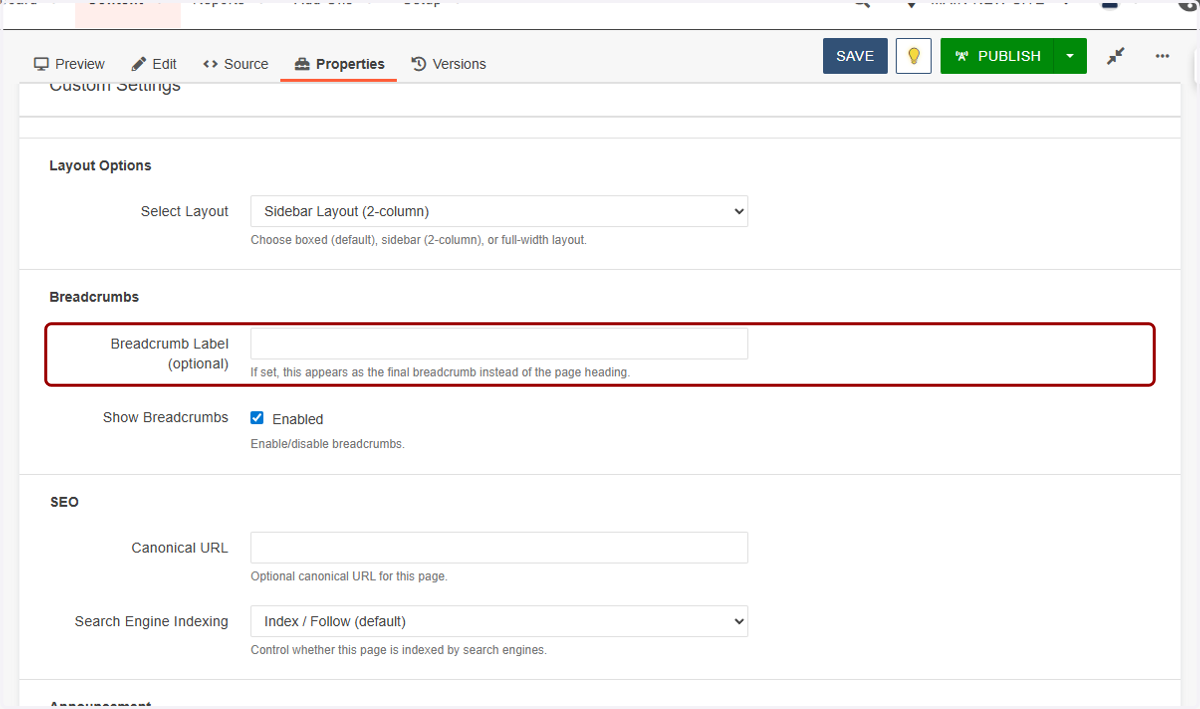
23. You can also enable or disable breadcrumbs with this "Show Breadcrumbs" checkbox.
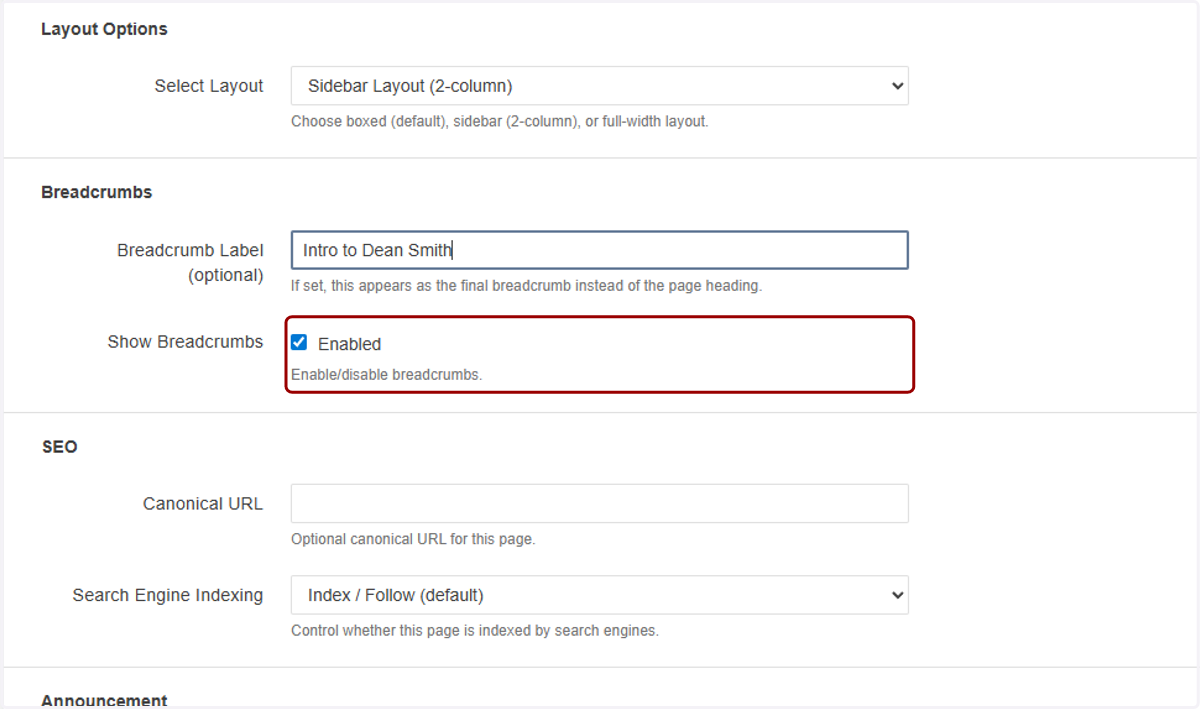
24. In the SEO section, you have the option to set a Canonical URL. A canonical URL tells search engines which version of a page should be treated as the primary one when similar or duplicate content exists.
In most cases, you can leave this blank; if you’re unsure or think you may need to use it, contact the Web Services team for guidance.
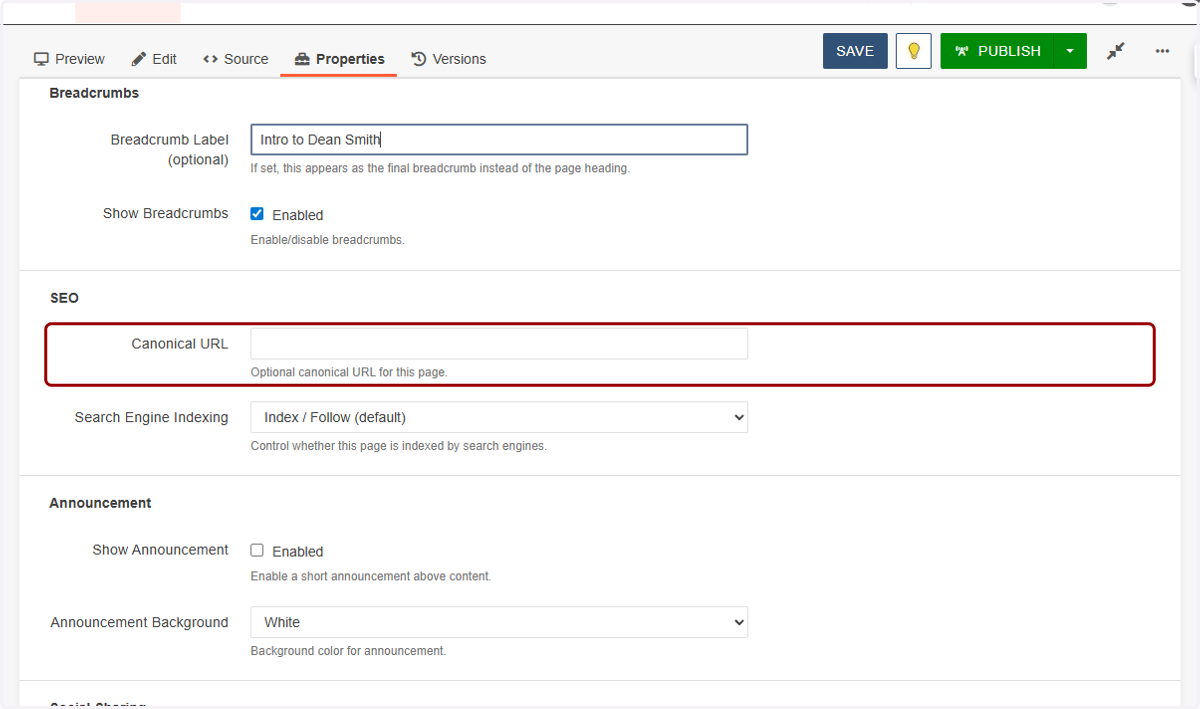
25. Under Search Engine Indexing, you can choose whether or not search engines should put this page in their results page. In most cases, leave this enabled so your page can be discovered.
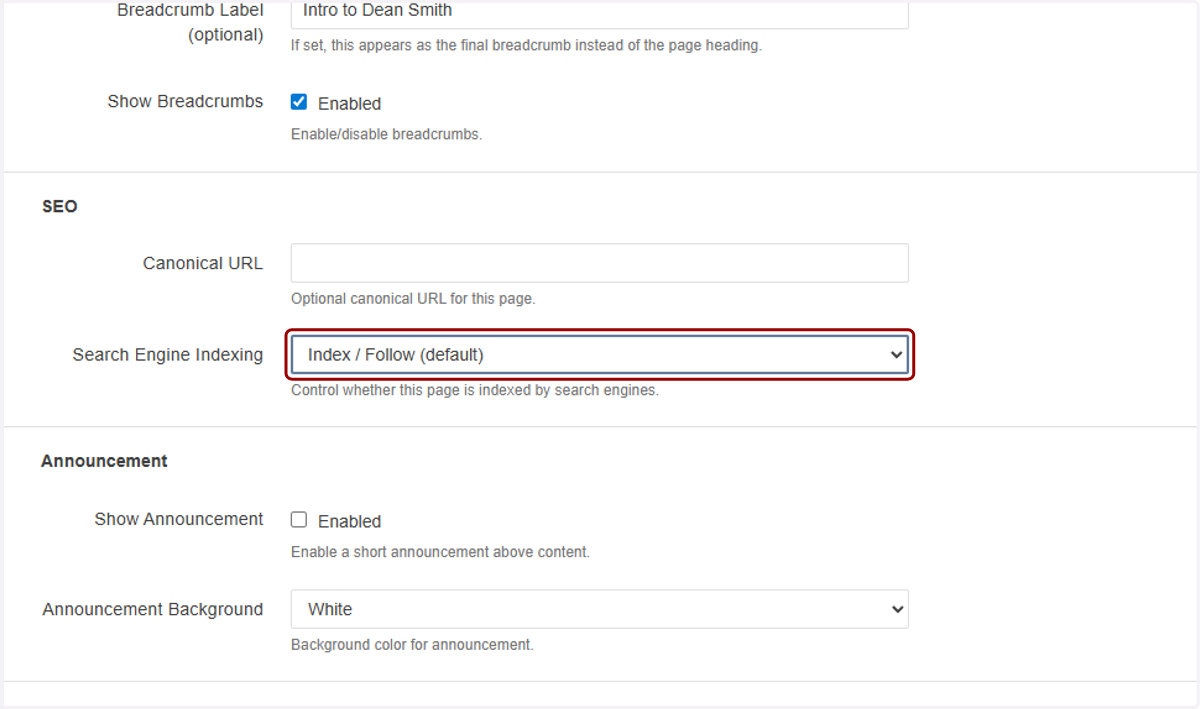
26. You can put a colored bar at the top of your page using this Announcement section. You can activate this section by clicking the "Enabled" checkbox under Show Announcement,
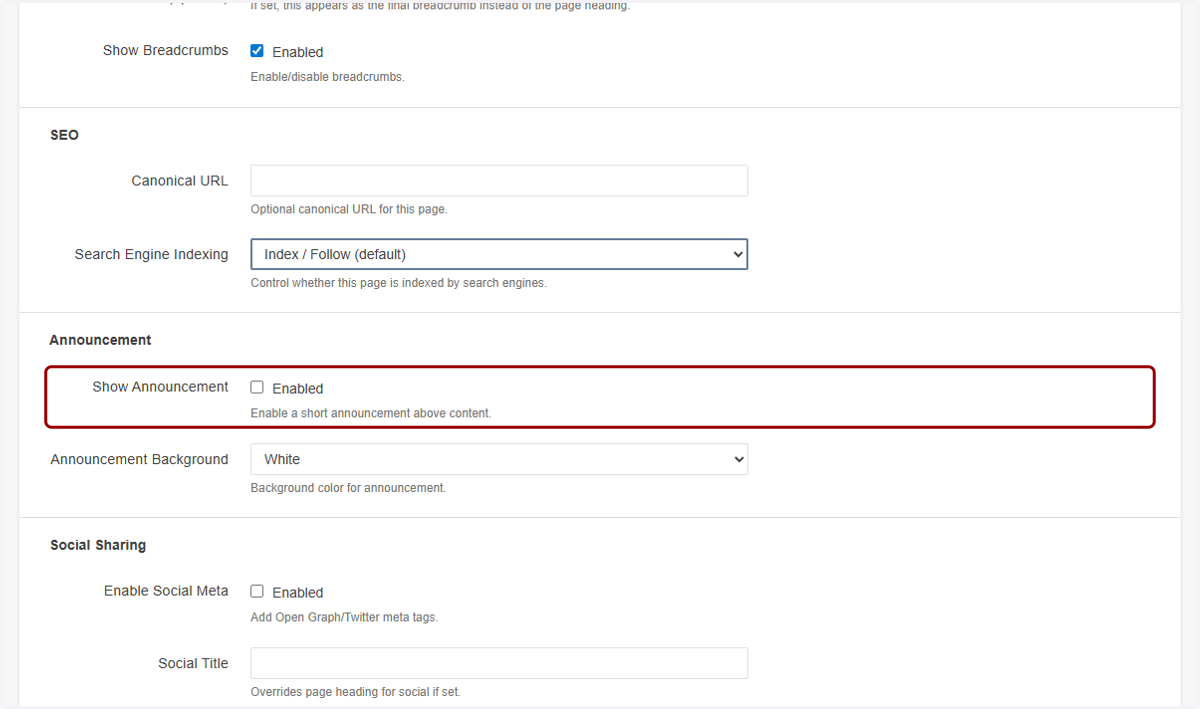
27. then selecting the background color in the Announcement Background dropdown. You will enter your announcement text and formatting in the Edit tab, which we will get to shortly.
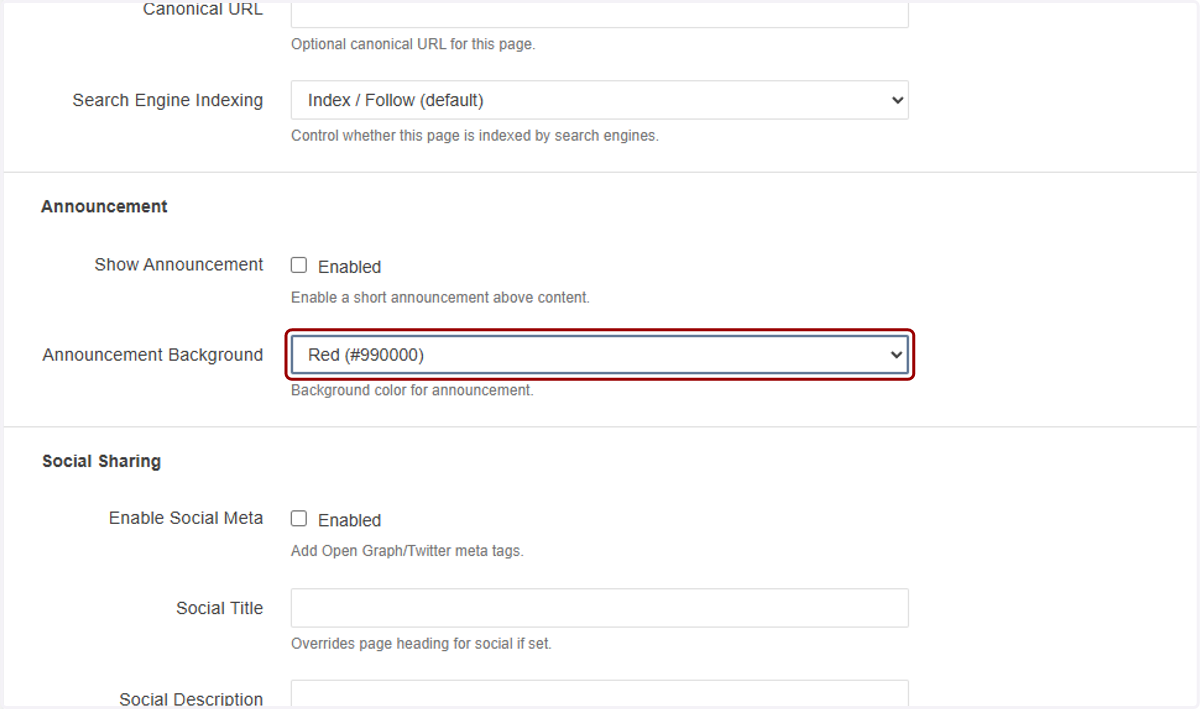
28. Enable Social Meta controls whether Open Graph and Twitter tags are added, allowing your page to display properly when shared on social media.
Social Title overrides the page title specifically for social sharing. Social Description provides the summary text that appears in social previews. Social Image sets the image shown when the page is shared.
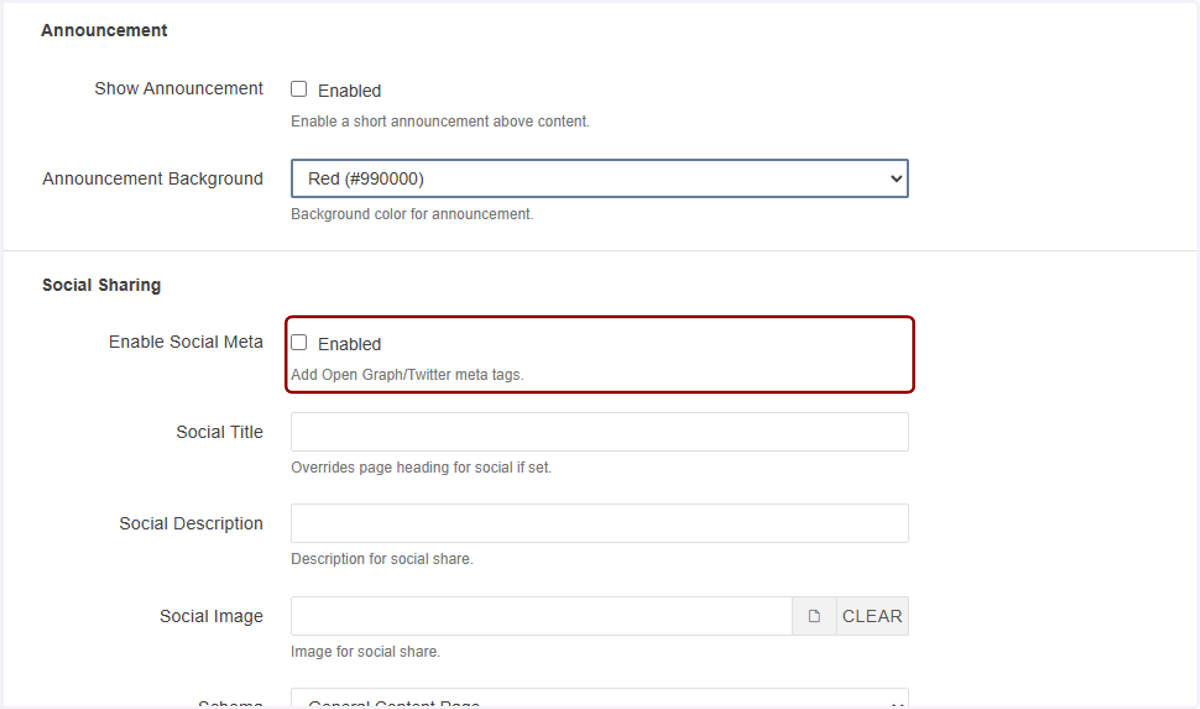
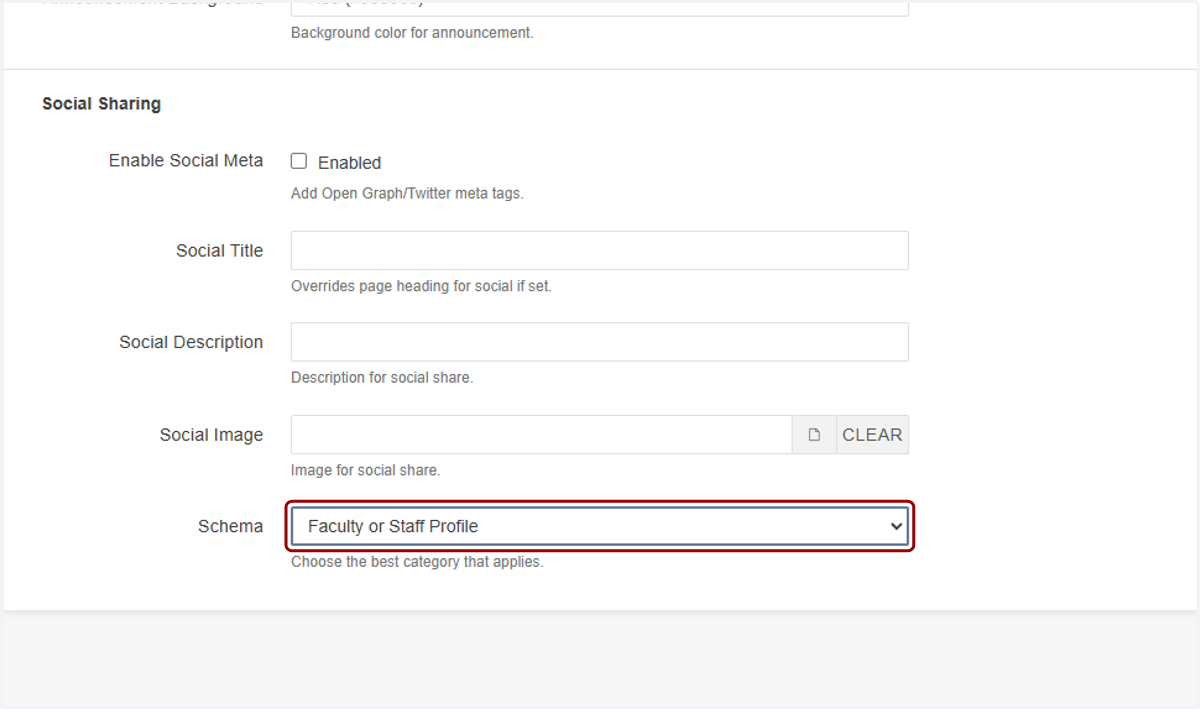
29. Schema is not part of social sharing, but you will find it in this section. It lets you choose the structured data type for the page, like a profile or how-to article, helping AI and search engines better understand and display your content.
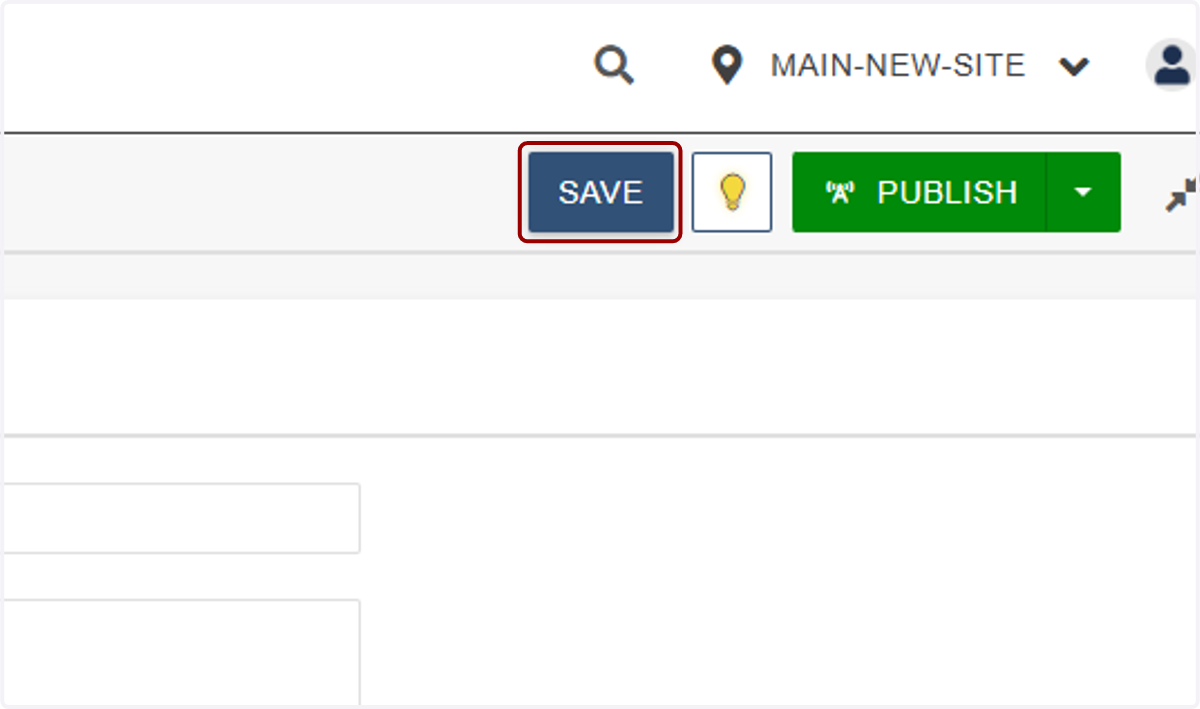
30. Those are all of the Properties. When you're done, click on SAVE.
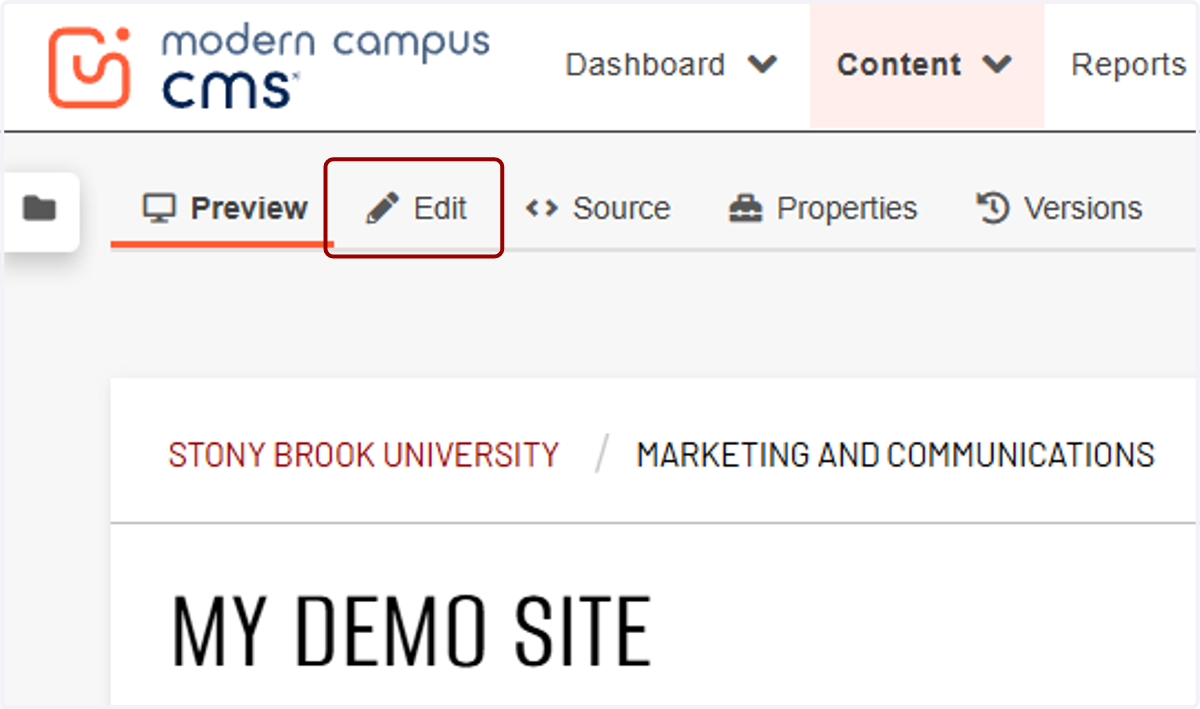
31. Now you can move on to building the page content. To do that, click on the Edit tab.
32. If you opted to show an announcement, you can enter that content here.
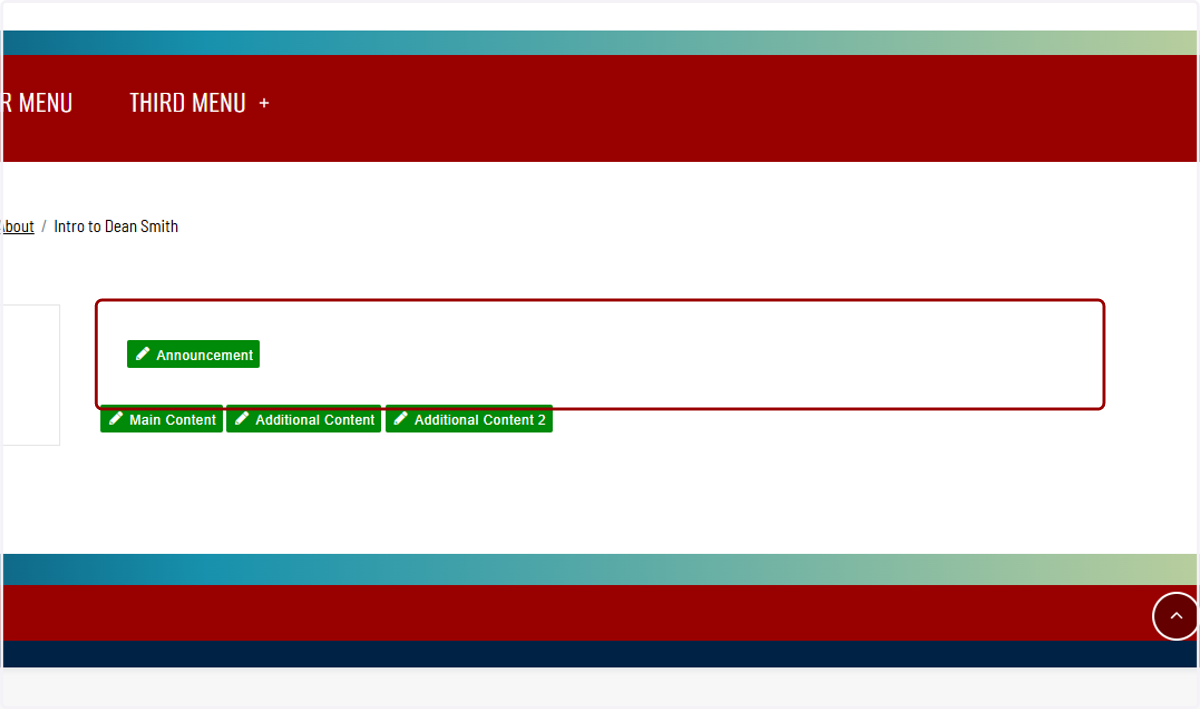
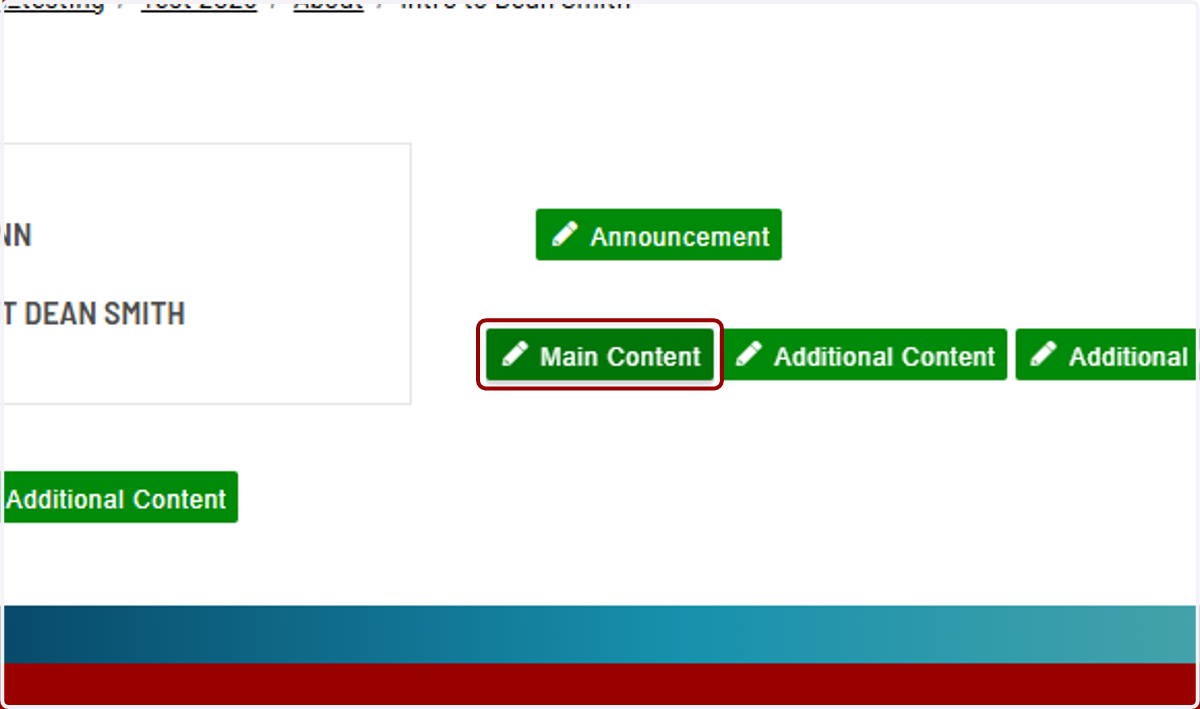
33. Otherwise, you'll want to start in the Main Content section.
You’ll also see tabs for Additional Content areas. In most cases, you should keep all of your content in Main Content, as this is the primary area designed for building your page.
The Additional Content aren't needed for most pages. If you’re unsure whether to use them, it’s best to stick with Main Content.
34. You can use the WYSIWYG, components, snippets, and assets to build your pages. We will cover those in other articles throughout the support site. Great job!