Starting an Inspection Project & Inviting your team in GeoCivix
mip.geocivix.com/secure/
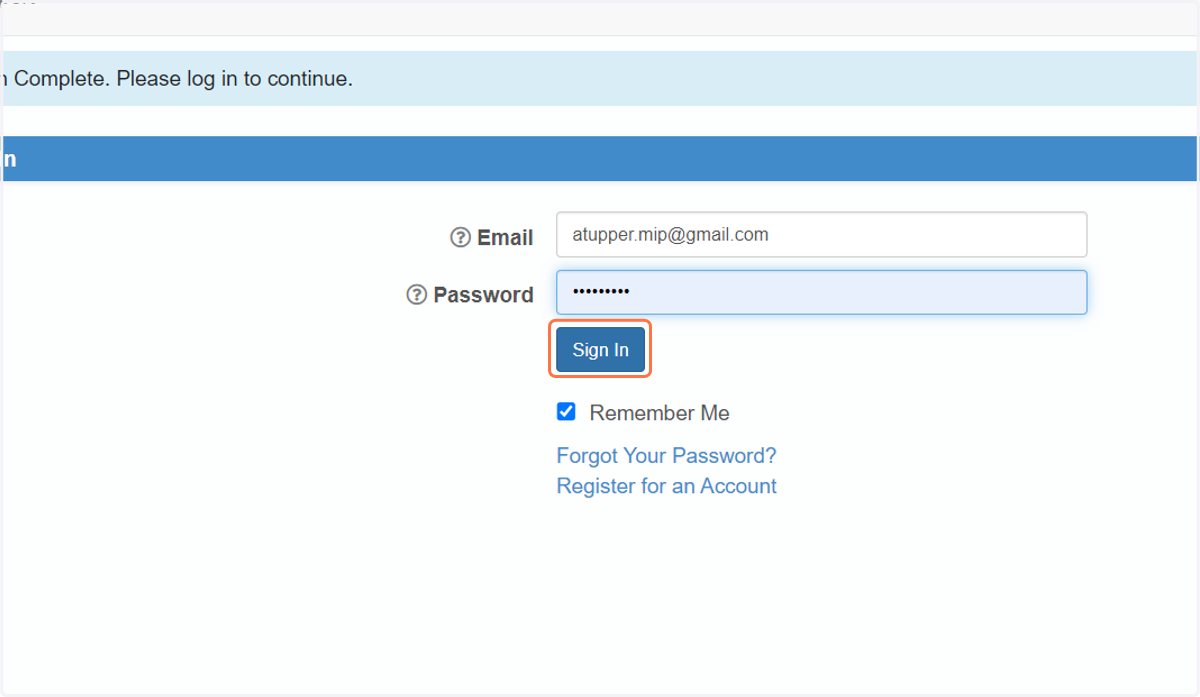
1. Click on Sign In
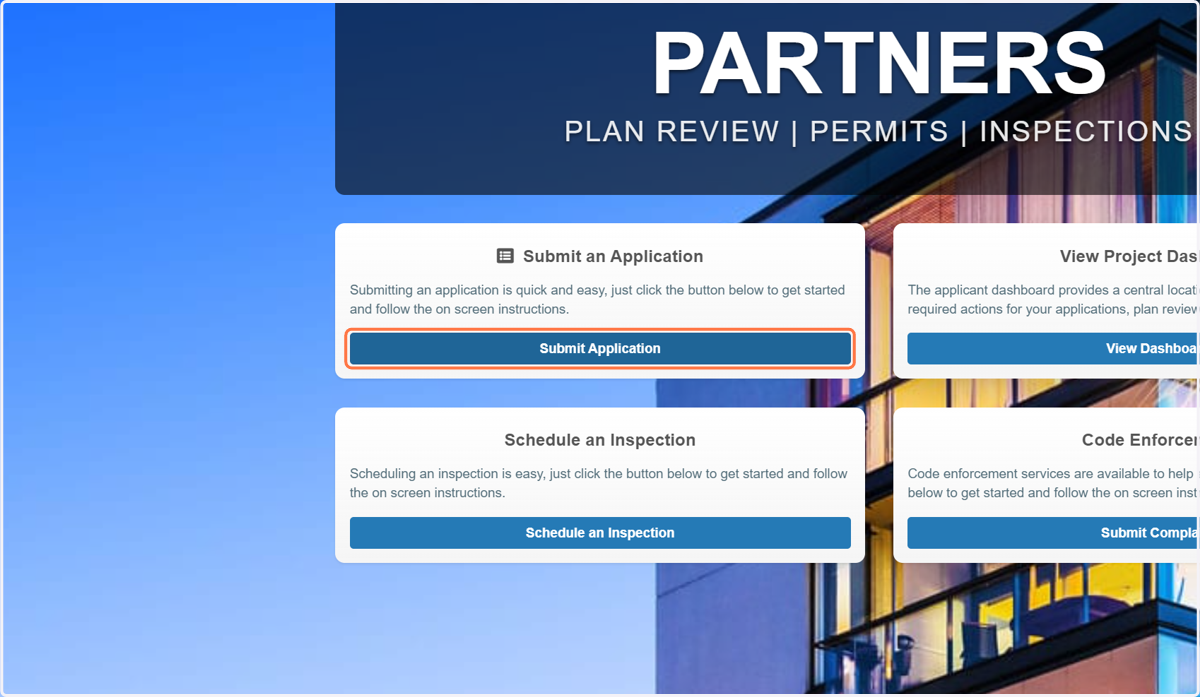
2. Click on Submit Application
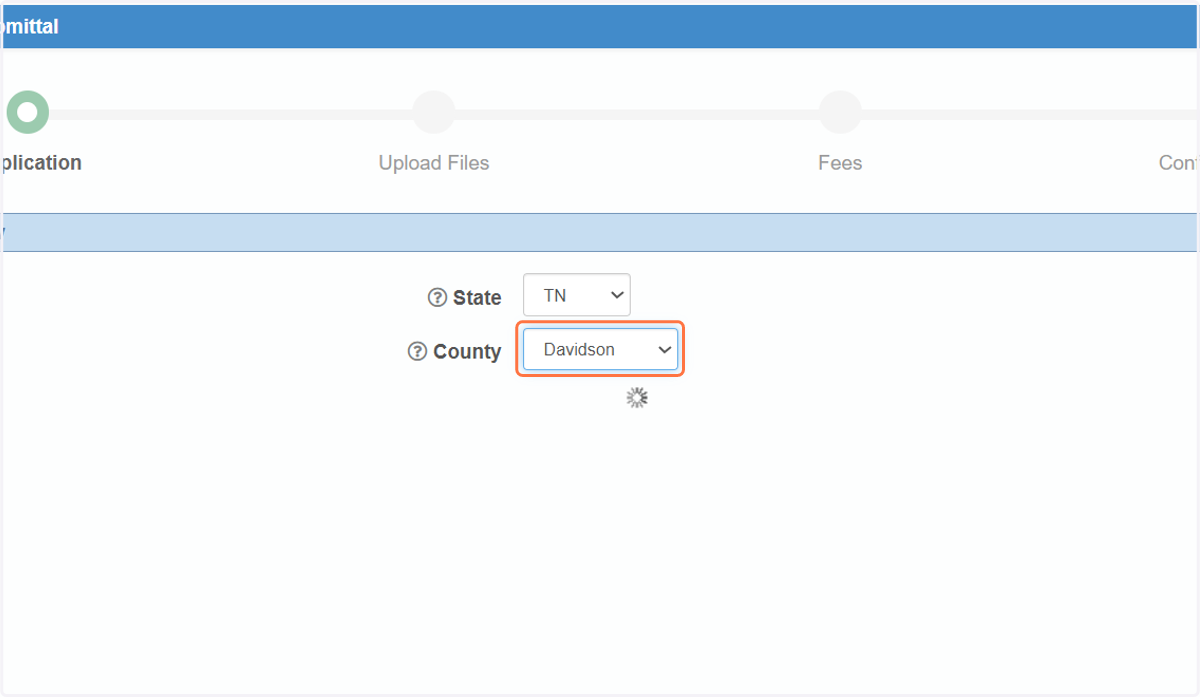
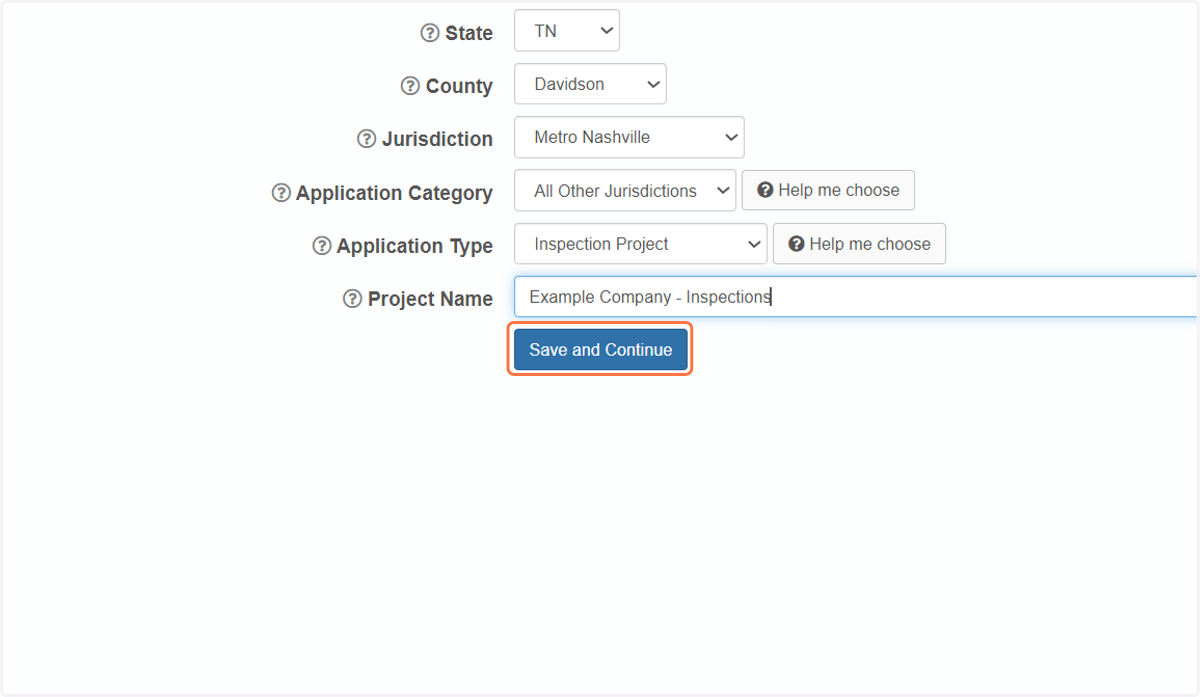
3. Select from County
4. Select from Jurisdiction
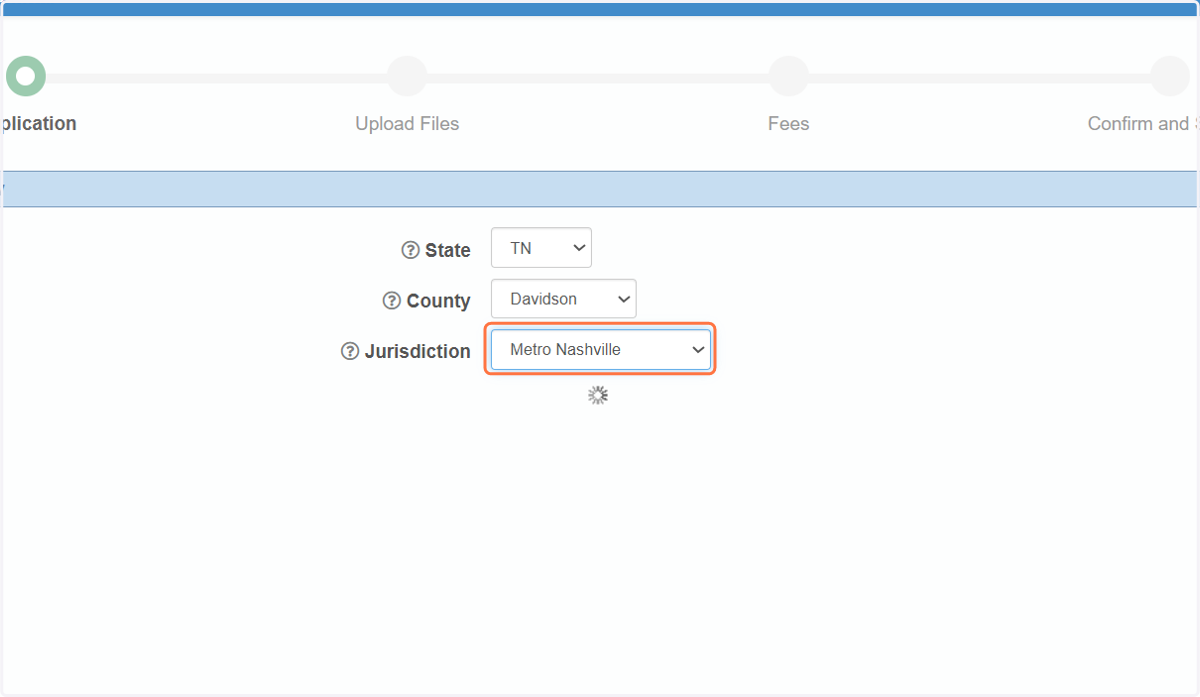
5. Select All Other Jurisdictions from Application Category
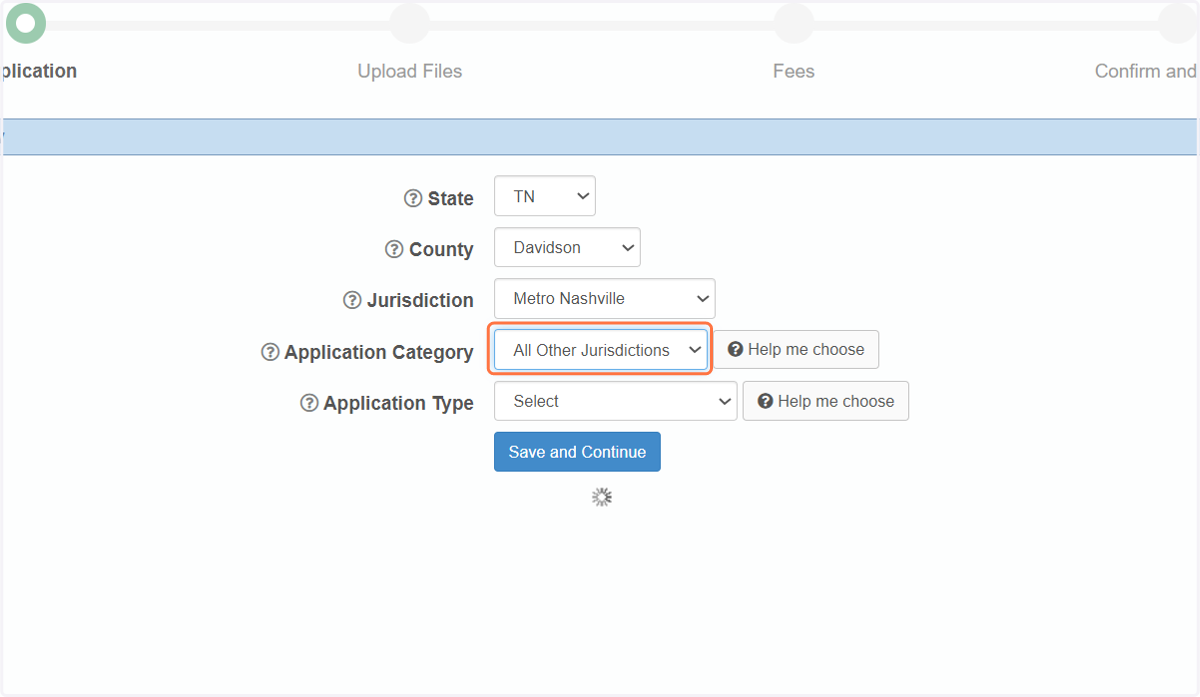
6. Select Inspection Project from Application Type
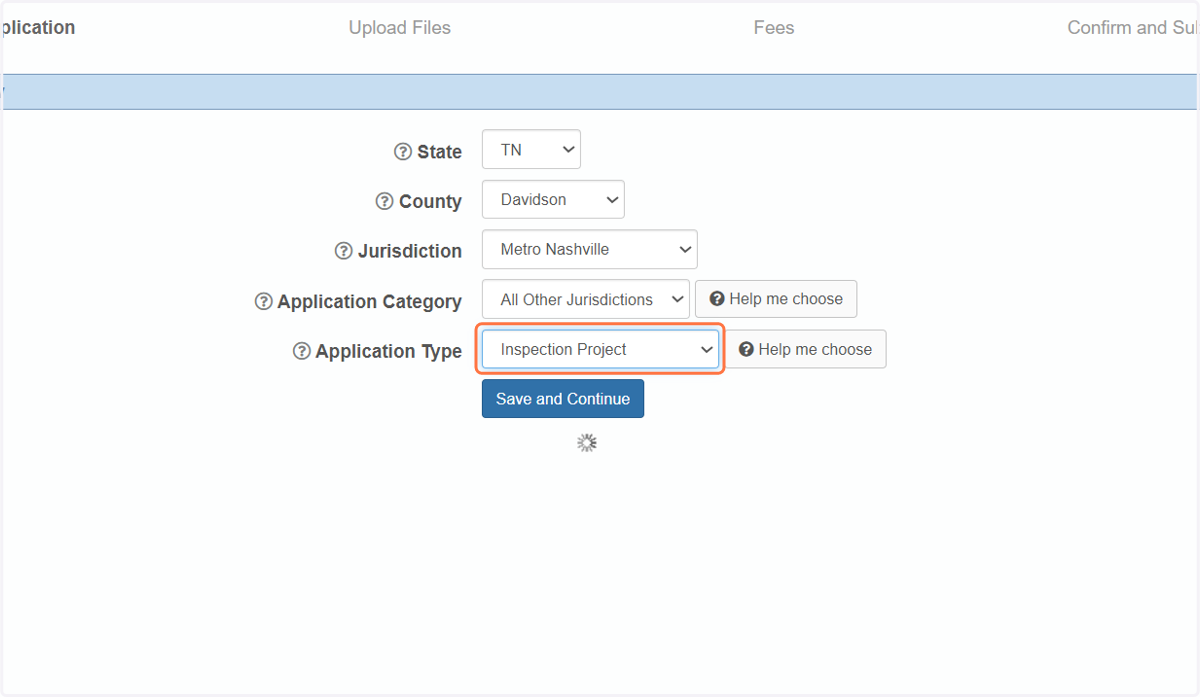
7. Type in your Project Name
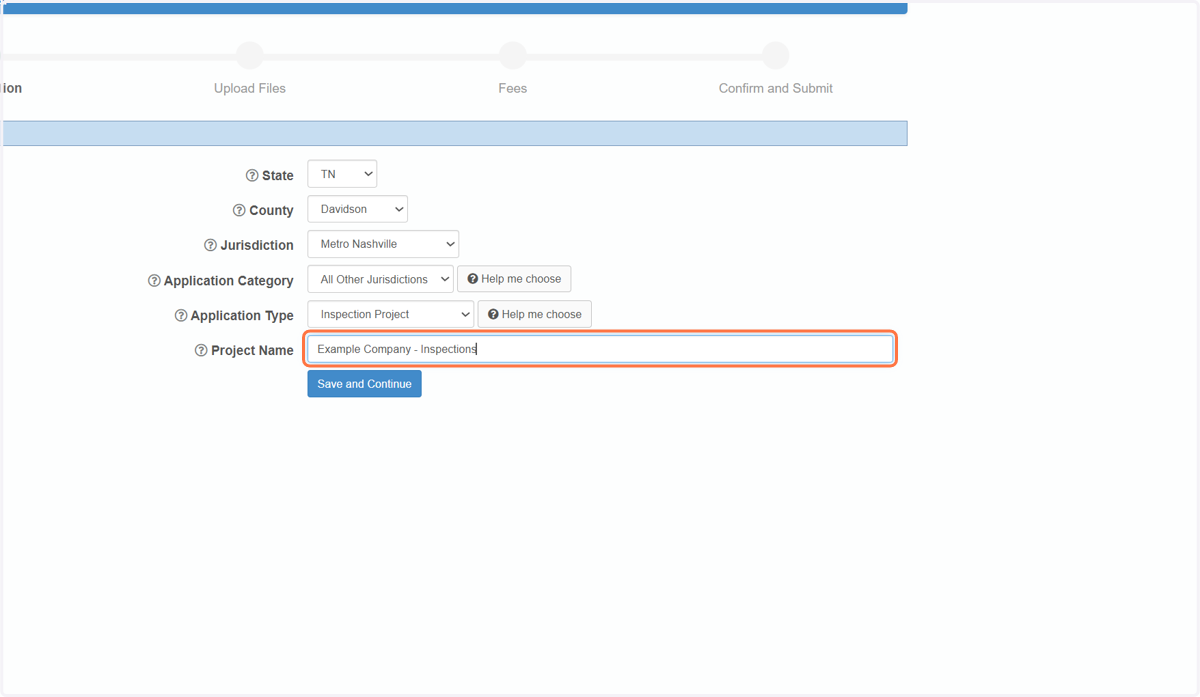
8. Click on Save and Continue
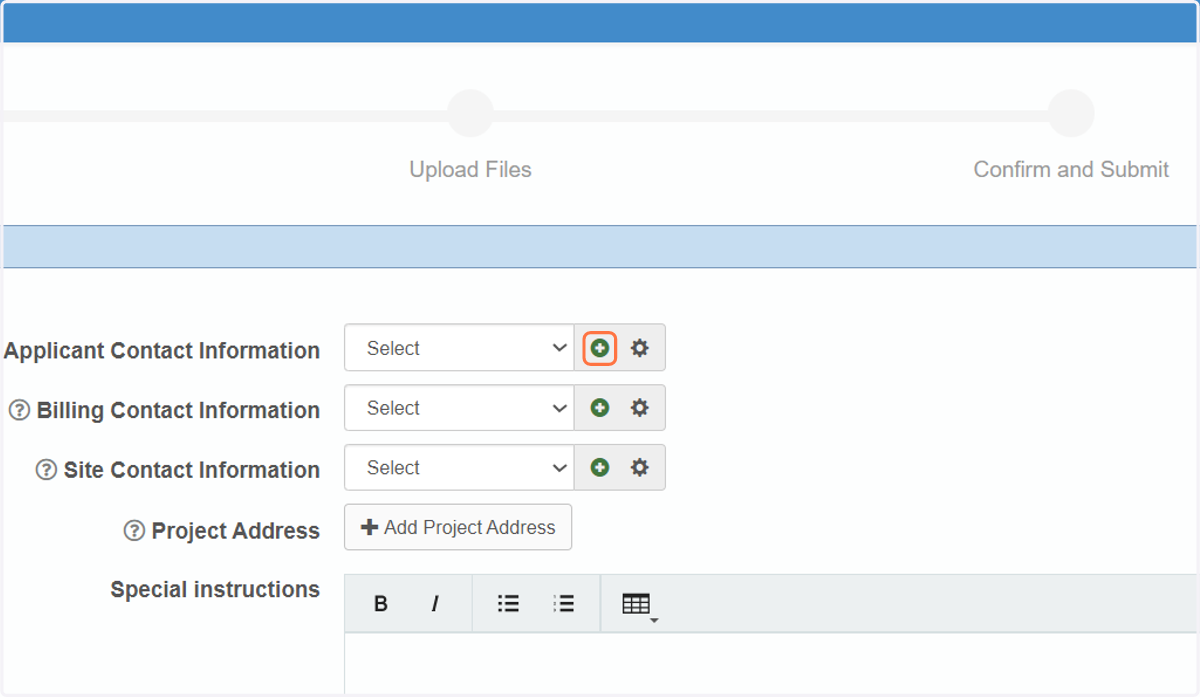
9. Add your contact information as an Applicant & enter your information
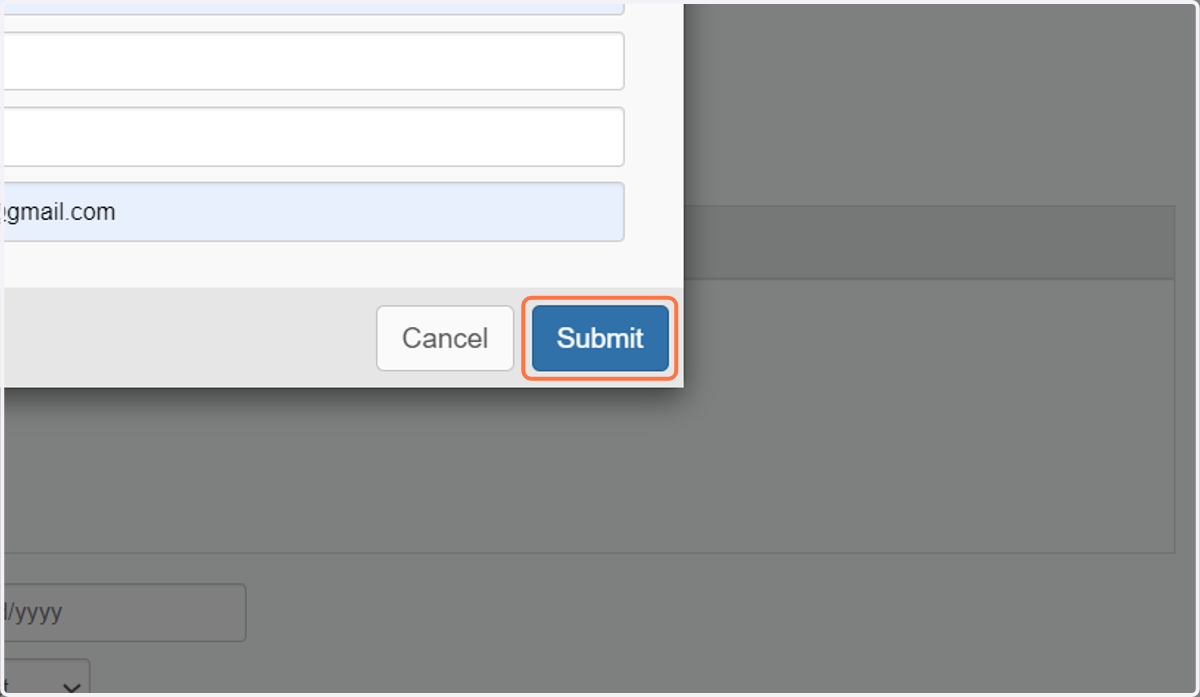
10. Click on Submit
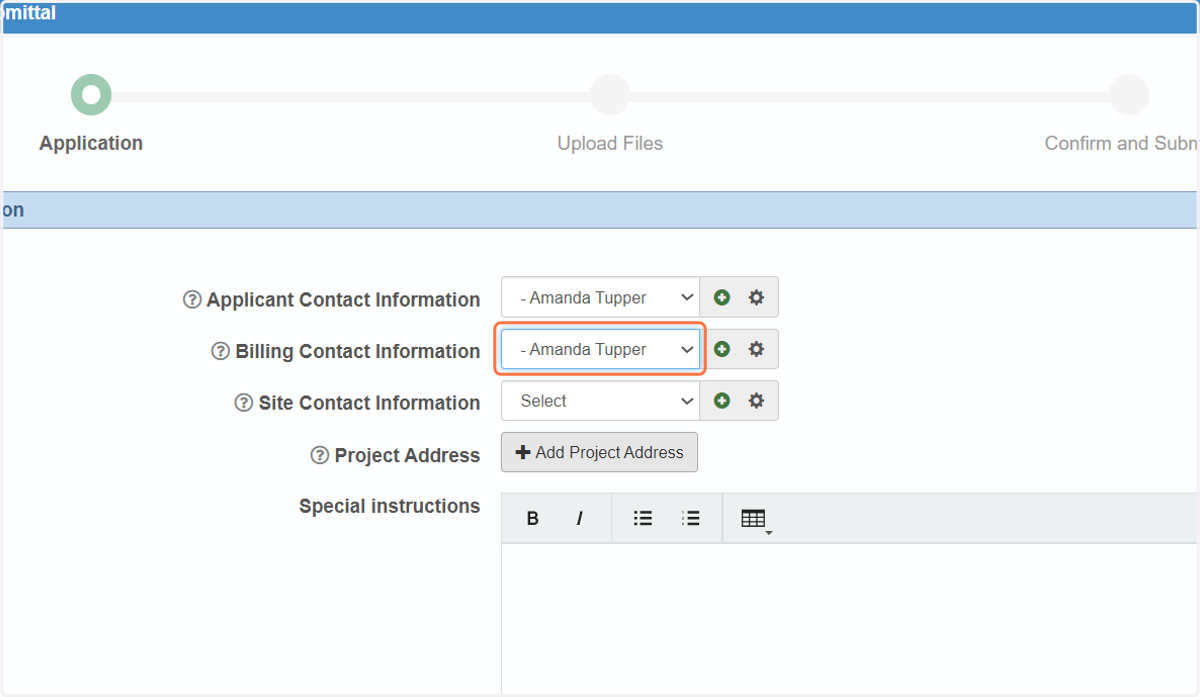
11. Add your Billing Contact.
If the billing contact is the same as the Applicant, select the drop down for auto-fill
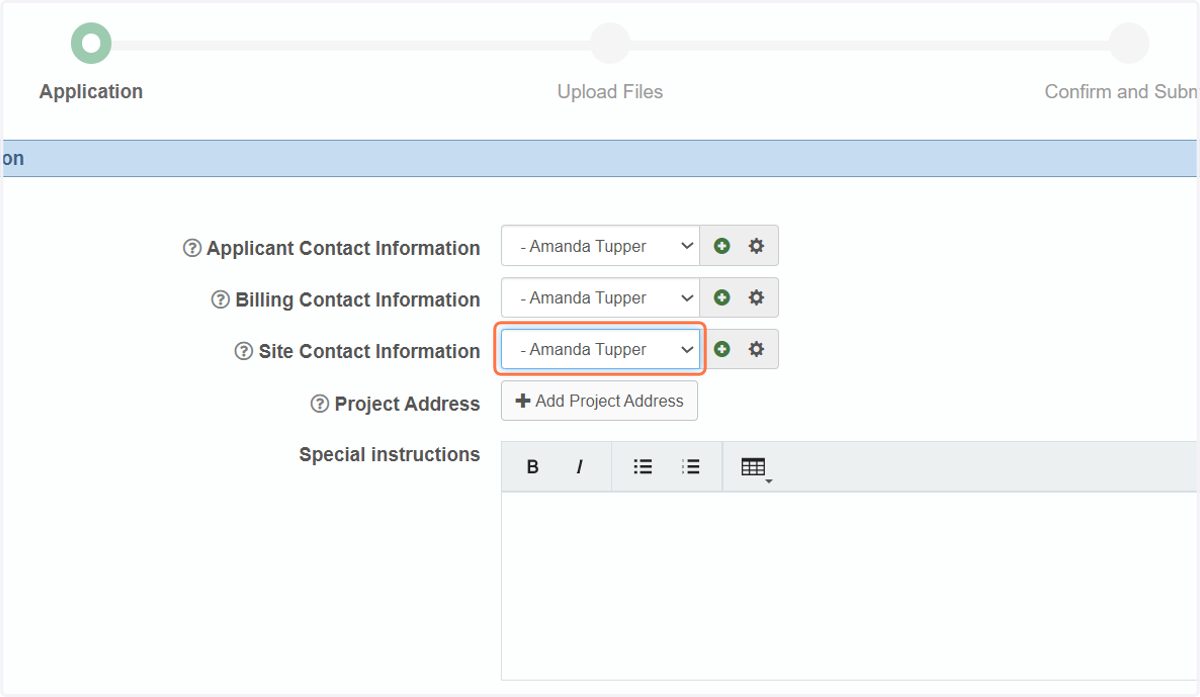
12. Add your Site Contact Information
If the site contact is the same as the Applicant, select the drop down for auto-fill
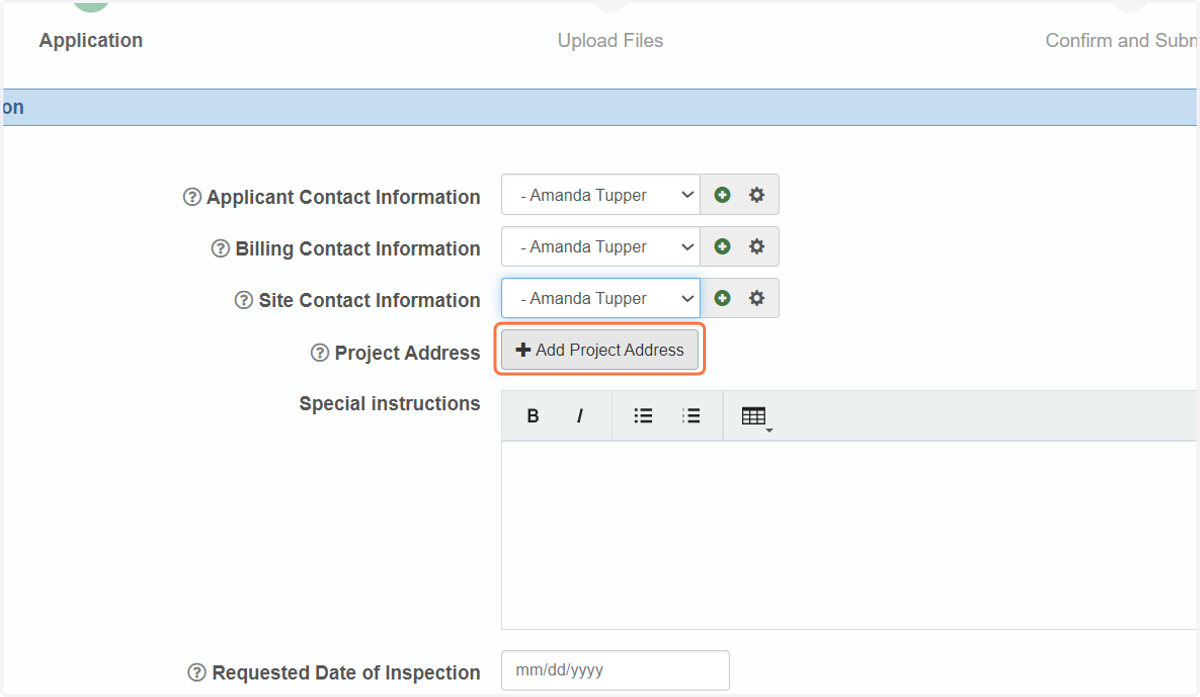
13. Click on Add Project Address
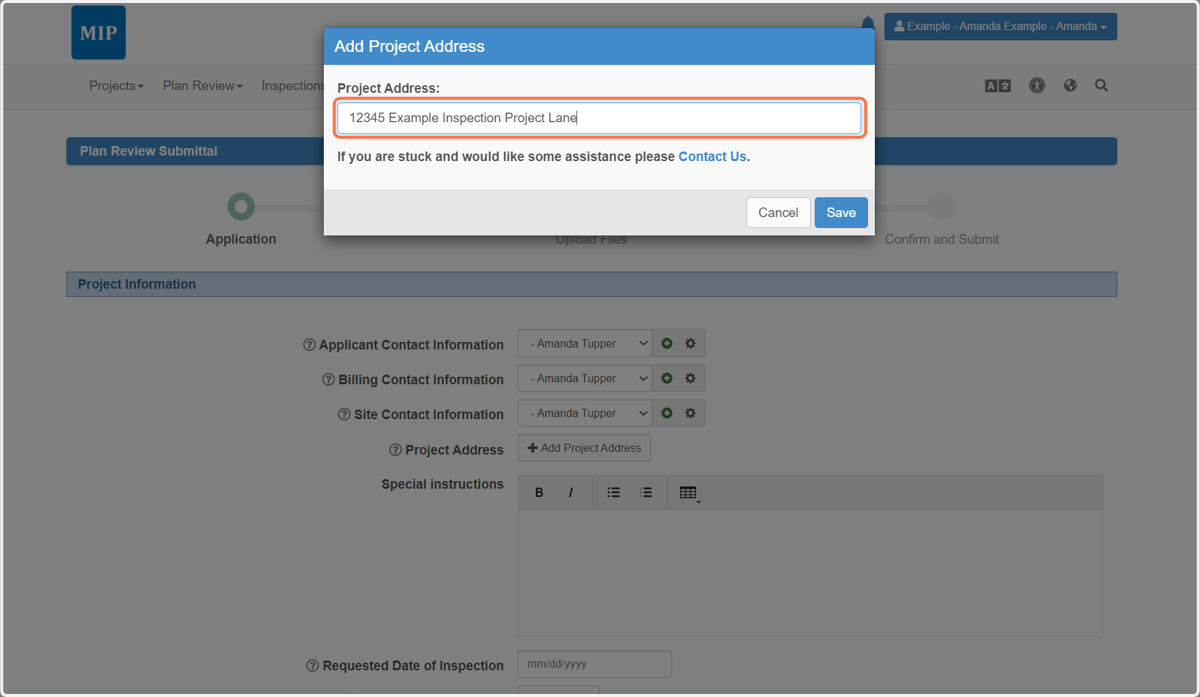
14. Add the project address
Please include the zip code!
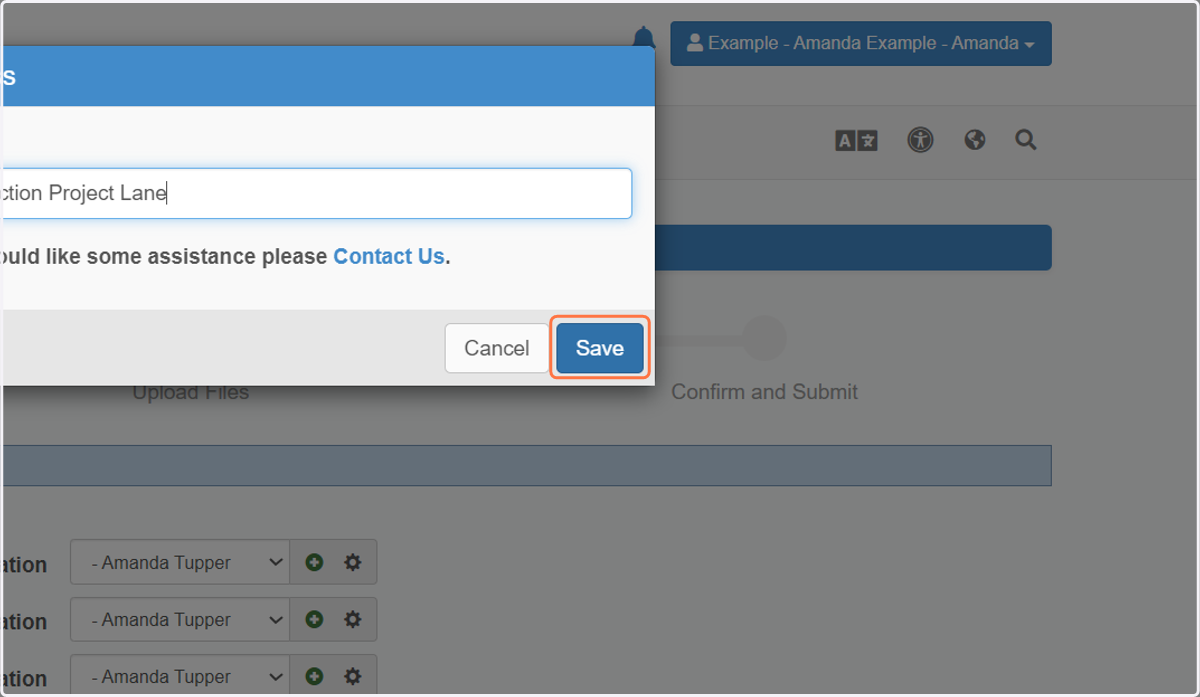
15. Click on Save
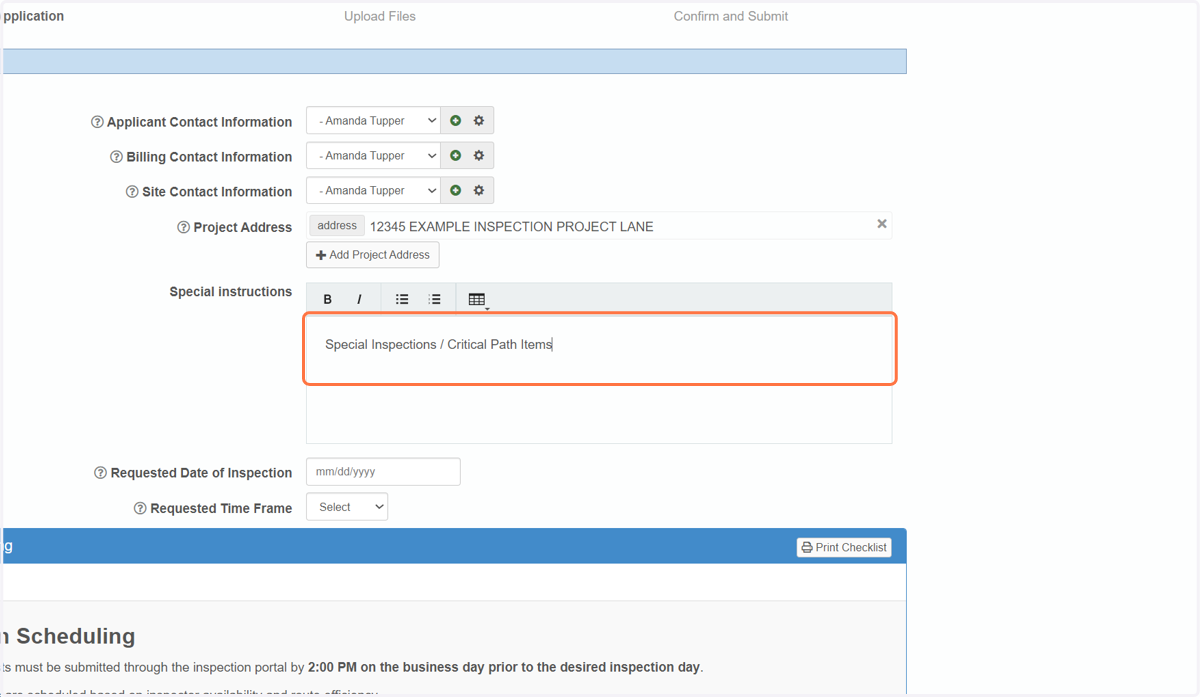
16. Type Special Inspections / Critical Path Items
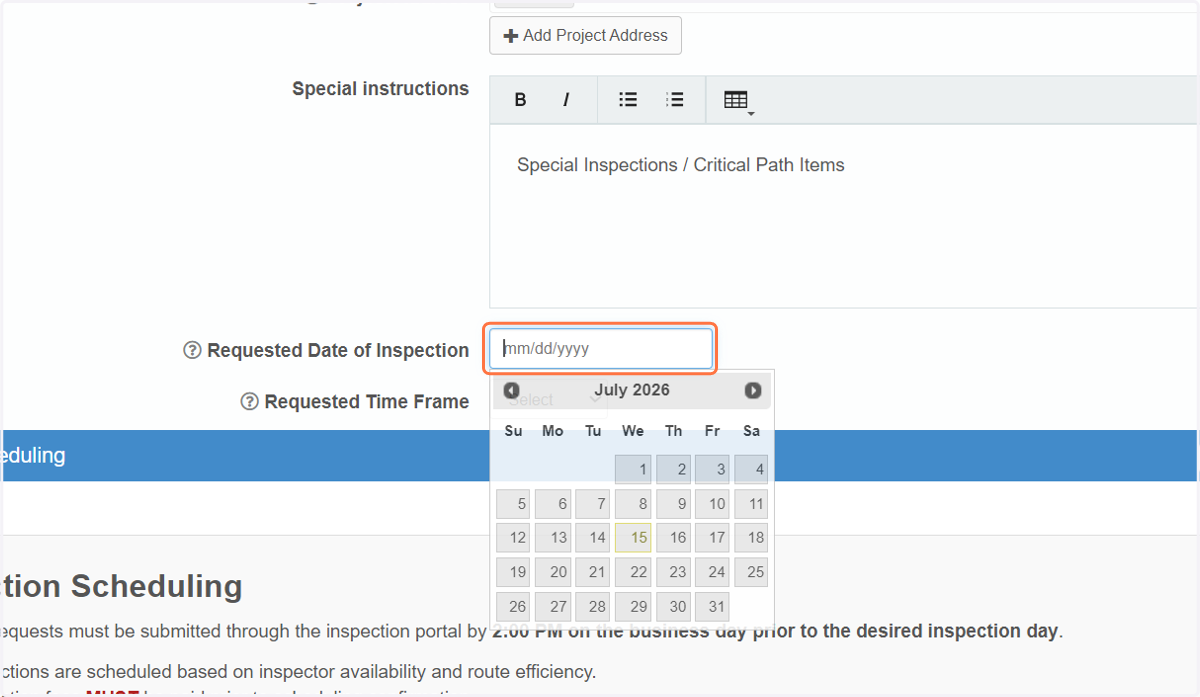
17. Select a date
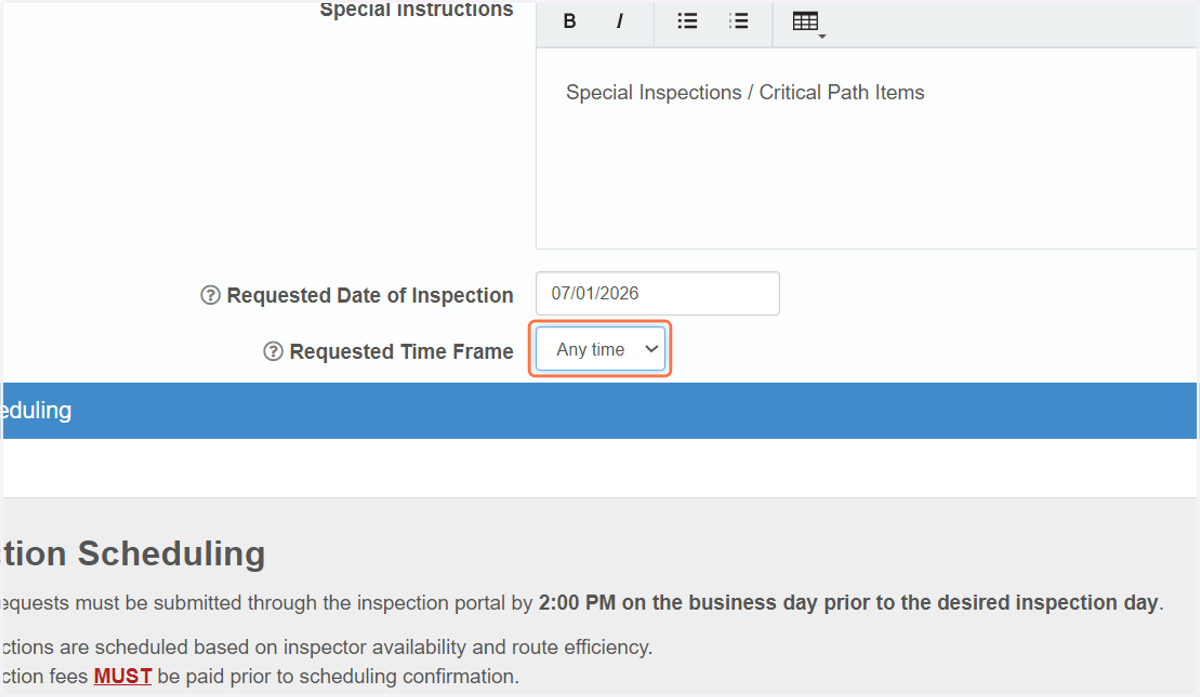
18. Select Any time from Requested Time Frame
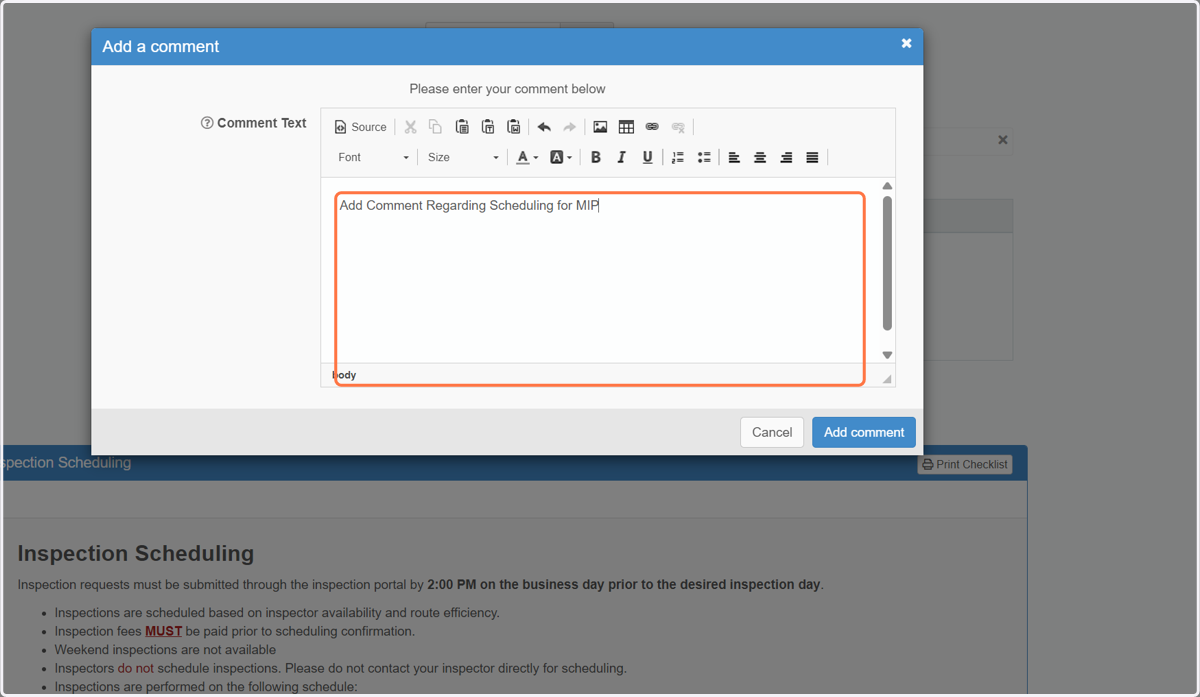
19. There are scheduling limitations. If you have any specific requests, please add a comment.
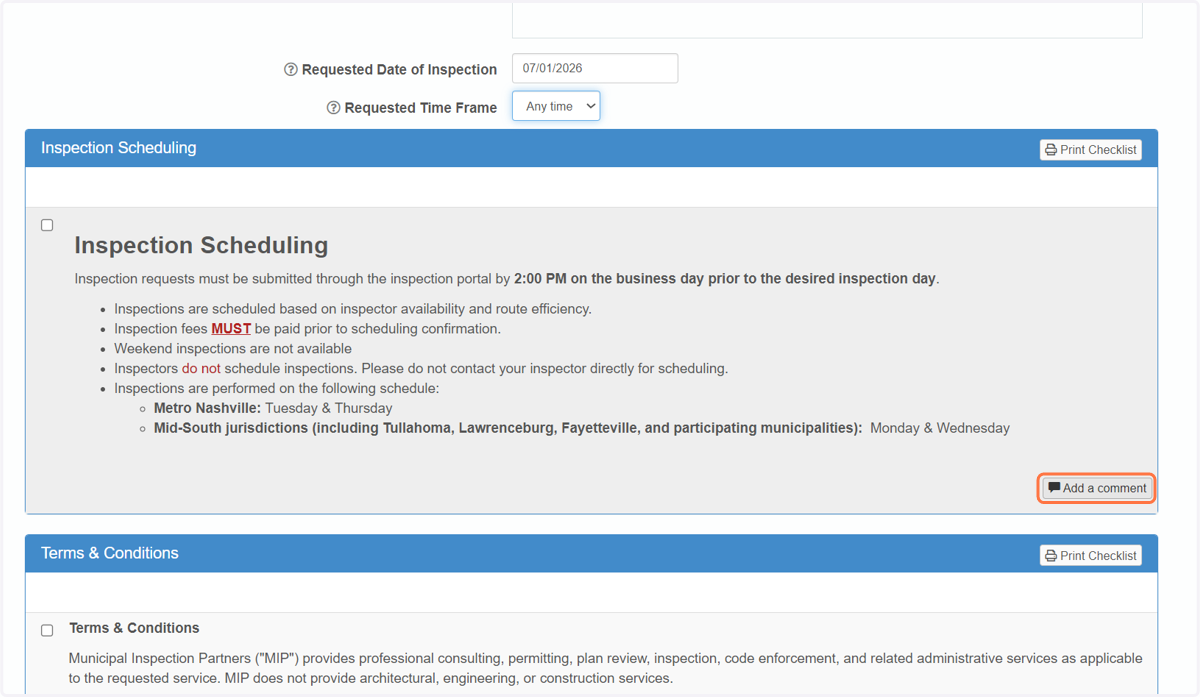
20. Type Add Comment Regarding Scheduling for MIP
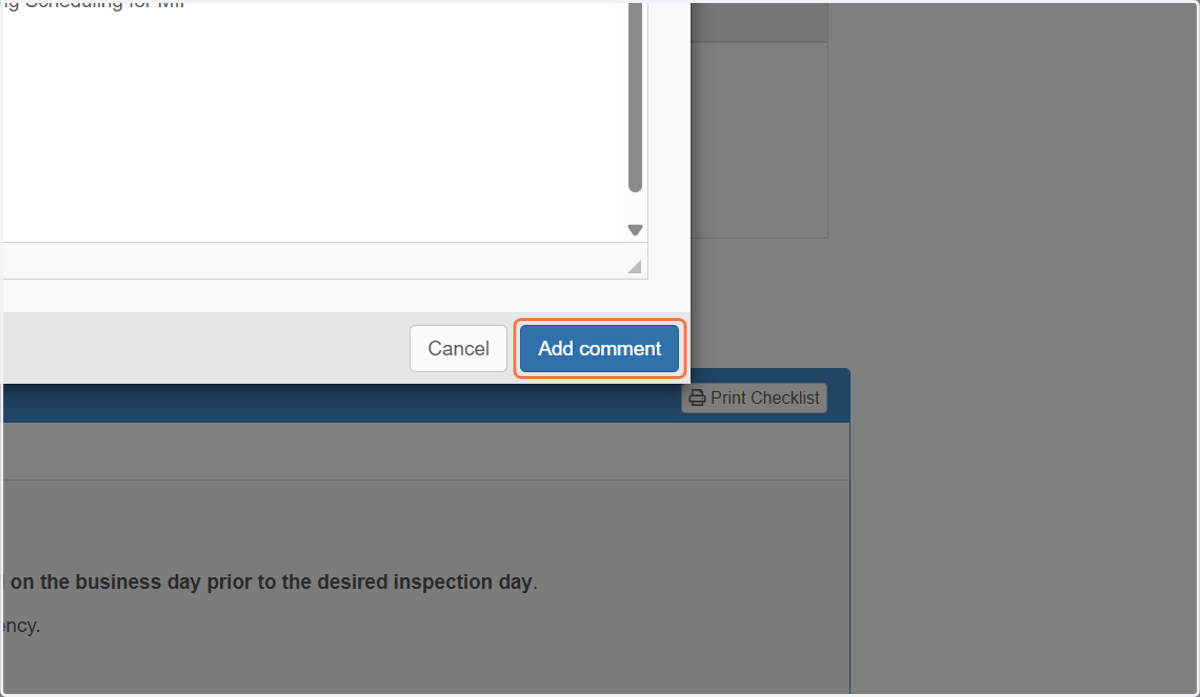
21. Click on Add comment
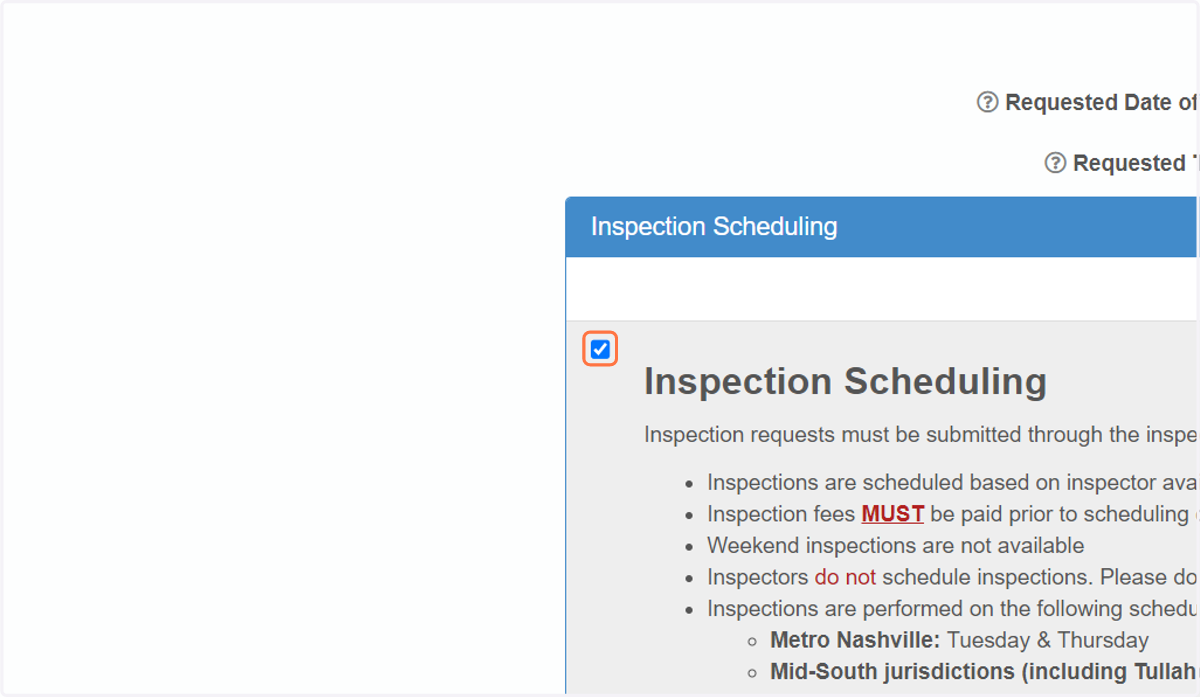
22. Check check box to acknowledge
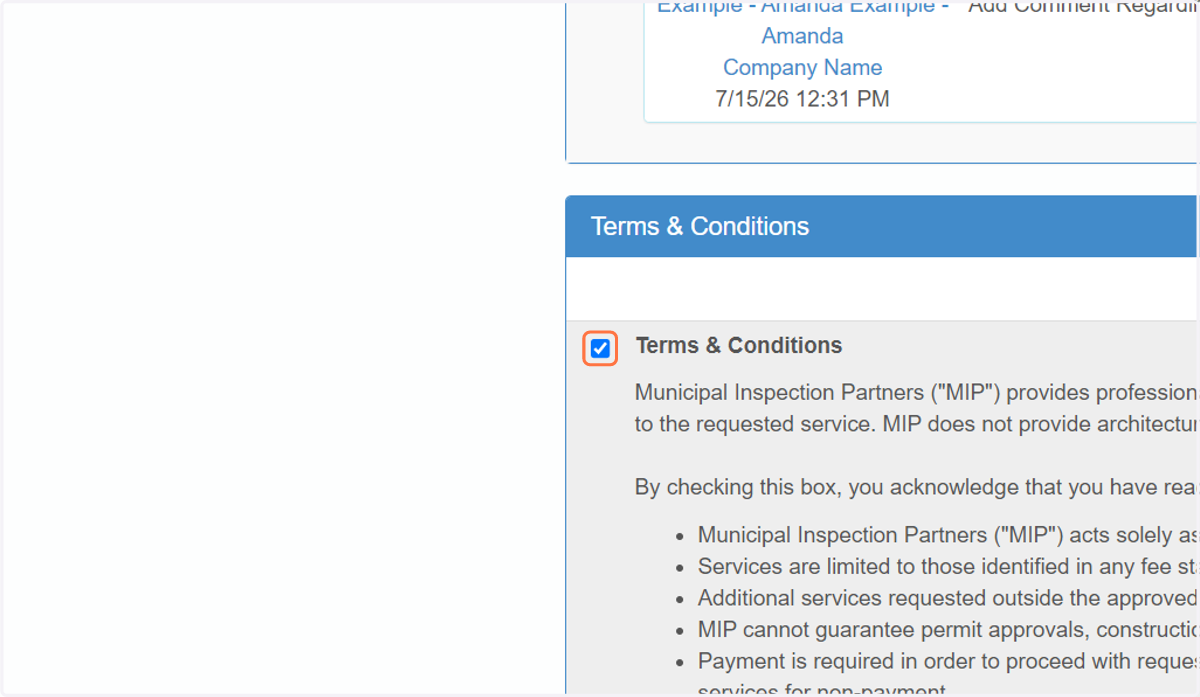
23. Check check box to acknowledge
24. Click on Save and Continue
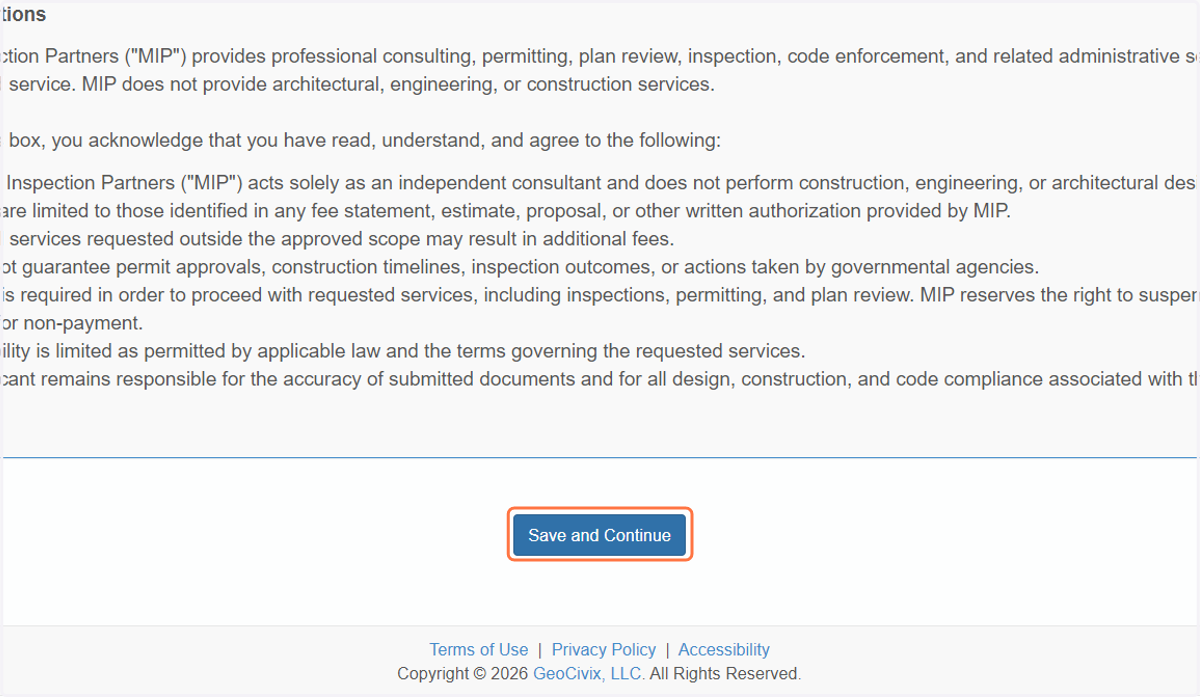
25. Check signature
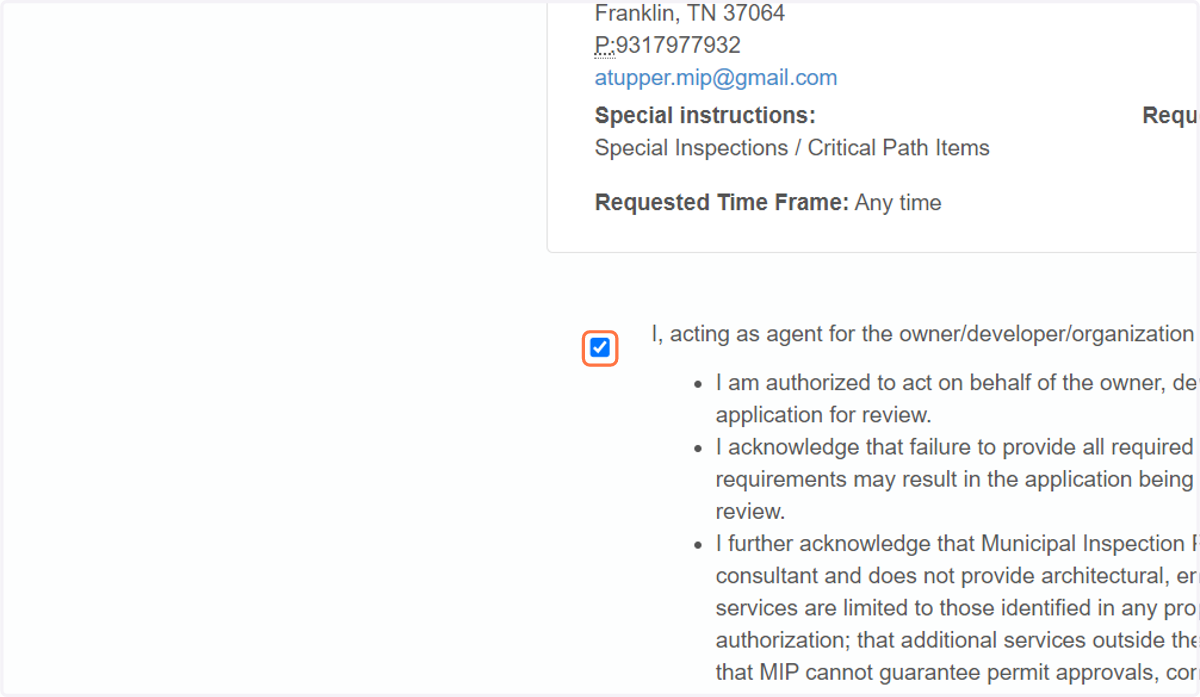
26. Click on Confirm
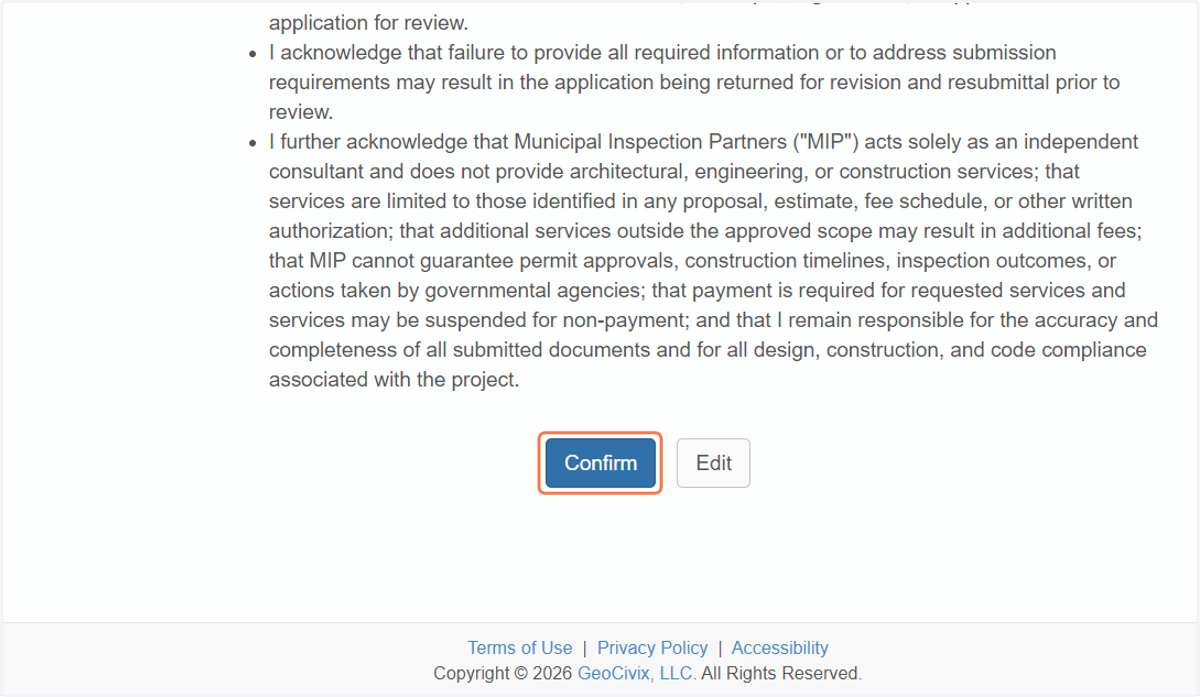
27. If you have any plans or phasing diagrams for the inspector to reference during the project, please add them on this page.
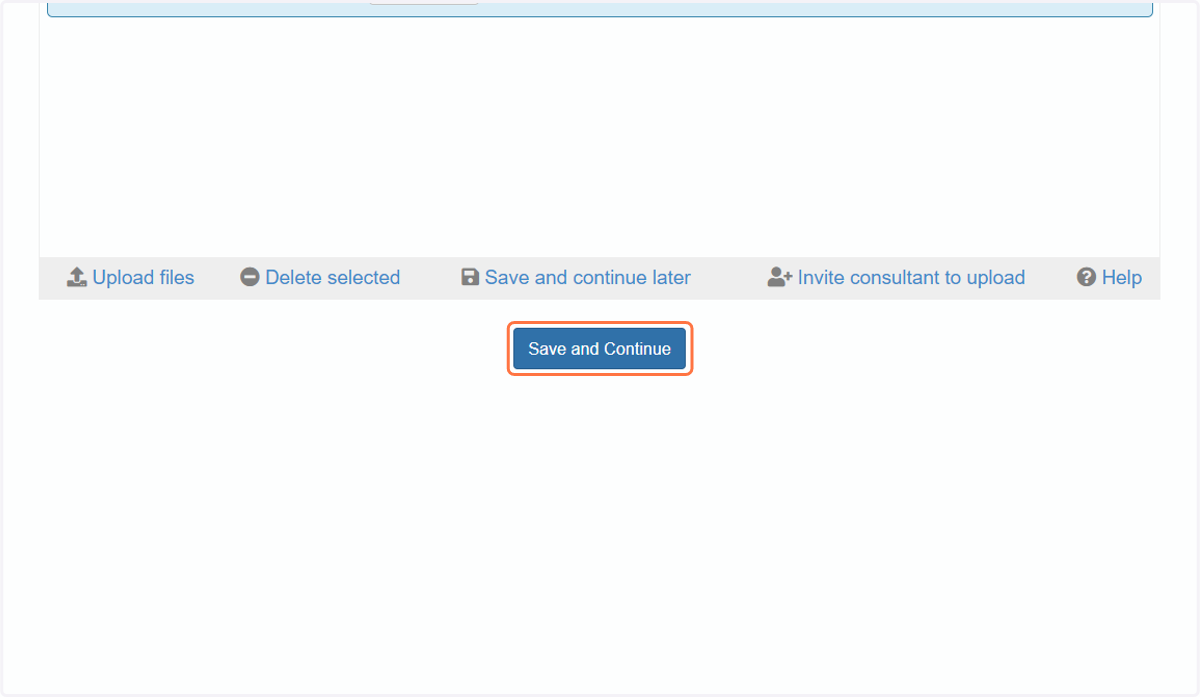
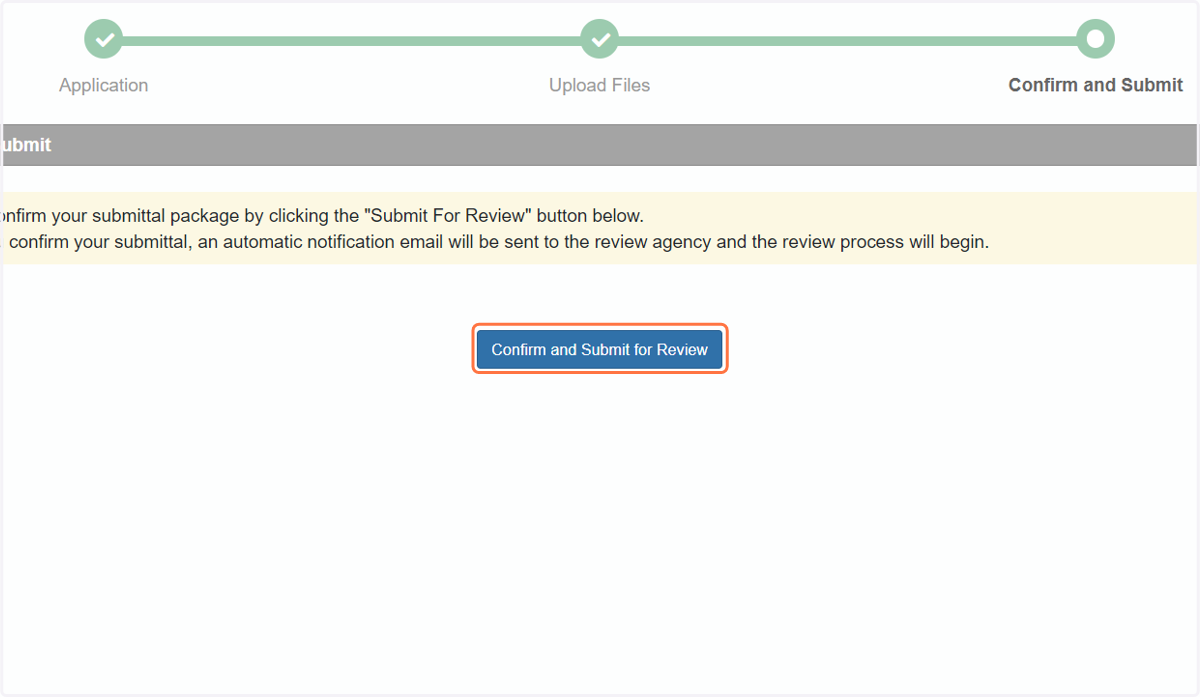
28. Click on Confirm and Submit for Review
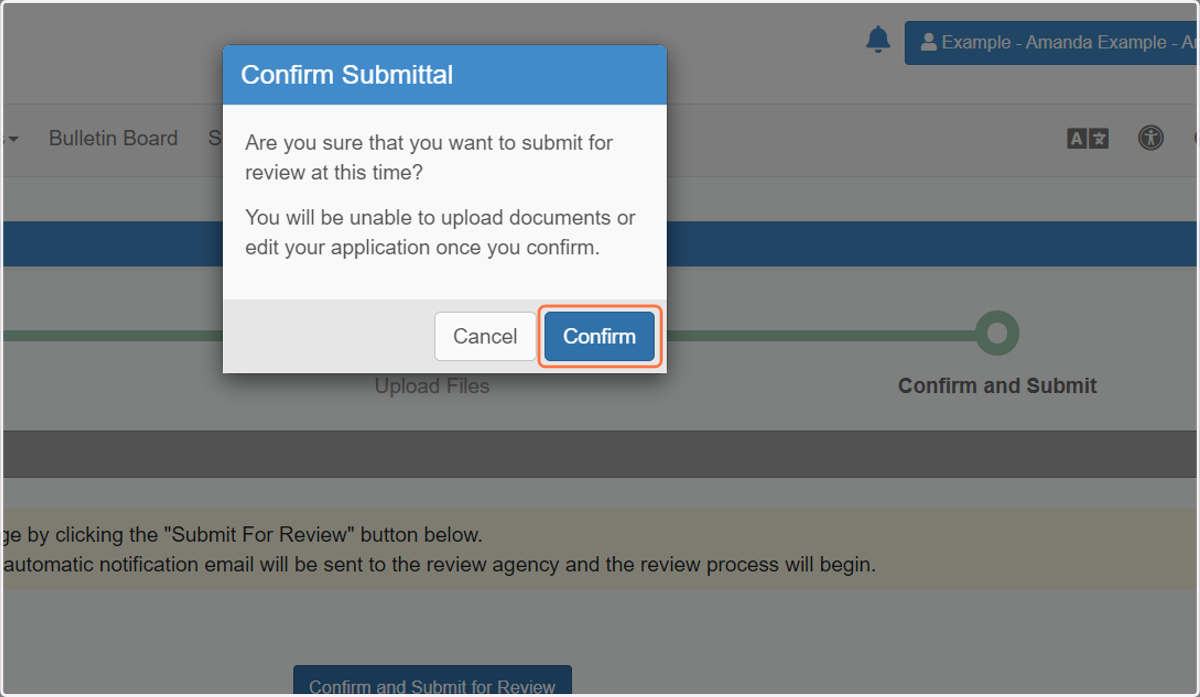
29. Click on Confirm
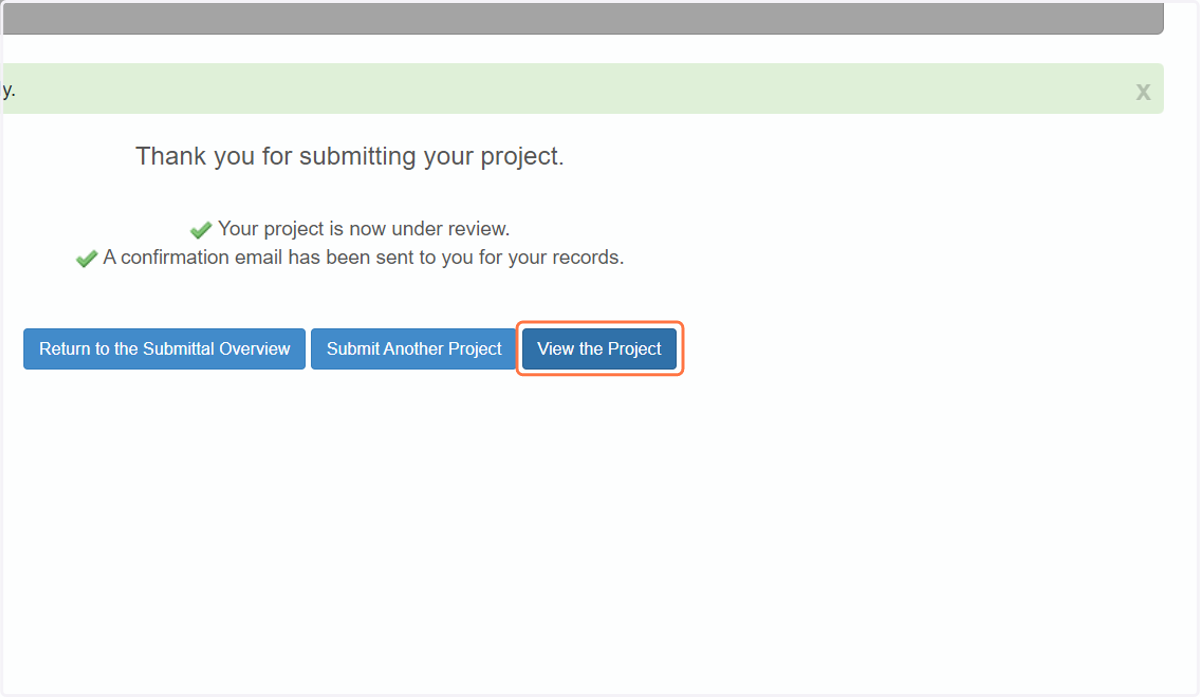
30. Click on View the Project
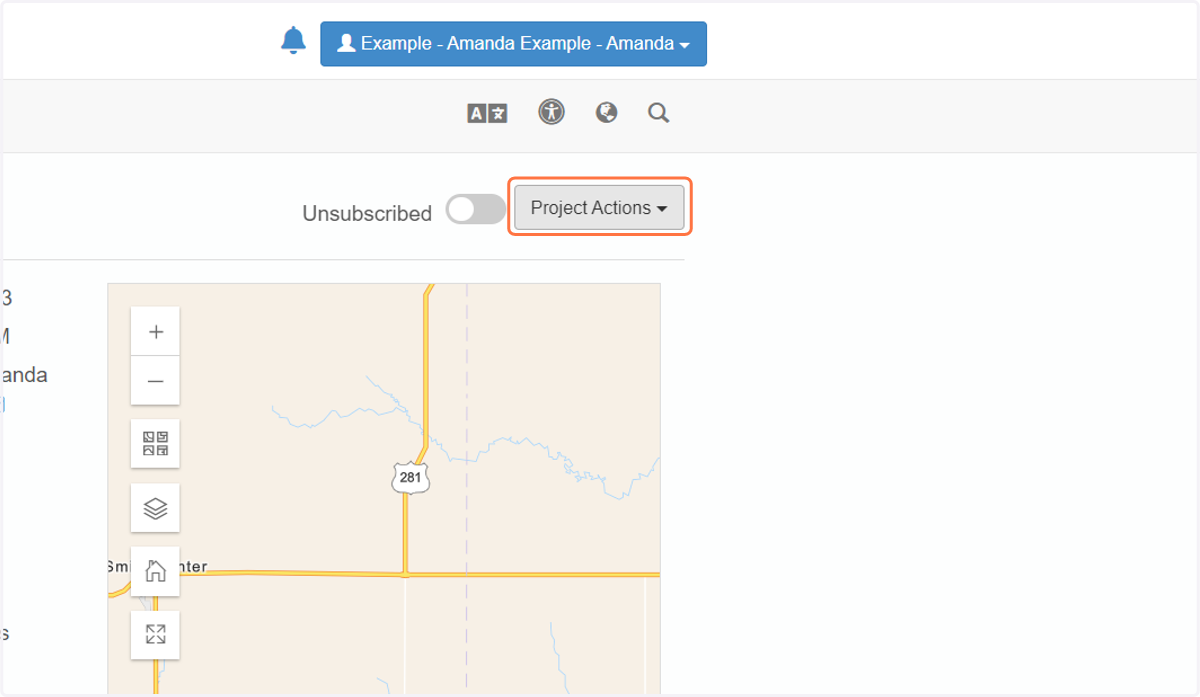
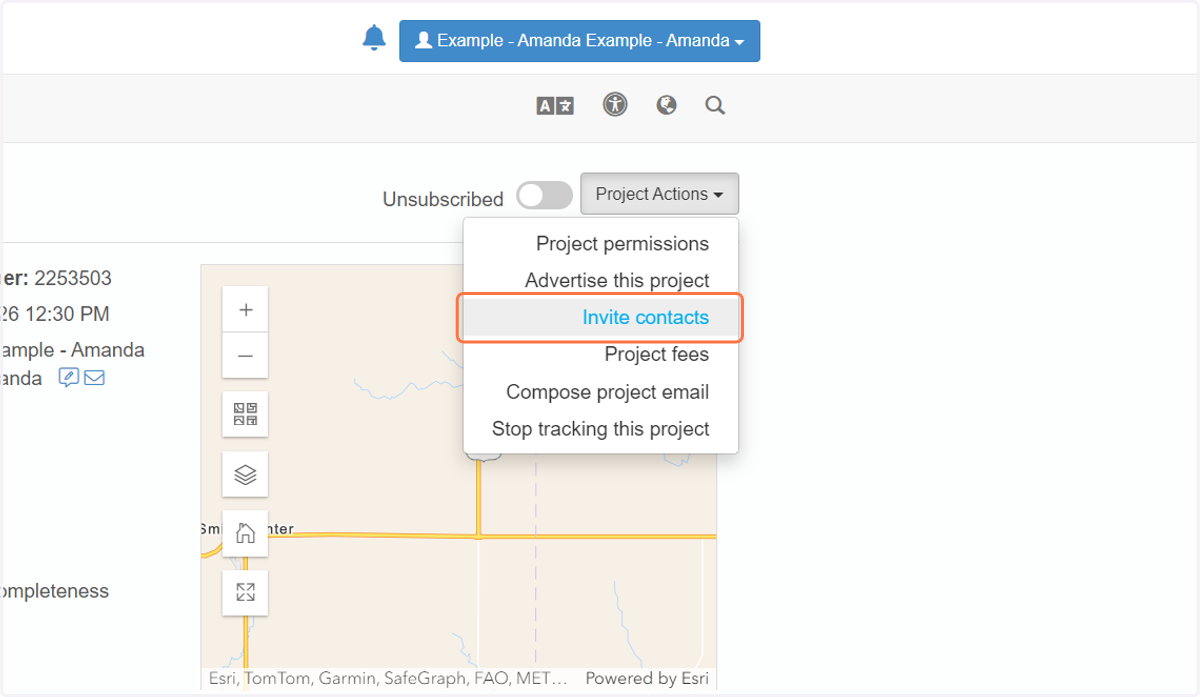
31. Invite your team!!! Click on Project Actions
32. Click on Invite contacts
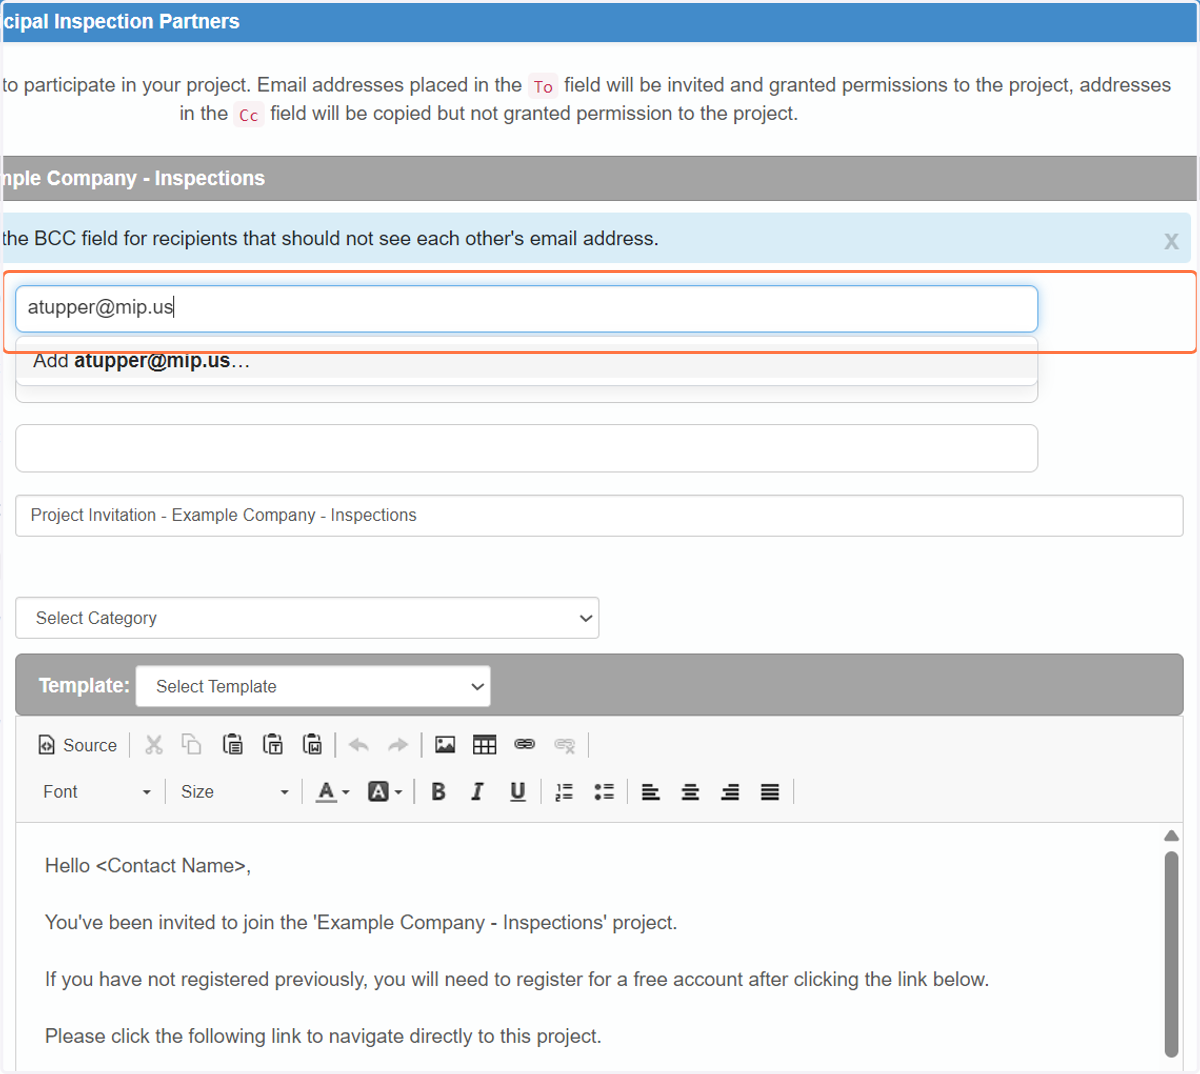
33. Add the users you would like to give access to Schedule Inspections / Pay Fees
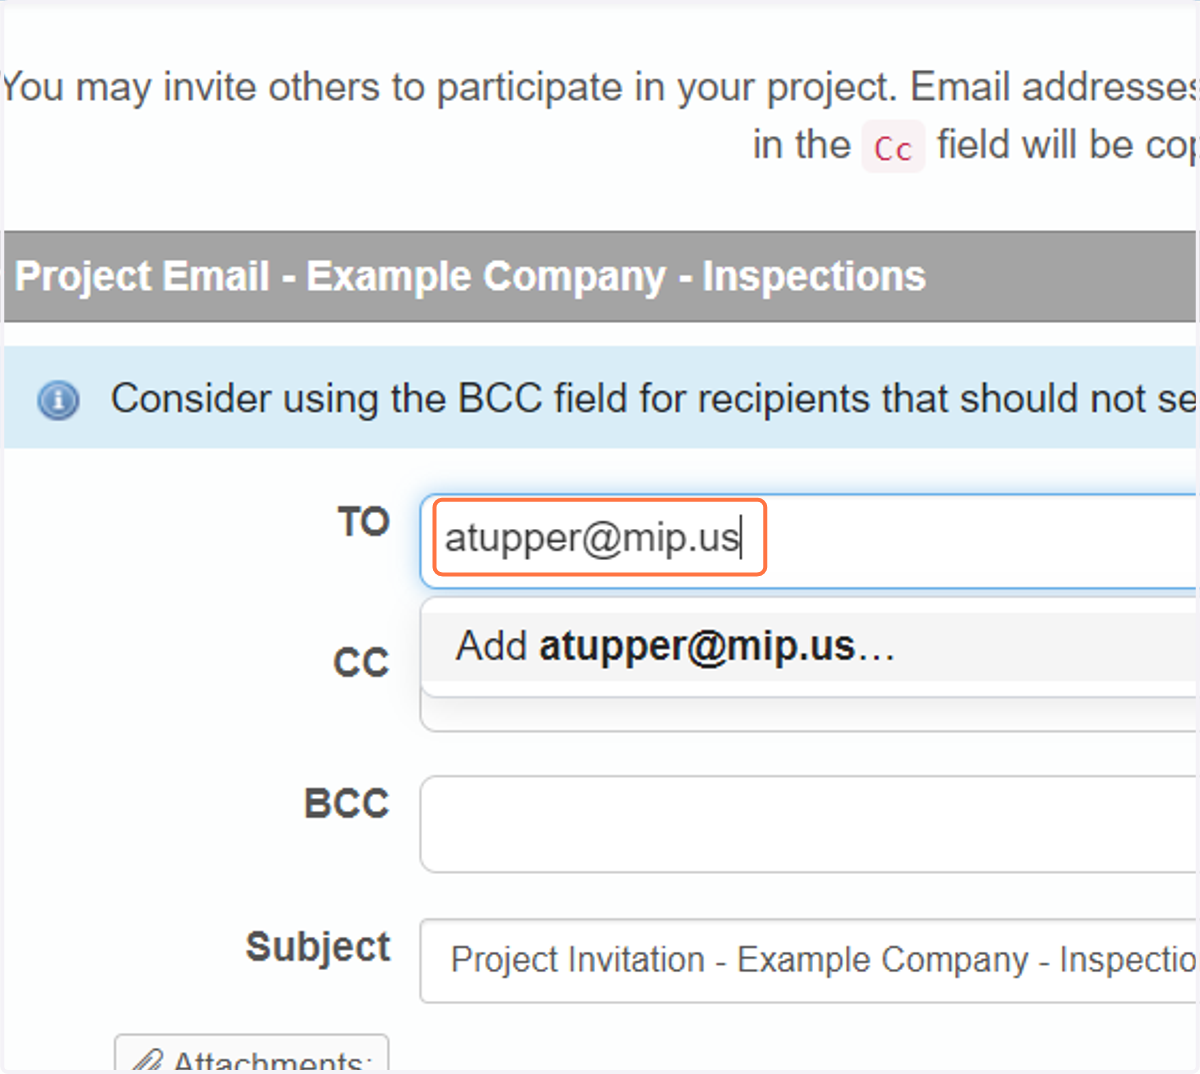
34. Email addressed placed in the "TO" field will be invited and granted permissions to the project as an applicant.
35. Click on Send
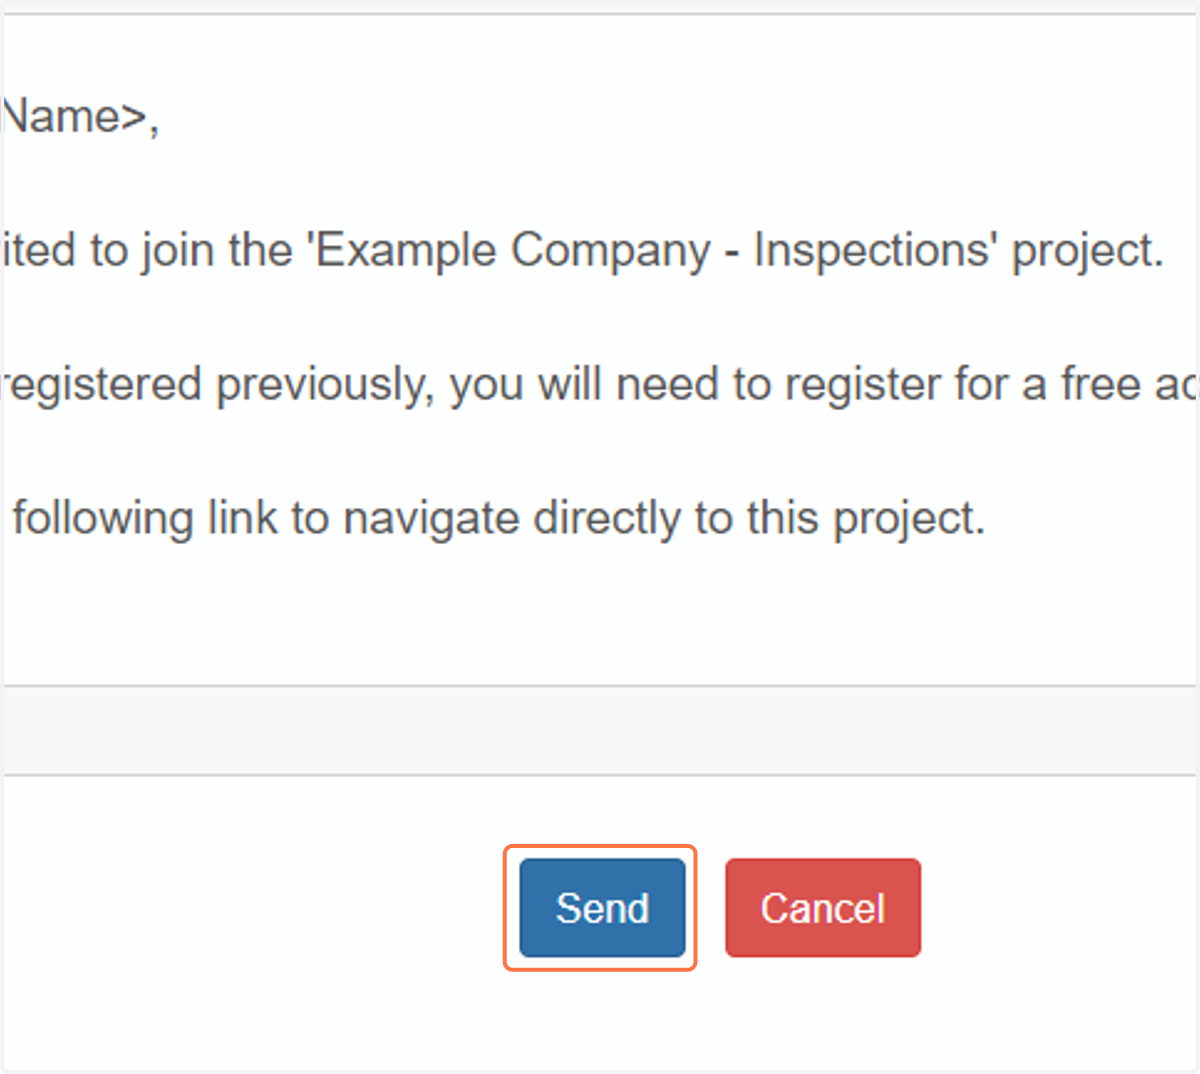
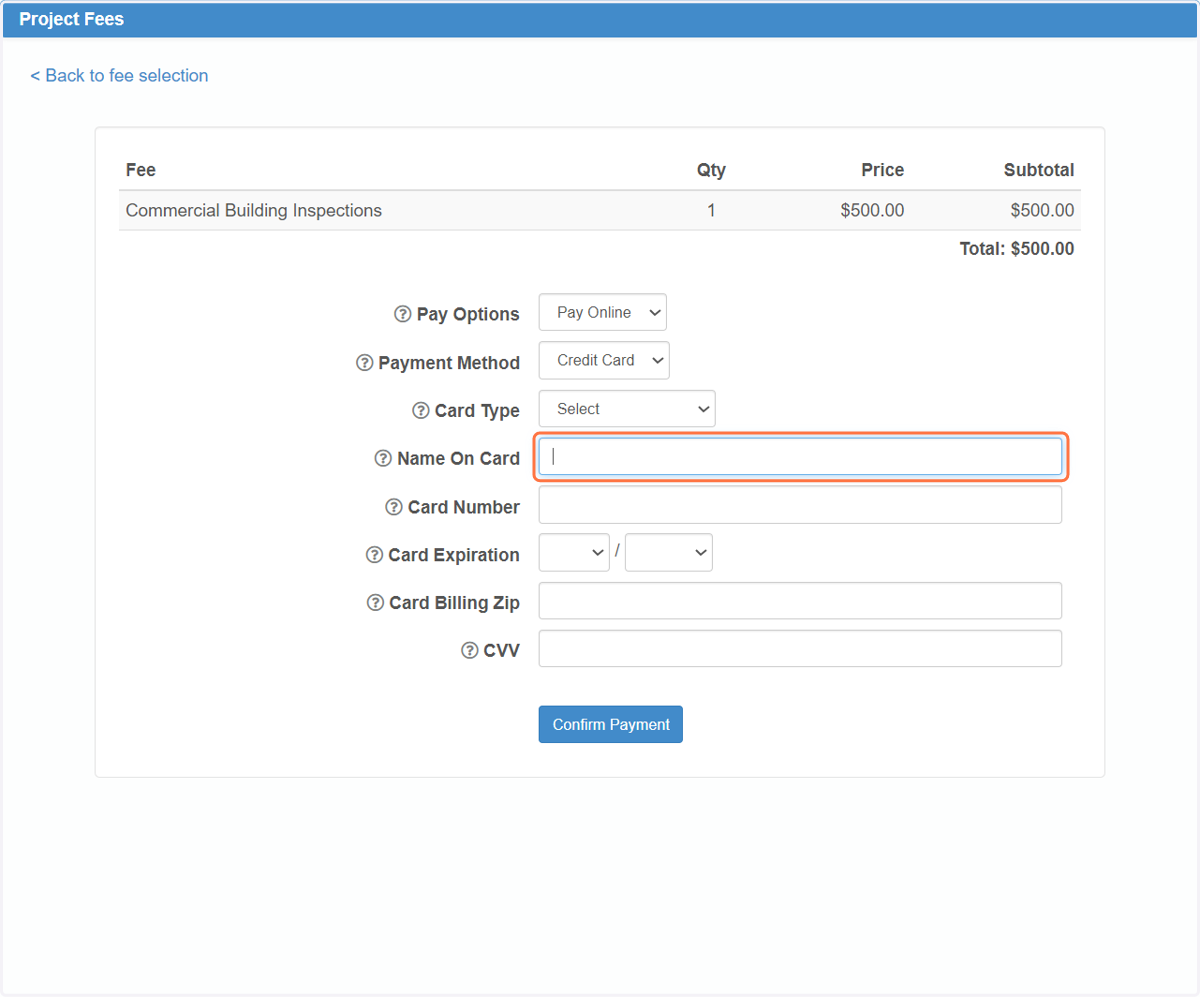
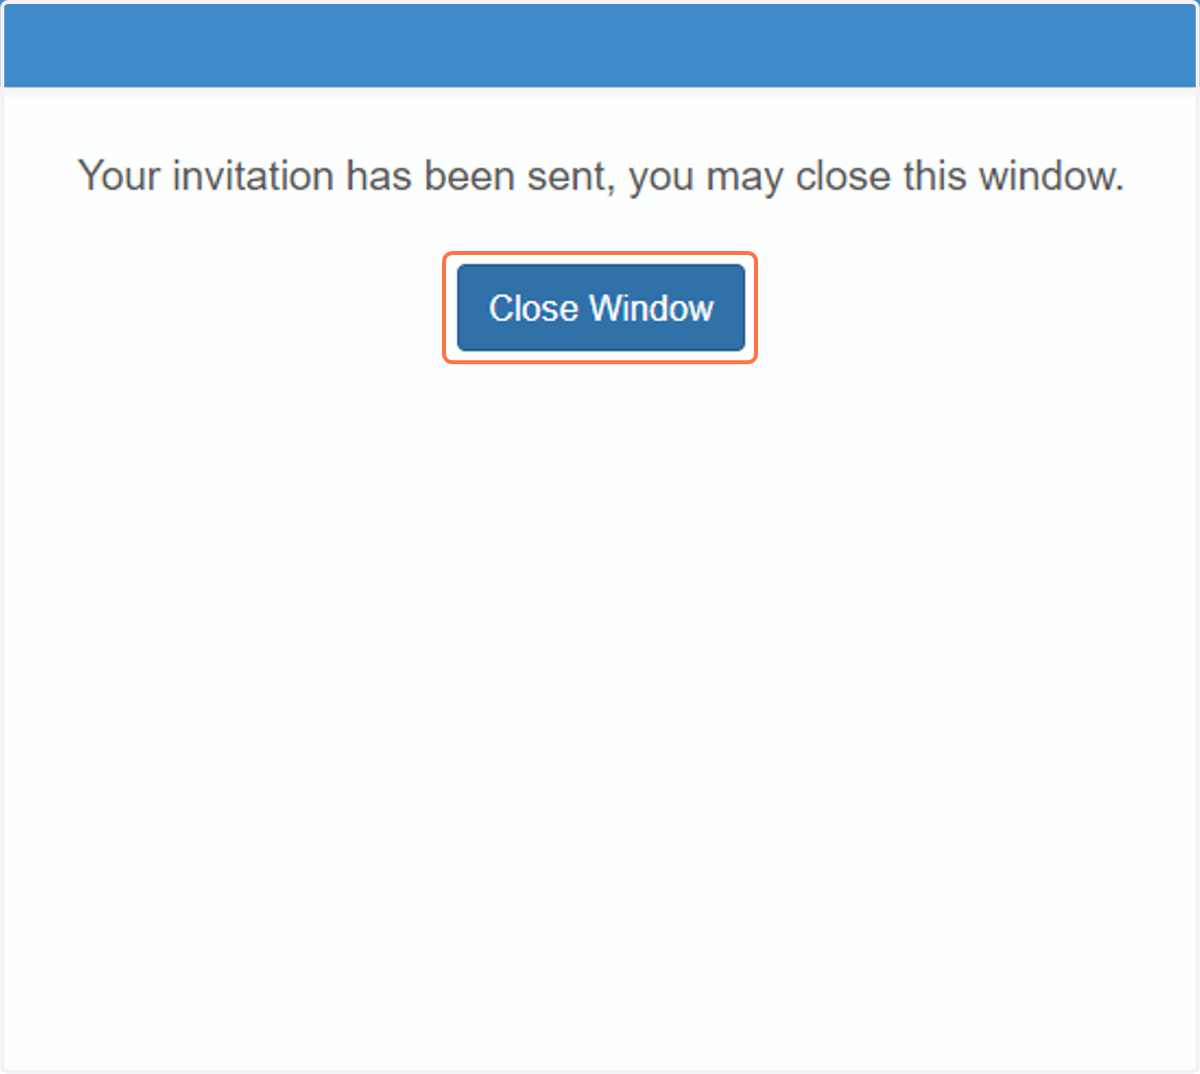
36. Click on Close Window
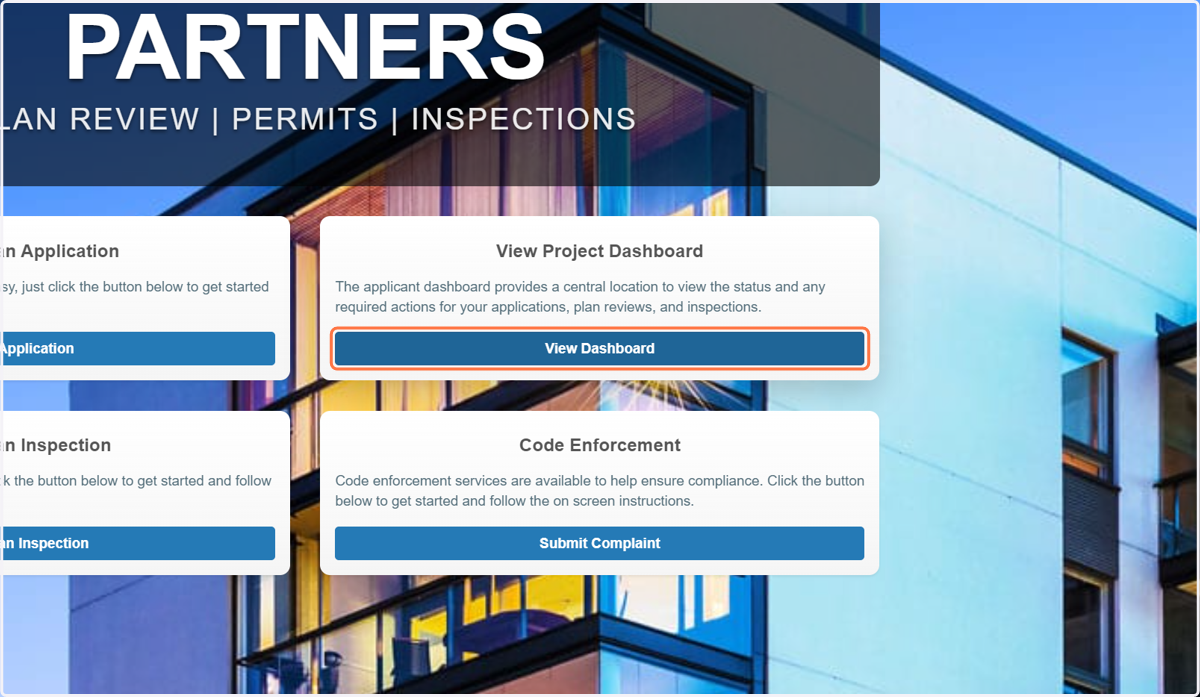
37. Click on View Dashboard
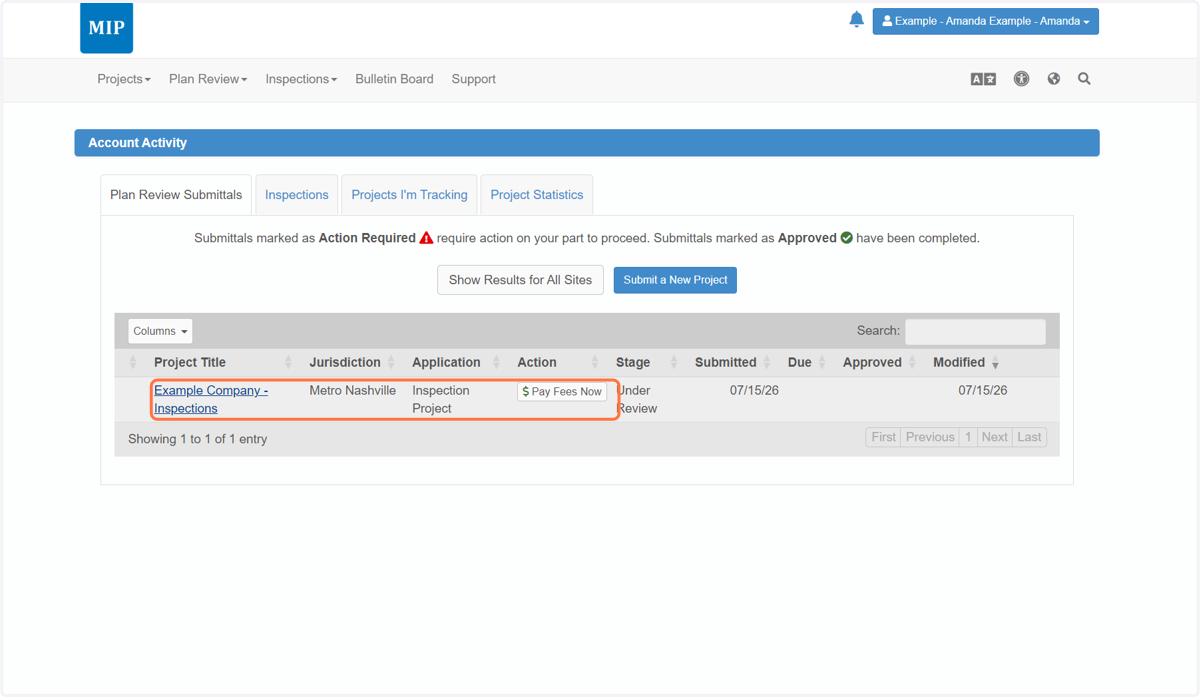
38. The Dashboard shows all projects submitted with MIP in which you are an applicant. If fees are due or a resubmittal is required you will see that here.
39. You can also see it on the project page. To pay fees, click the "Pay Fees Now" button.
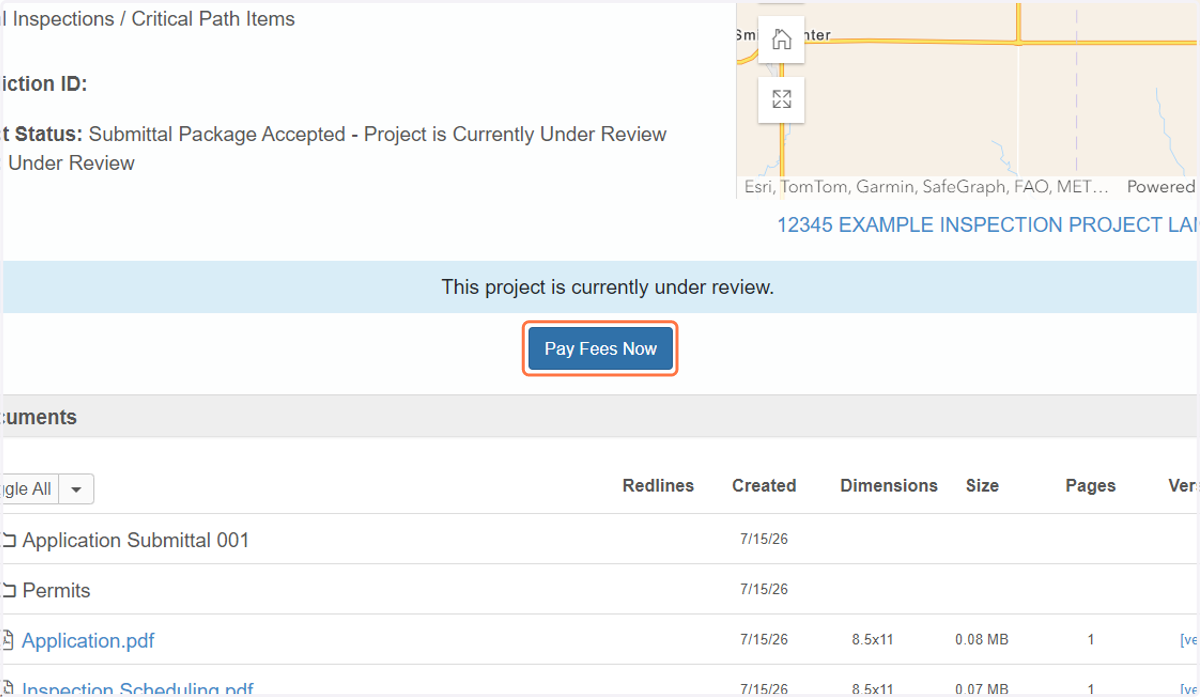
40. Select Pay Online, Select Credit Card, and fill out your billing information