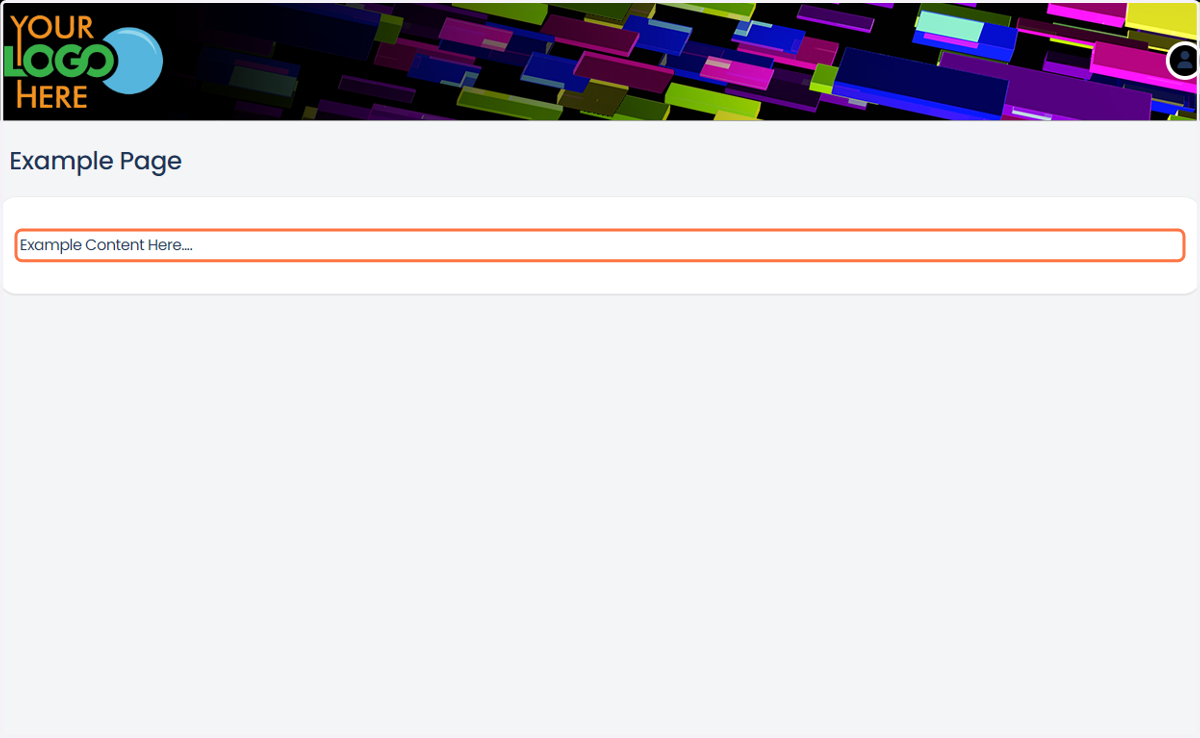
How to Setup Custom Learner Pages
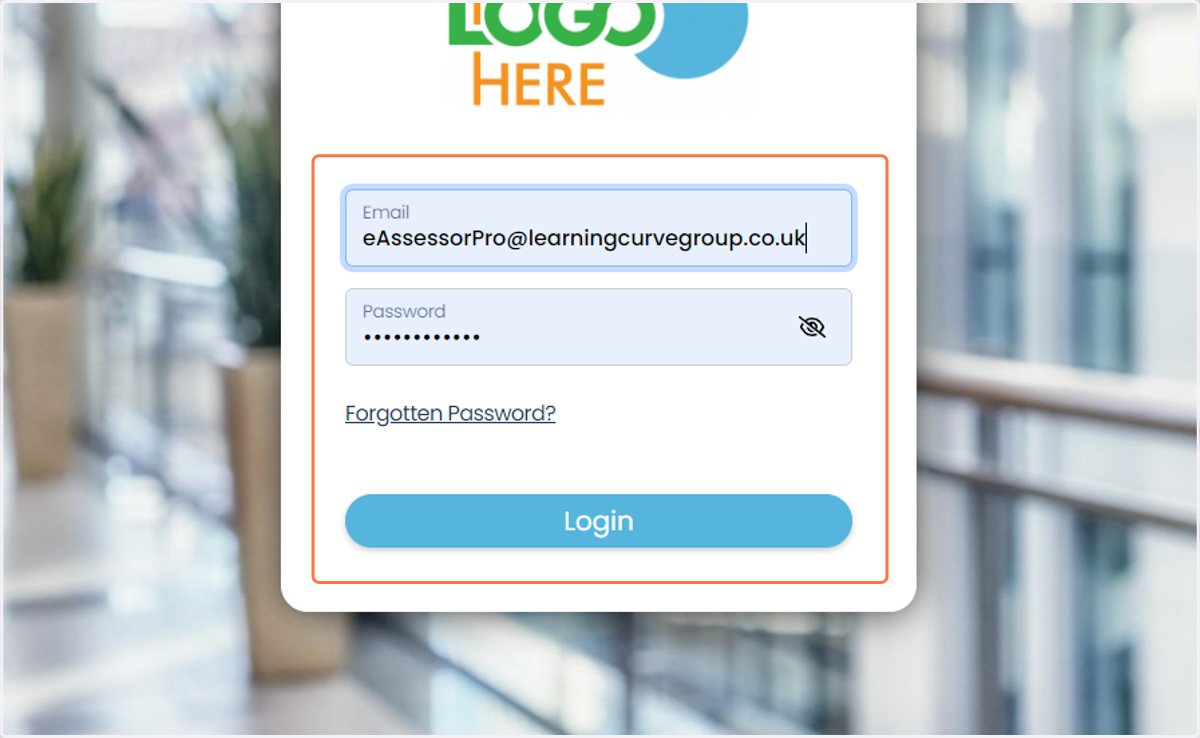
1. Login to your System Admin account using your Email and Password.
If you have forgotten your password you can click the 'Forgotten Password?' button.
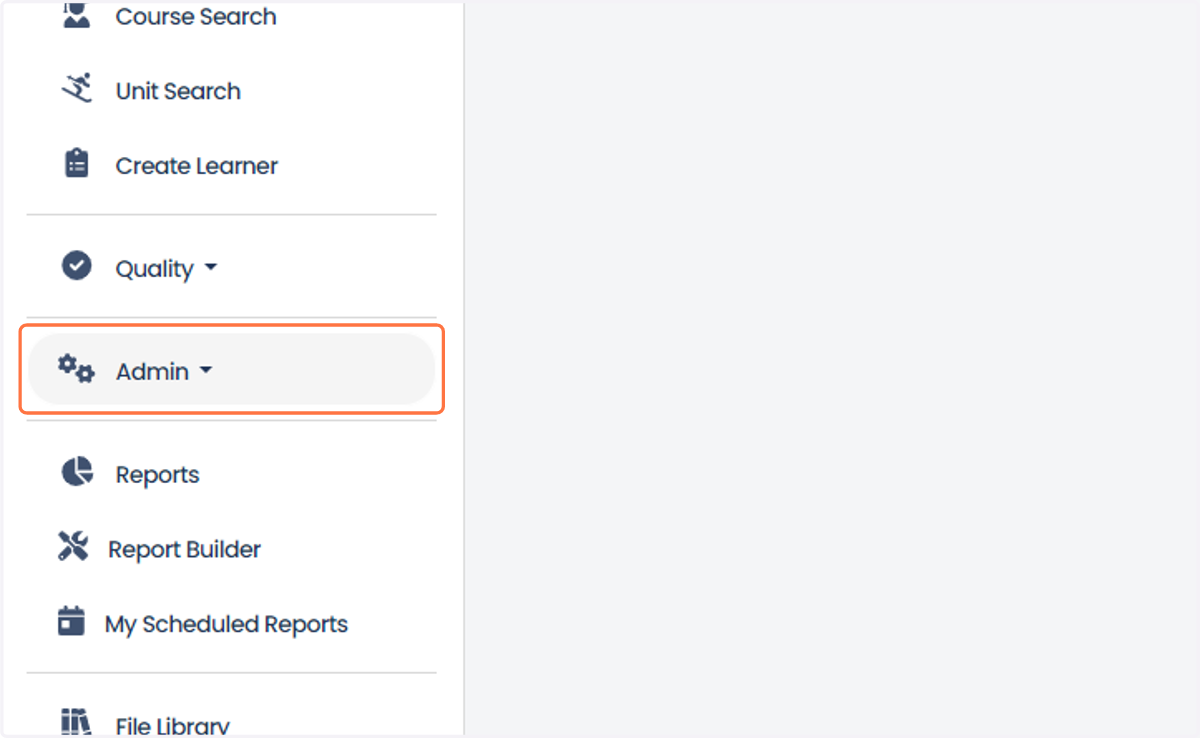
2. Once logged in, 'Click' on your Admin drop-down.
3. Then, click on Site Content.
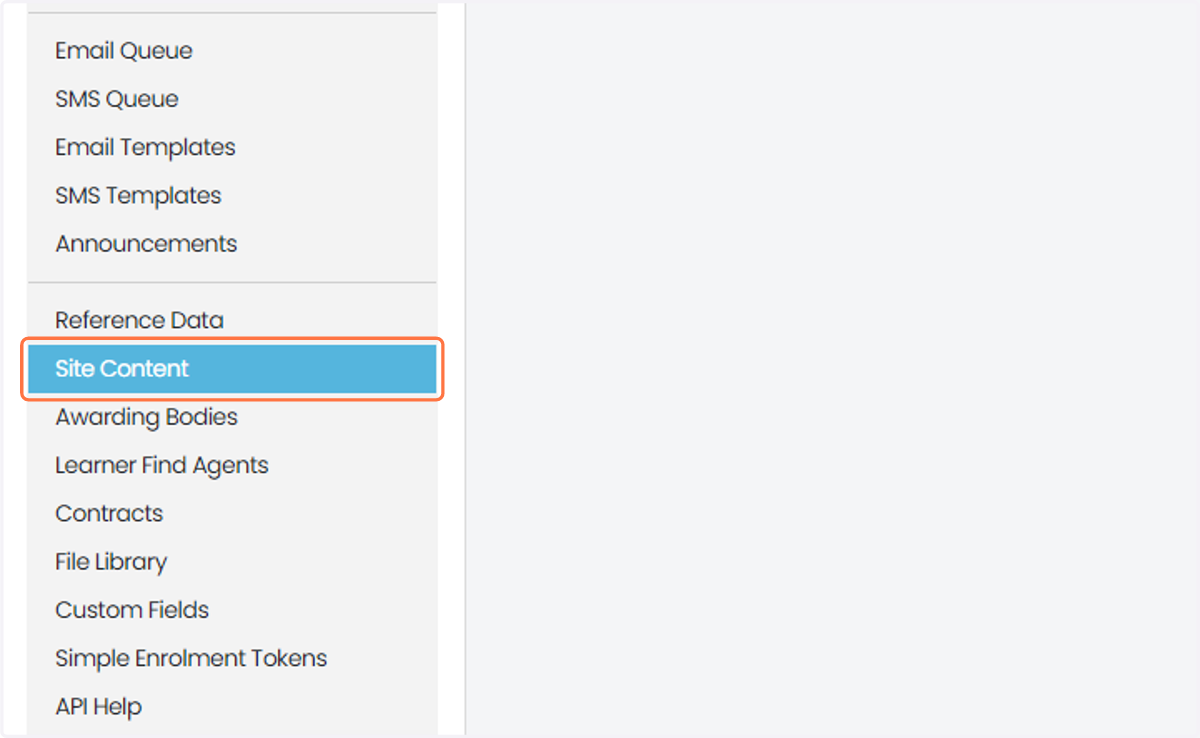
4. From here, you will be able to see the default pages setup if you wish to use these existing pages.
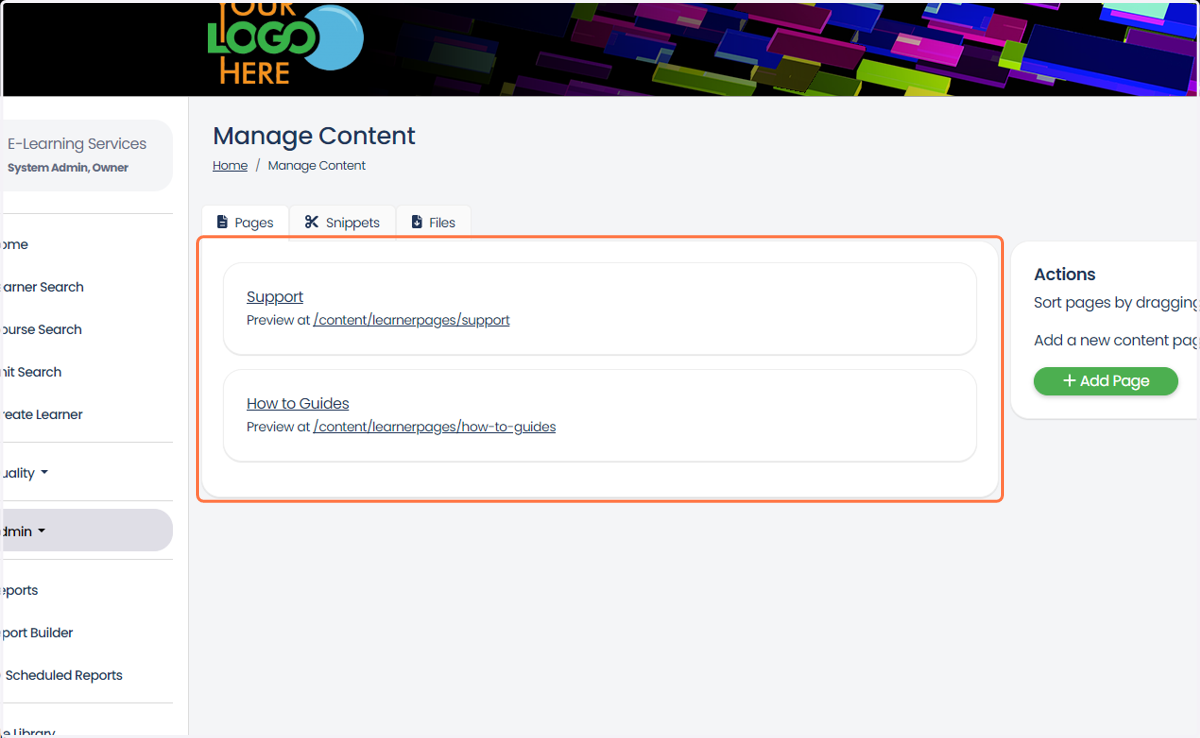
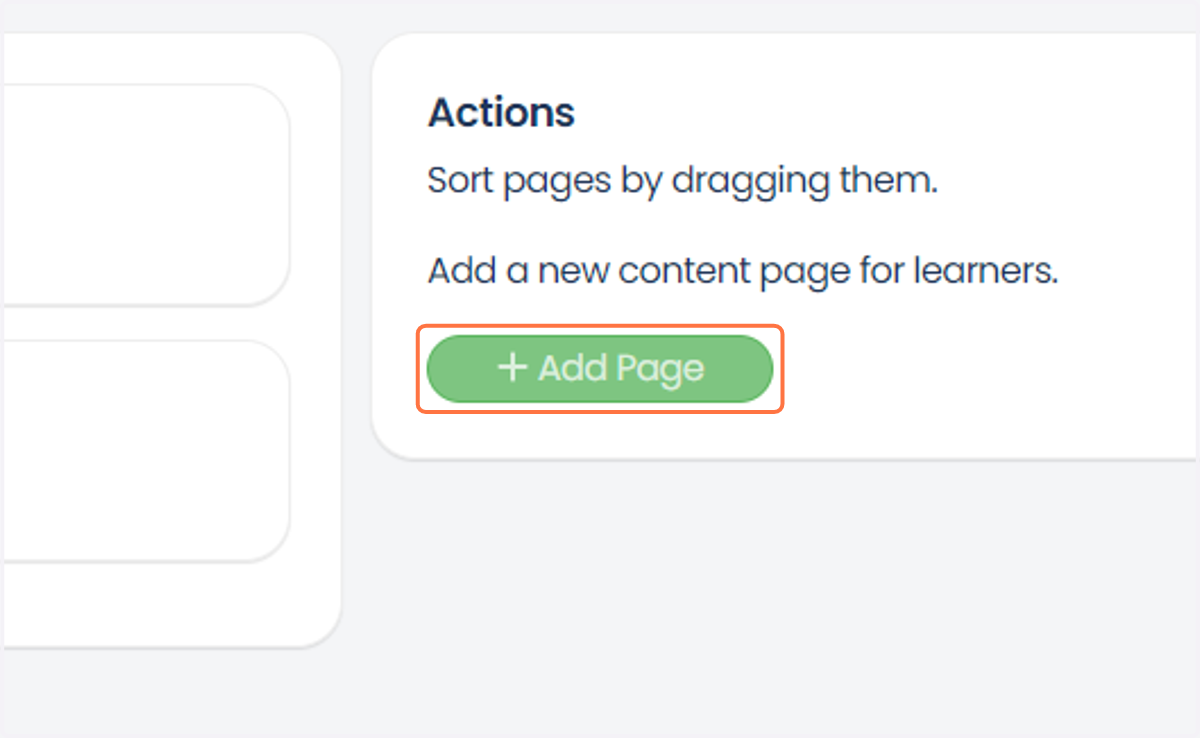
5. To create a new page, click on the Add Page button.
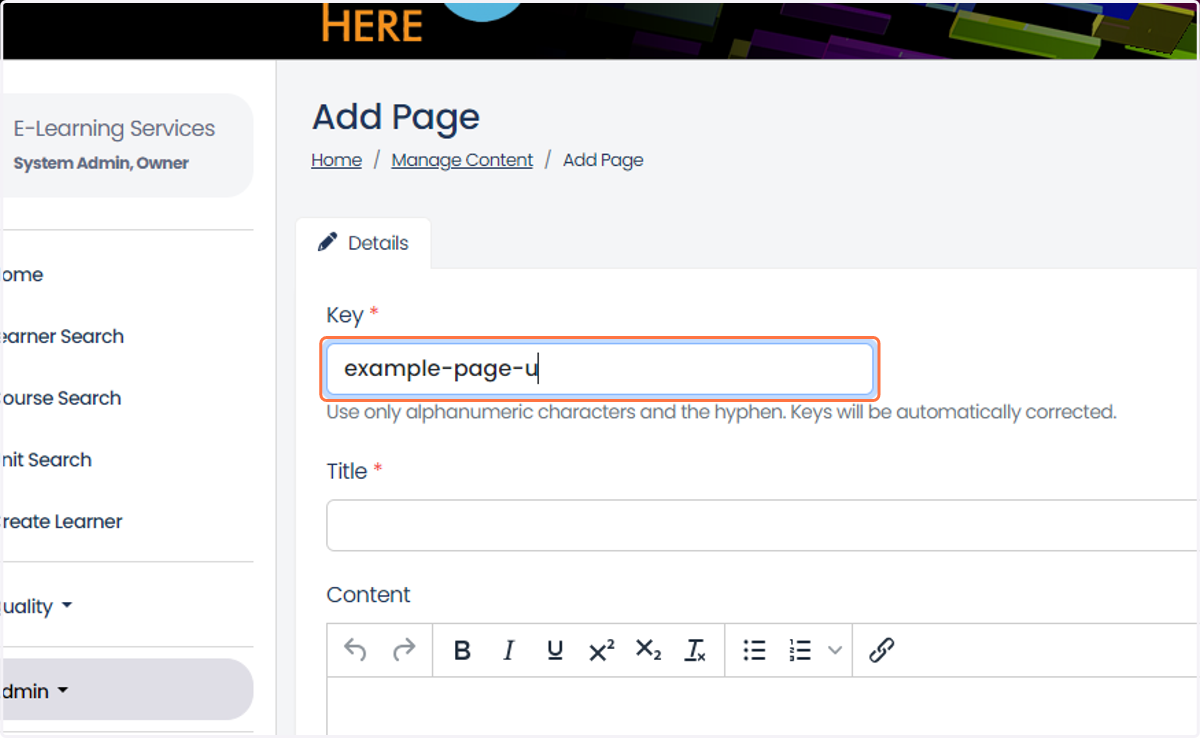
6. You will be asked to input a key for this page.
The key is the URL the learners see when accessing this page. for example: www.example-provider.eassessorpro.co.uk/content/learnerpages/example-page-url
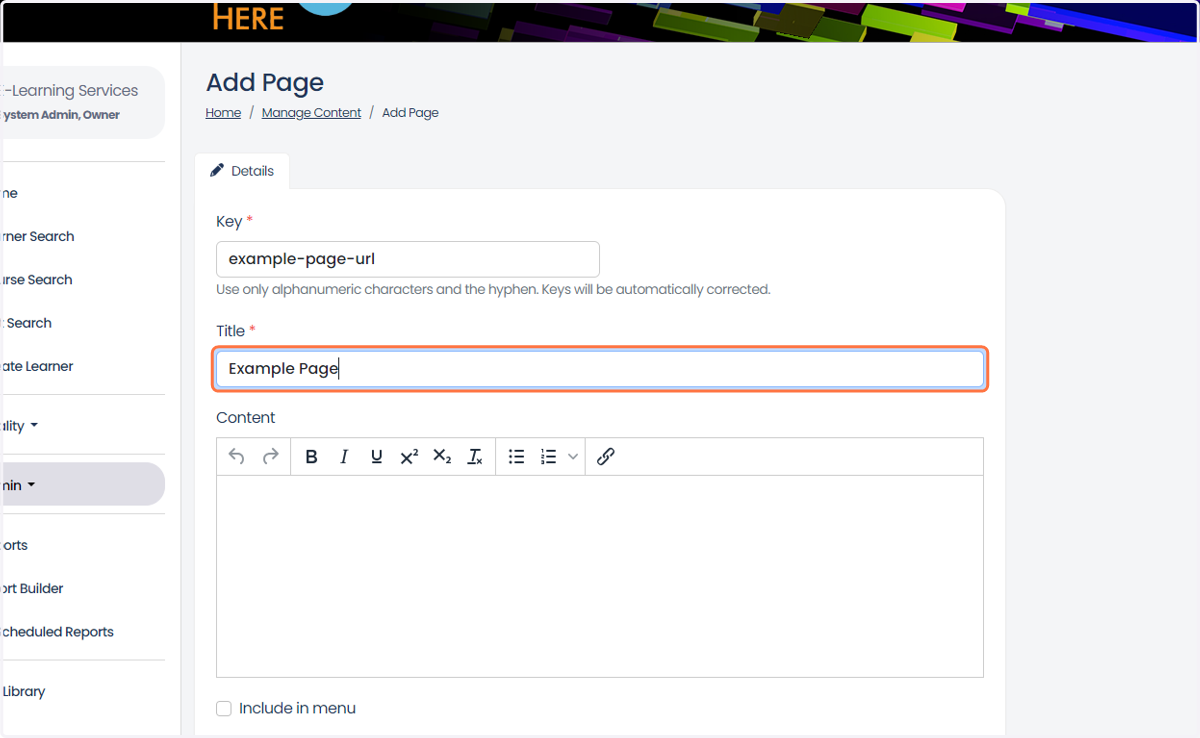
7. Then, you will be asked to input a page title.
This is a title that will appear at the top of the page - above the page content.
8. Then you will be asked to provide content. This is where you input what you want the page to display.
You have access to your Rich-Text tools at the top, such as Bold, Italic, Hyperlink, etc.
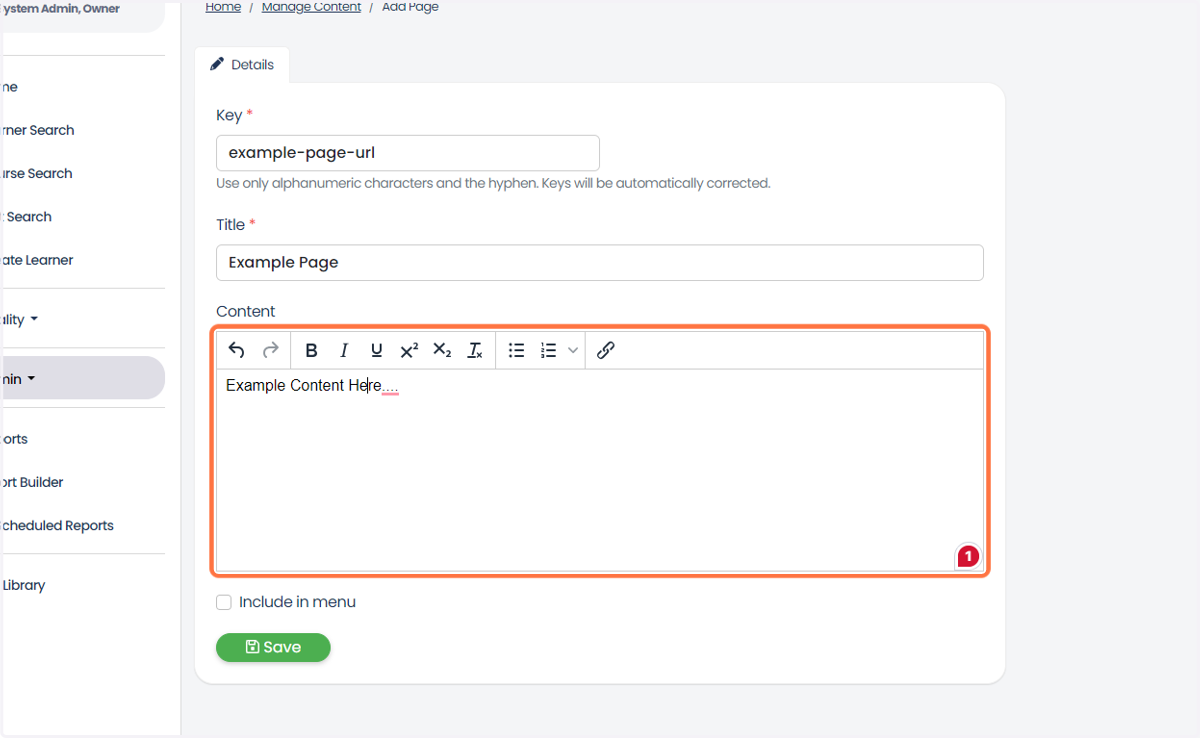
9. At the bottom, you will have a 'Include in menu' checkbox, If this is left unchecked learners will not be able to see this in their side-bar but will be accessible by visiting the URL manually. If checked, the learner will be able to find this page in their 'More' drop-down.
If manually sharing page links. the page link will be structured like such:
yourplatform.eassessorpro.co.uk/content/learnerpages/KEY-HERE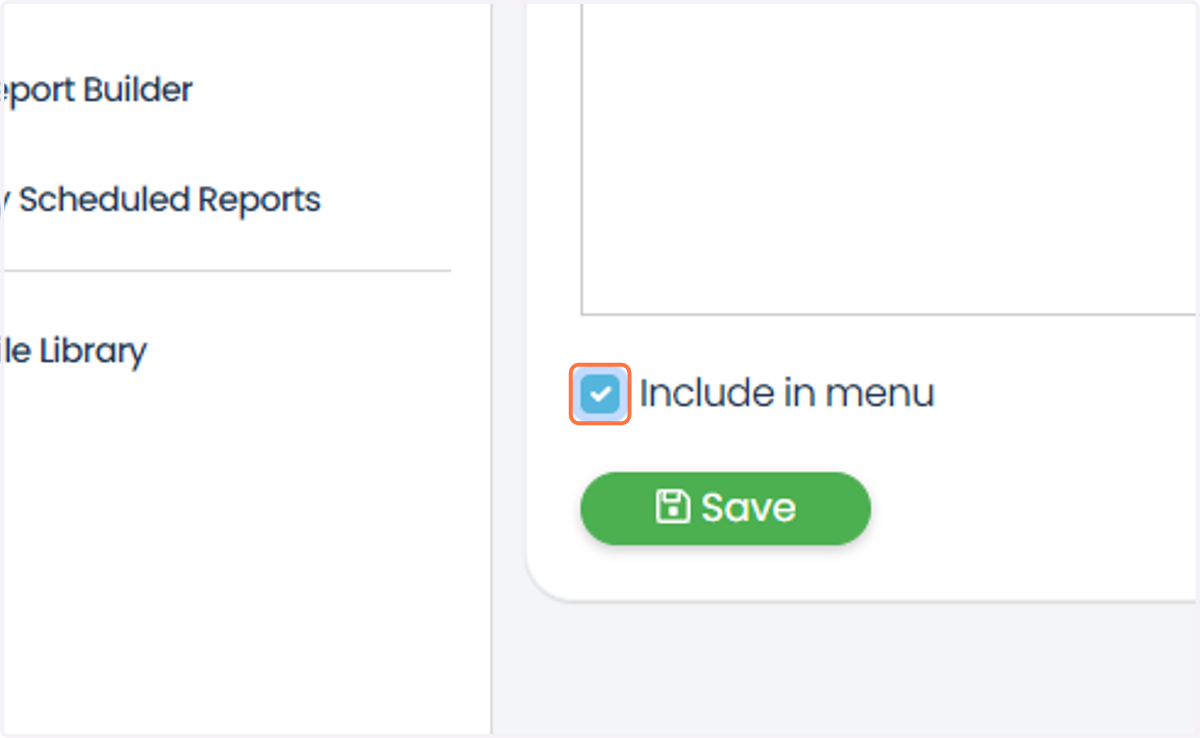
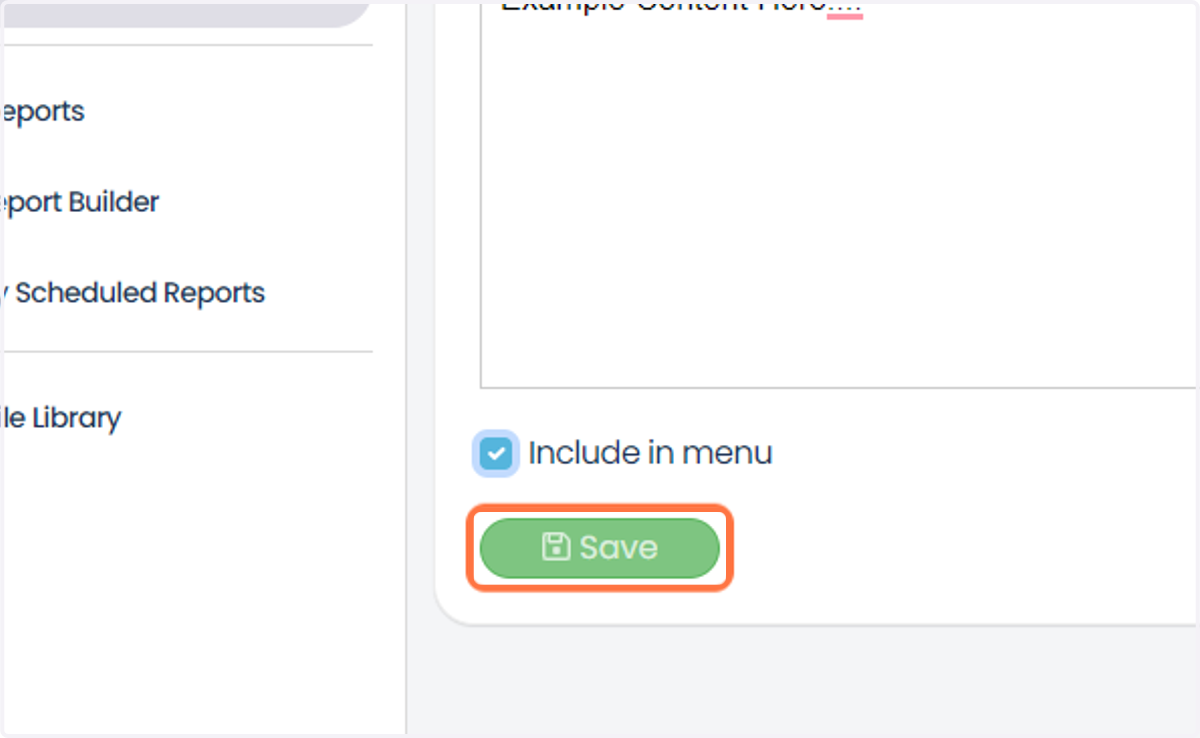
10. Once happy with your page, you can click the save button to publish this page.
You may always revisit & edit this page by visiting site content again via the admin drop-down.
11. From the learner side, if included in the menu, they can click their 'More' drop-down.
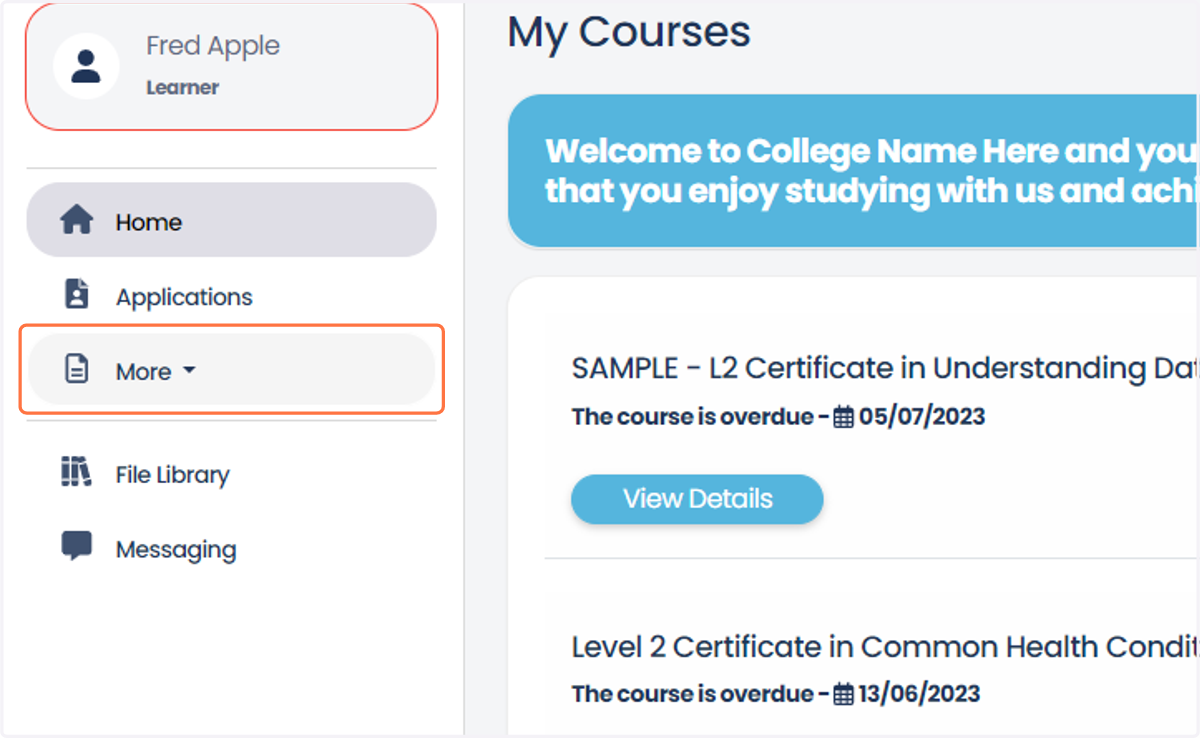
12. Then the page created will show in this drop-down which they can click on.
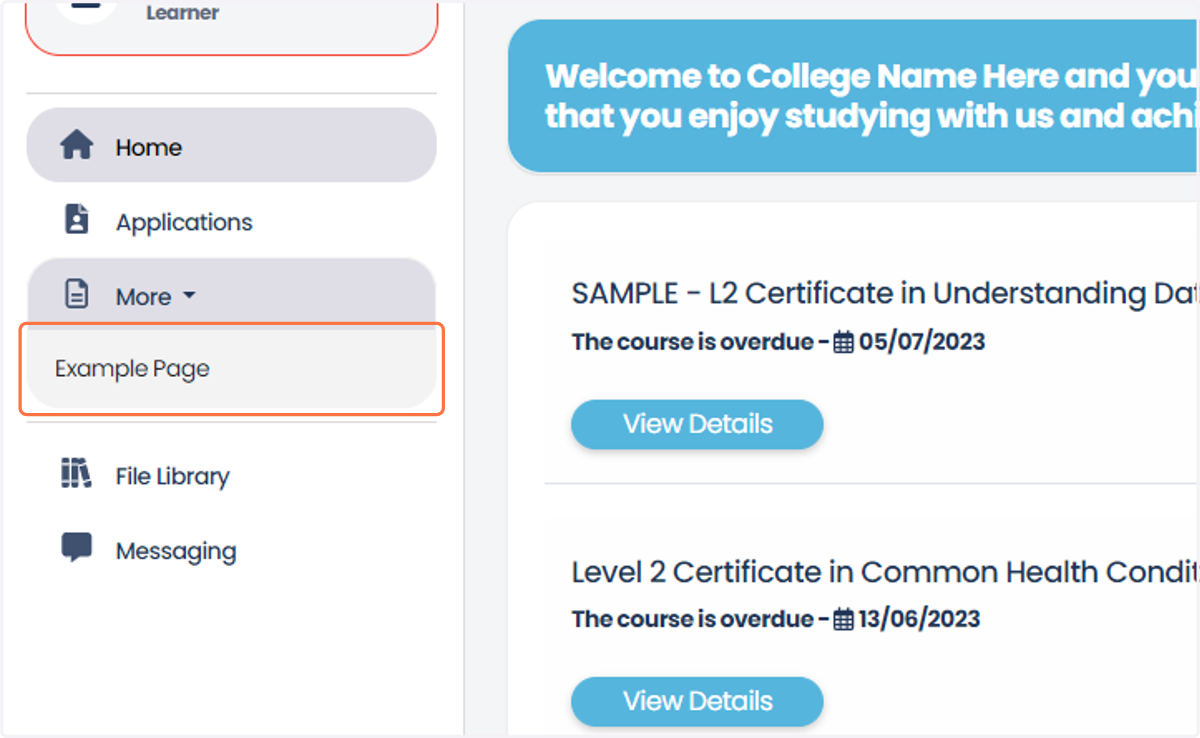
13. This will then show the content you input via site content