Add a Guernsey Employee
Following our instructions, you will successfully add a Guernsey employee to your Offshore Payroll system.
1. Access the Dashboard
Log into your Offshore Payroll account to access the main interface.
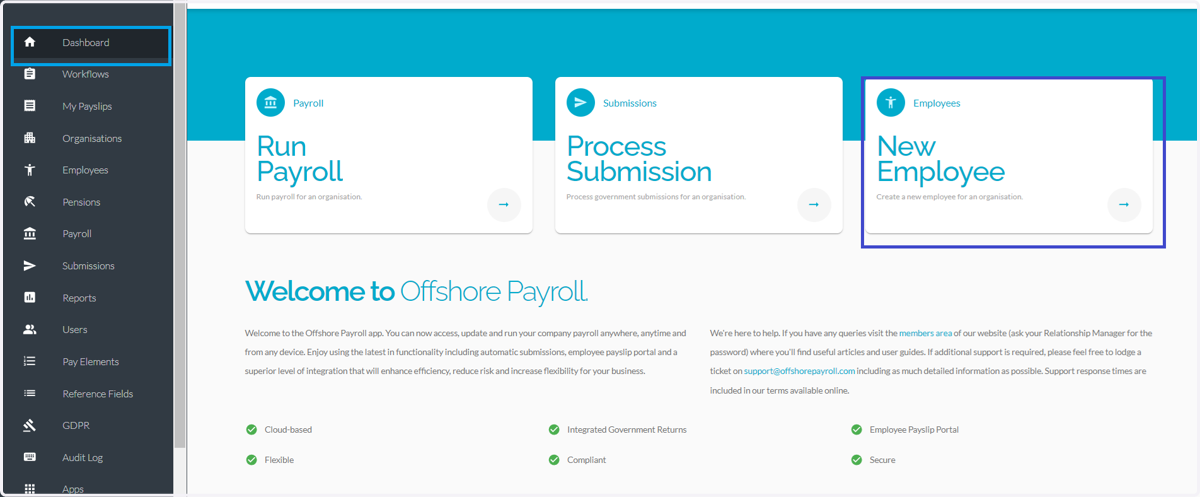
There are two ways to start adding a new employee:2. Click on Dashboard screen on the left menu list:
-Select the New Employee tab to start the process
3. Alternatively:
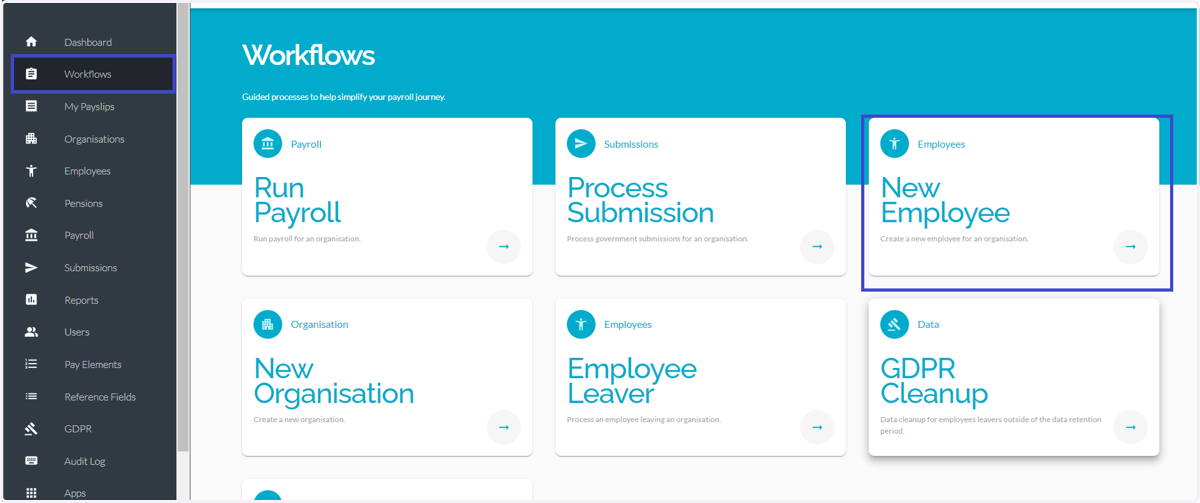
-Navigate to Workflows section on the left menu list, then select the New Employee tab to begin the process of adding a new employee.
4. Create a new Employee
Navigate to New Employee Section to add the basic information for the new Employee
* NOTE: Fields marked with an asterisk* are required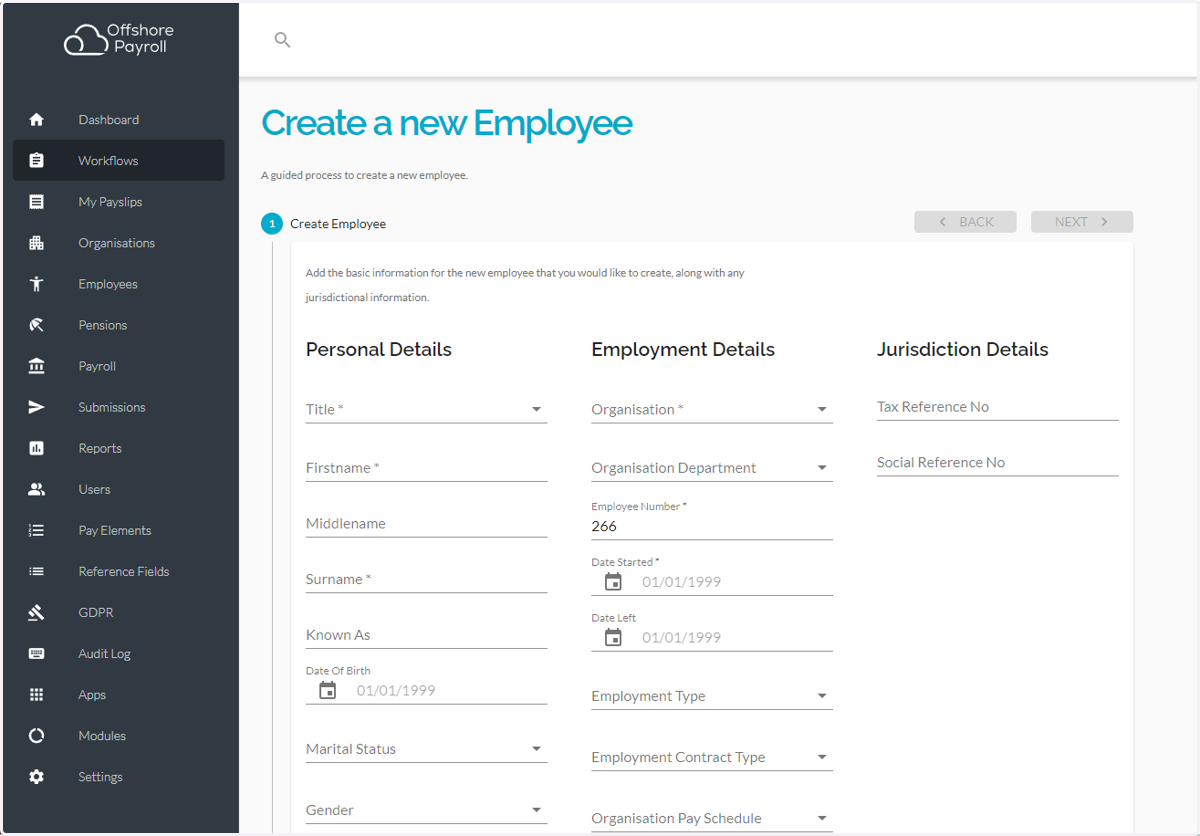
5. Personal Details
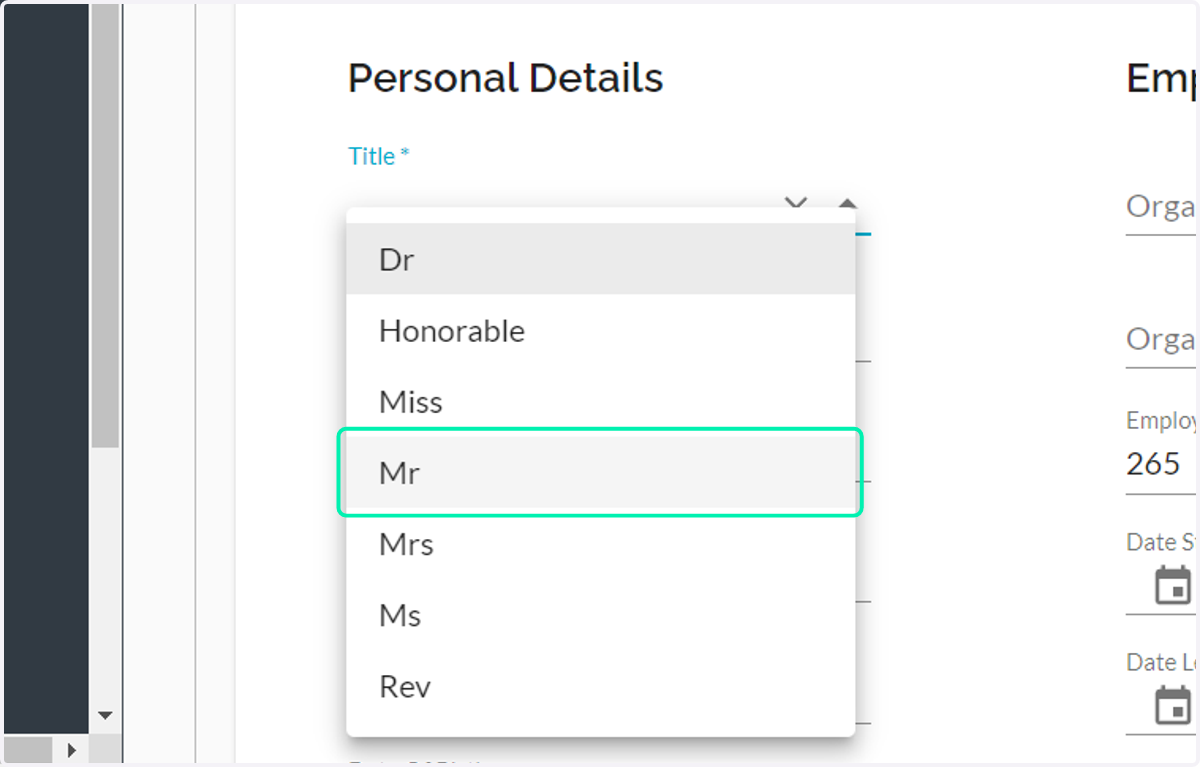
Title: Select the appropriate title (Mr., Mrs., Ms., etc.). You are limited to the titles Miss, Mr, Mrs, and Ms for Guernsey due to their restricted submissions
6. Employee's First Name
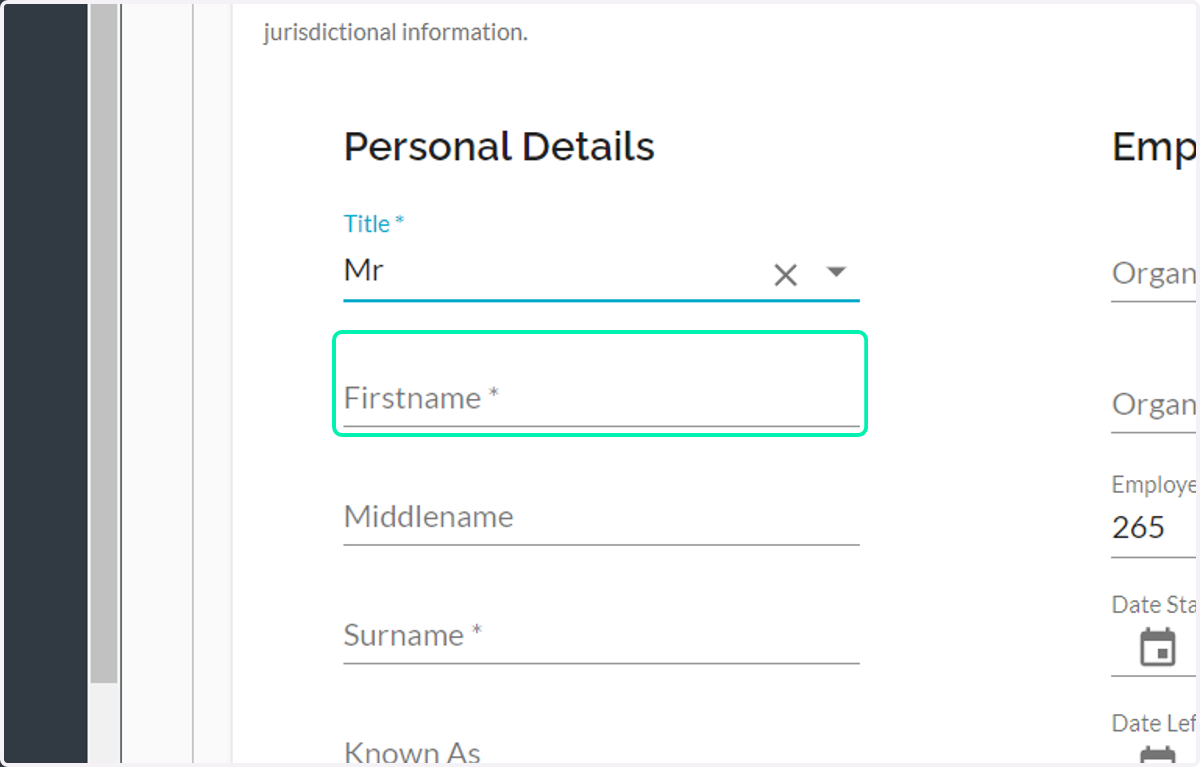
7. Employee's Surname
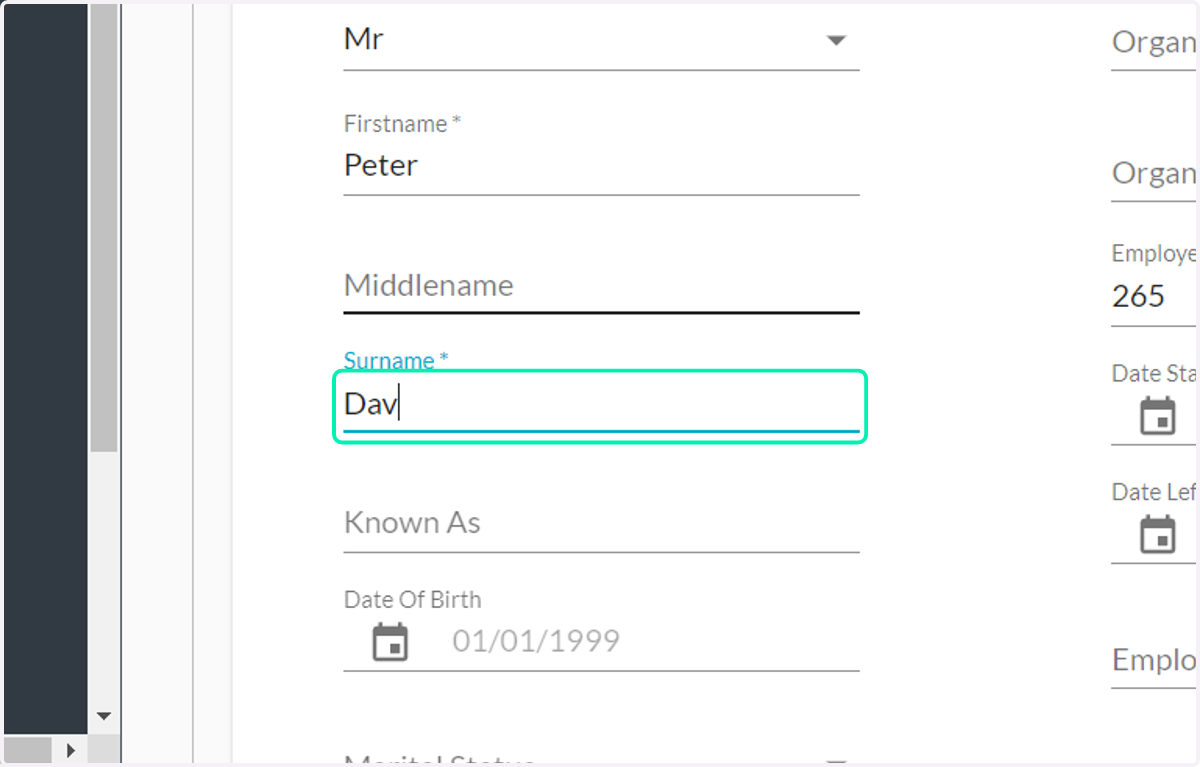
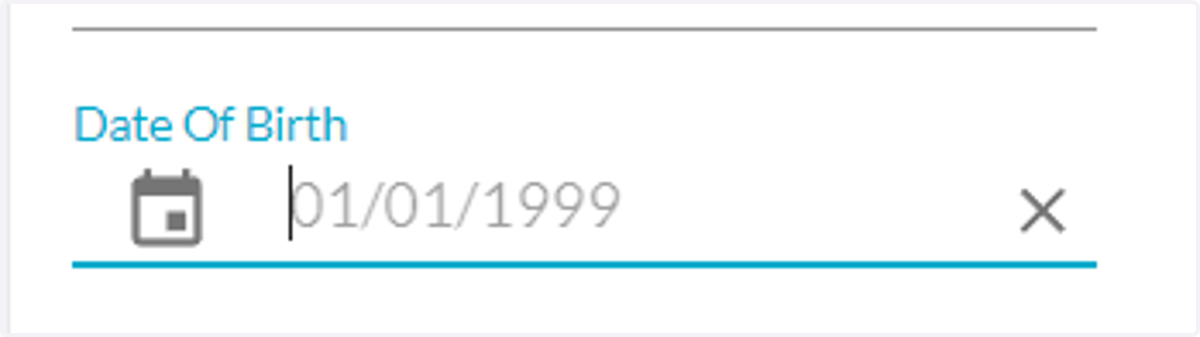
8. Date of Birth
Click on the calendar icon to select the Date of Birth or enter it manually
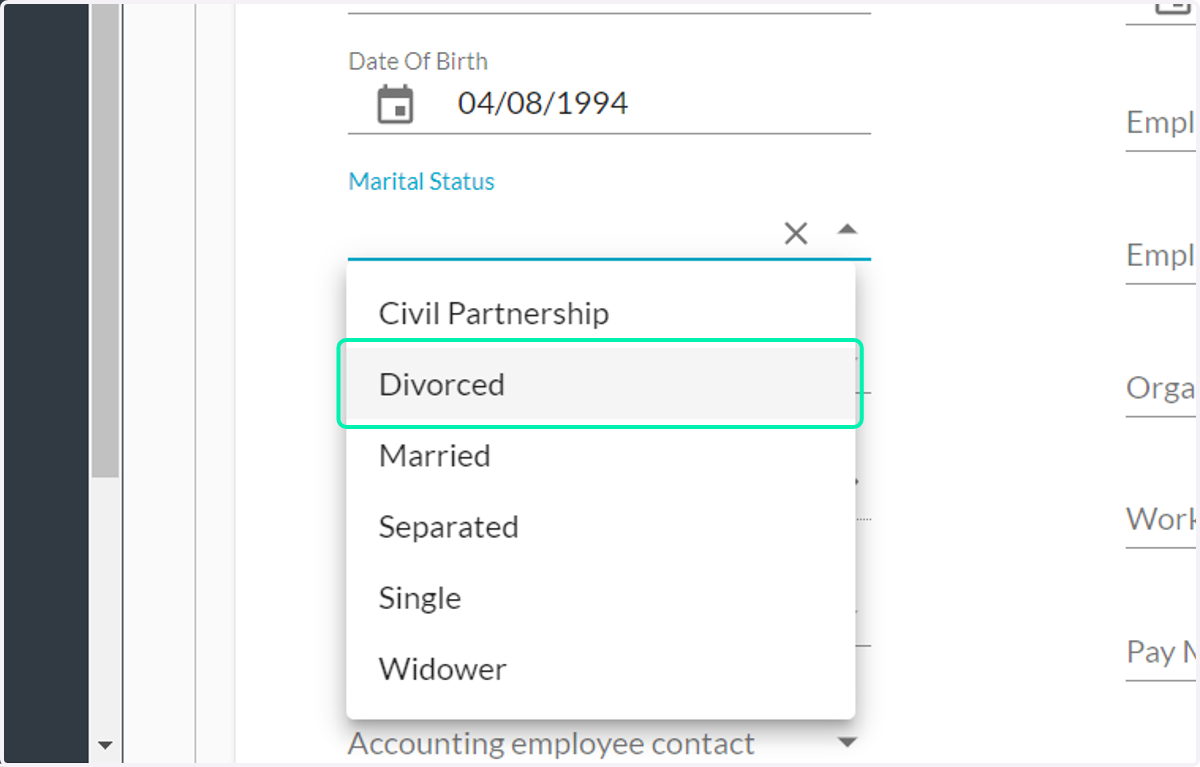
9. Marital Status (is not a mandatory field for Guernsey organisations)
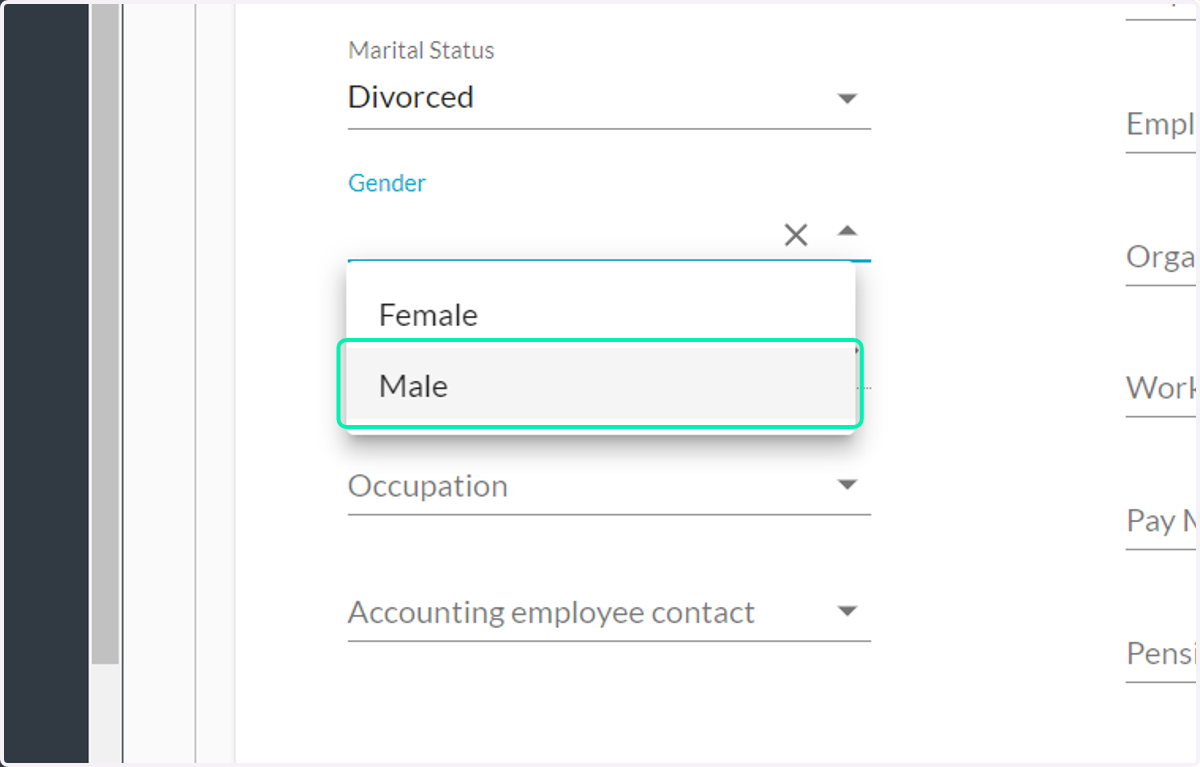
10. Gender (is not a mandatory field for Guernsey organisations)
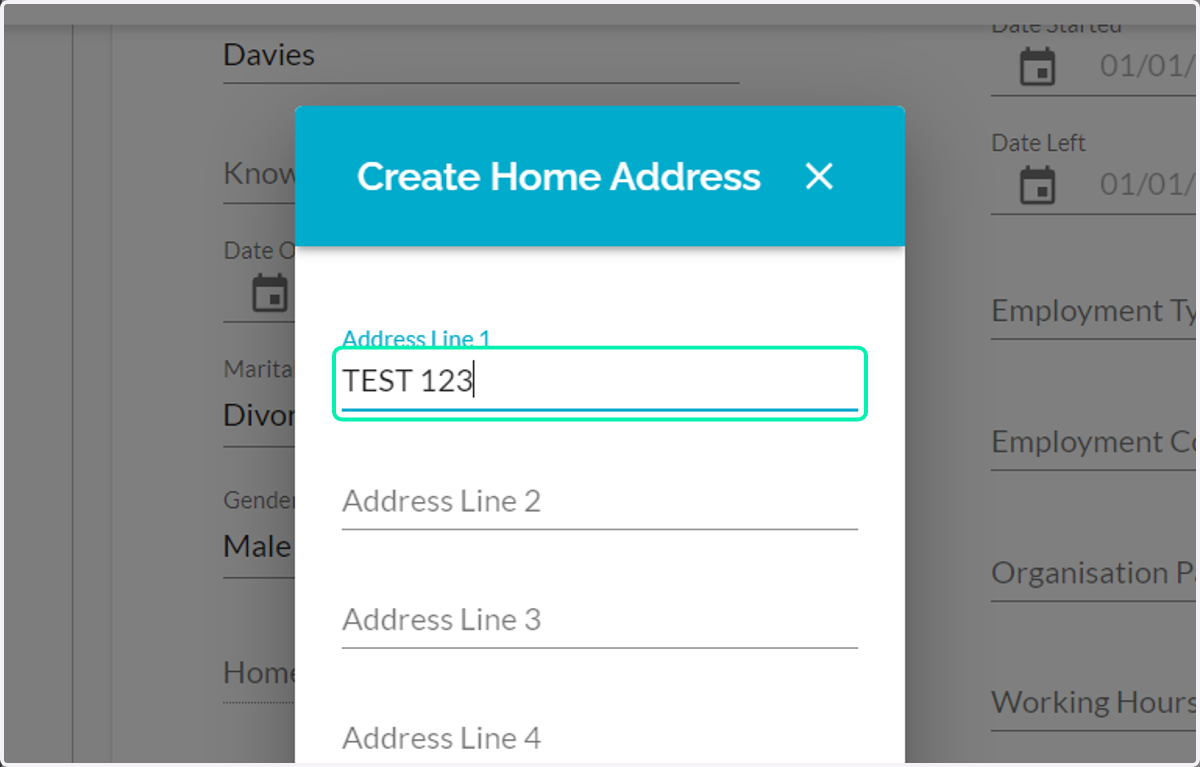
11. Home address
- Provide the Employee’s current address
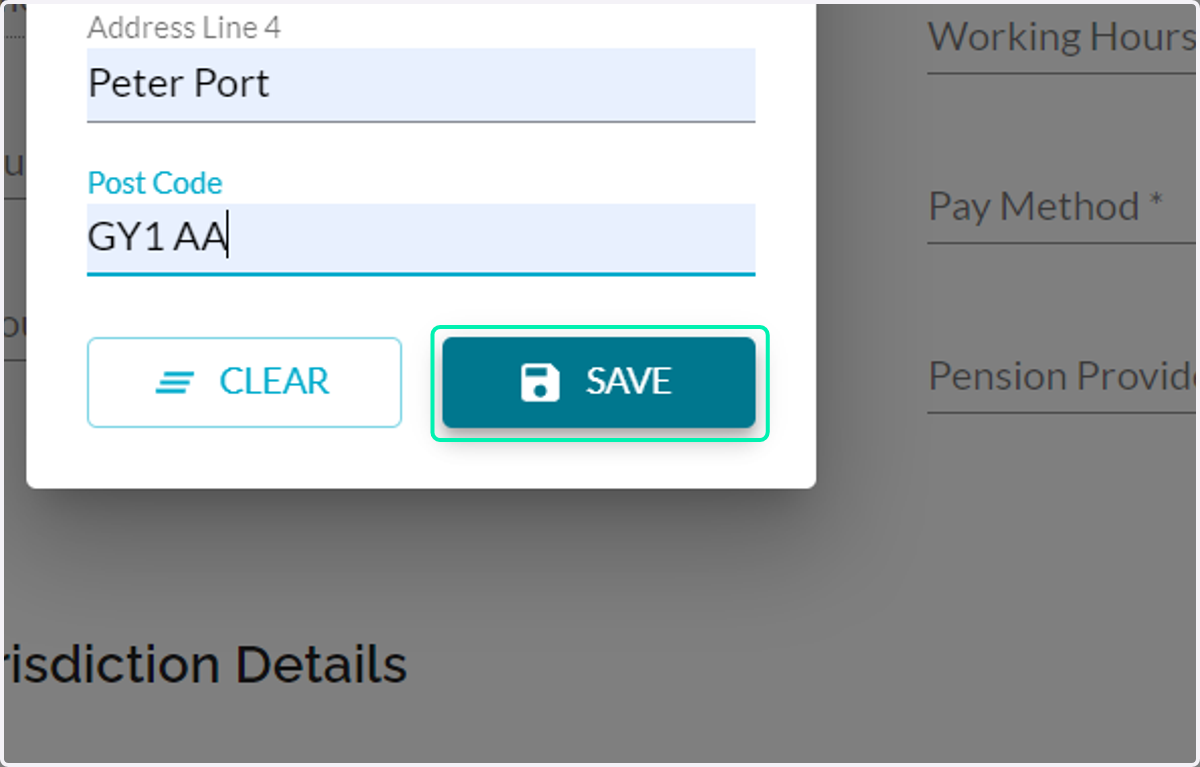
12. Click on Save to secure the details.
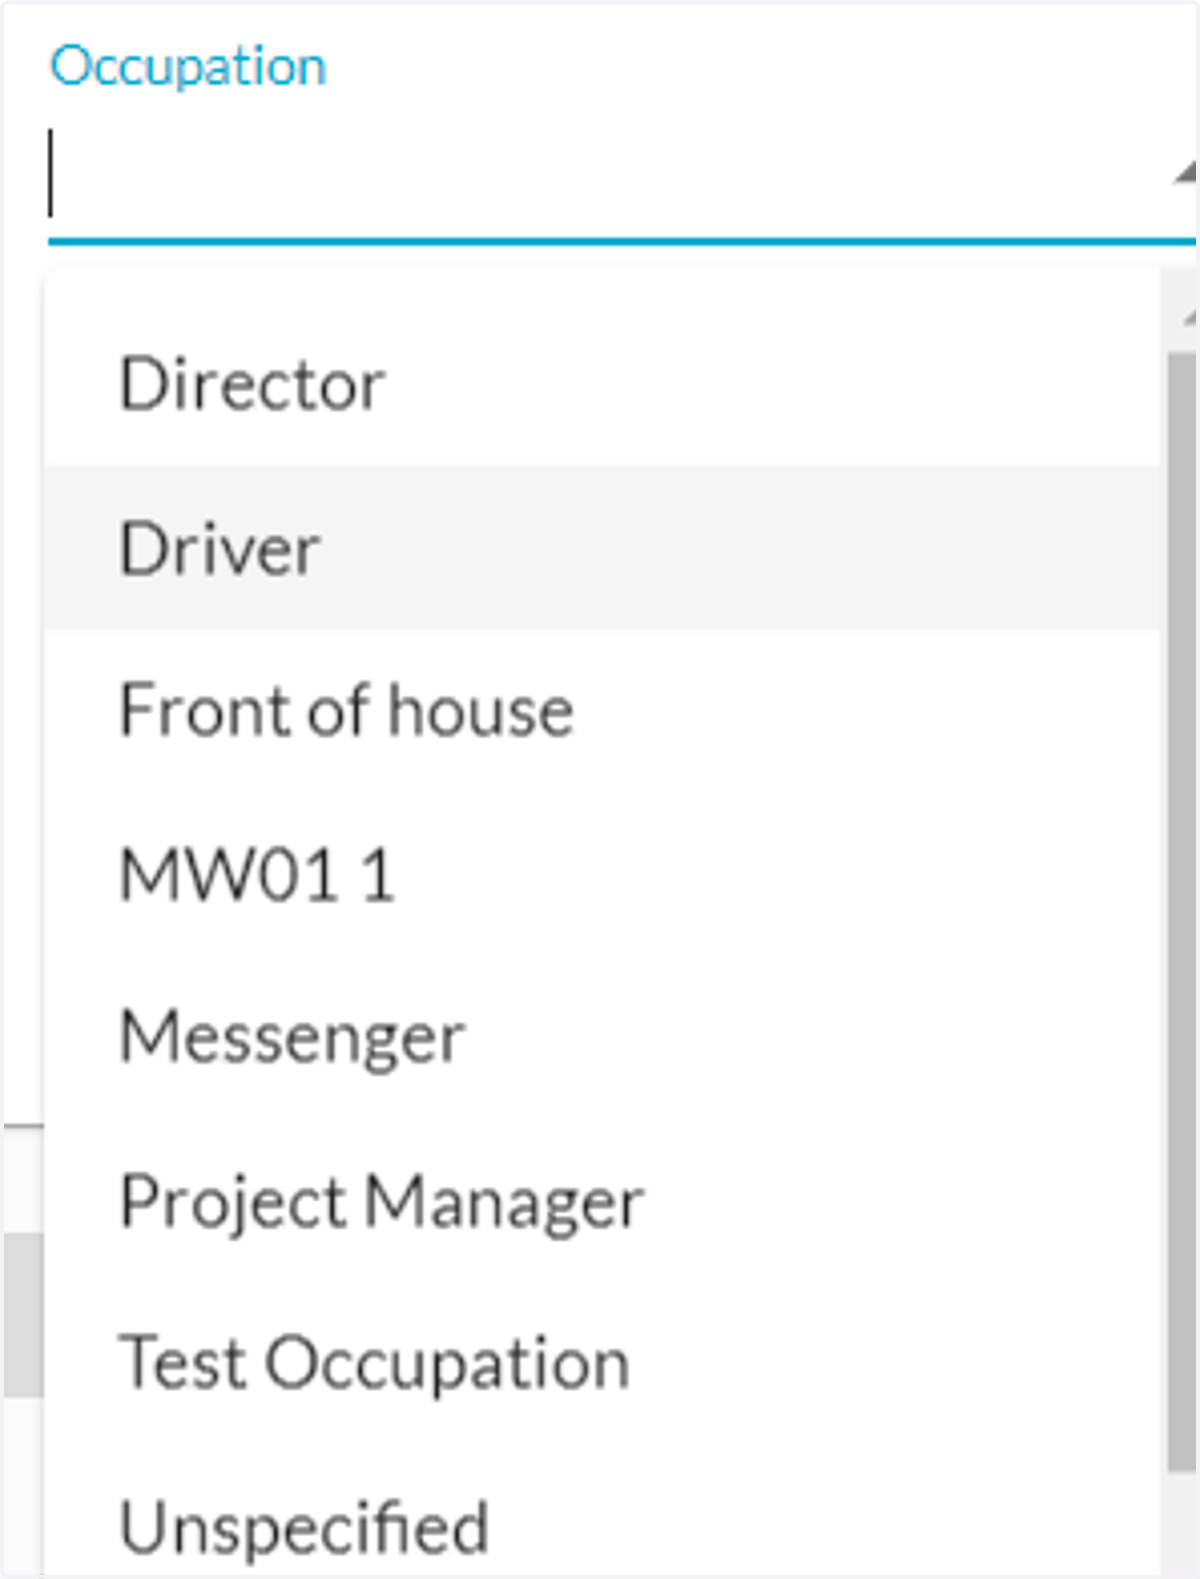
13. Occupation (is not a mandatory field for Guernsey organisations)
- Specify the Employee's job title or role
14. Employment Details. Complete the employment-related information about the employee:
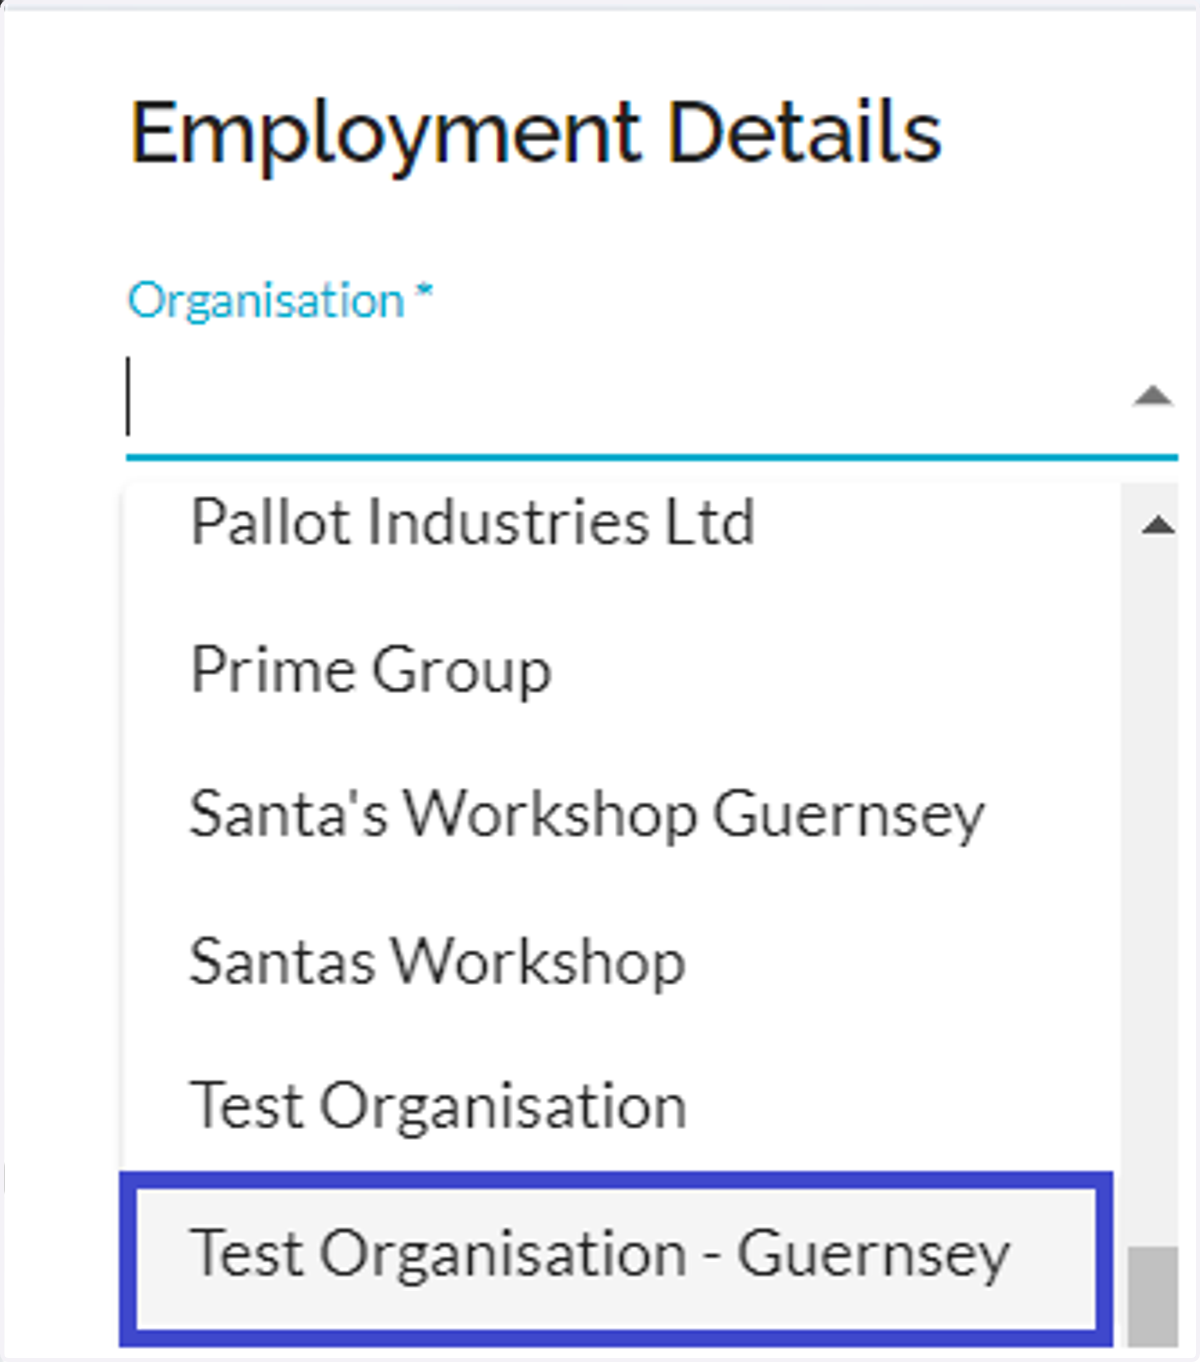
Organisation: select Test Organisation – Guernsey from the dropdownlist. This action links the employee to the organization and determines the jurisdiction details.
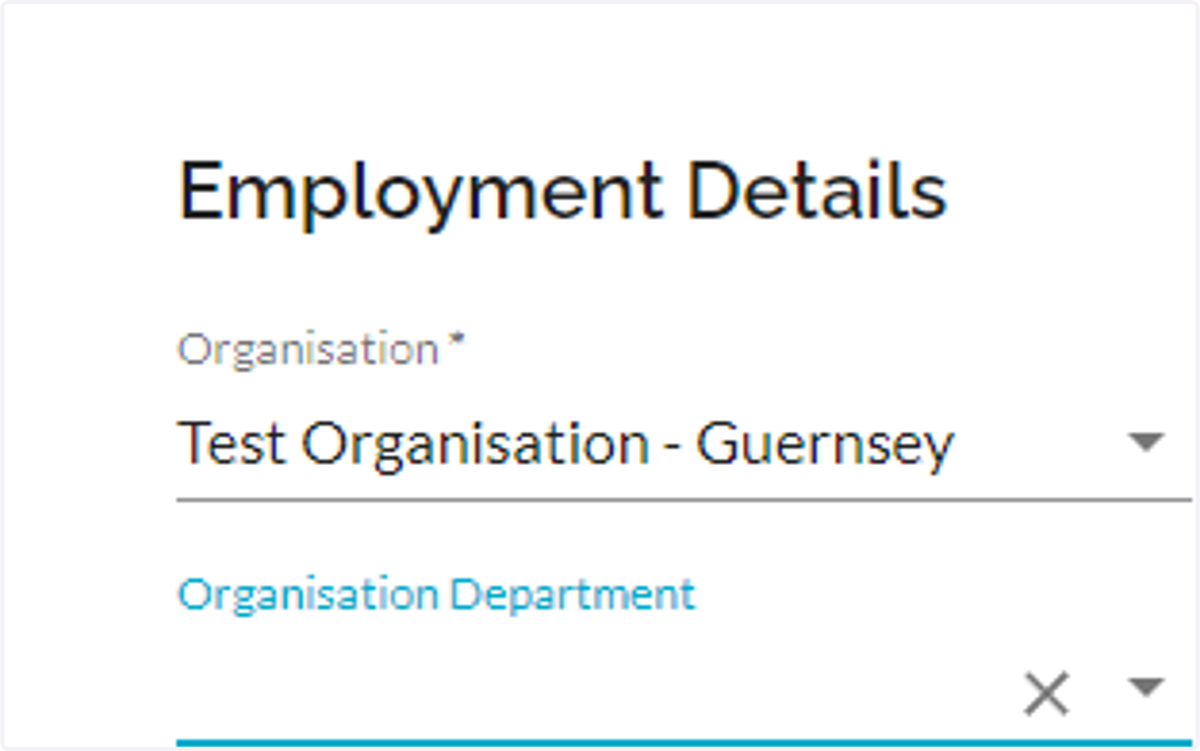
15. Organisation Department
- Click on Organisation Department to link the employee to a specific department if needed (departments should be created when the organization is set up).
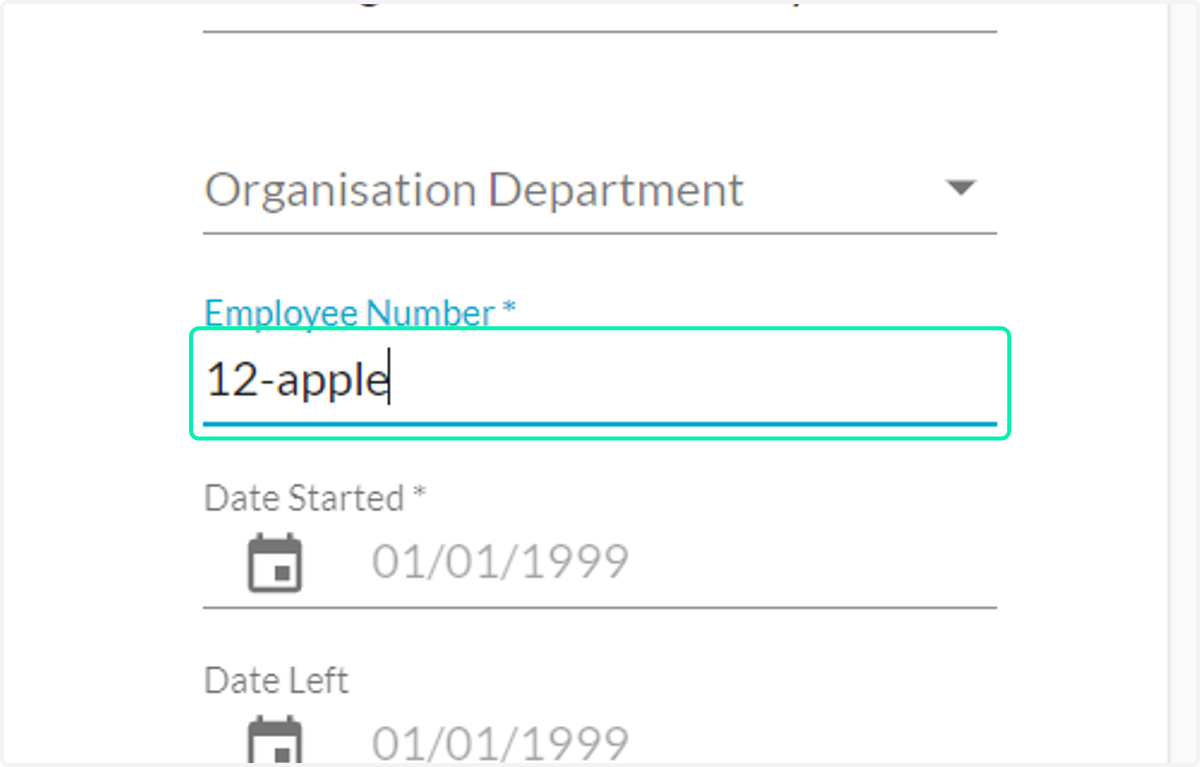
16. Employee Number
- Type your custom Employee number or the system will assign one automatically. Ensure that each employee within an organization has a unique reference.
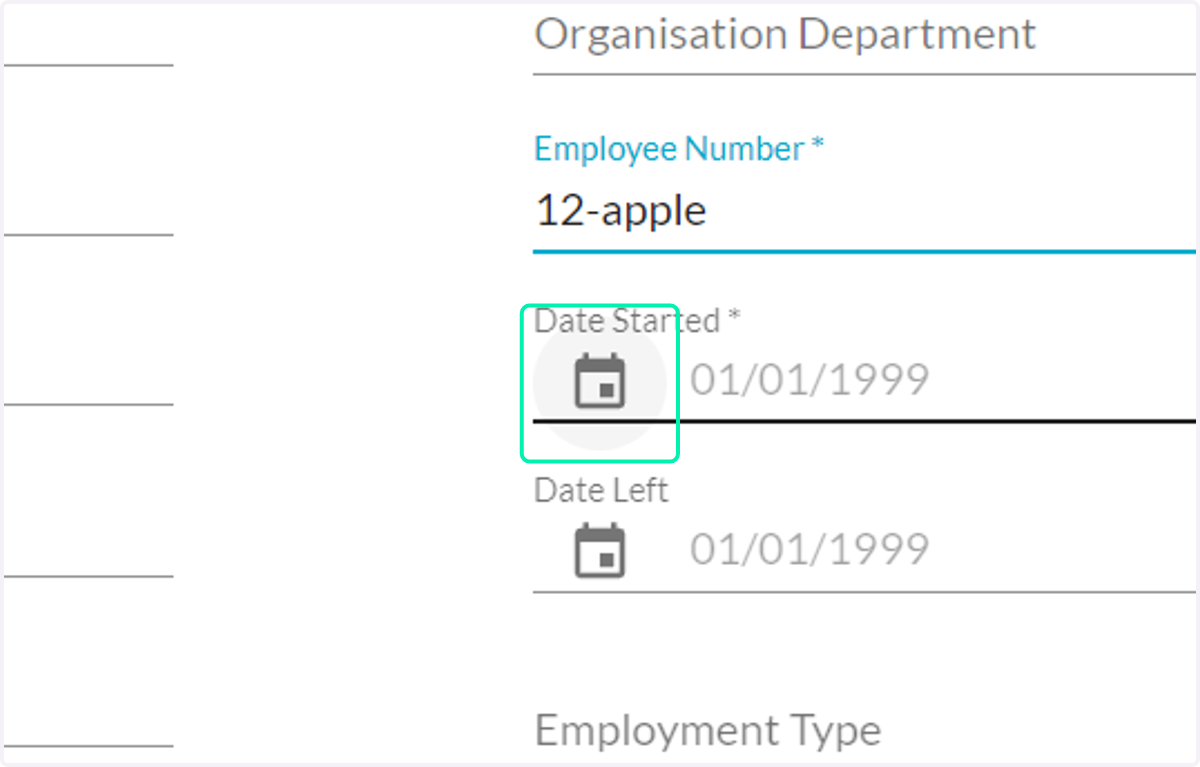
17. Date Started
- Click on Calendar icon to select the start date of employment or enter it manually
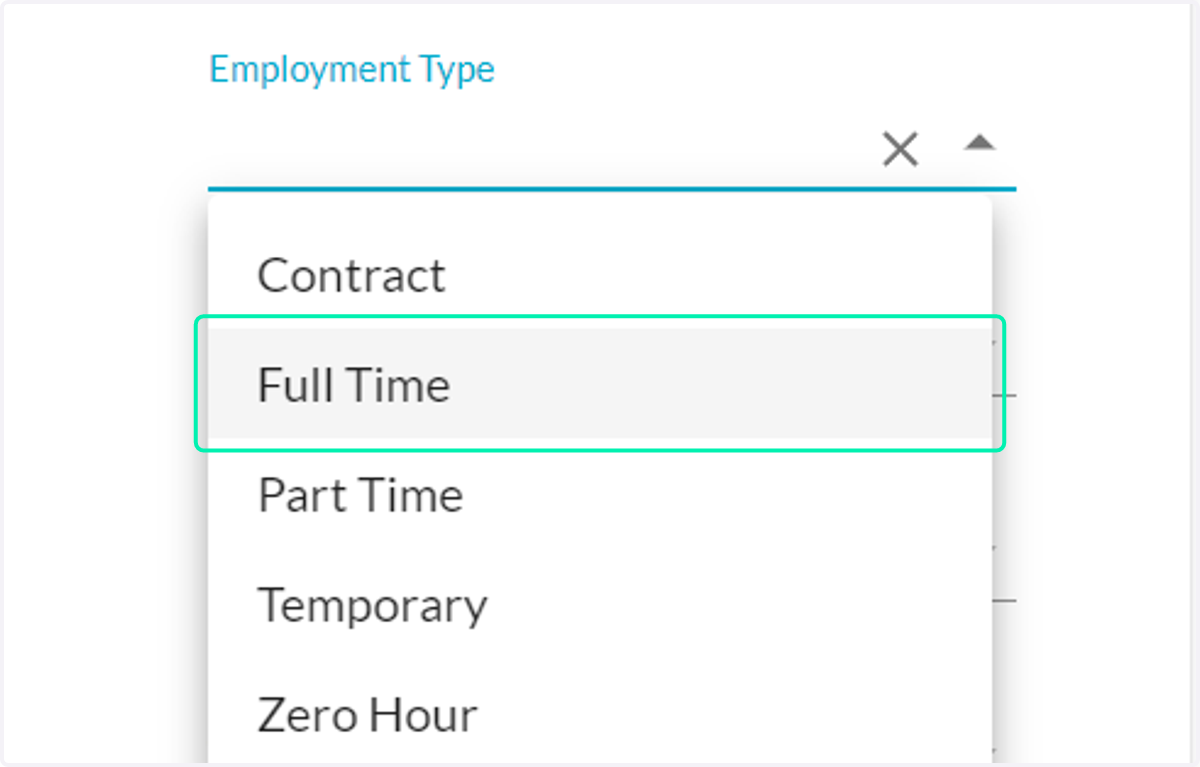
18. Employment Type
- Click on Employment Type and select one (Full-time, Part-time, etc.)
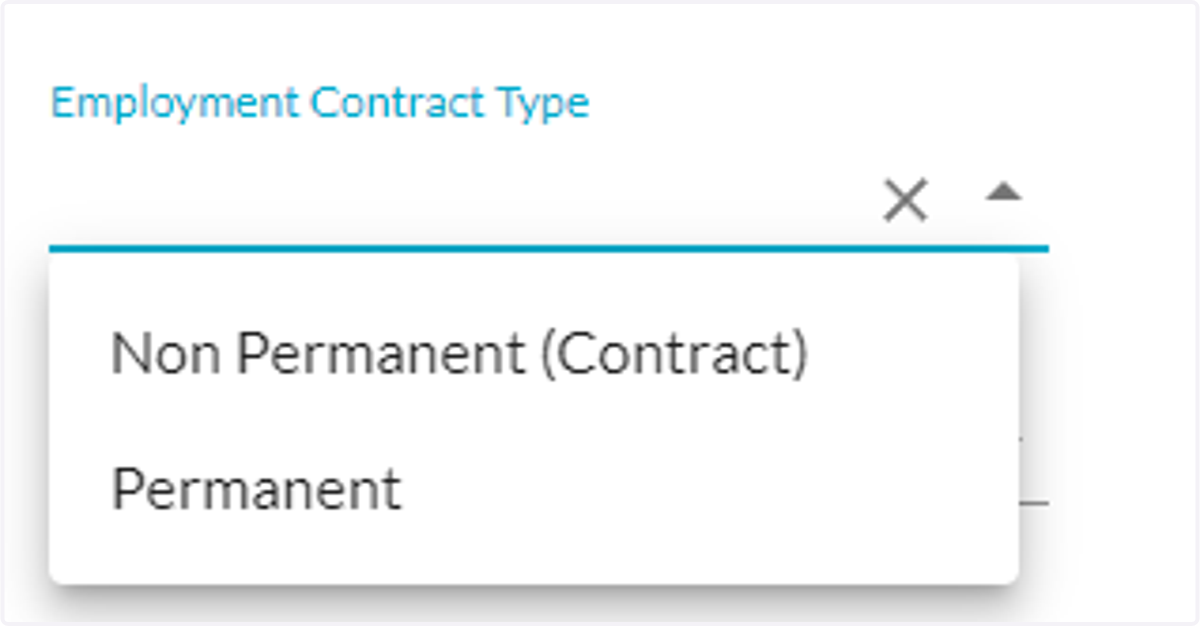
19. Employment Contract Type
- Choose the appropriate contract type (different tracking tags can be allocated).
20. Organisation Pay Schedule
- Click on Salary to set payment intervals
*Note:If an employee is included in two pay schedules for an organisation the employee must be created twice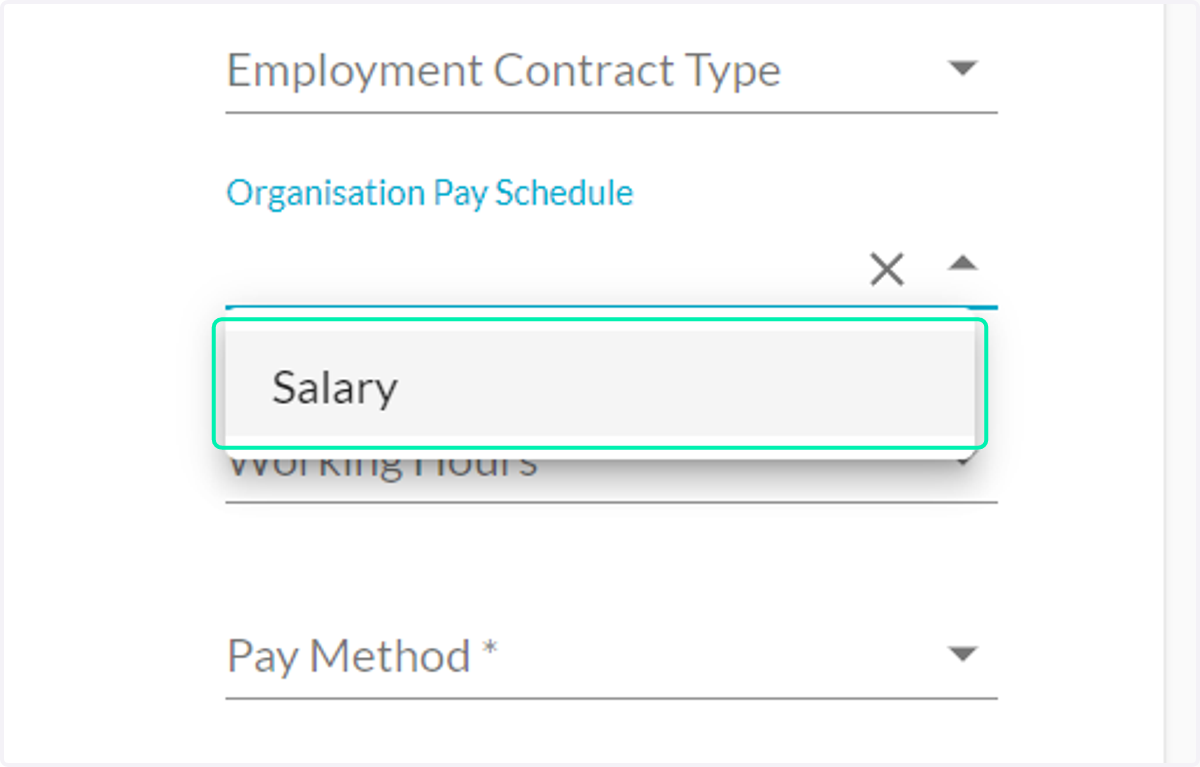
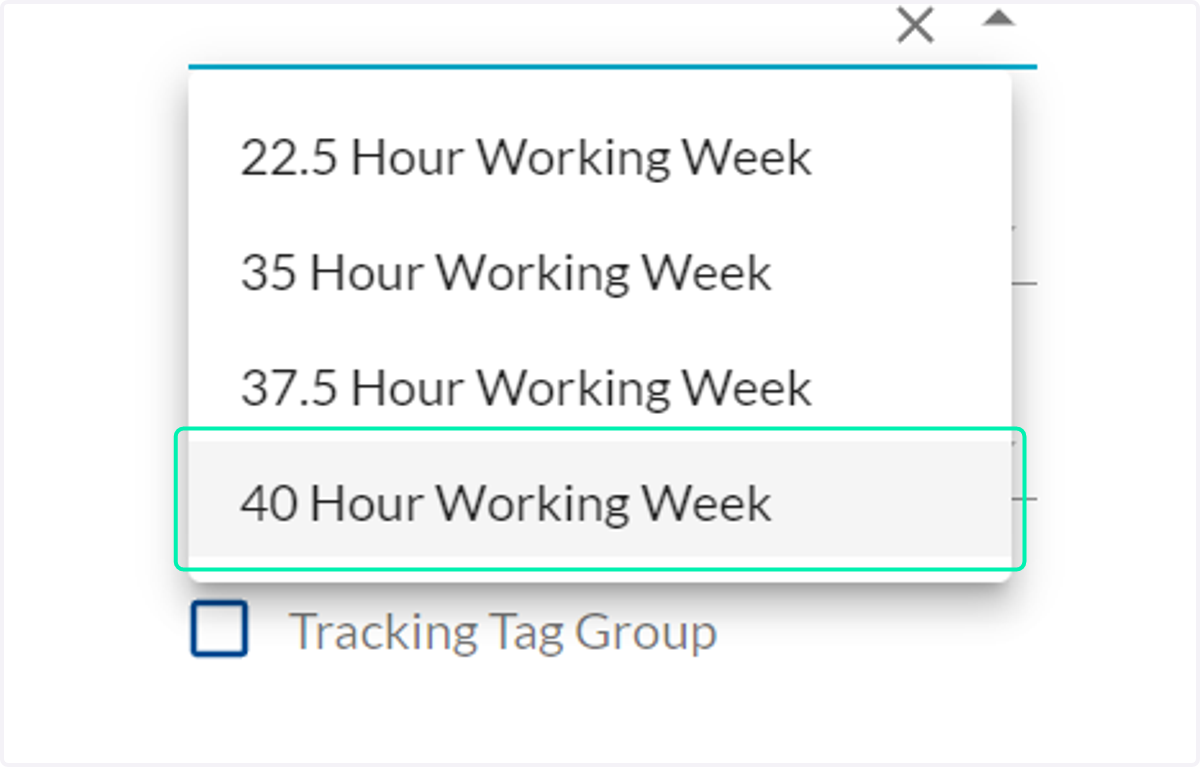
21. Working Hours
- Specify the number of hours the employee will work weekly.
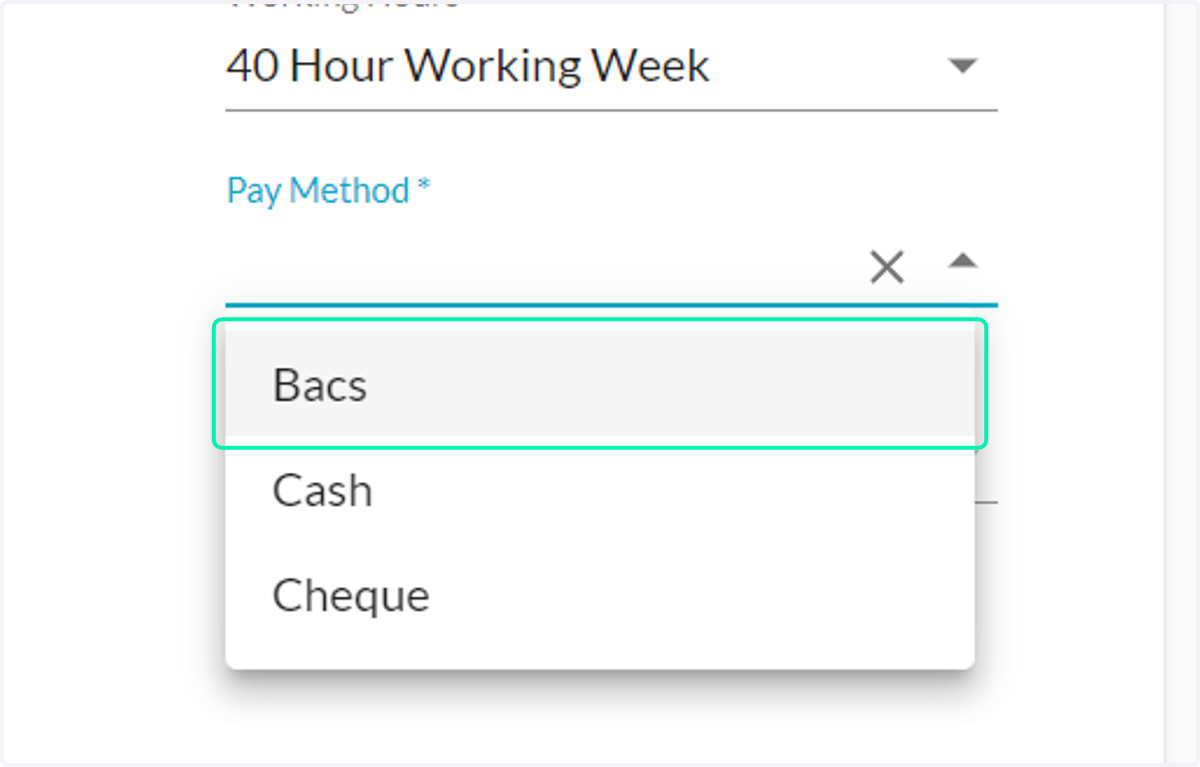
22. Pay Method
- Choose the preferred payment method for the employee.
(Selecting the Bacs option will allow you to generate a Bacs file)
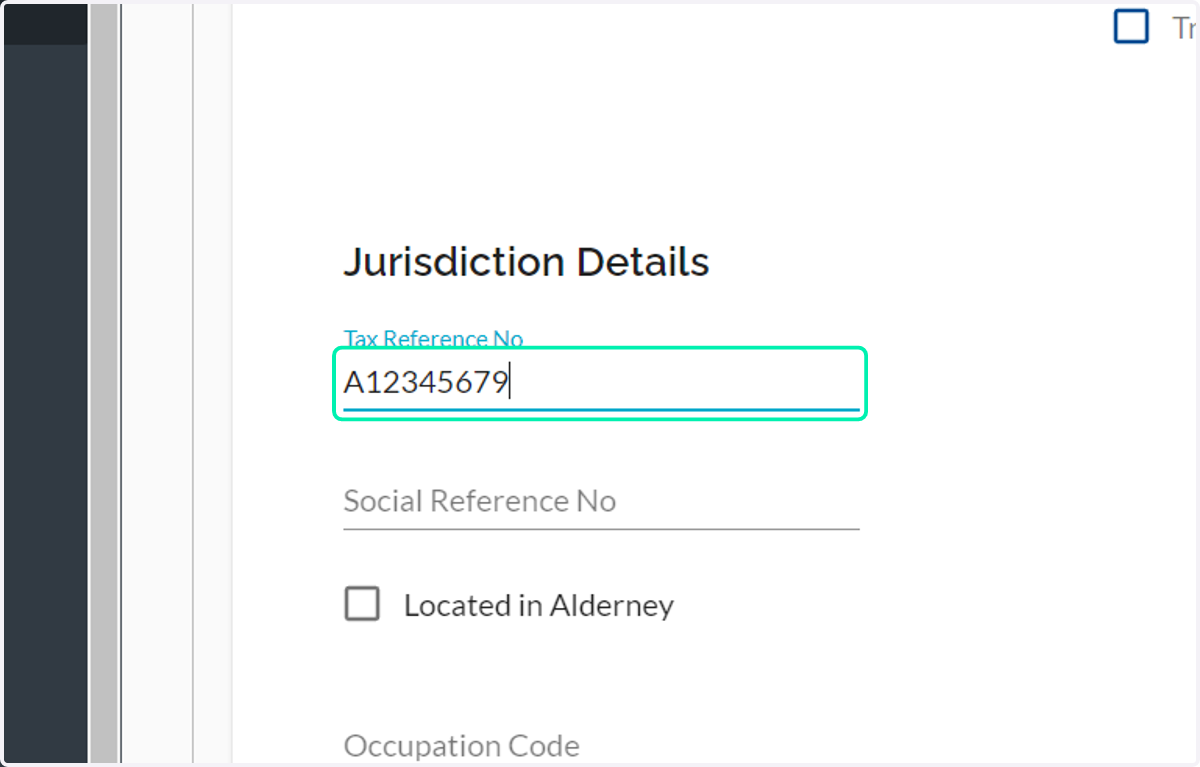
23. Juridiction Details
Tax Reference No: Enter the unique tax reference number (ITIP No.)
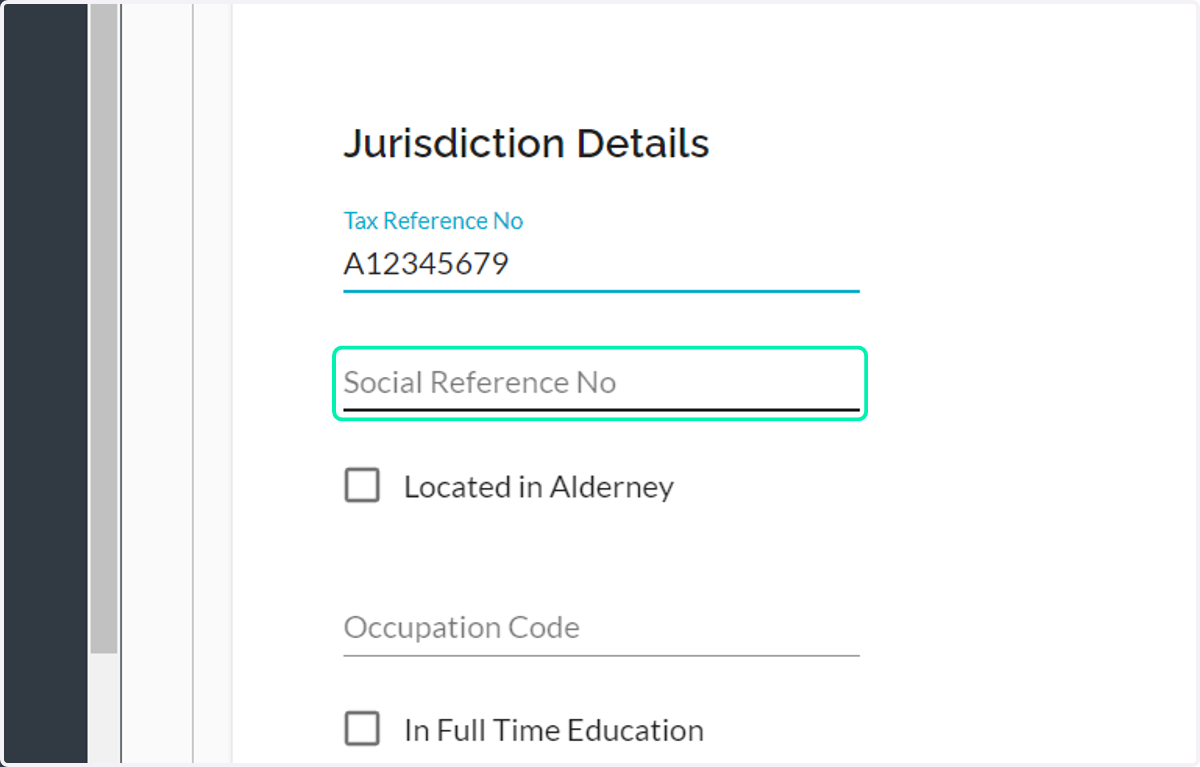
24. Social Reference No
- Input Social Reference Number
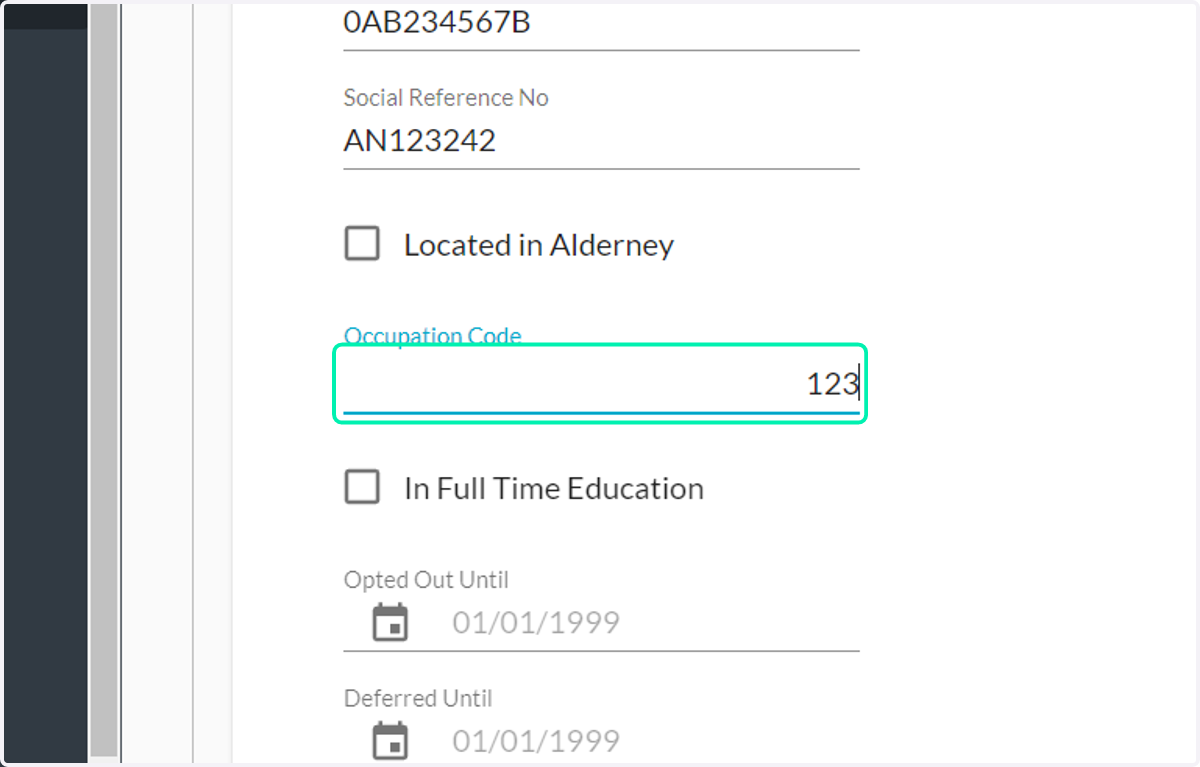
25. Occupation Code
Type Occupation Code
26. Click on SAVE
Once you have filled out this information, click on Save to secure the details or click on Clear to clear all the fields

27. Add Employee Salary
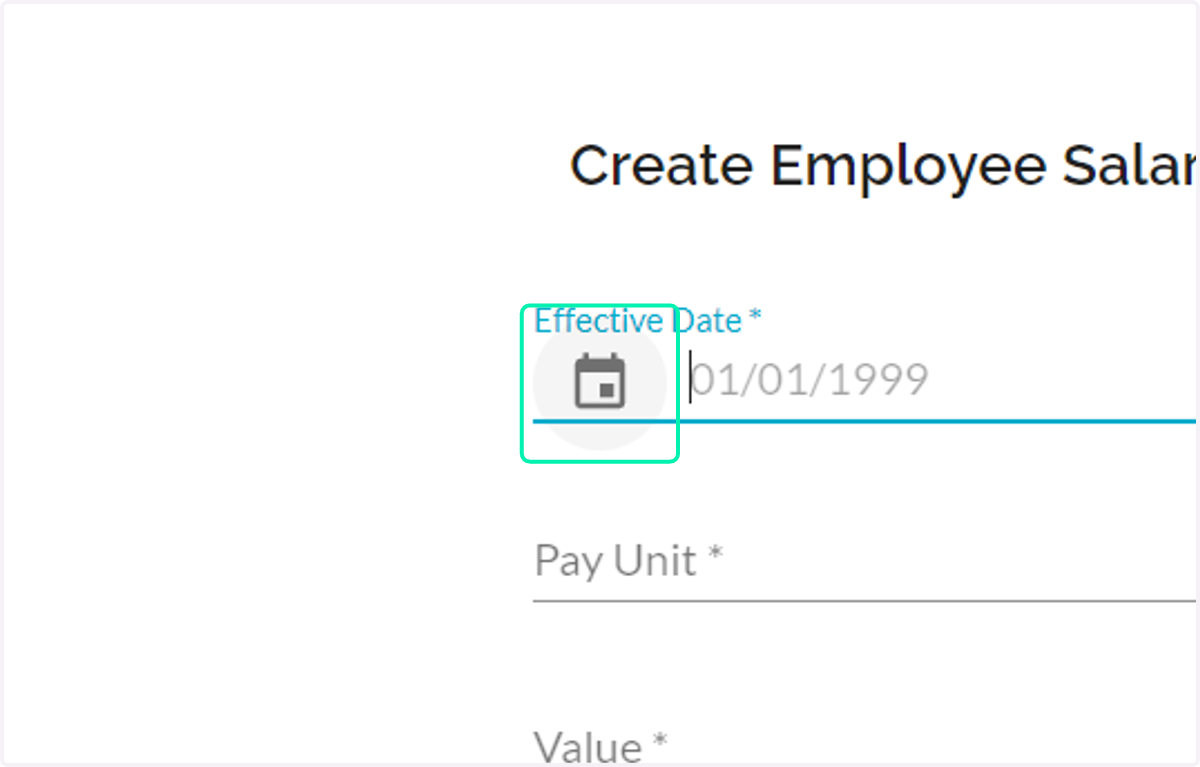
Effective Date: Click on calendar icon and select the date from which the salary or tax/social record becomes applicable or enter it manually.
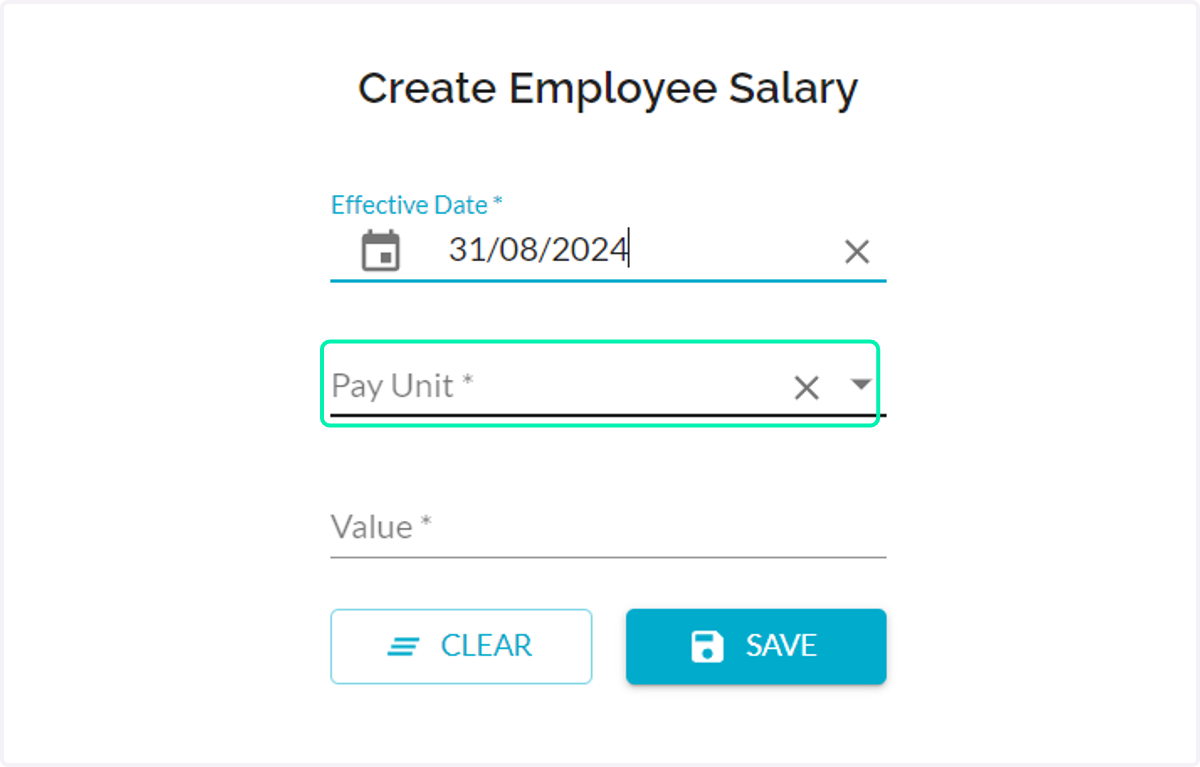
28. Pay Unit
- Select the frequency of payment (weekly, monthly, etc.).
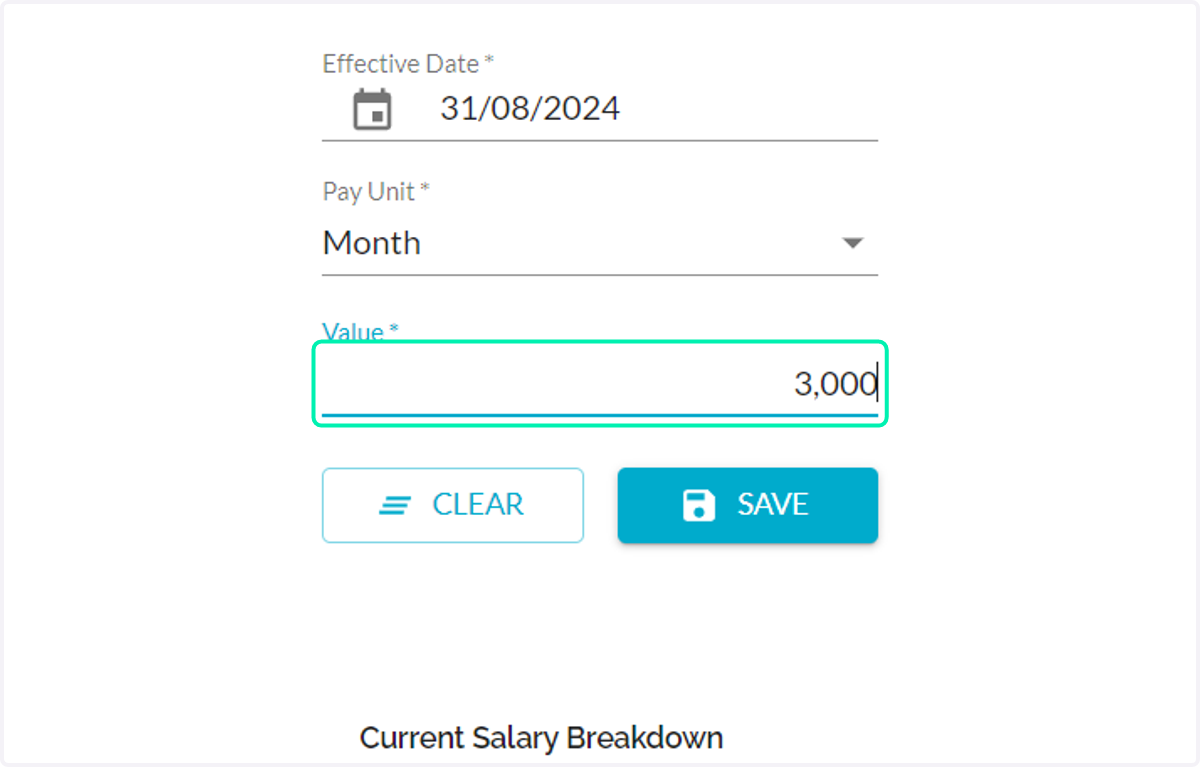
29. Value
- Input the employee's salary amount.
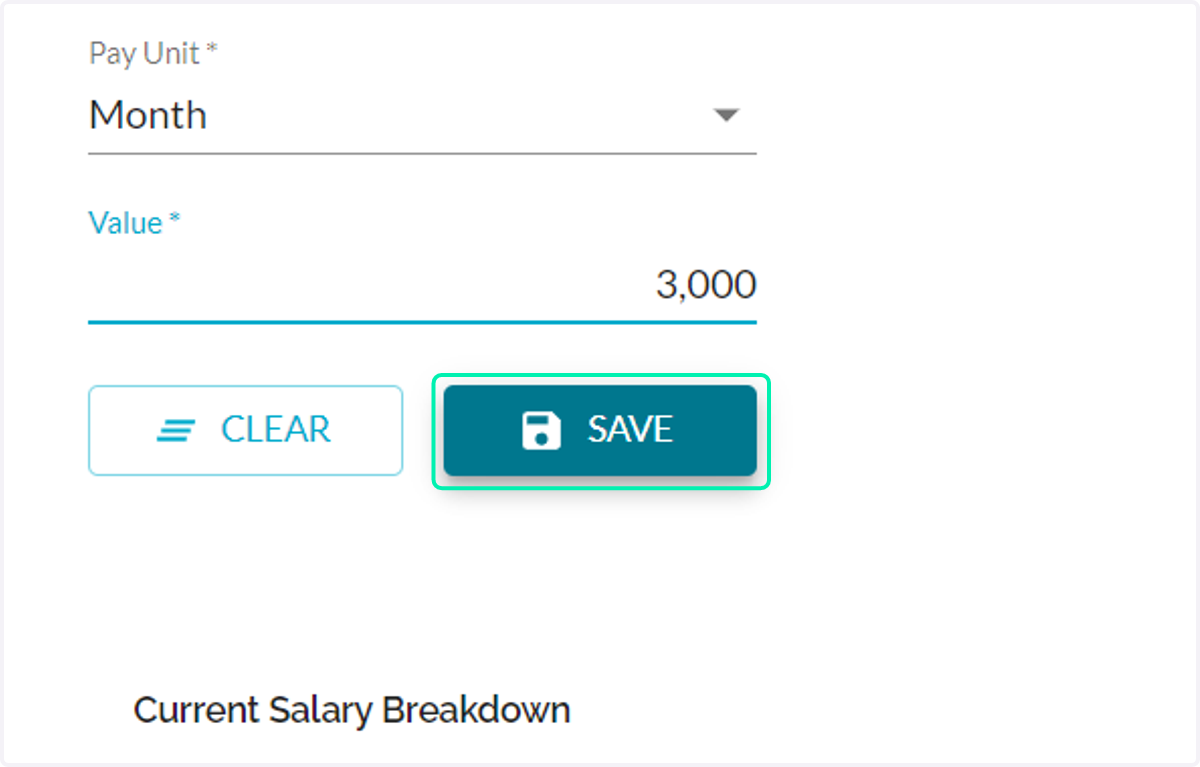
30. Click on SAVE
After entering this information, click on Save to proceed to the next stage.
31. Click on NEXT to go to the next section
32. Configure Tax Rate Information
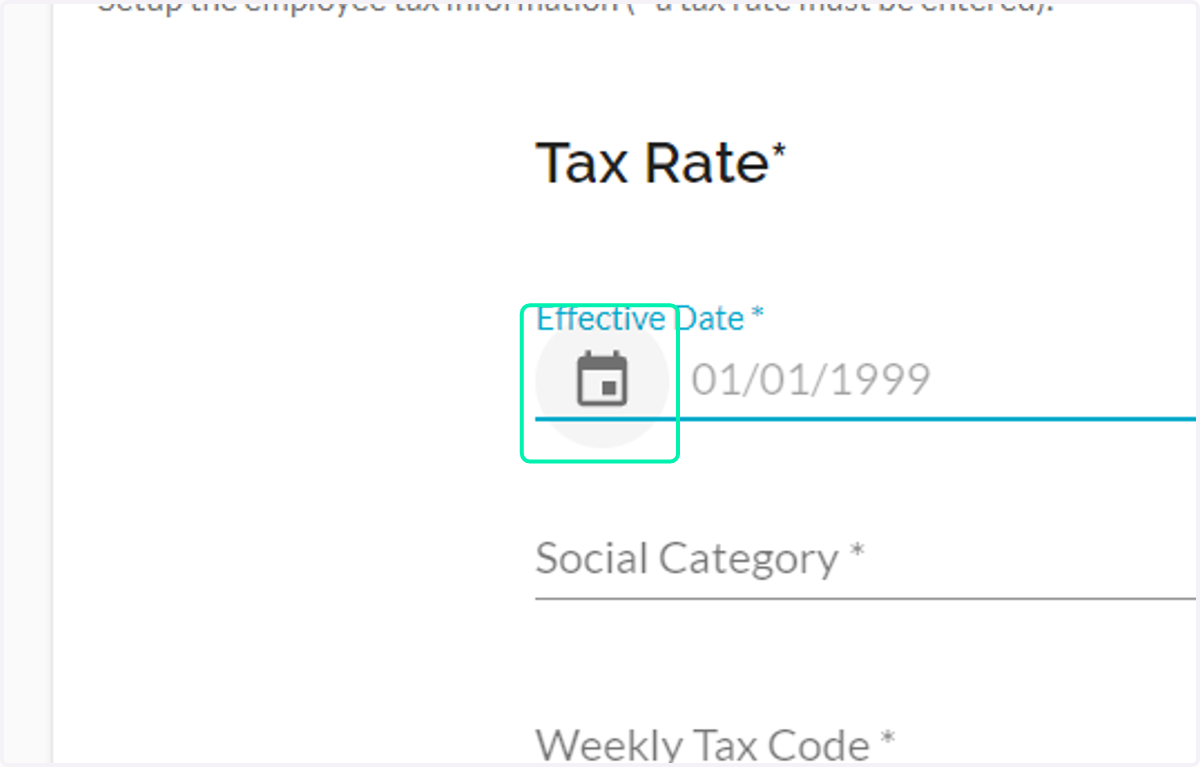
Effective Date: Click on calendar icon to select the effective date for the tax rate or enter it manually.
33. Social Category
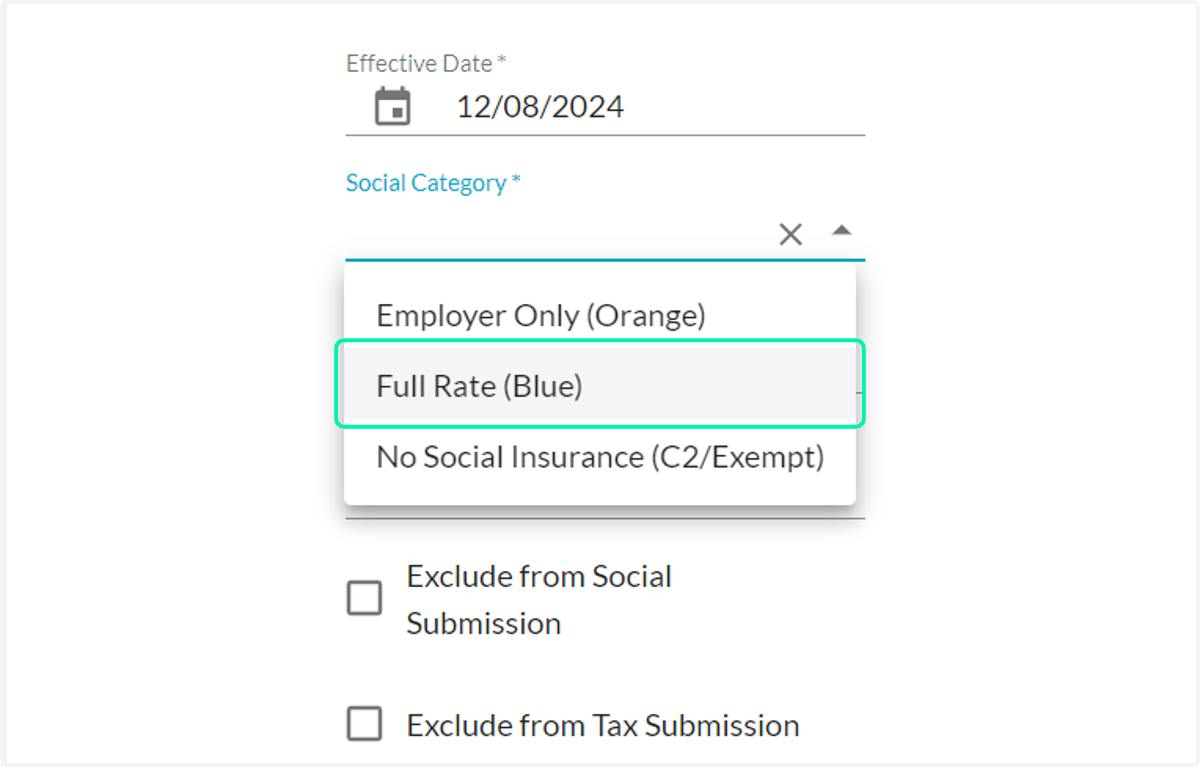
- Select the employee's category : Orange, Blue, or Class 2 category—compliant with Guernsey social security.
34. Weekly and Monthly Tax Code
- Enter Weekly and Monthly Tax Code.
*NOTE: Use caution when marking an employee exempt from manpower, social or tax. They will be processed through payroll but will not receive any social/tax deductions and will not be processed in any manpower, social or tax governmental returns.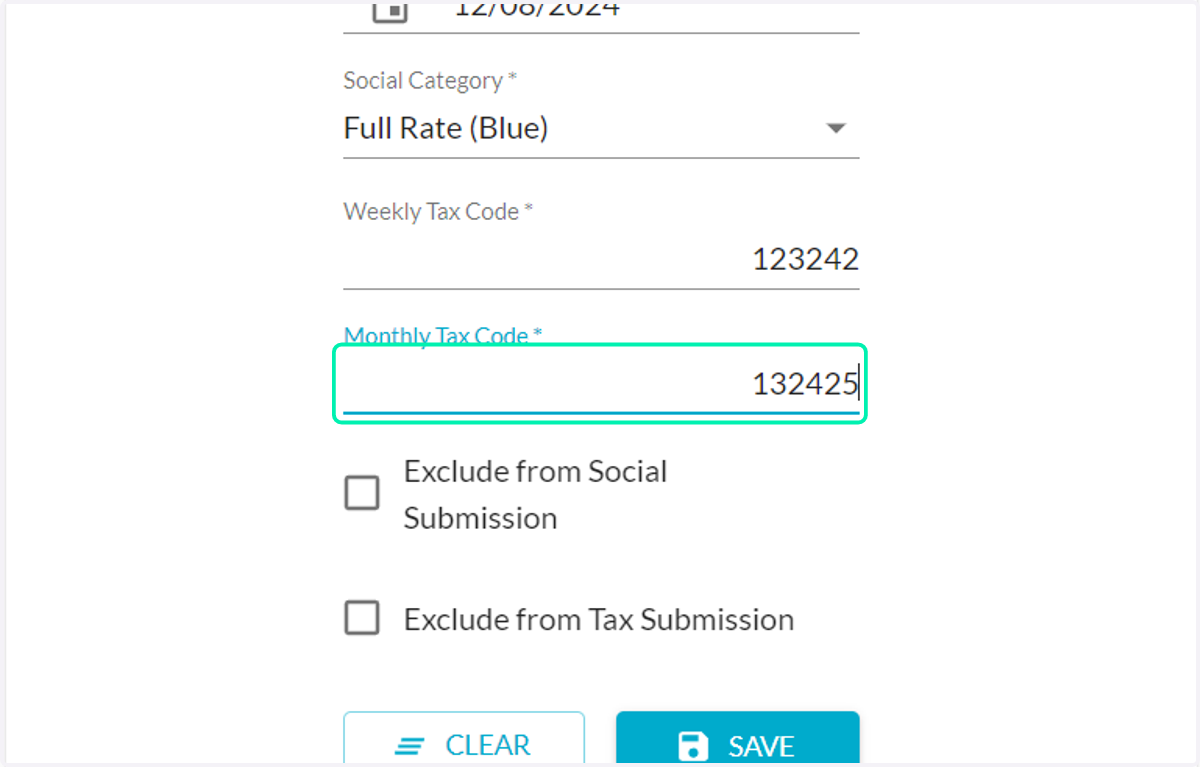
35. Click on SAVE
Don’t forget to click on Save to record this information.
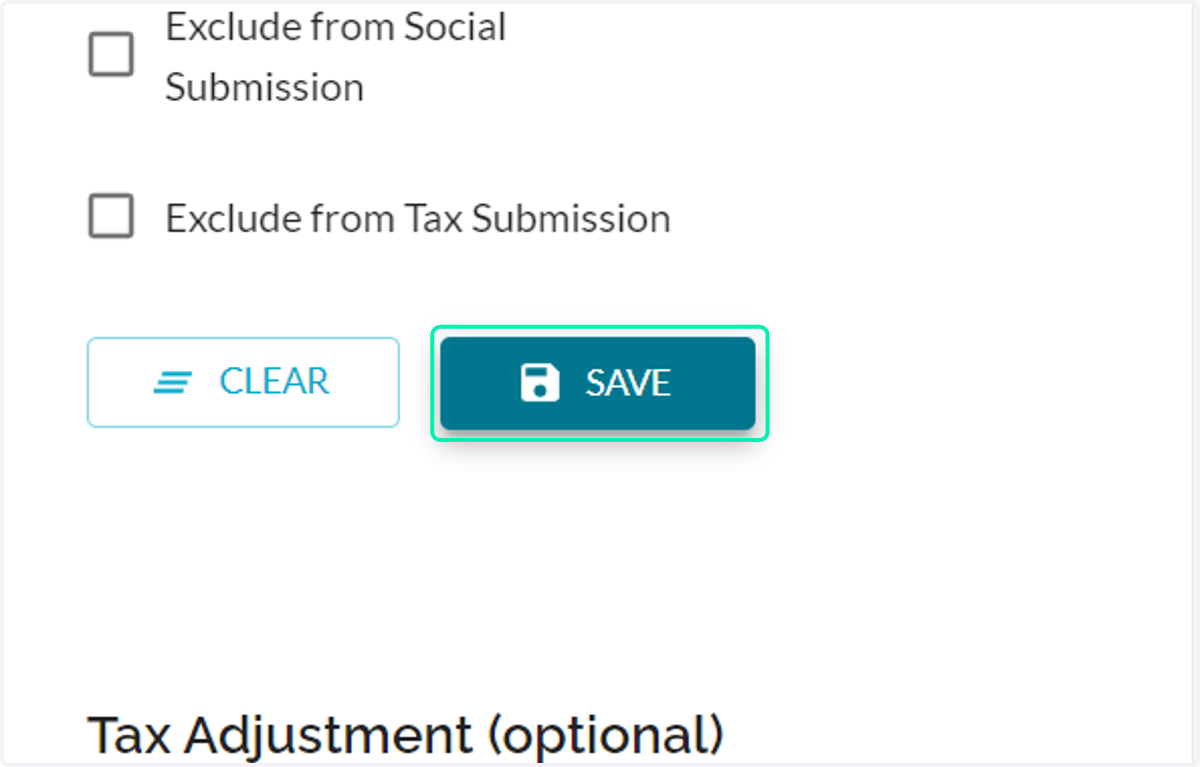
36. Tax Adjustmen (this step is optional)
- Click on the Tax Adjustments icon on the top right
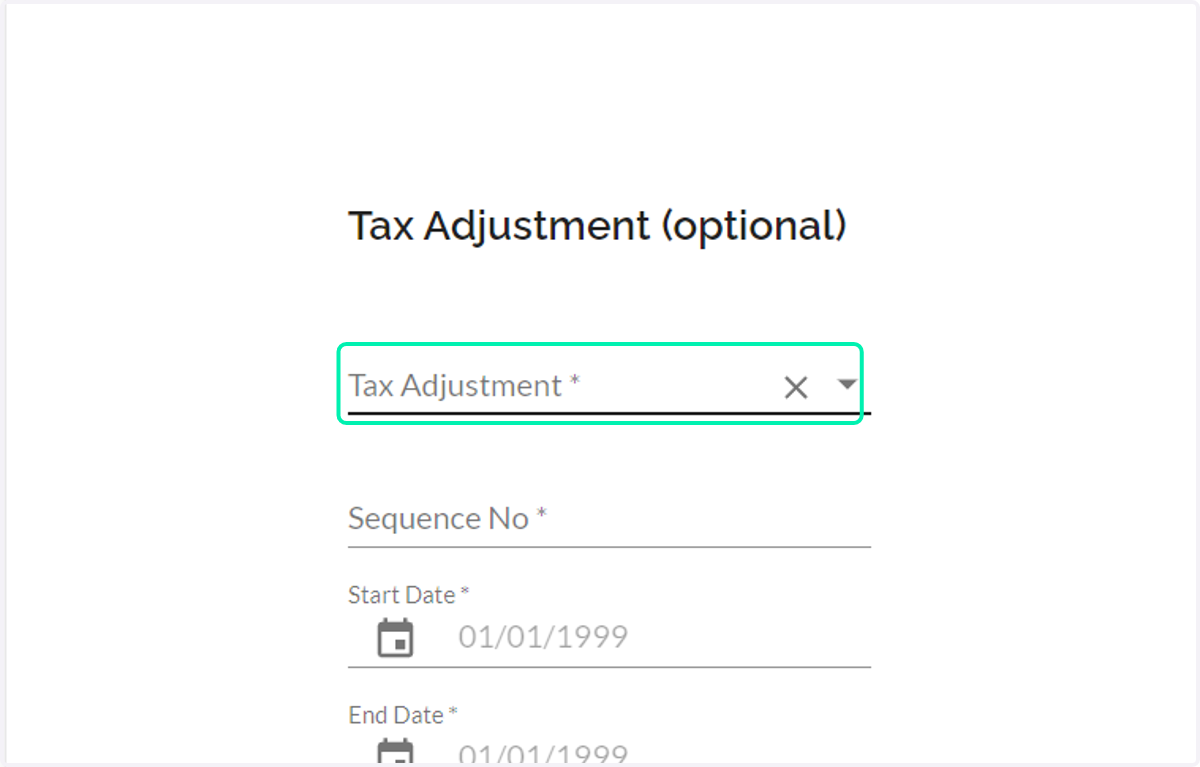
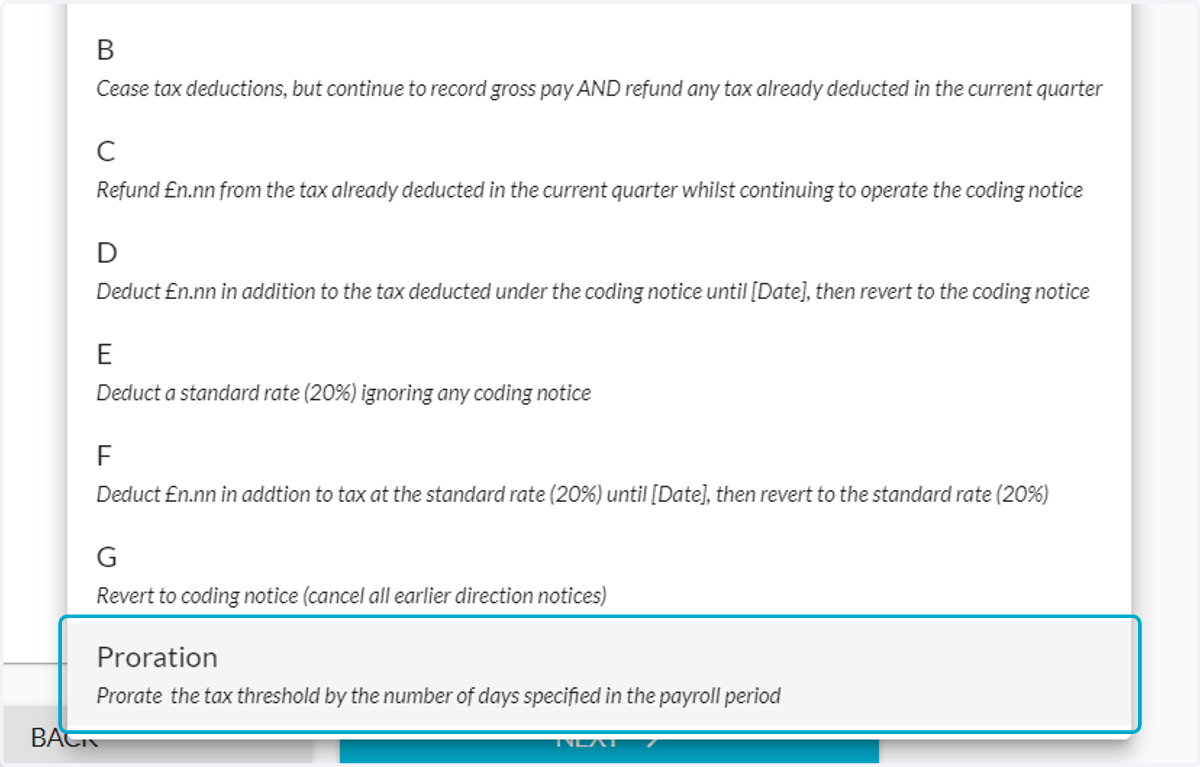
37. -Select one of the options if needed
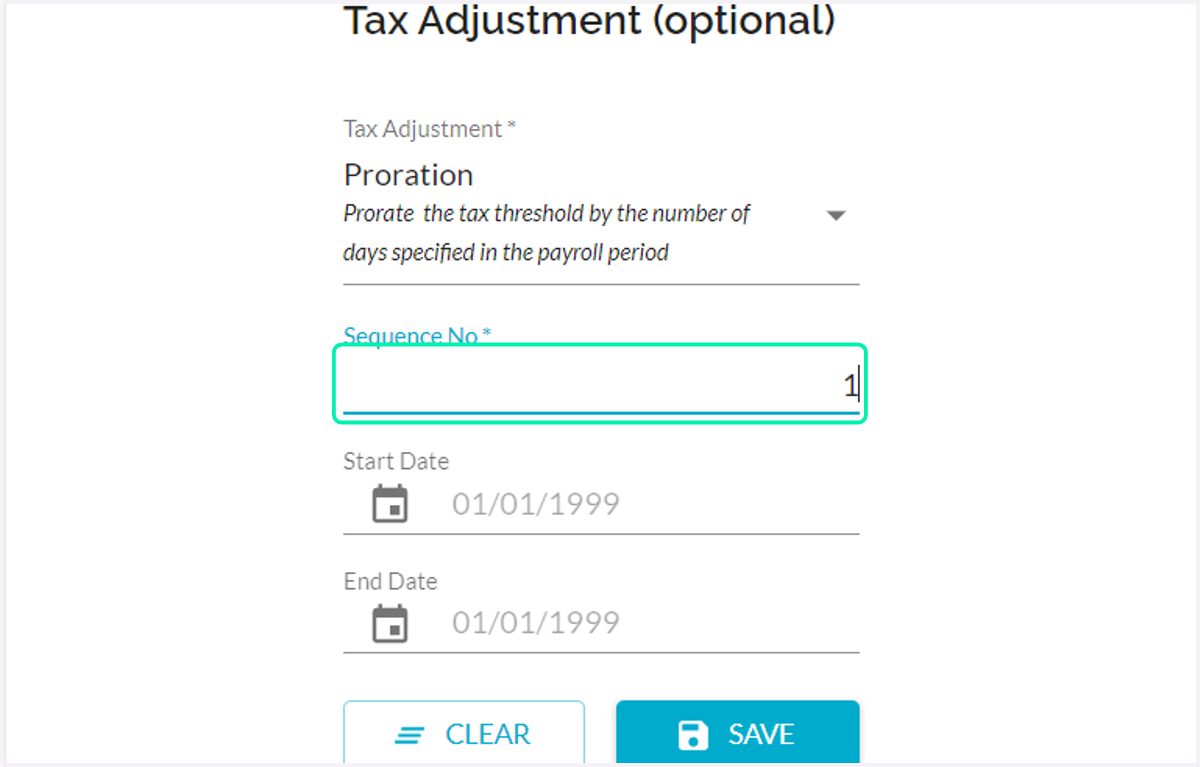
38. Sequence No
- Enter the Sequence Number (the direction notice number as stated on the employee's direction notice).
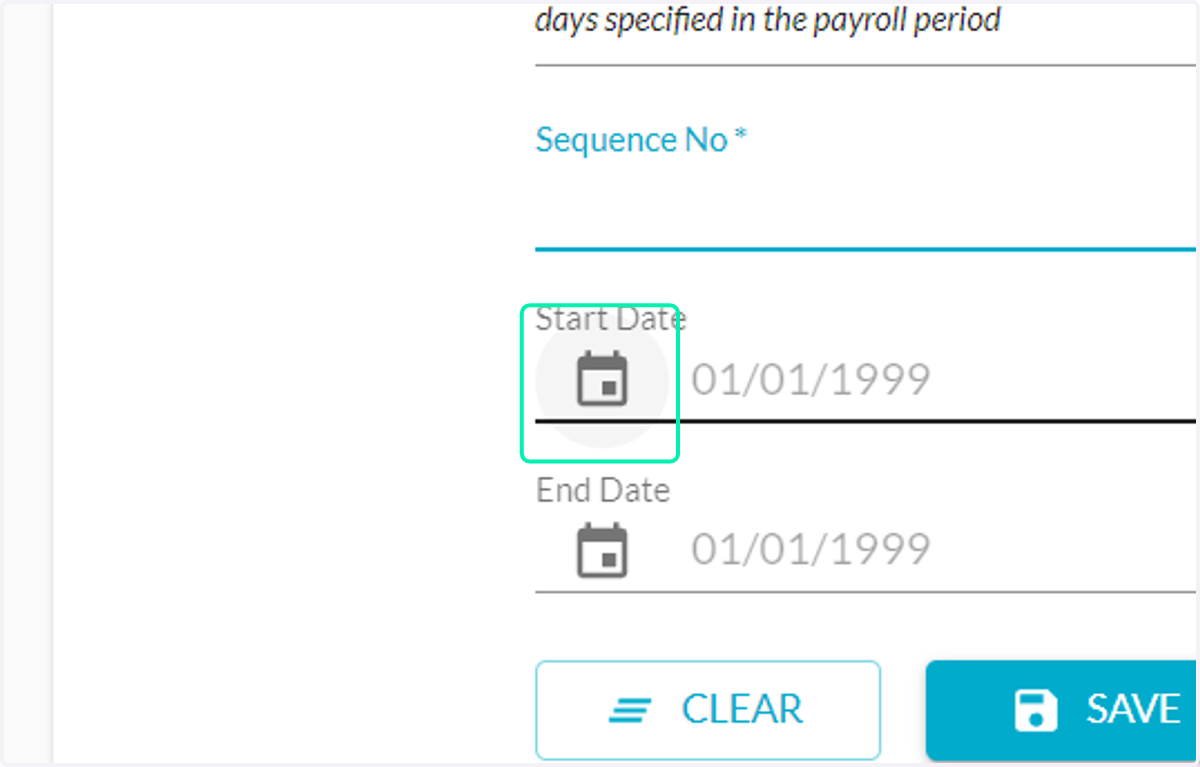
39. Start Date
- Click on the calendar icon to select the date or enter it manually (date of issue on the direction notice).
40. Ensure to click on SAVE for all provided information.
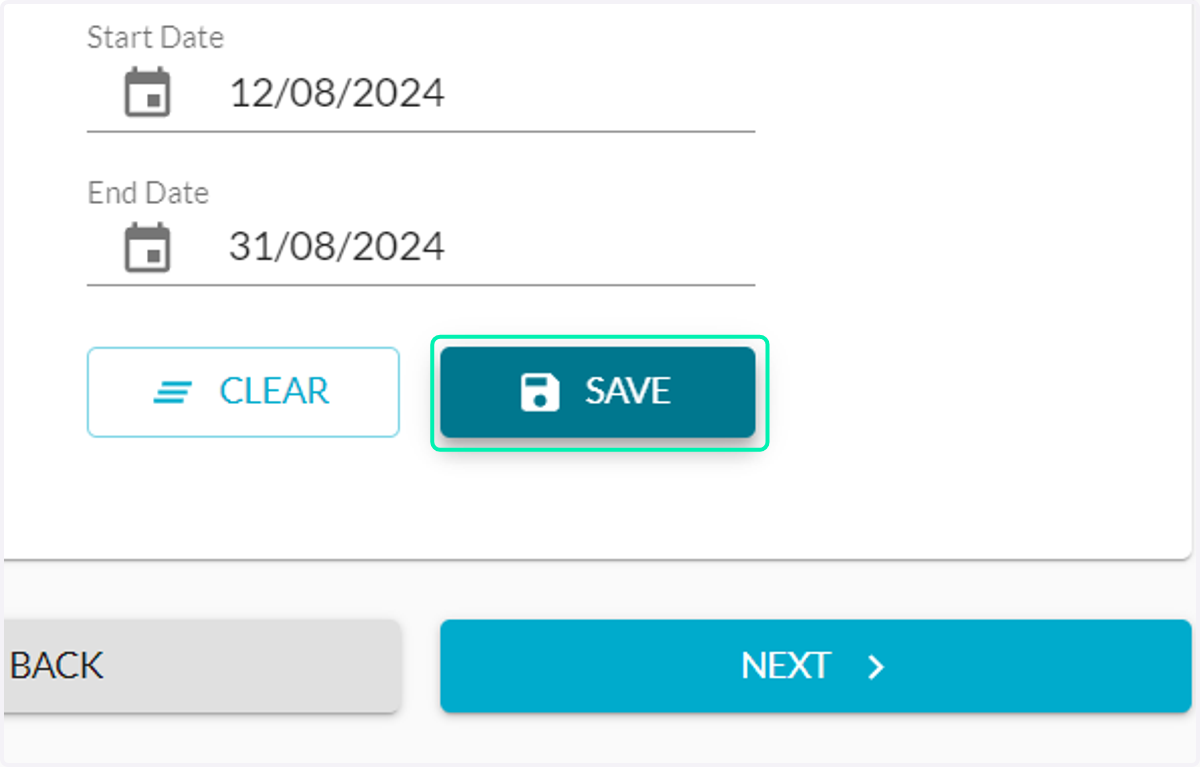
41. Click on NEXT to continue
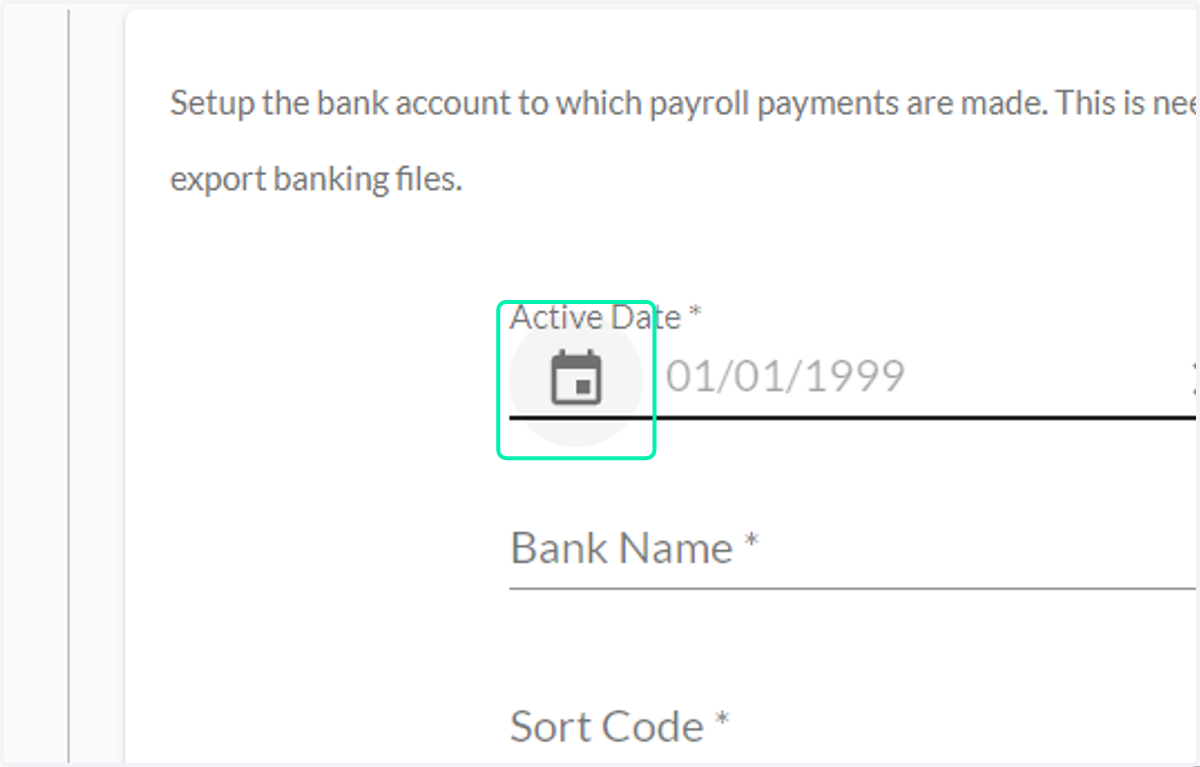
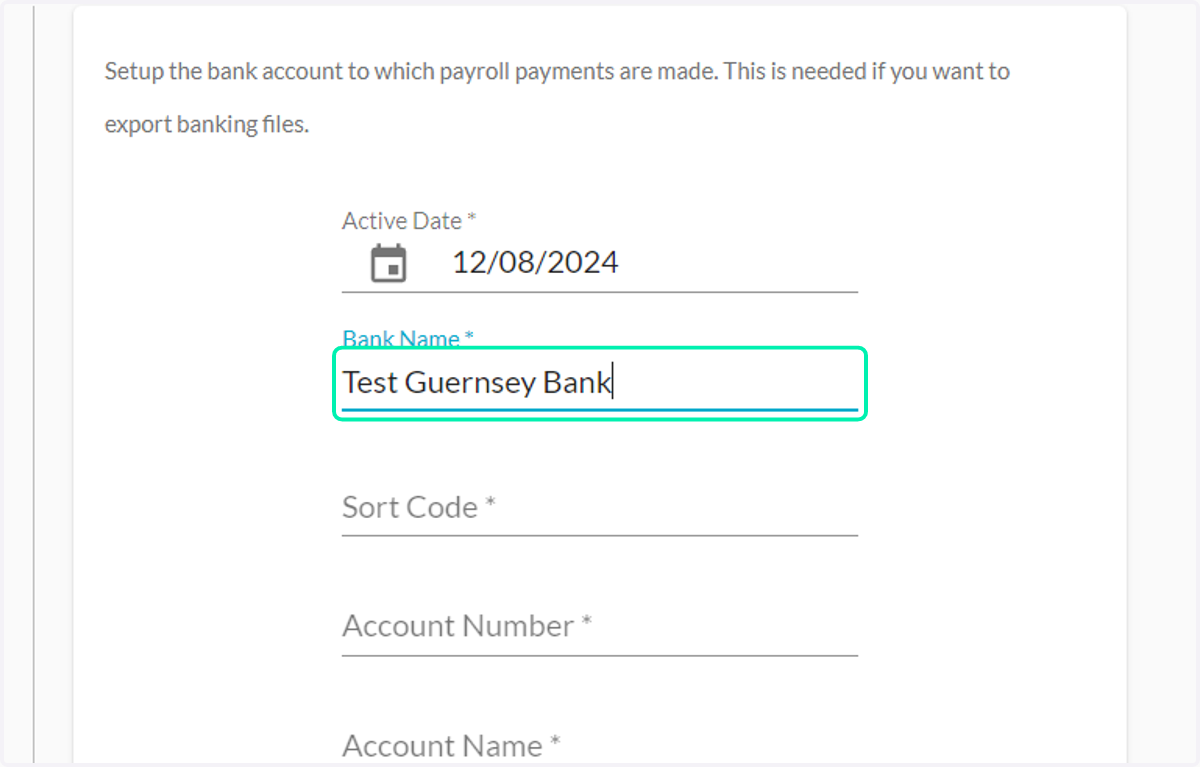
42. Setup Employee's bank account
- Select Active Date as it refers to both the bank account active date and the payment date to pull the correct details on the banking interface file.
43. Enter the following bank details:
Bank Name
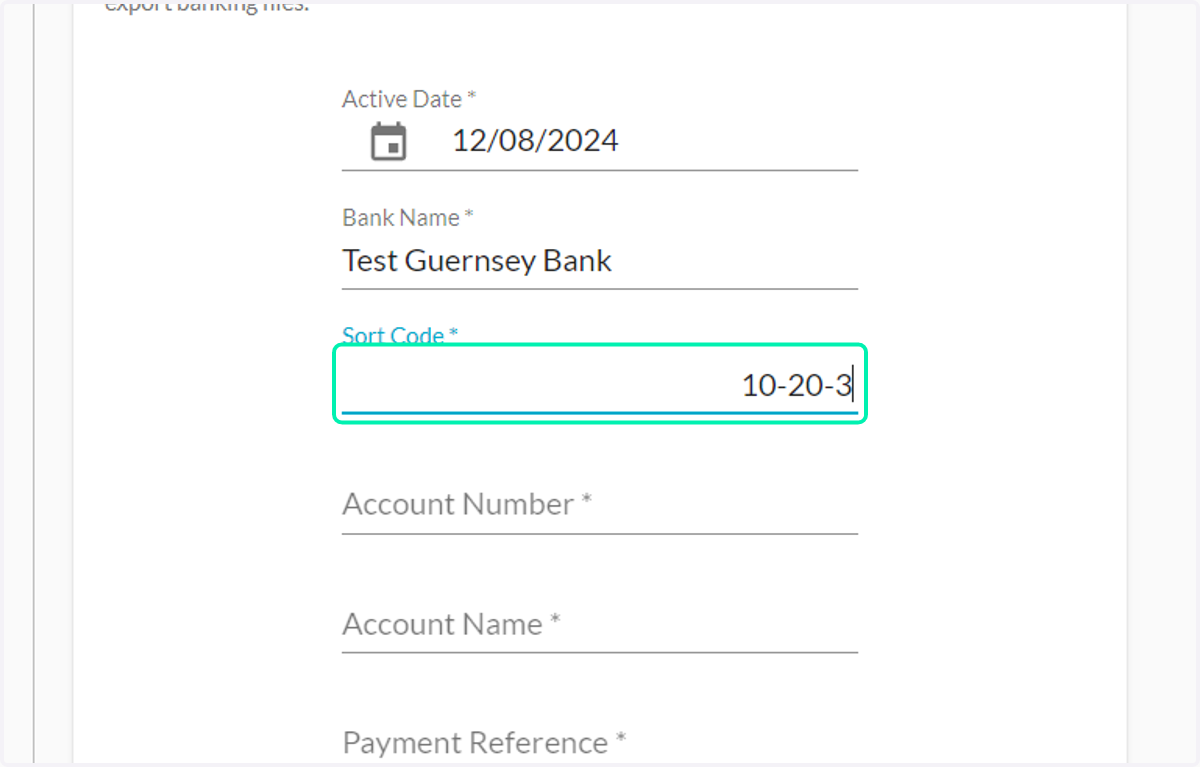
44. - Type Employee Sort Code
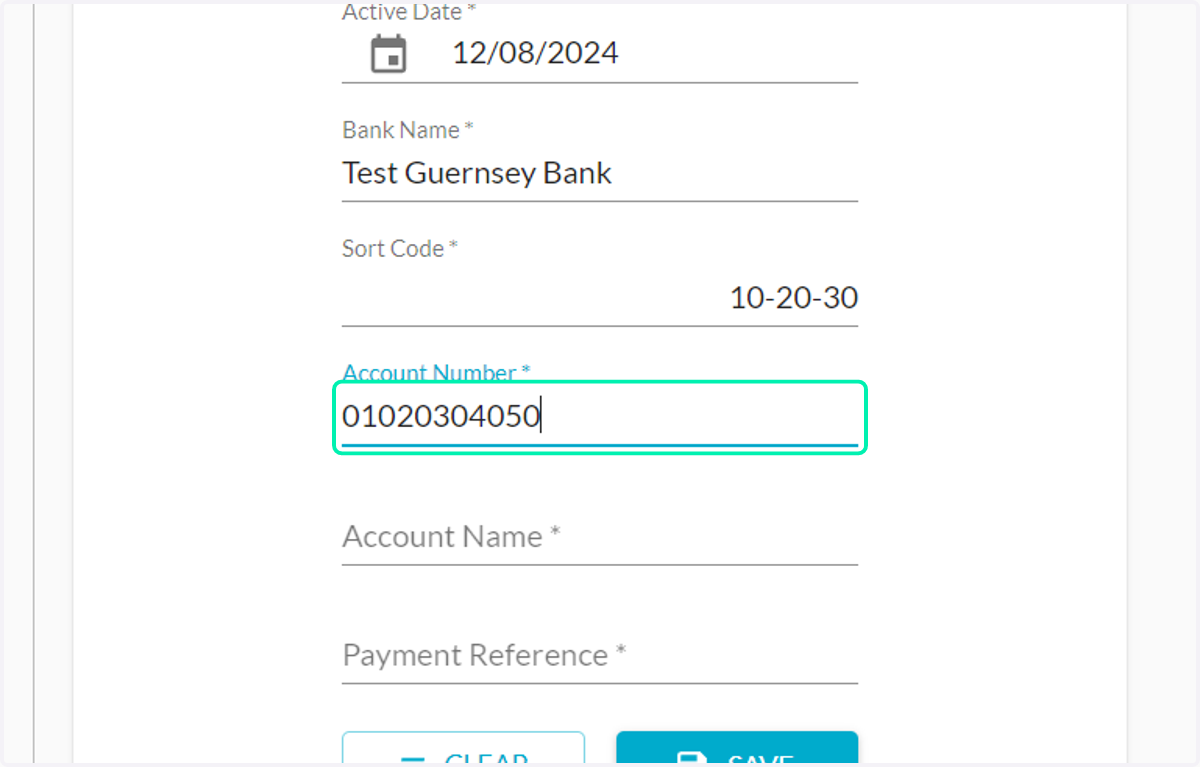
45. - Type Account Number
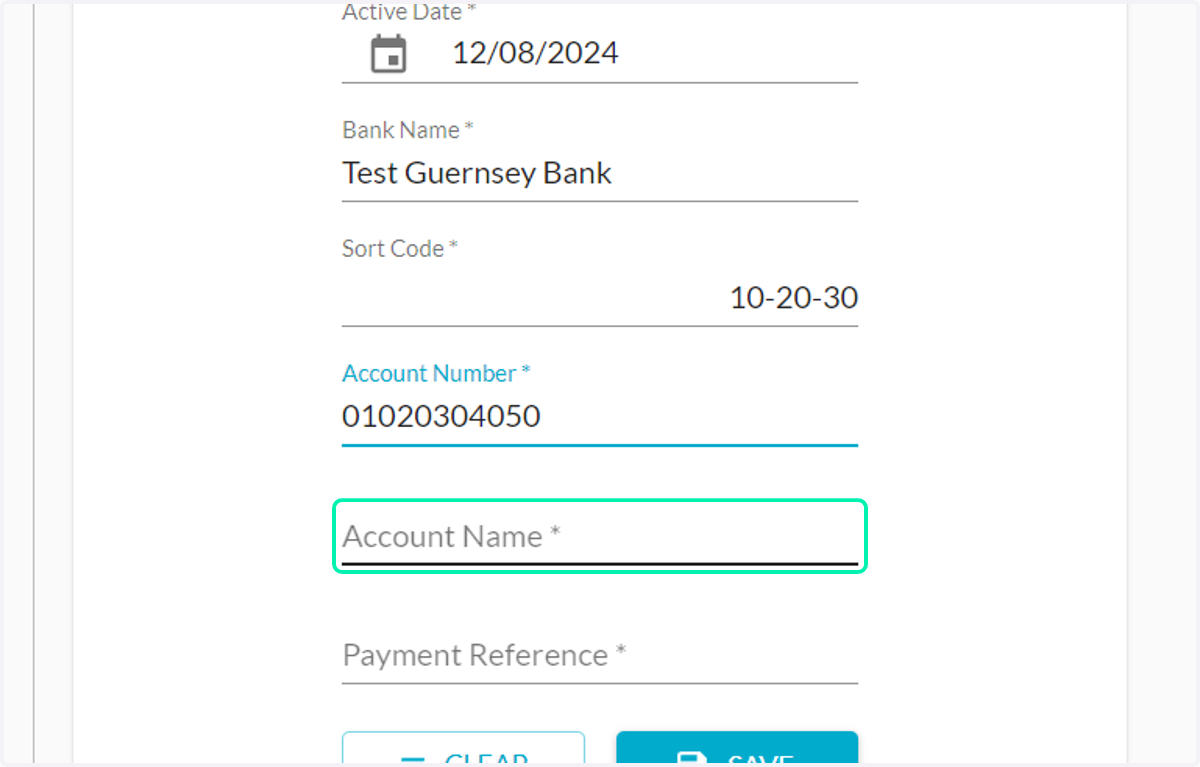
46. Account Name
- Enter the Employee’s first and last name
47. Payment Reference
- Type a payment reference or description

48. Review all details for accuracy and click on Save

49. Additional Tips
Accuracy is Key: Ensure all details are filled out accurately to avoid issues with payroll processing and compliance.
Regular Updates: Keep employee records updated, especially if there are changes to personal information or employment status.
Compliance Awareness: Regularly check for updates on local regulations and compliance requirements related to employee data and payroll processing.
If you have any questions or encounter any issues during the process, please contact your support team for assistance. Thank you for using our system!