SentinelOne
SentinelOne - Management Console
1. Log into the SentinelOne portal
The user must have the “Allowed to Generate API Token” option enabled. The following steps will guide you through how to generate an API token for this user.
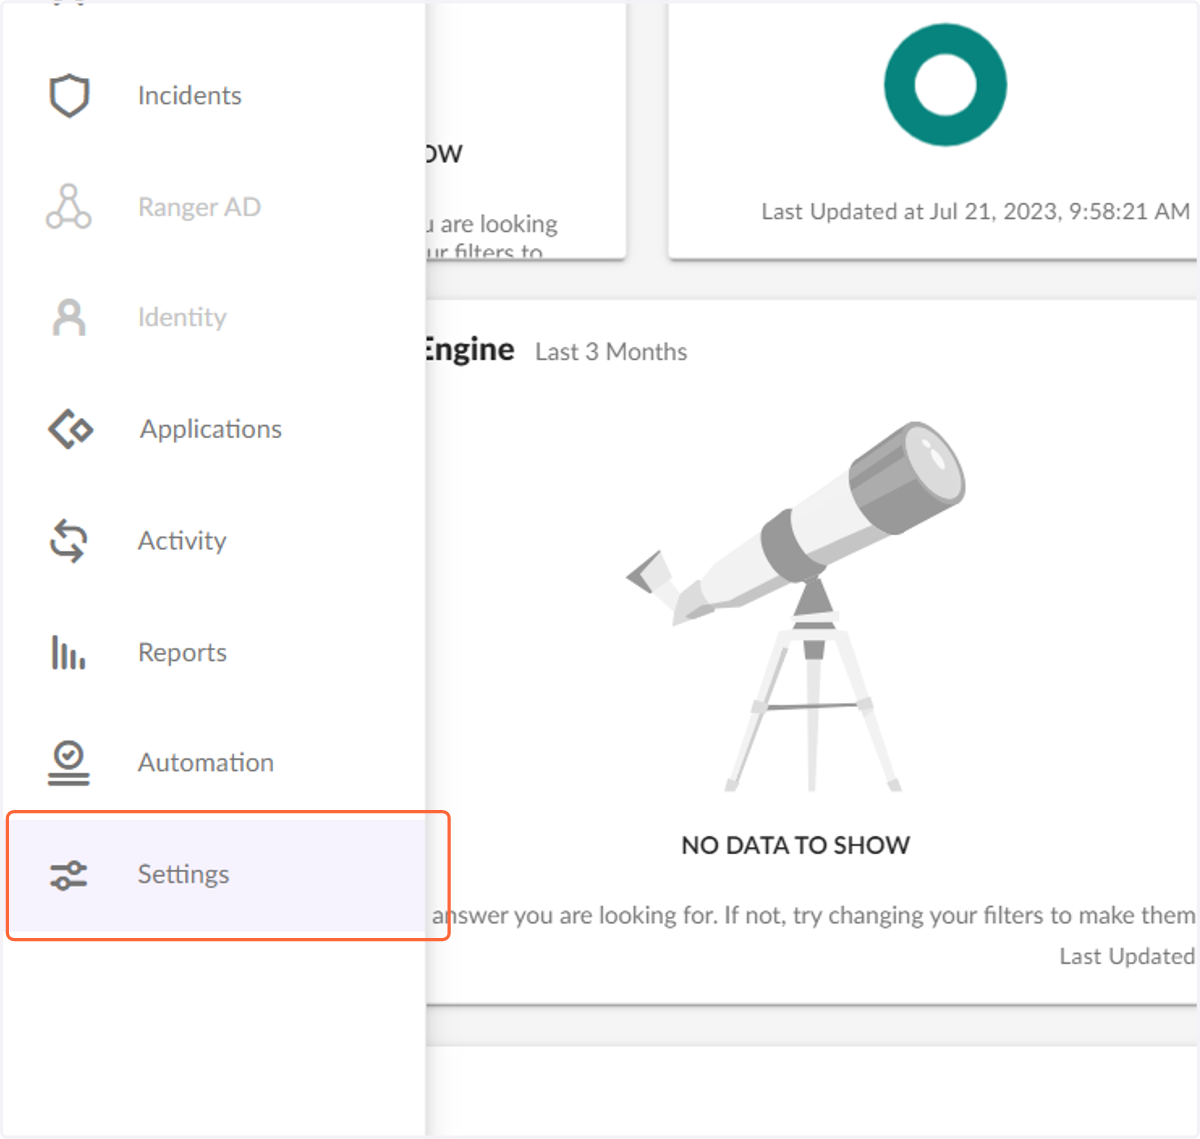
2. Click on Settings
Hover over the left-hand navigation bar and click on Settings to get to the settings page.
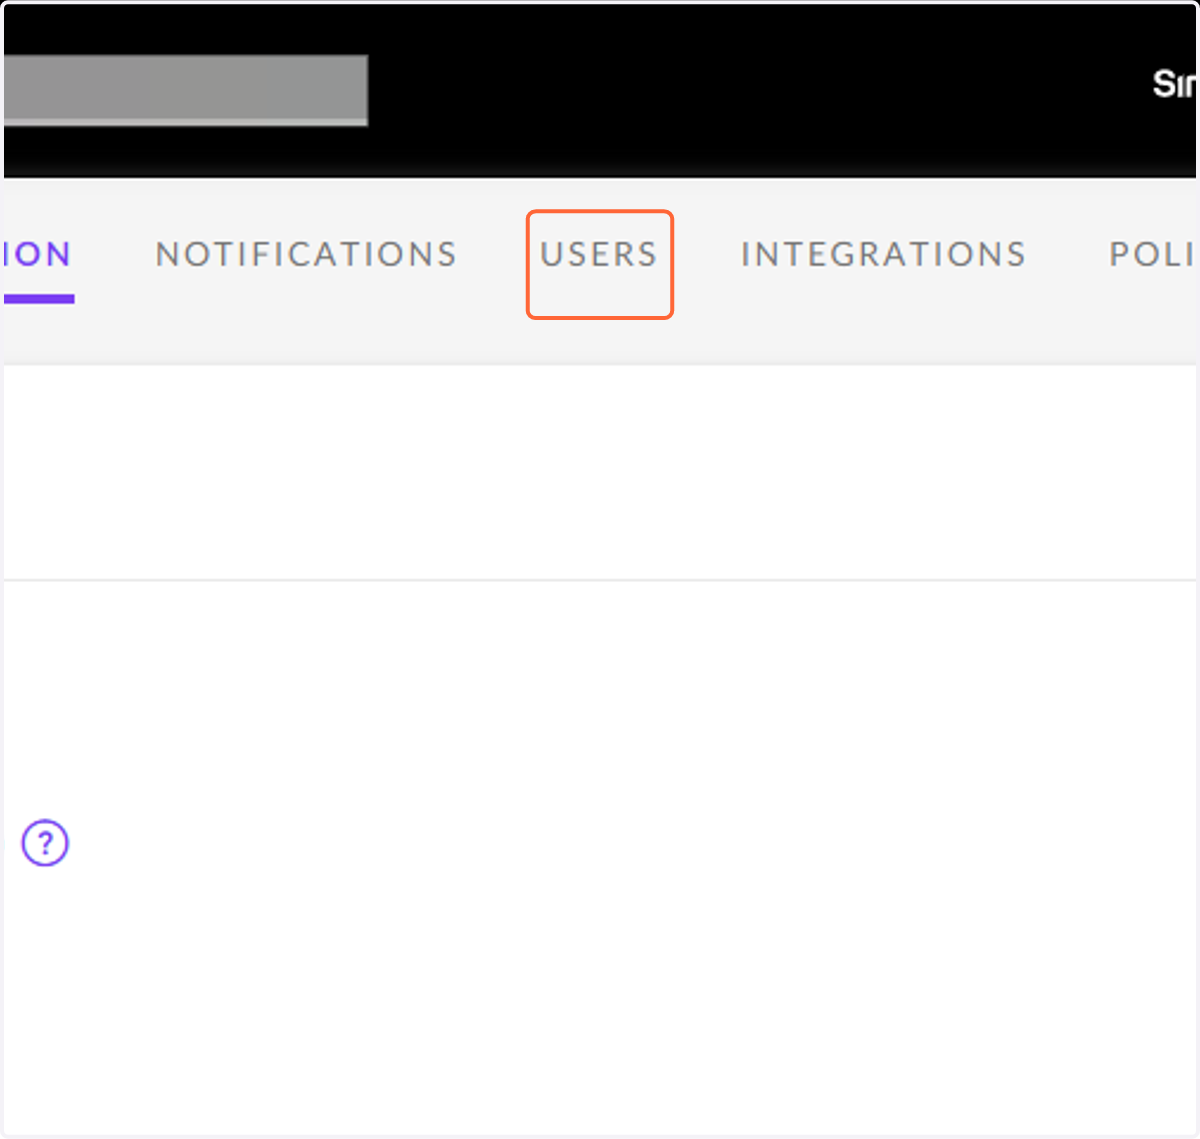
3. Click on USERS
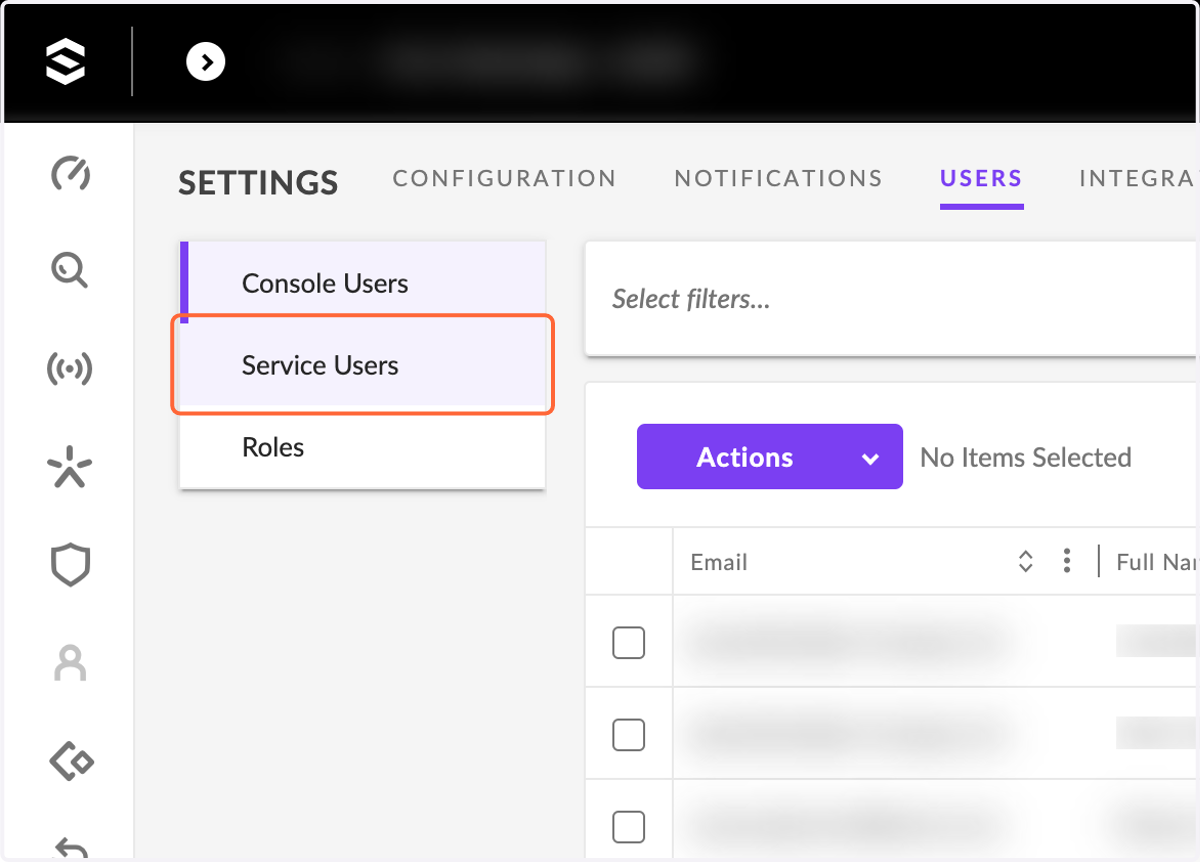
4. Click on Service Users
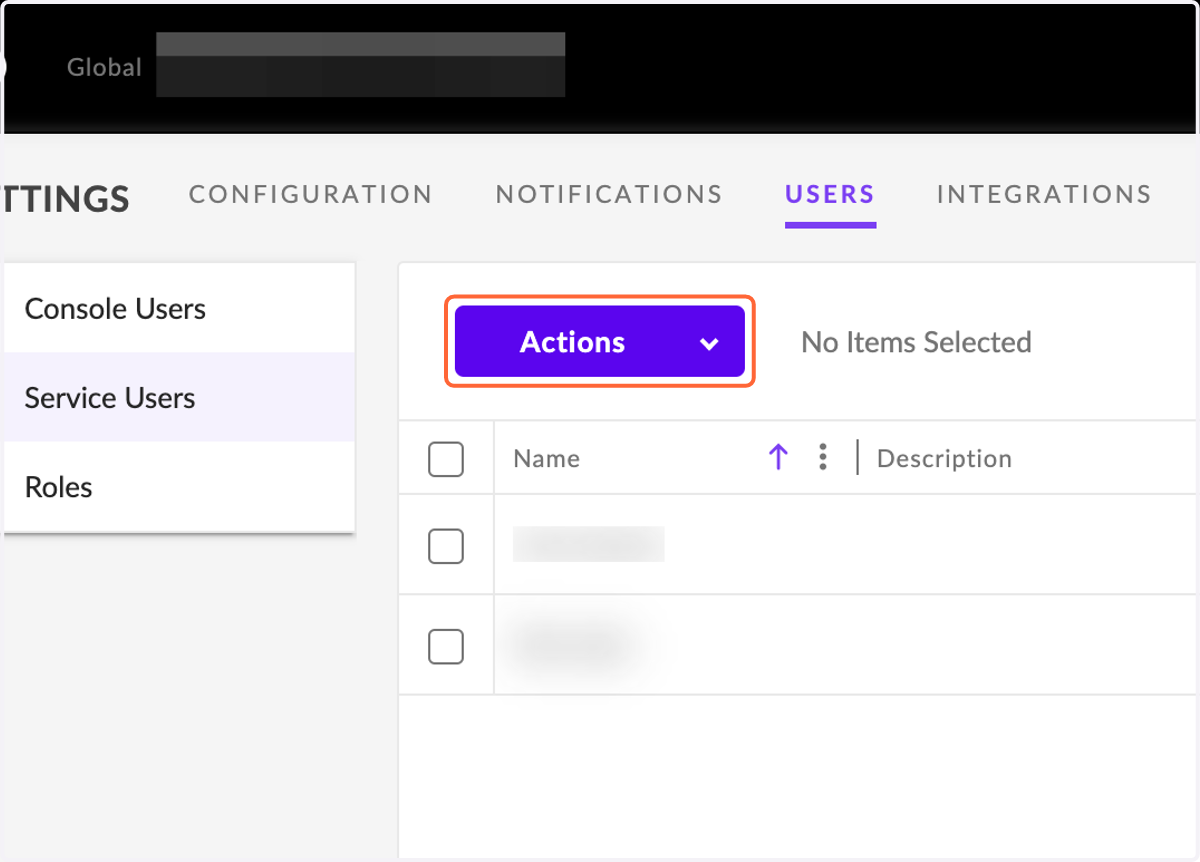
5. Click on Actions
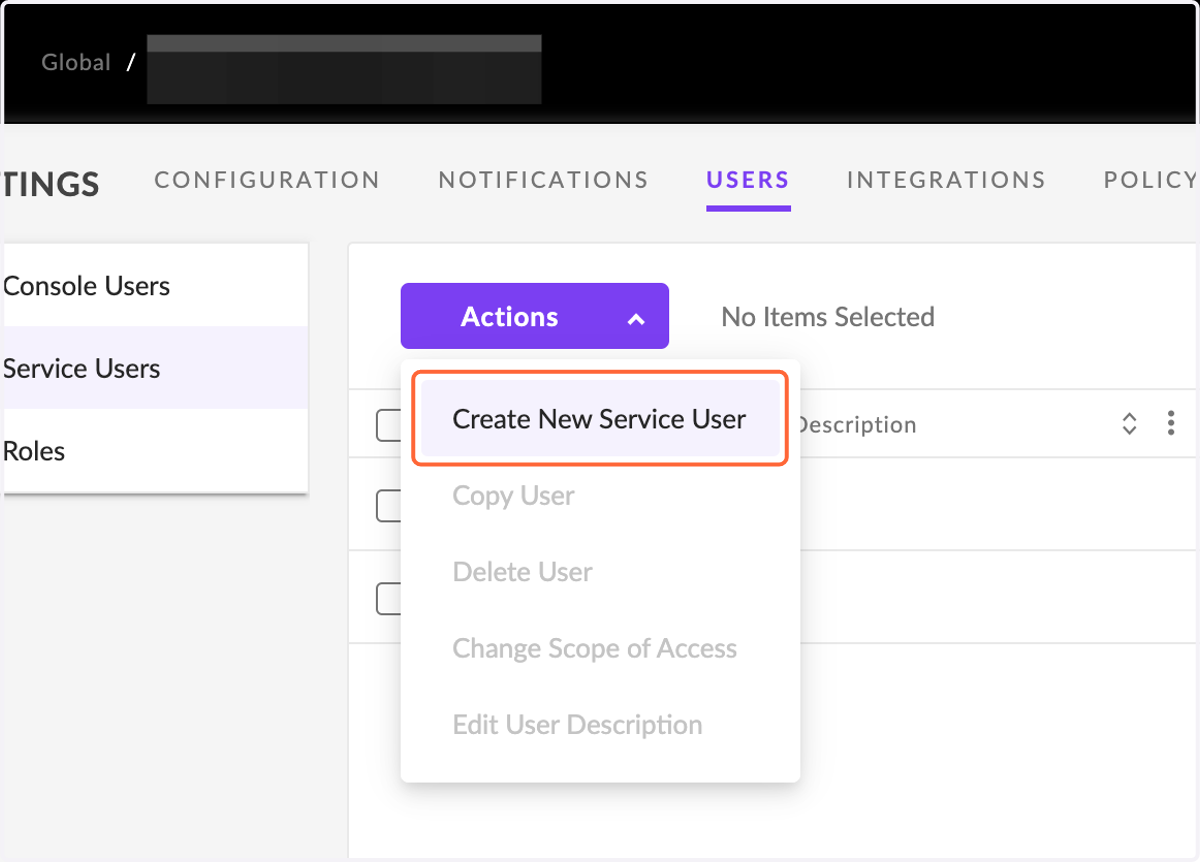
6. Click on Create New Service User
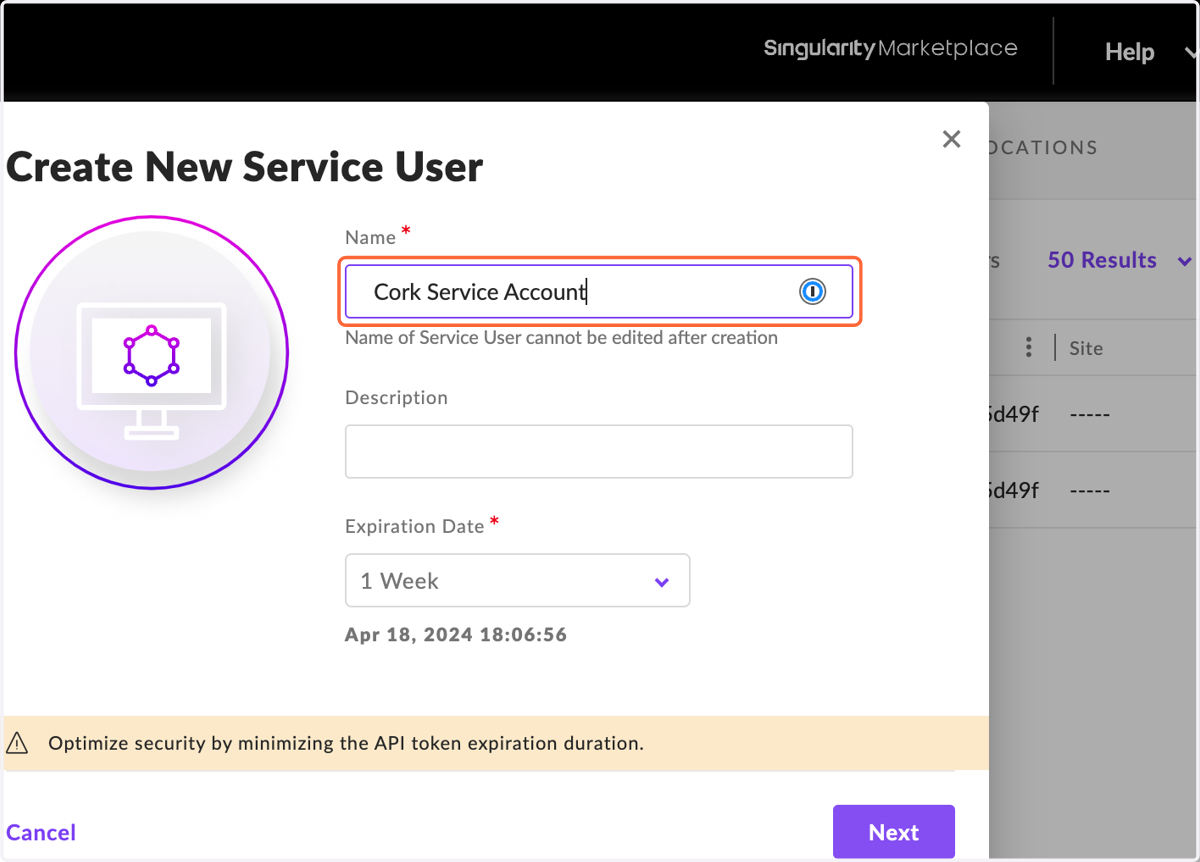
7. Type in a name for your service account
In this example, we use "Cork Service Account"
8. Click on the Expiration Date picker
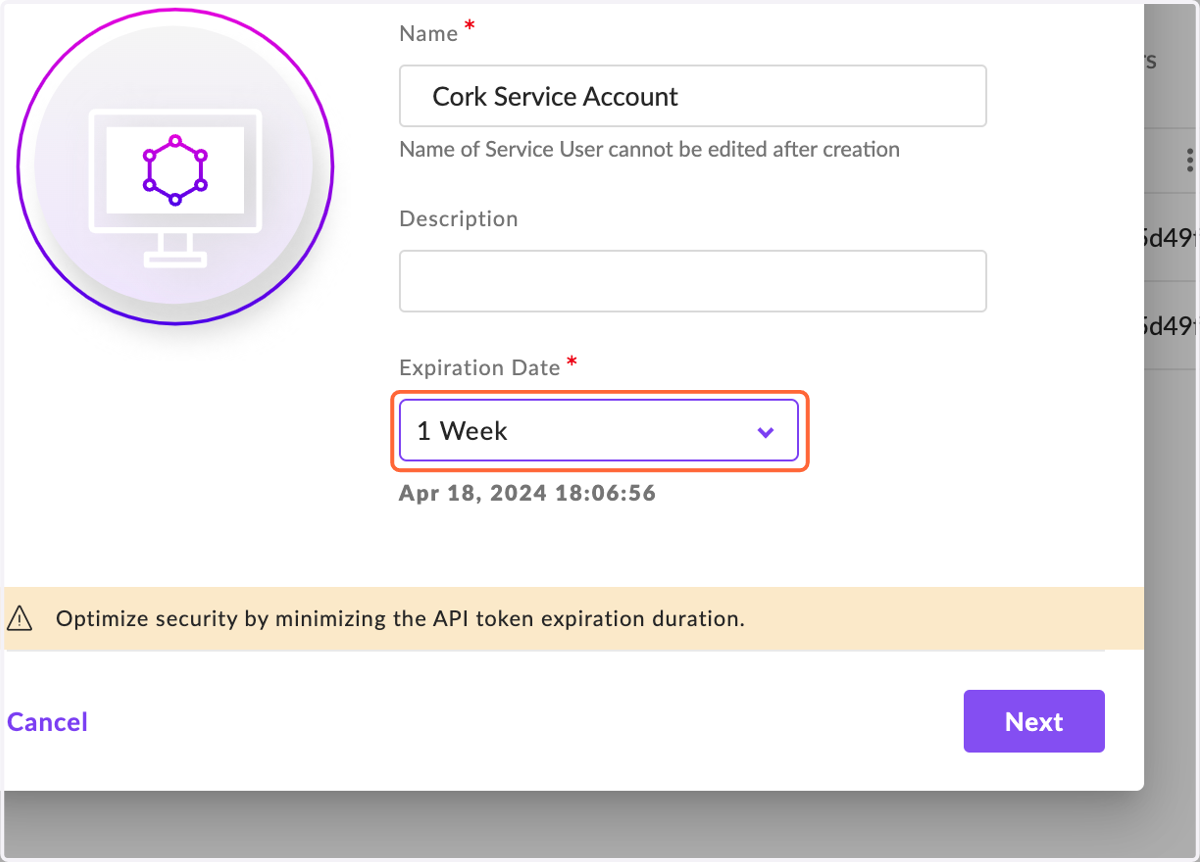
9. Change the Expiration Date
In this example, we changed the Expiration Date to 2 Years but you are welcome to change this to however long you want.
Note: Once this expiration has been reached, you will need to follow this workflow and regenerate a service account.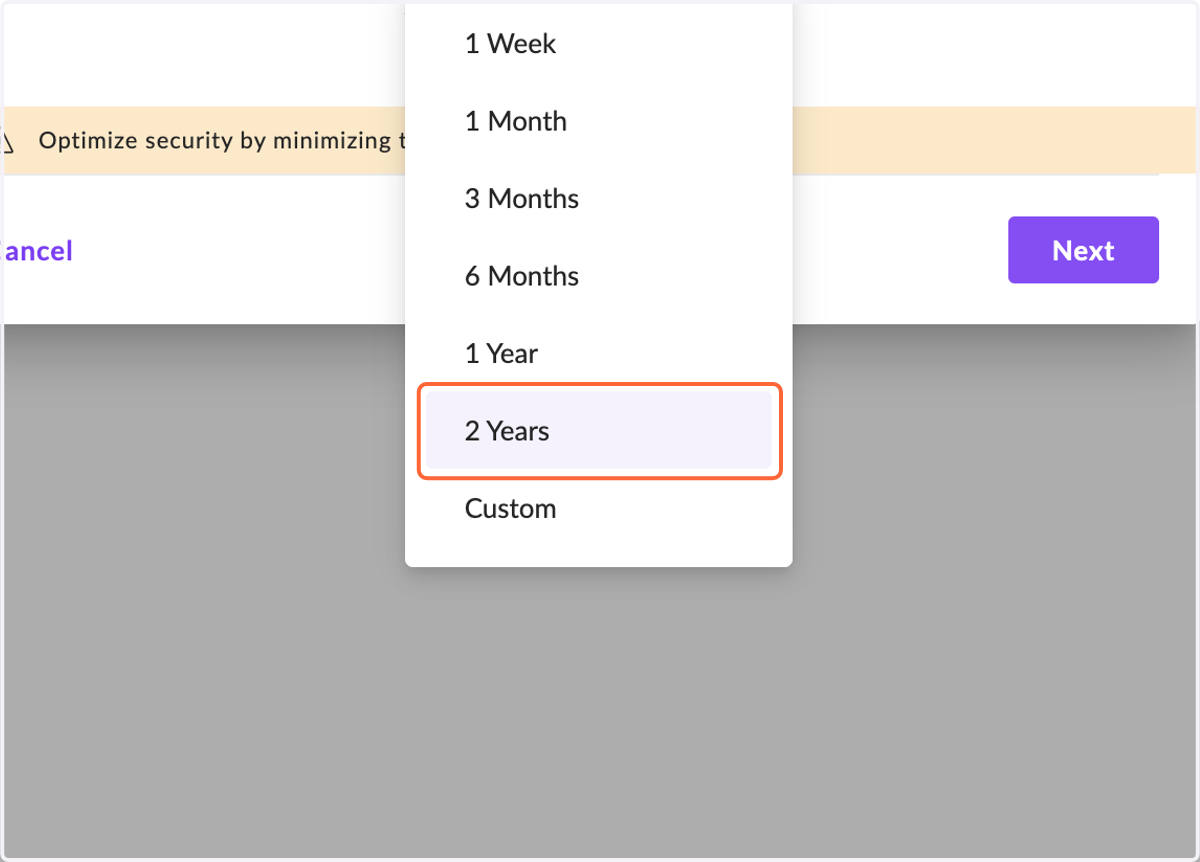
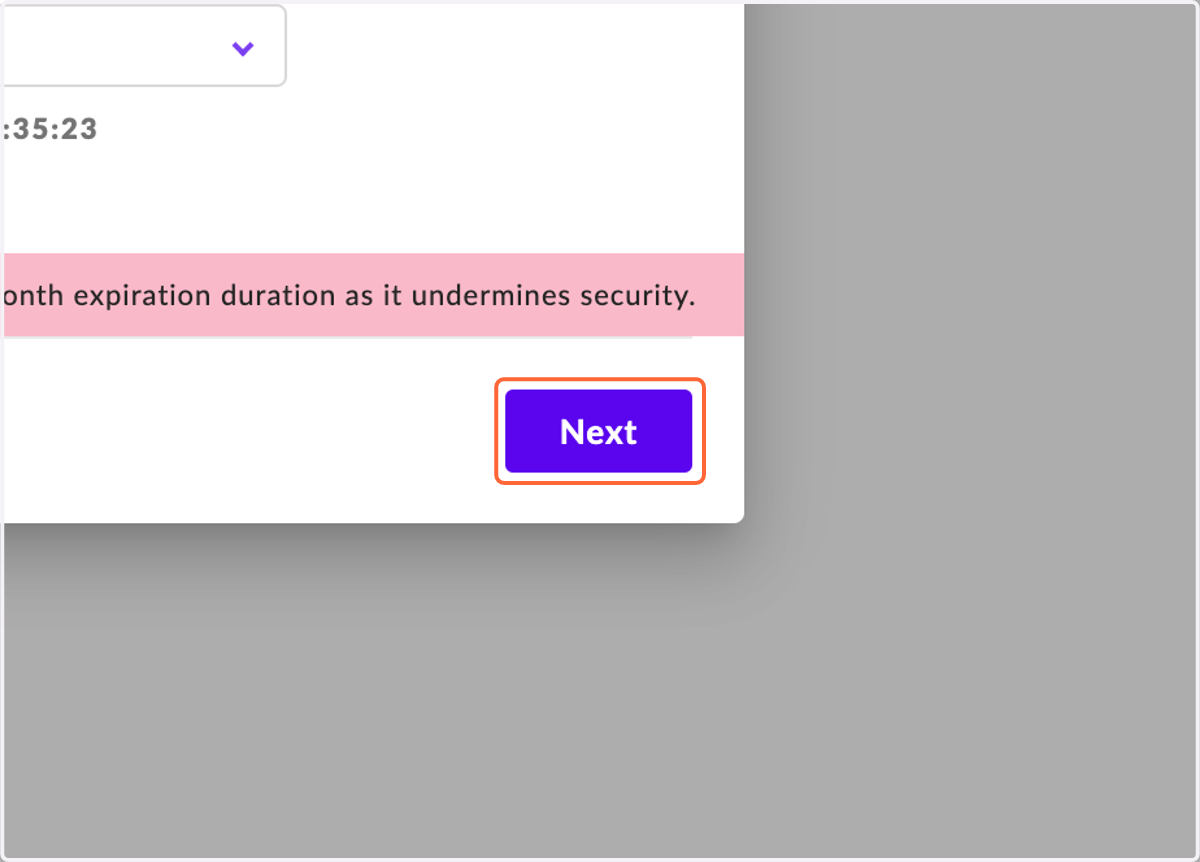
10. Click on Next
11. Click on Account access level
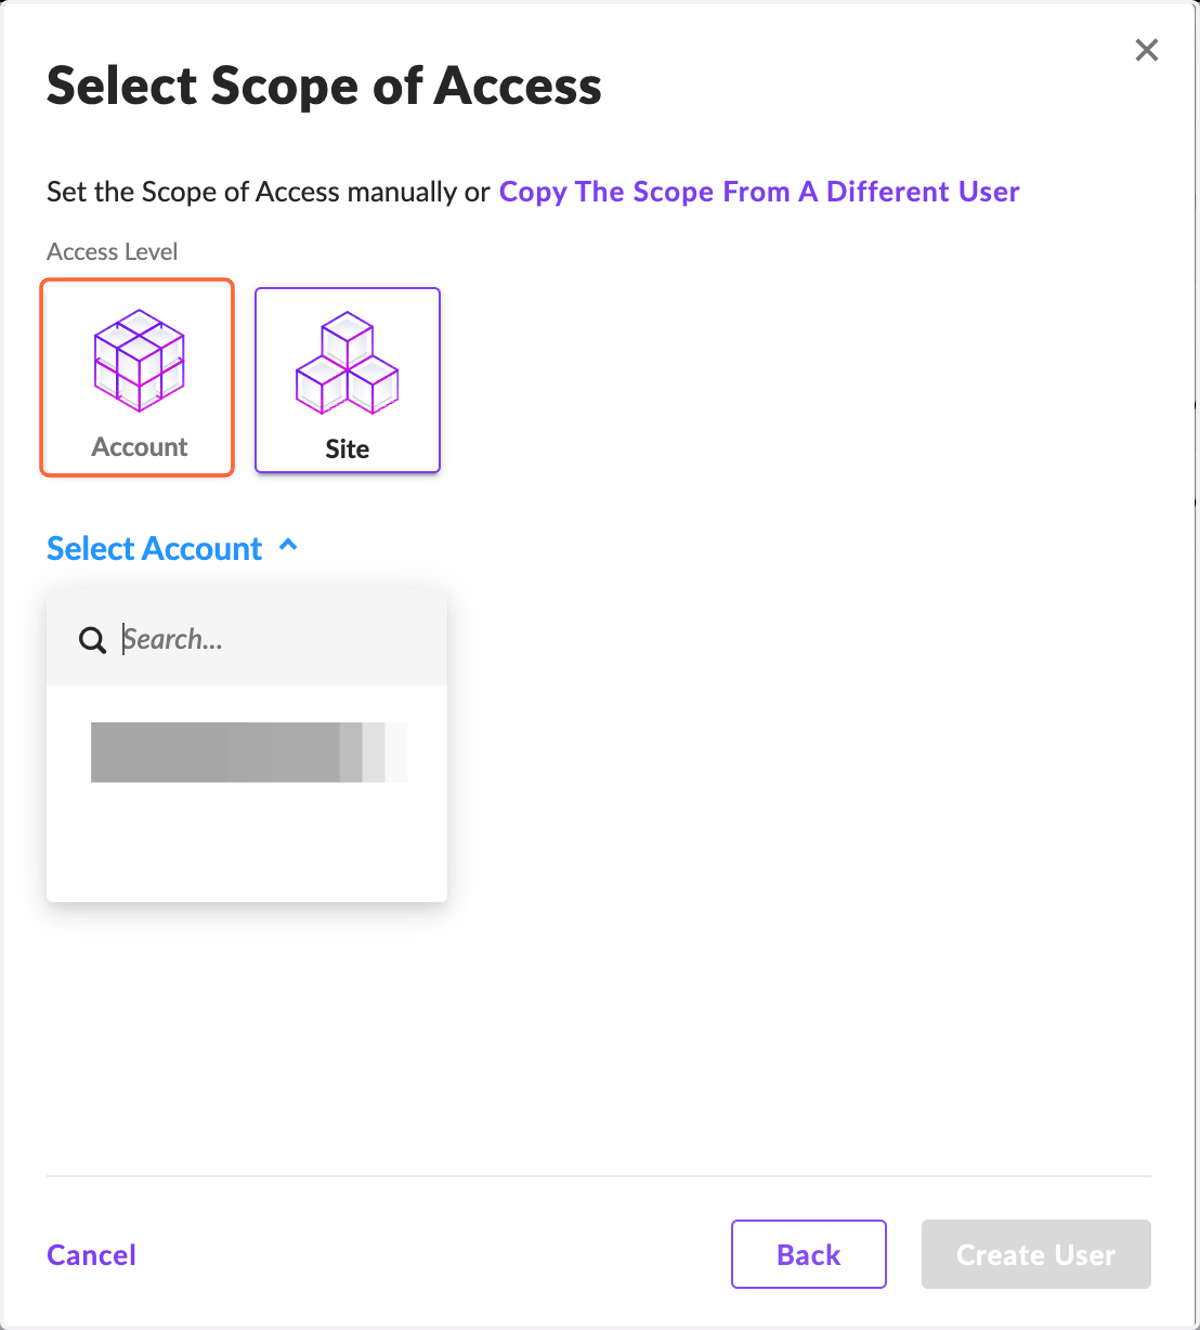
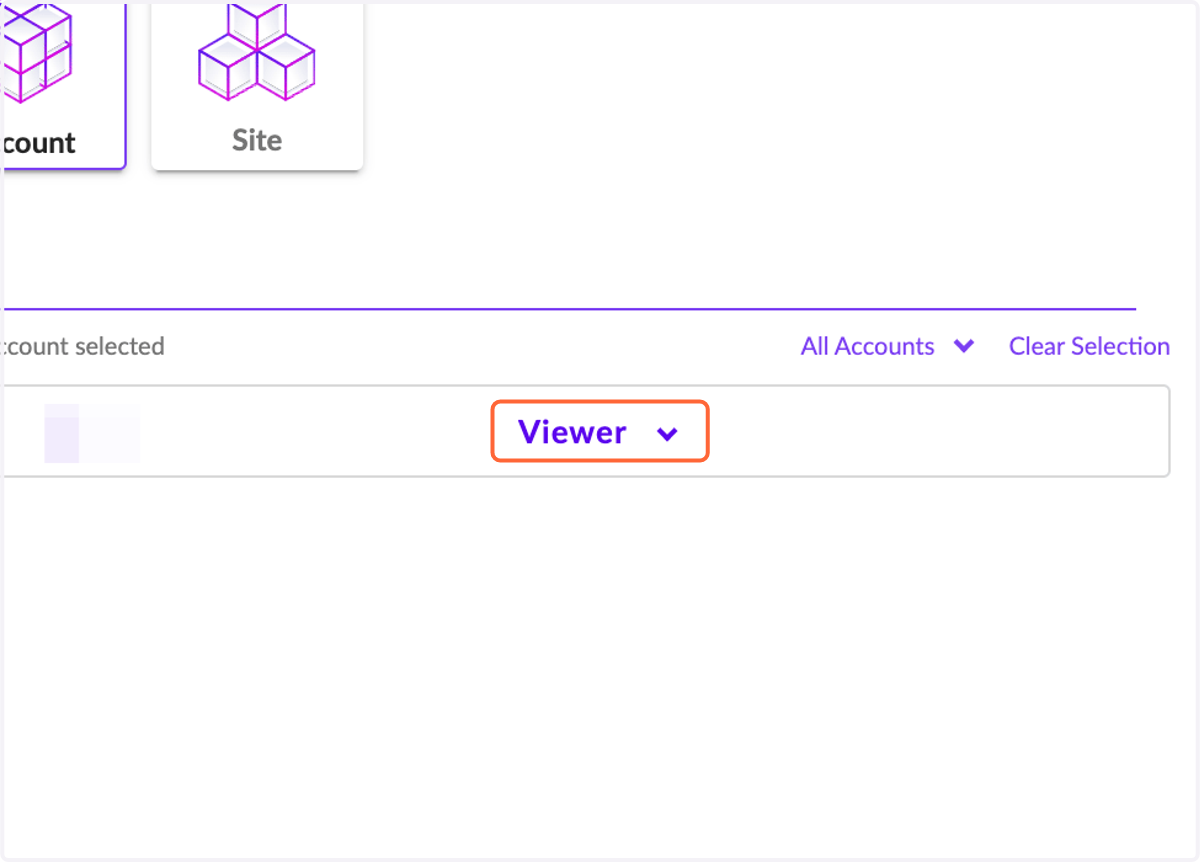
12. Select the account to access and set permission to Viewer
13. Click on Create User
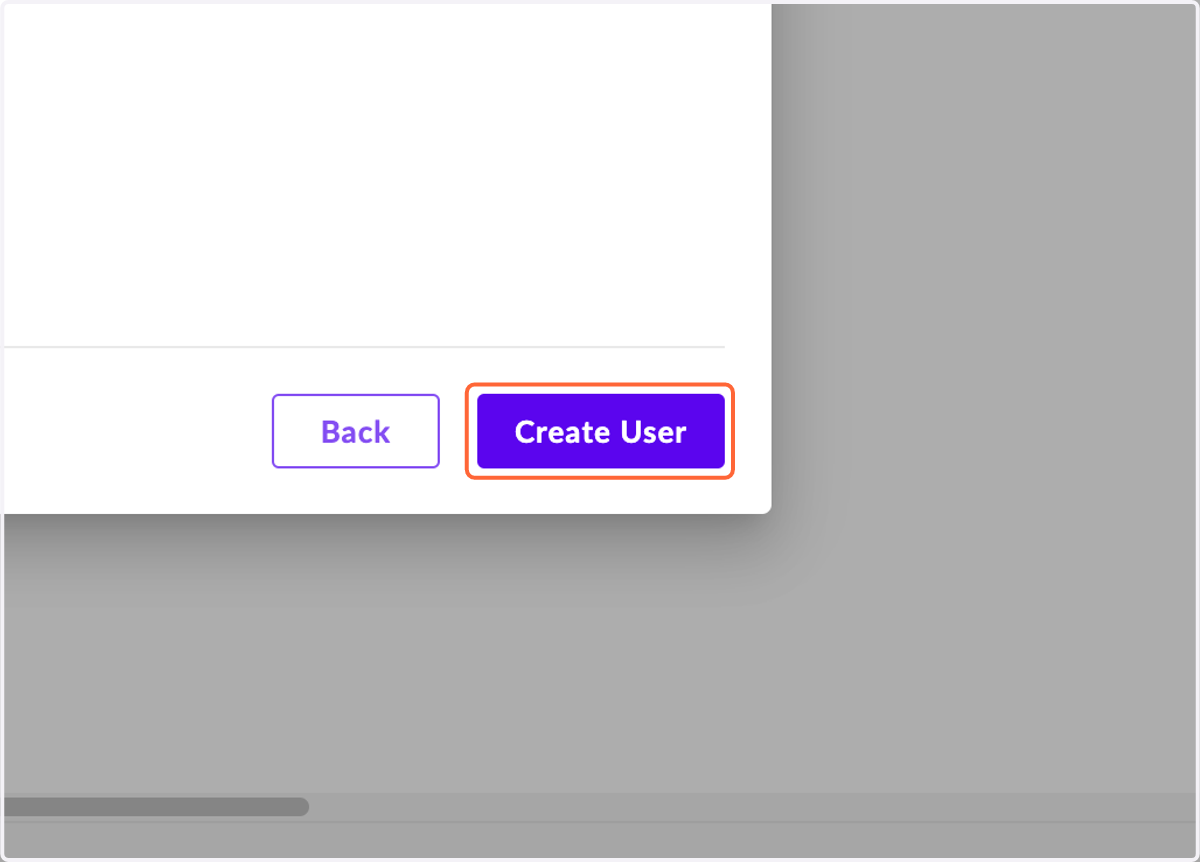
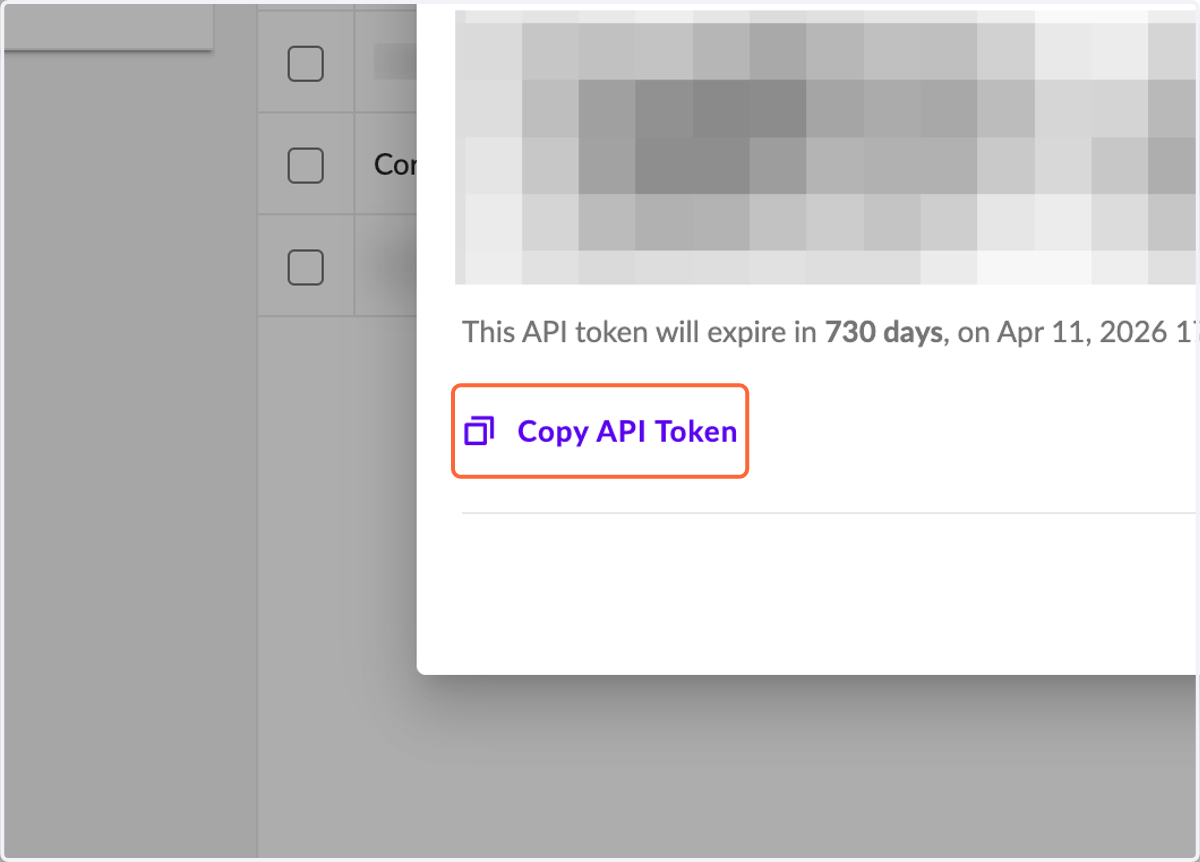
14. Click on Copy API Token
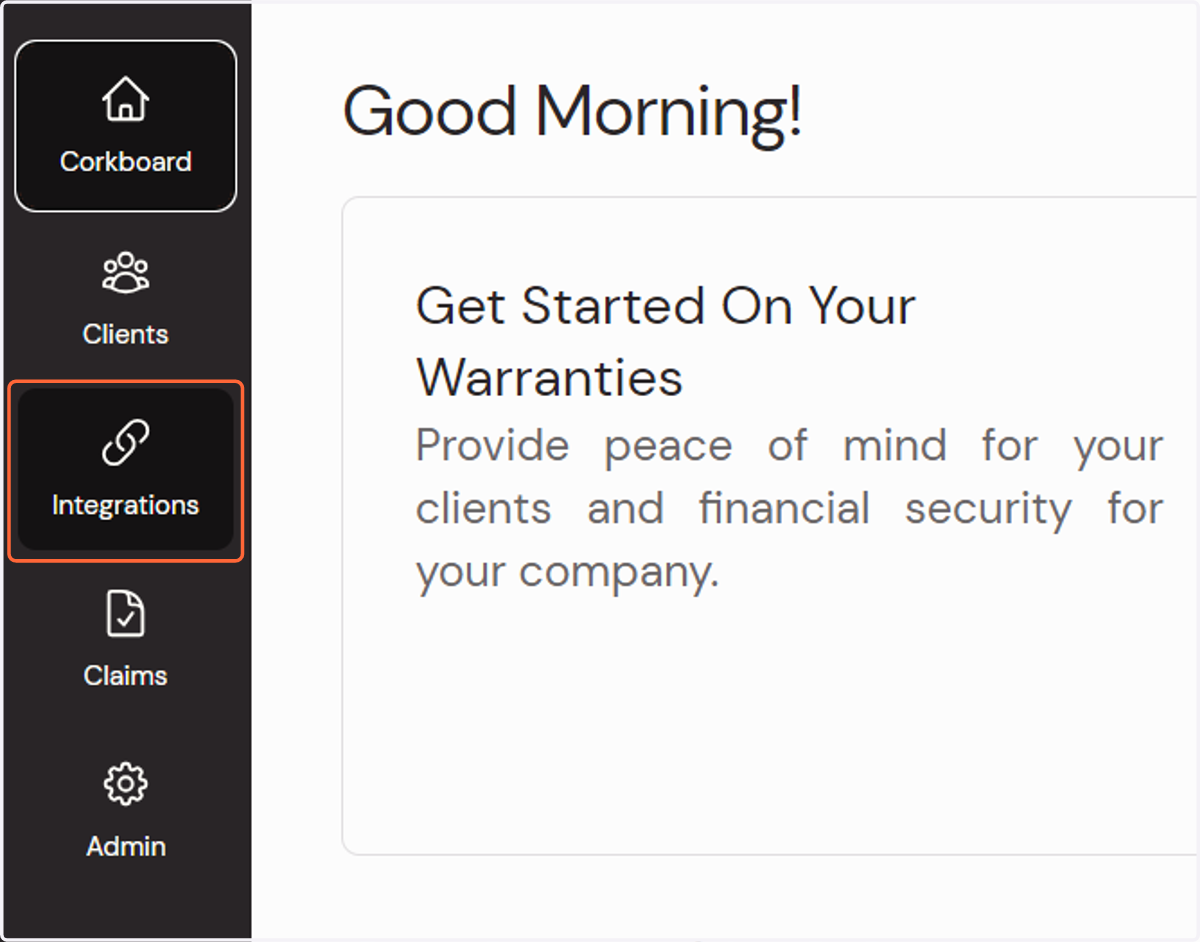
Cork - Corkboard
15. Click on Integrations
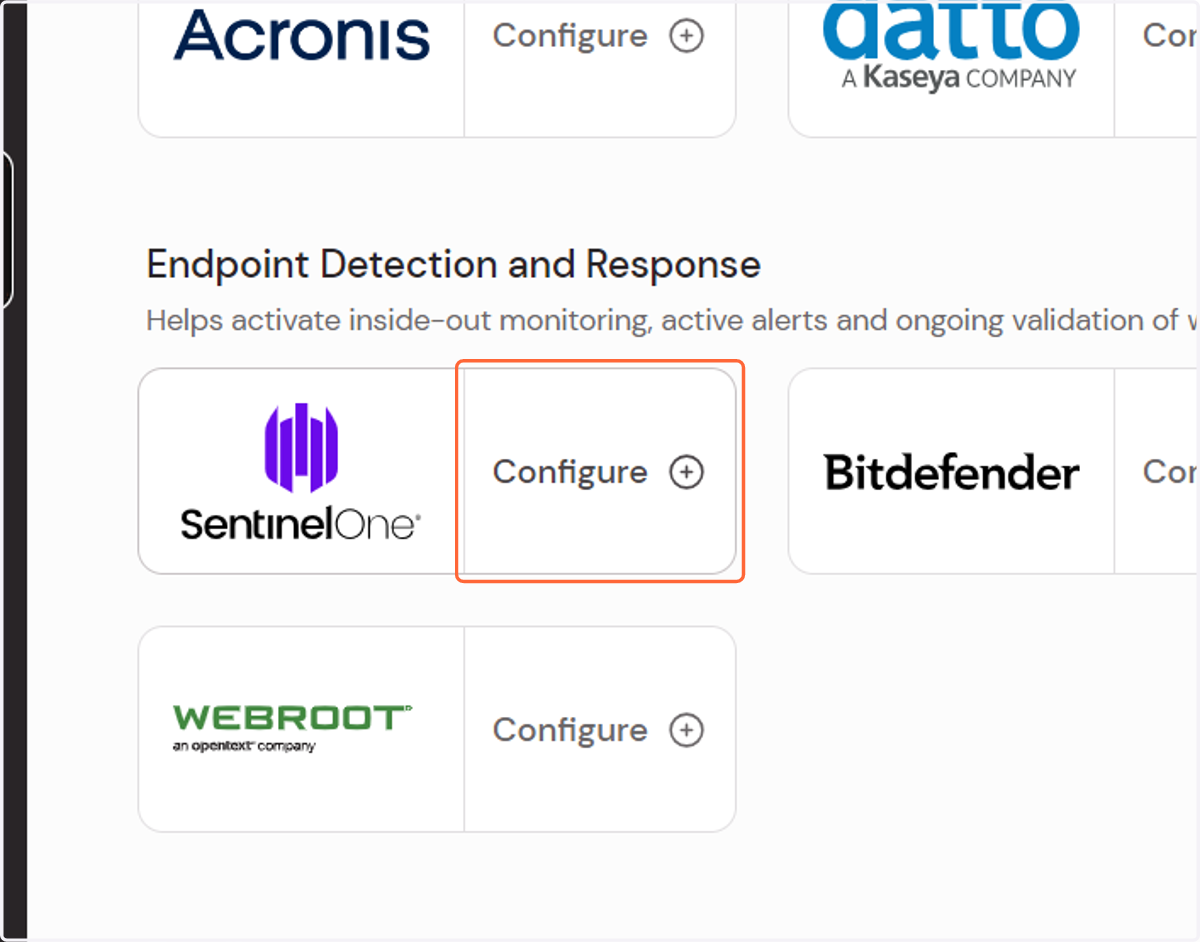
16. Locate the SentinelOne icon and click Configure
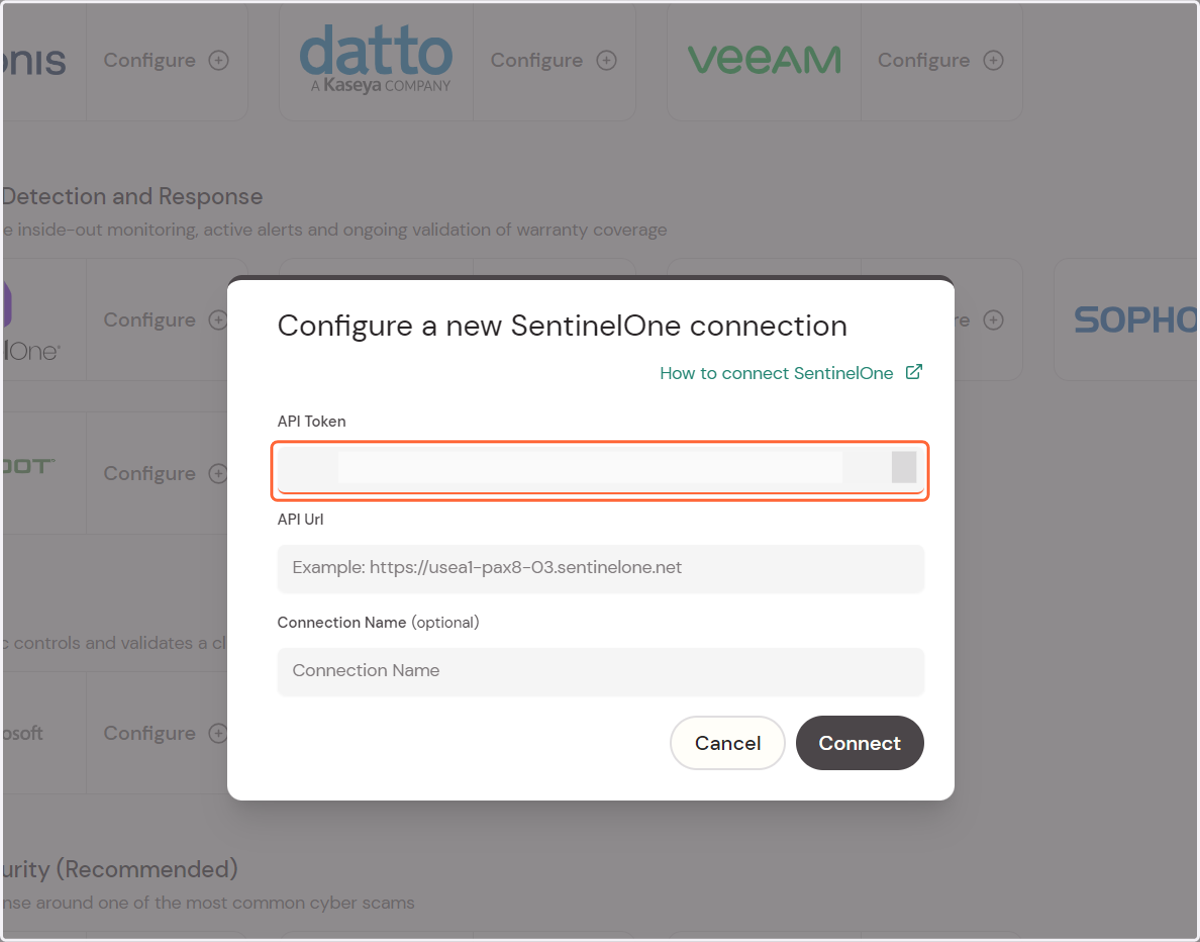
17. Paste input
18. Navigate back to SentinelOne and copy browser URL
Cork - Integrations
19. Paste input
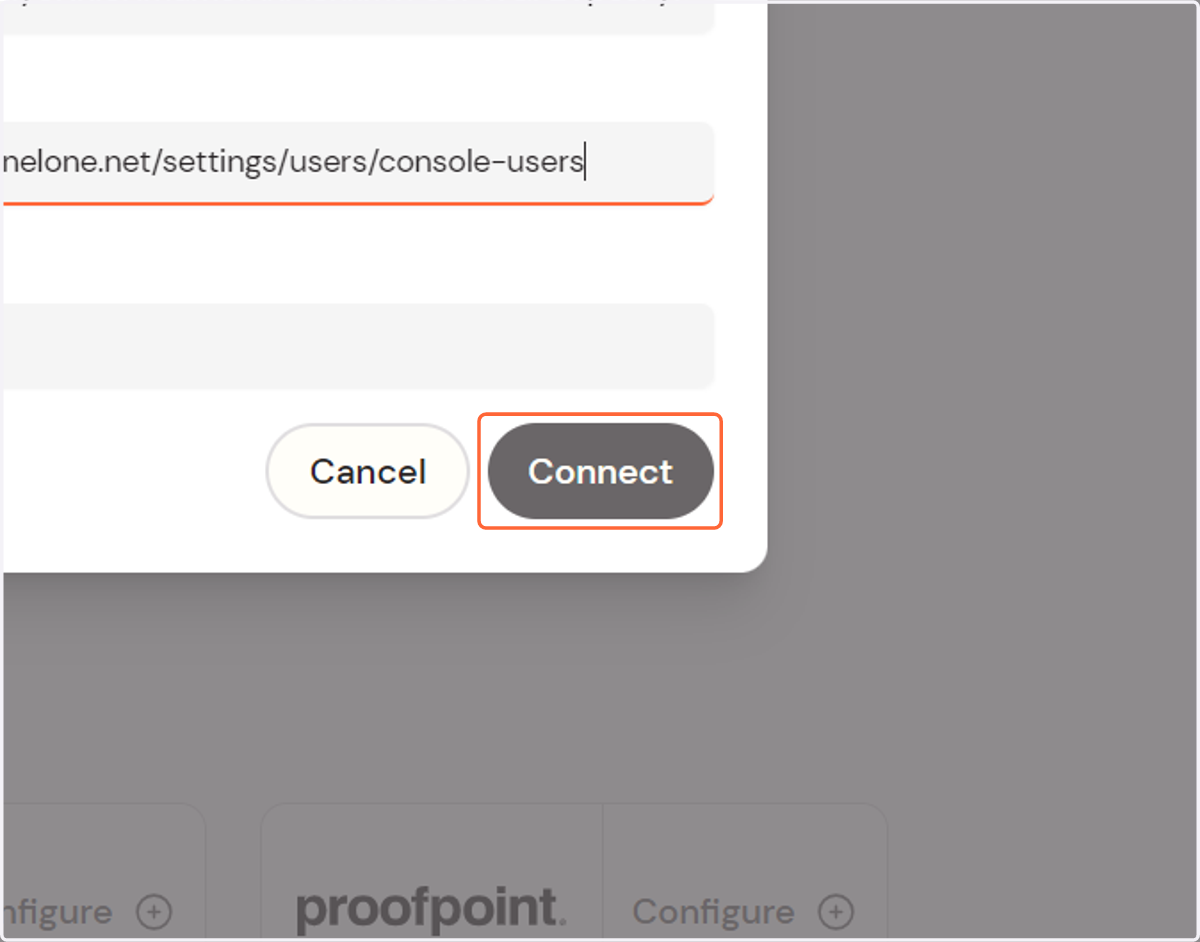
NOTE: you must remove any subdirectories after ".sentinelone.net/" for the integration to connect successfully
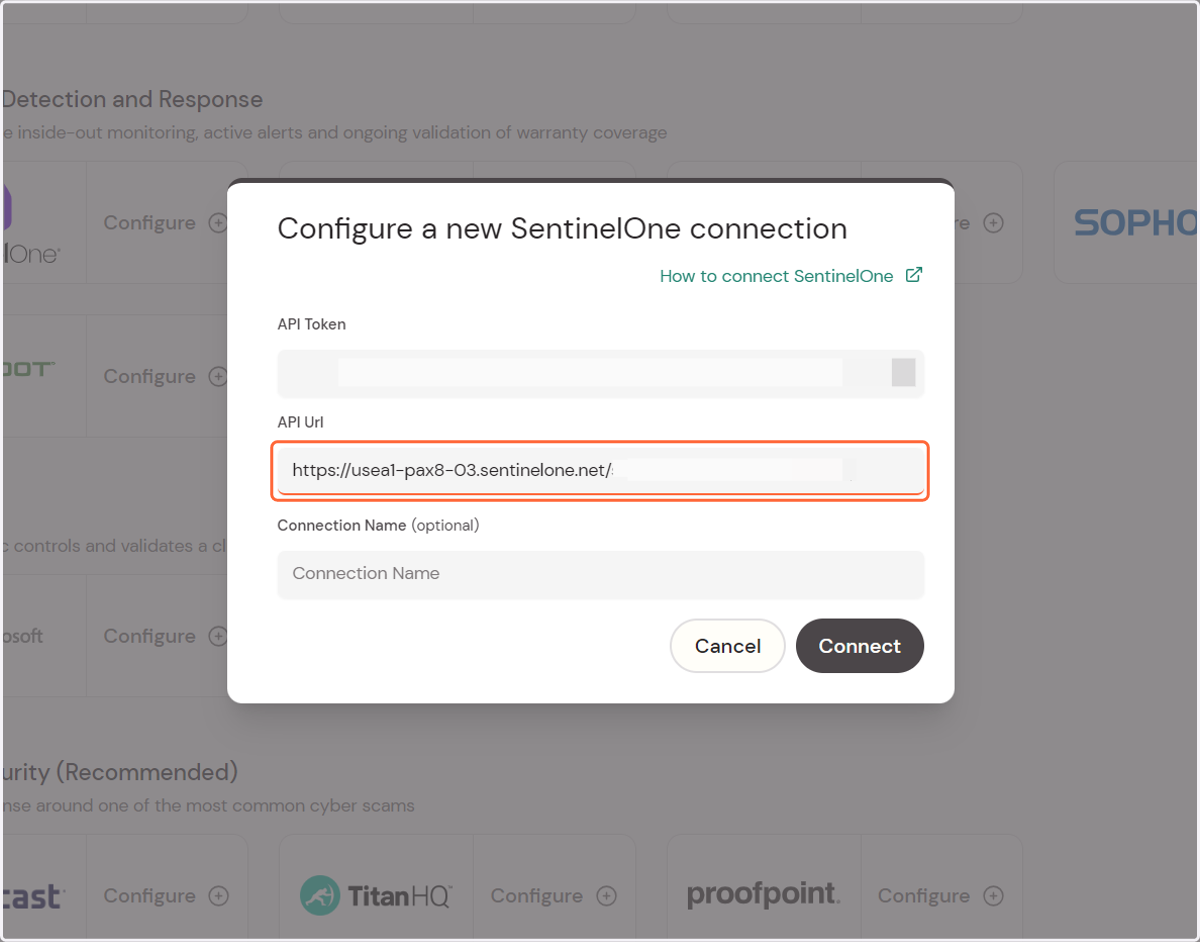
20. Click on Connect