Your aiReceptionist Calendar
aiReceptionist
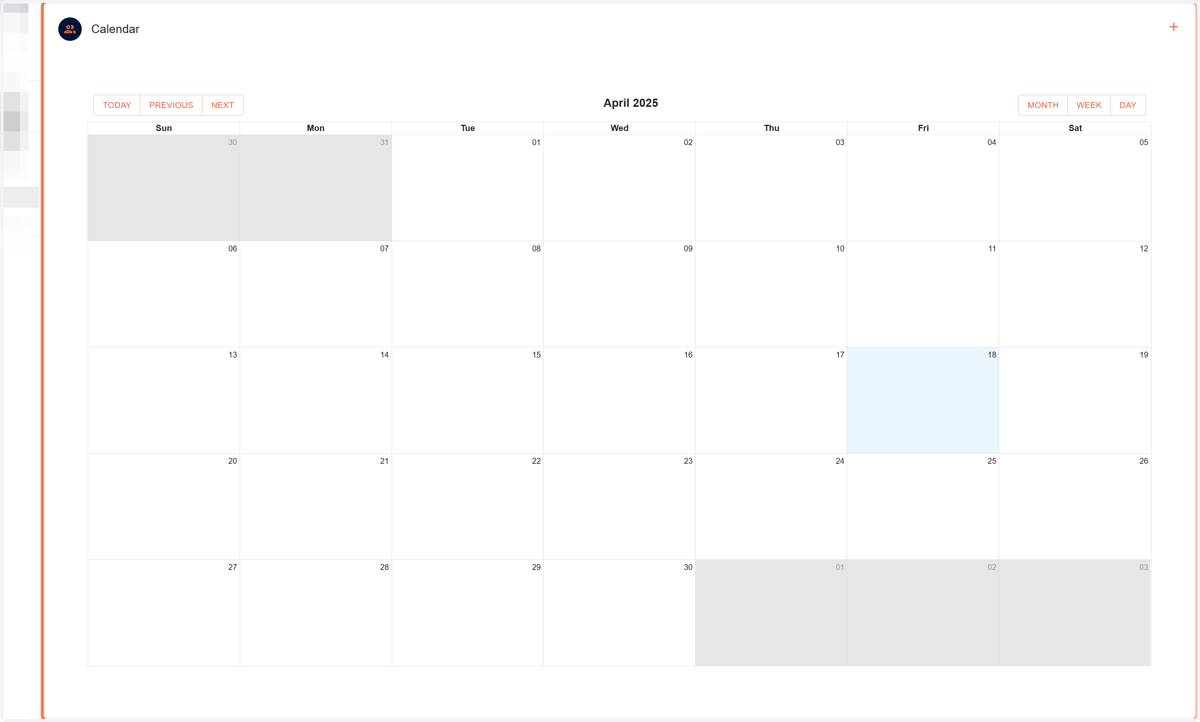
1. View Scheduled Appointments
Appointments made by your agent automatically appear in your portal calendar.
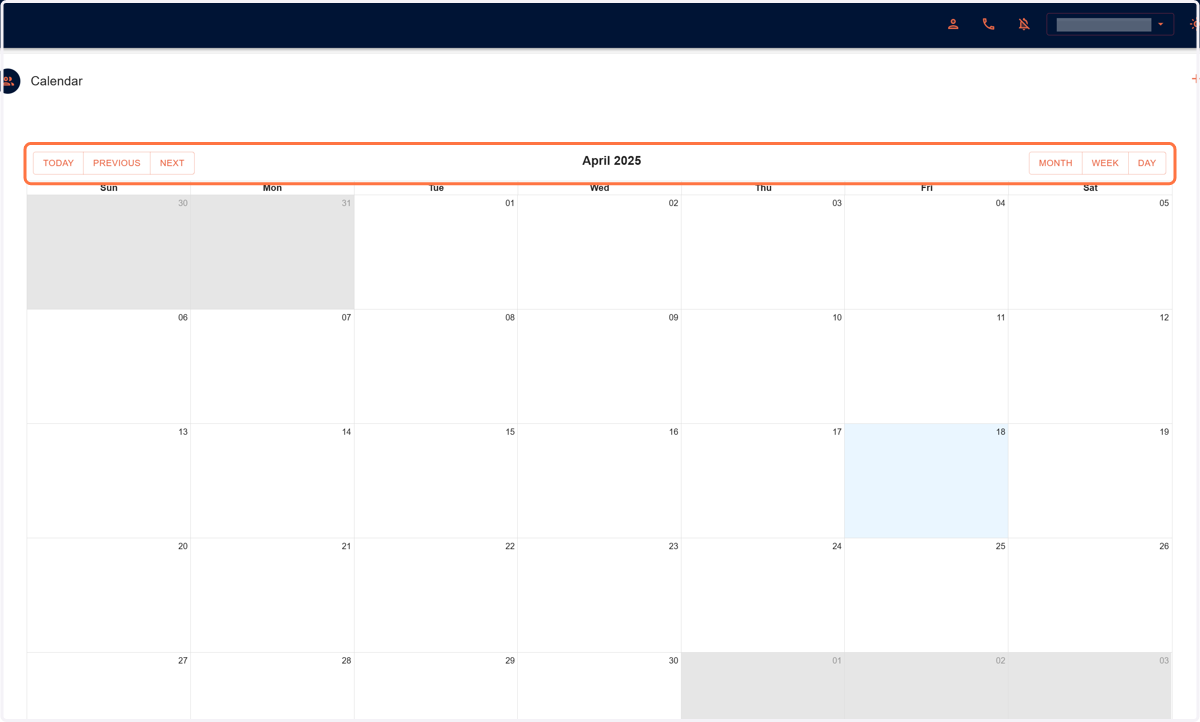
2. Filter & Navigate
Filter by Month, Week, or Day.
Use Today, Previous, and Next to move through the calendar.
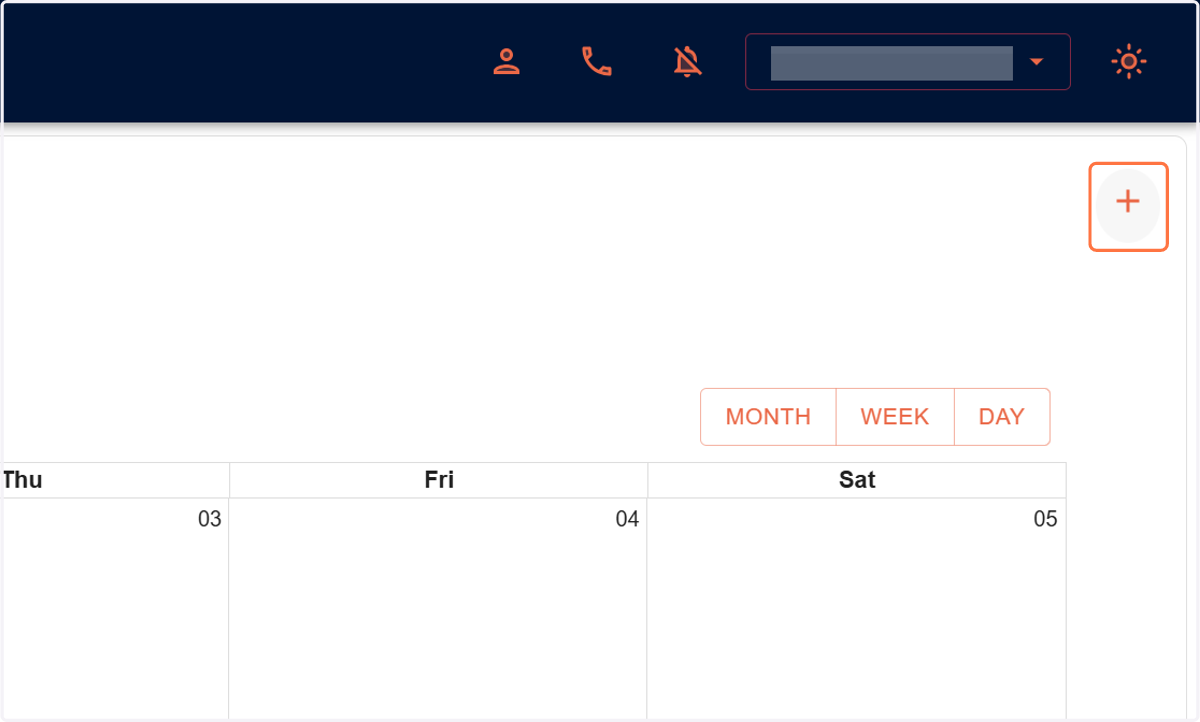
3. Manually Add an Appointment
Click the plus (+) icon in the top right corner.
4. Enter Appointment Details
Add a Title and Description.
Specify a Location (Teams, in-office, address, etc.).
Set the Start Time and End Time.
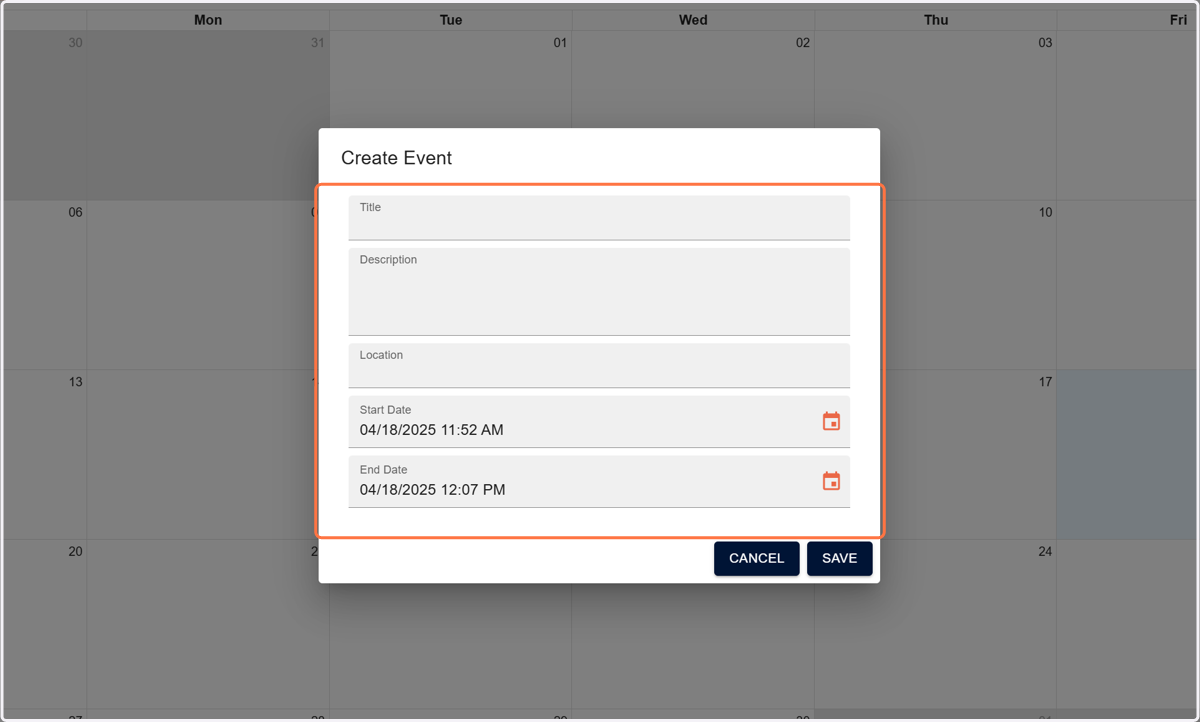
5. Set Date & Time
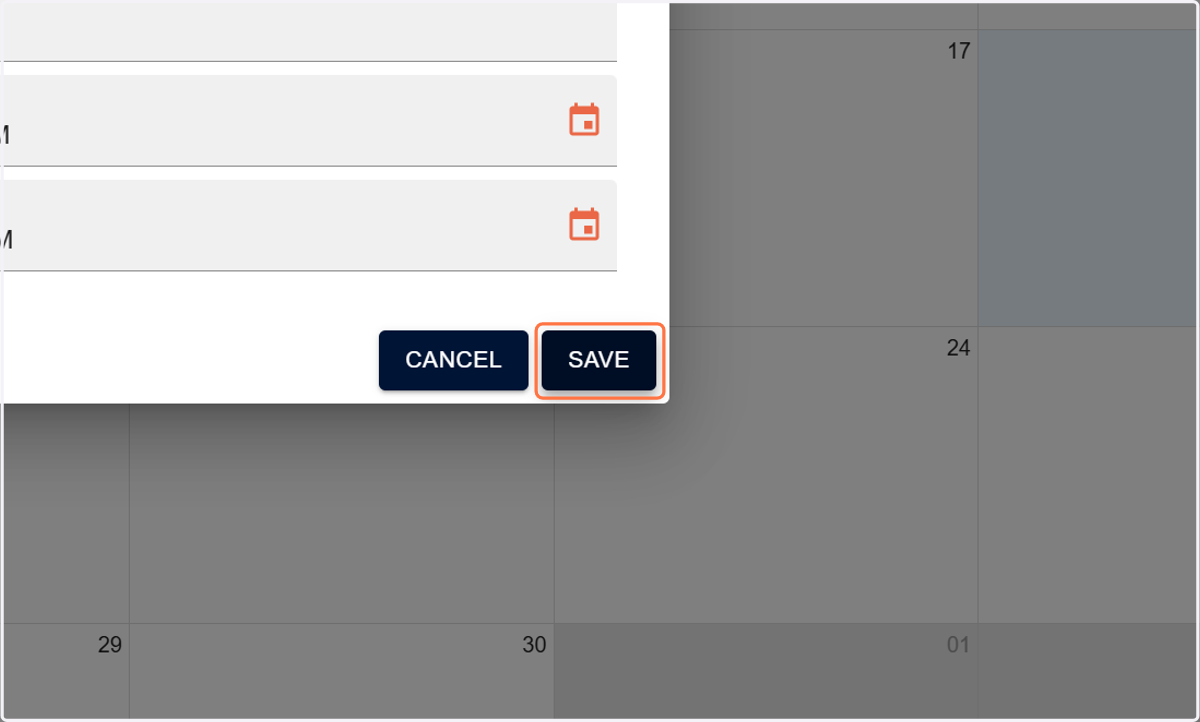
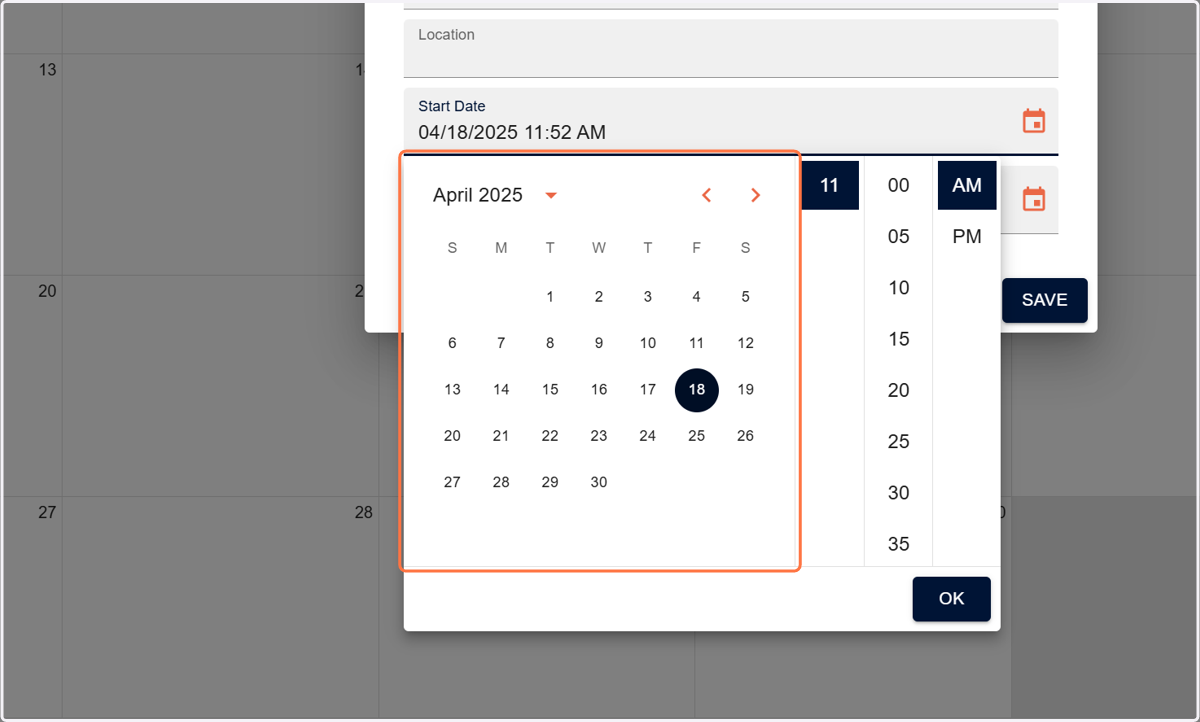
Click the calendar icon to select date and time from the dropdown.
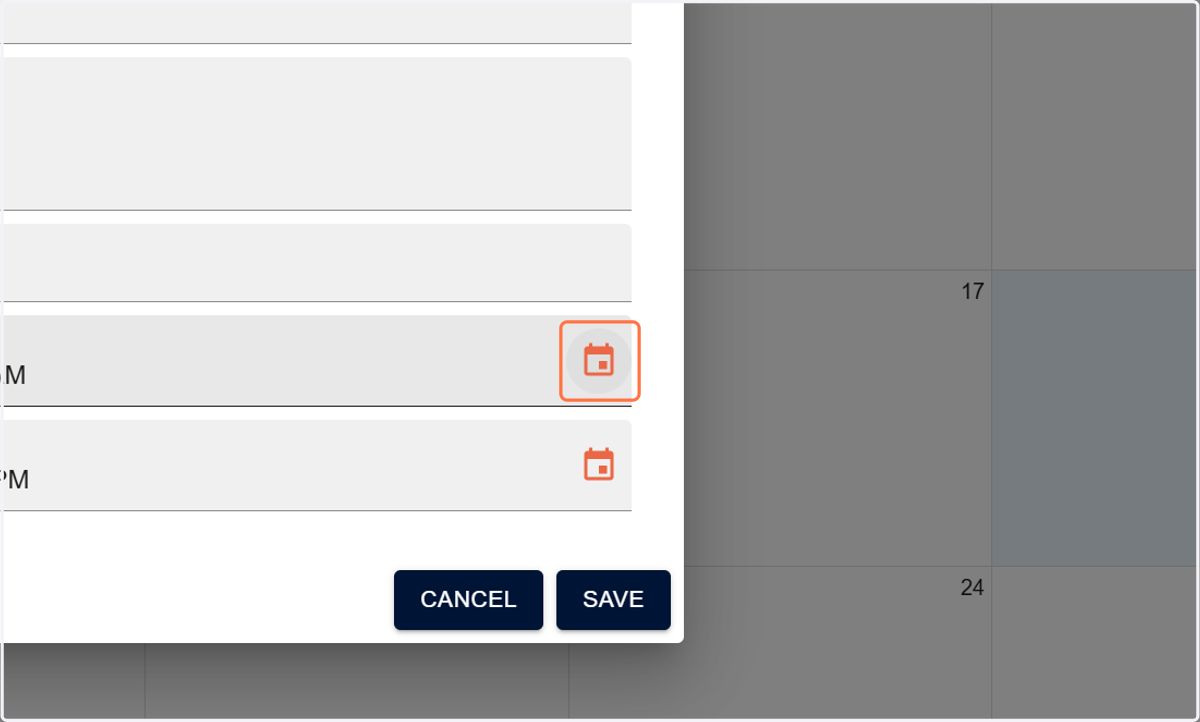
6. The calendar Icon will drop down for you to select your date and times accordingly
7. Save your event
Click Save to finalize your event.