How to schedule activity
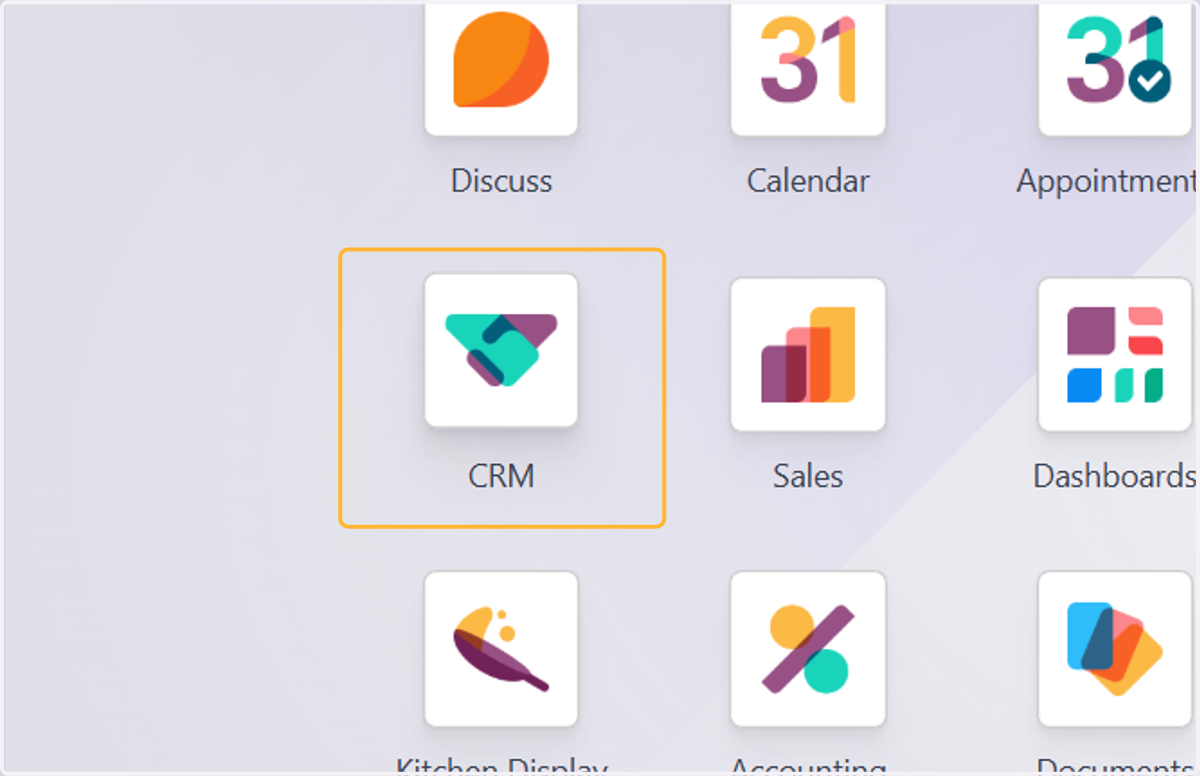
1. Click on CRM
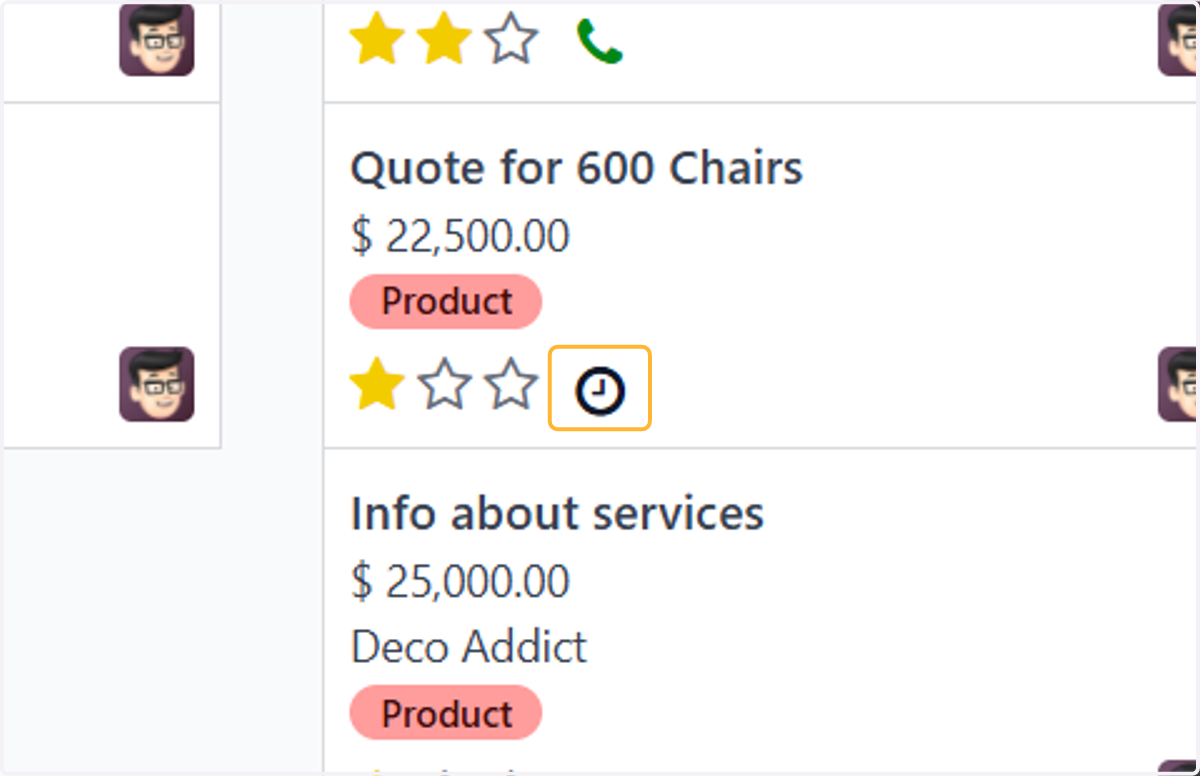
2. Click on clock icon on any opportunity to schedule an activity
The icon used to display activities varies, depending on the activity type:
(clock) icon: the default activities icon.
(phone) icon: a phone call is scheduled.
(envelope) icon: an email is scheduled.
(check) icon: a “to-do” is scheduled.
(people) icon: a meeting is scheduled.
(upload) icon: a document is scheduled to be uploaded.
(request signature) icon: a signature request is scheduled.
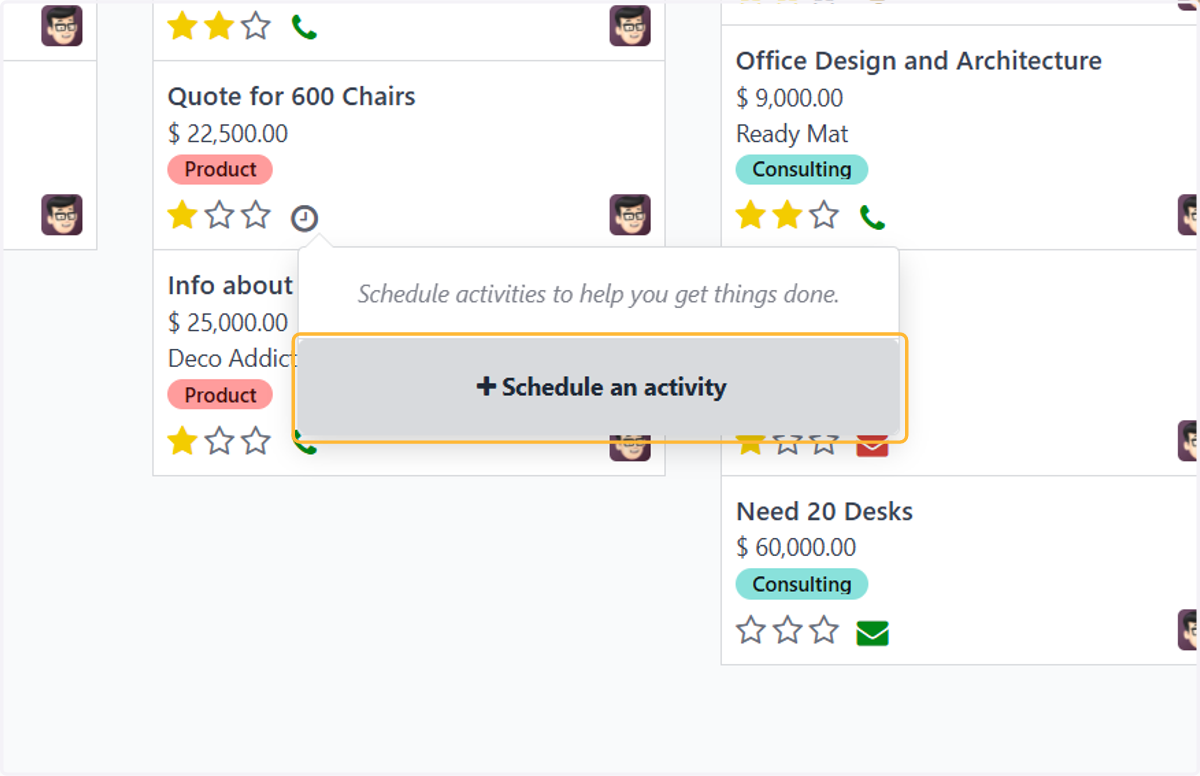
3. Click on Schedule an activity
4. Choose activity type
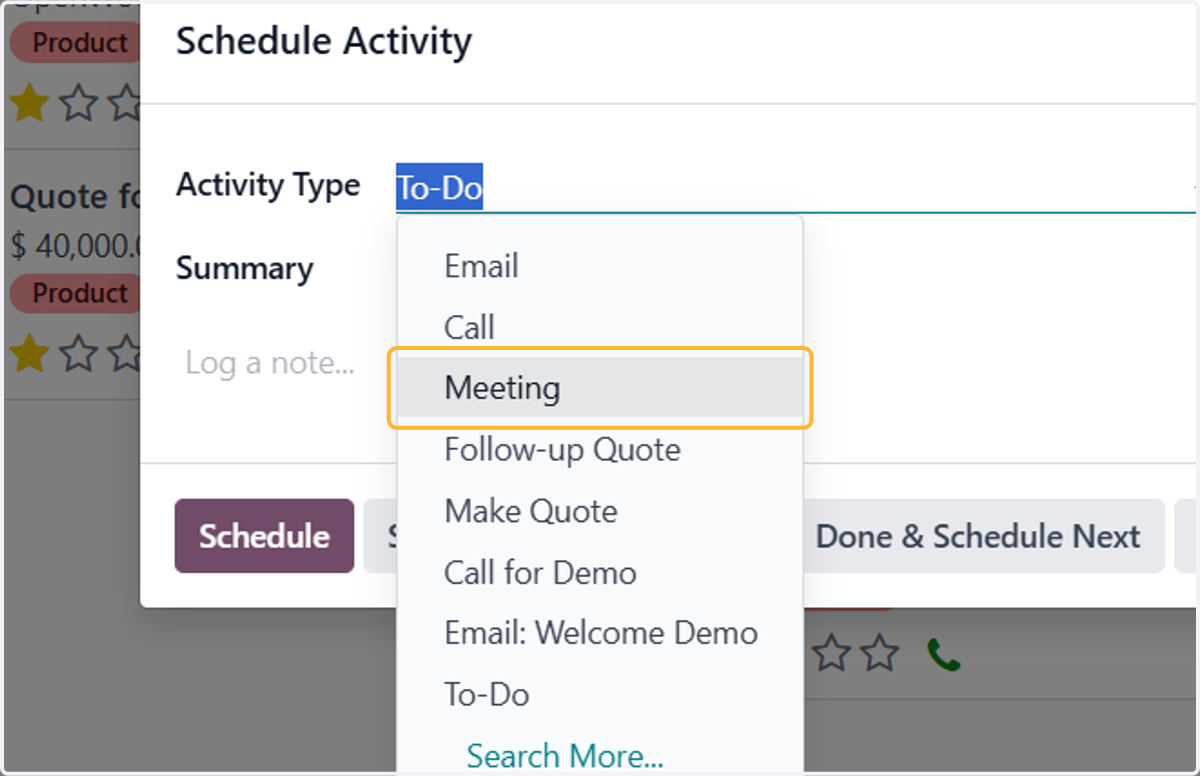
5. Add a summary
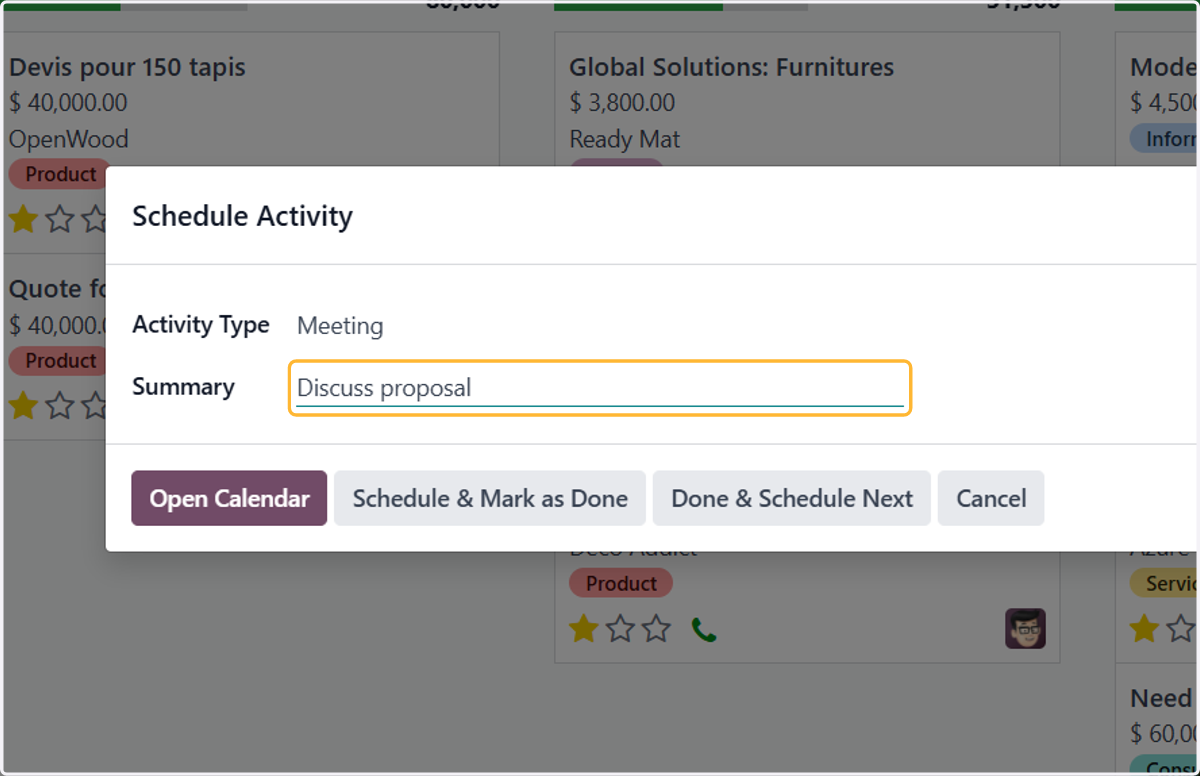
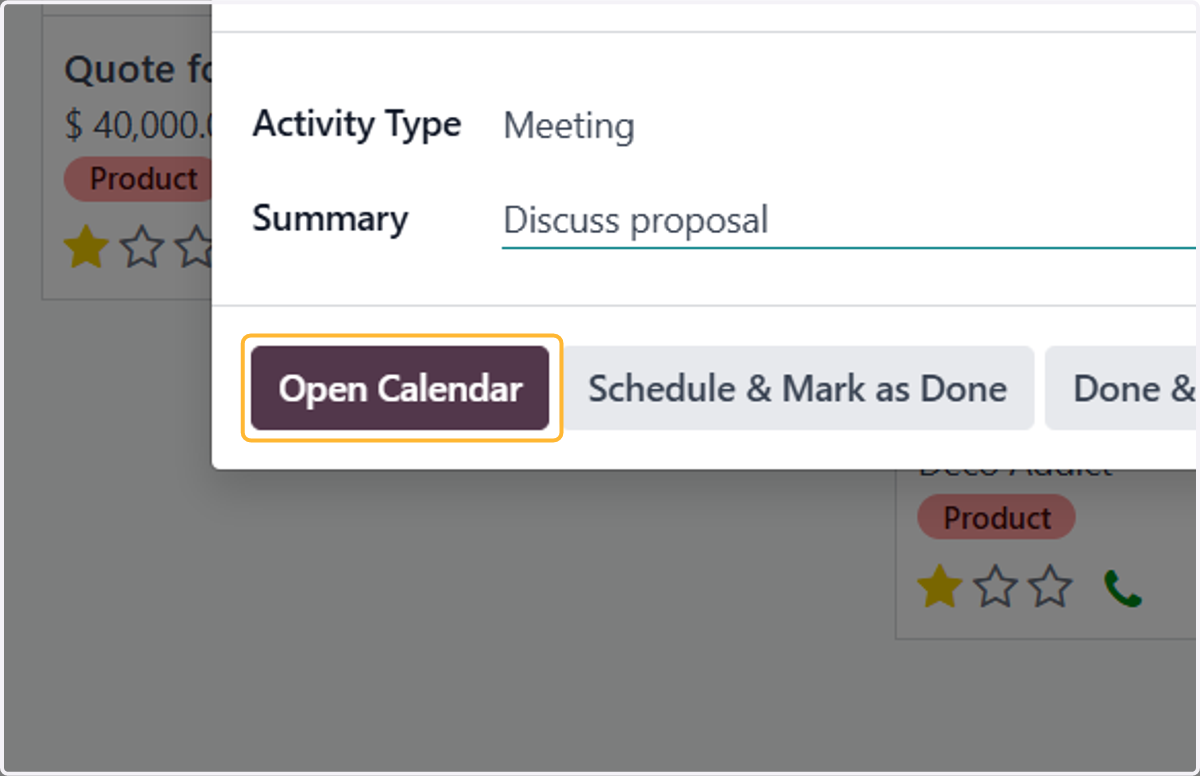
6. You can set any slotsby clicking Open Calendar
7. Click on Share Availabilities to view your available time
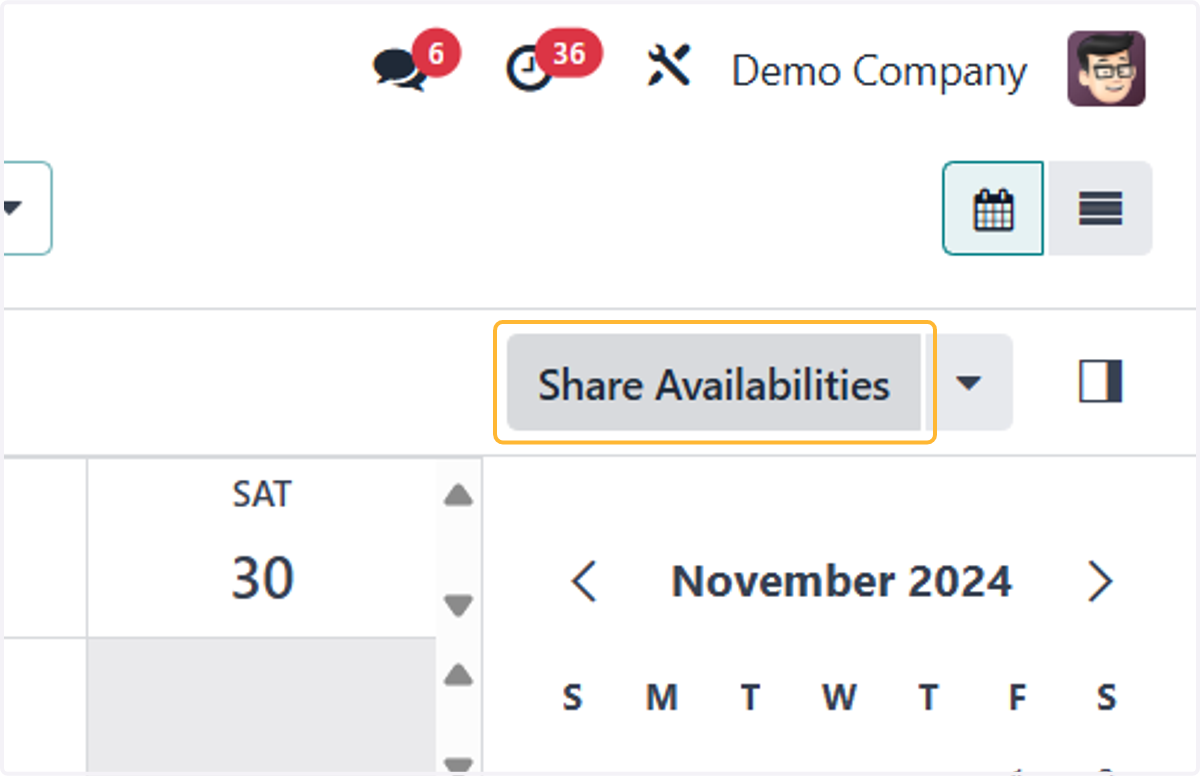
8. Your available slots will be highlighted in white. You may set more than one slot by click, hold and drag
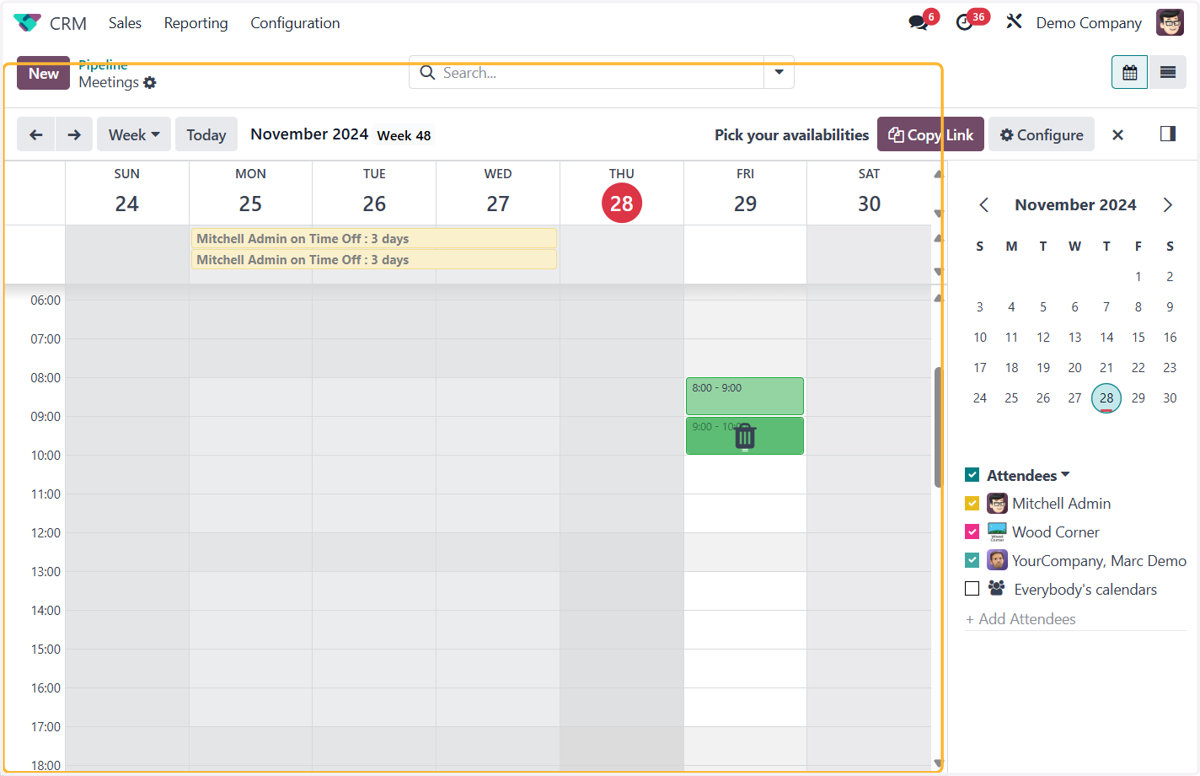
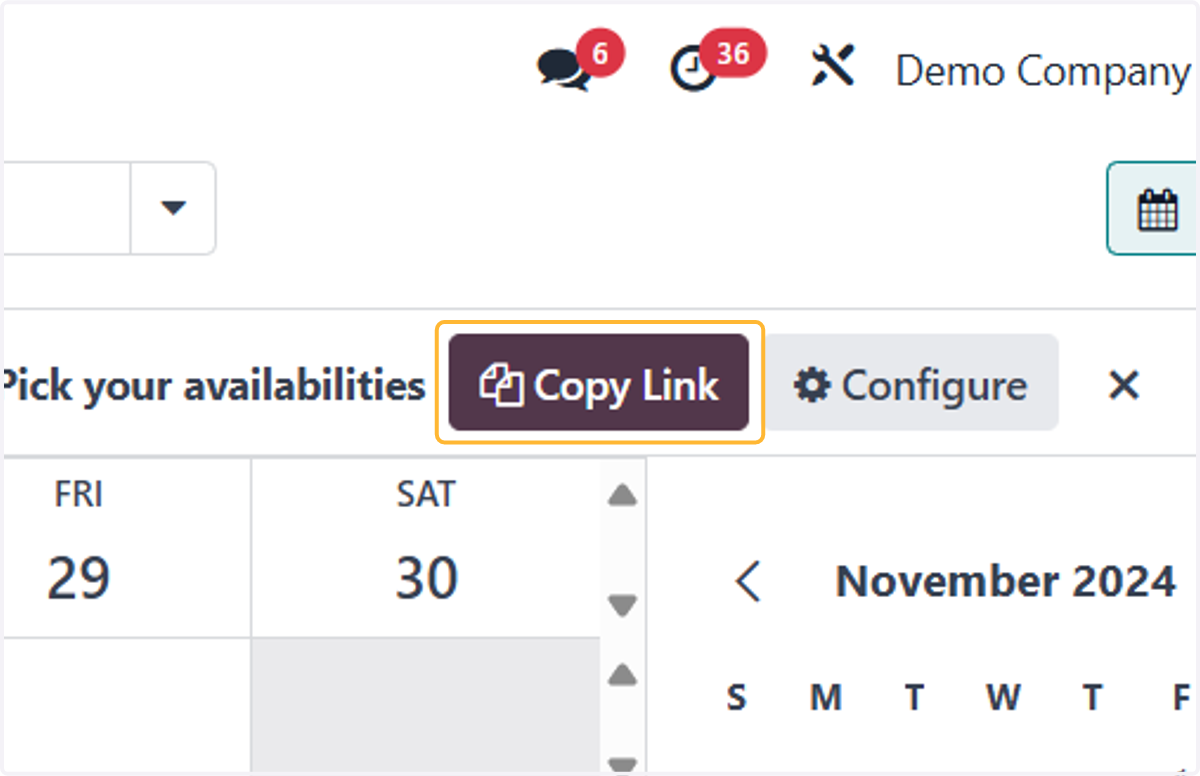
9. Once done, click Copy Link
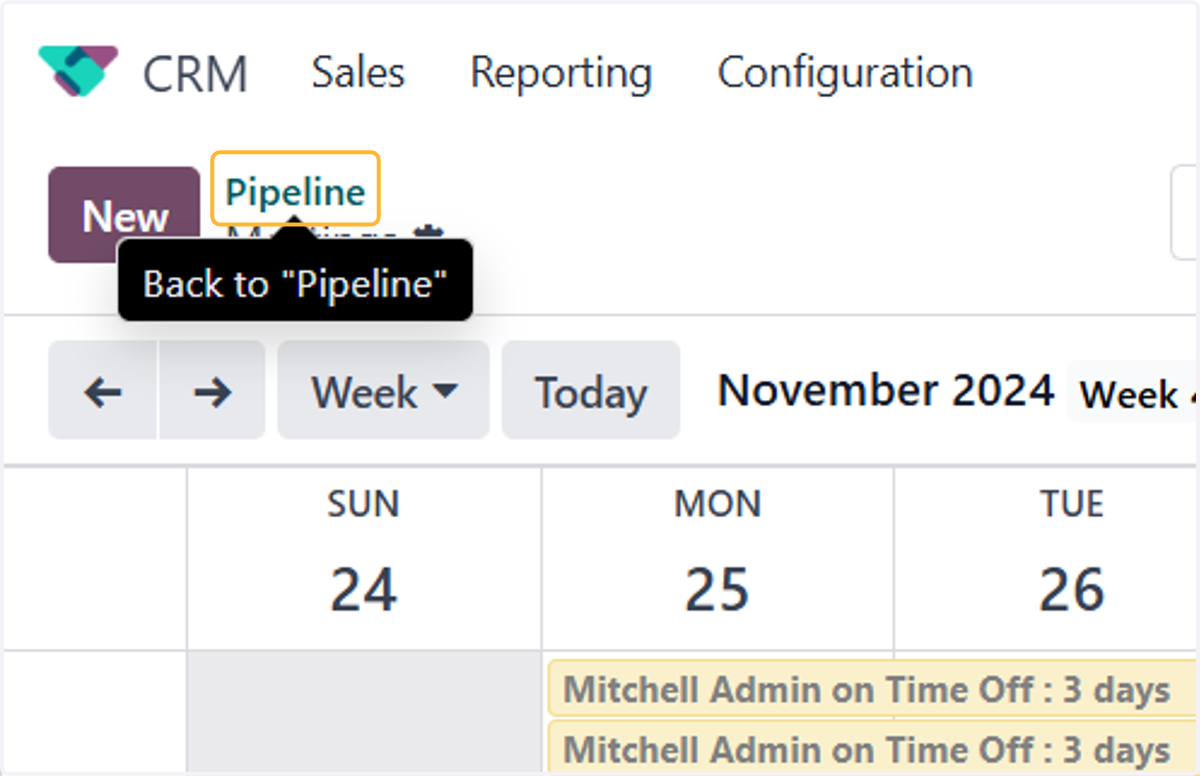
10. Head back to Pipeline
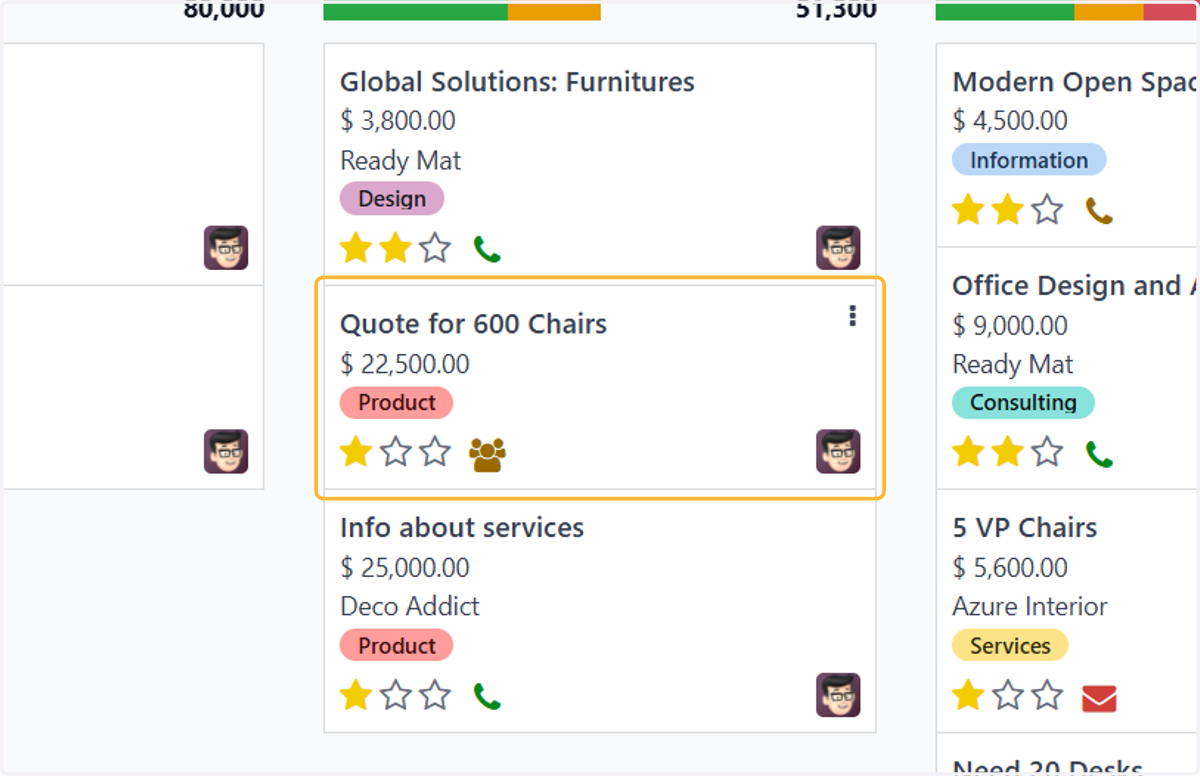
11. Click on the opportunity
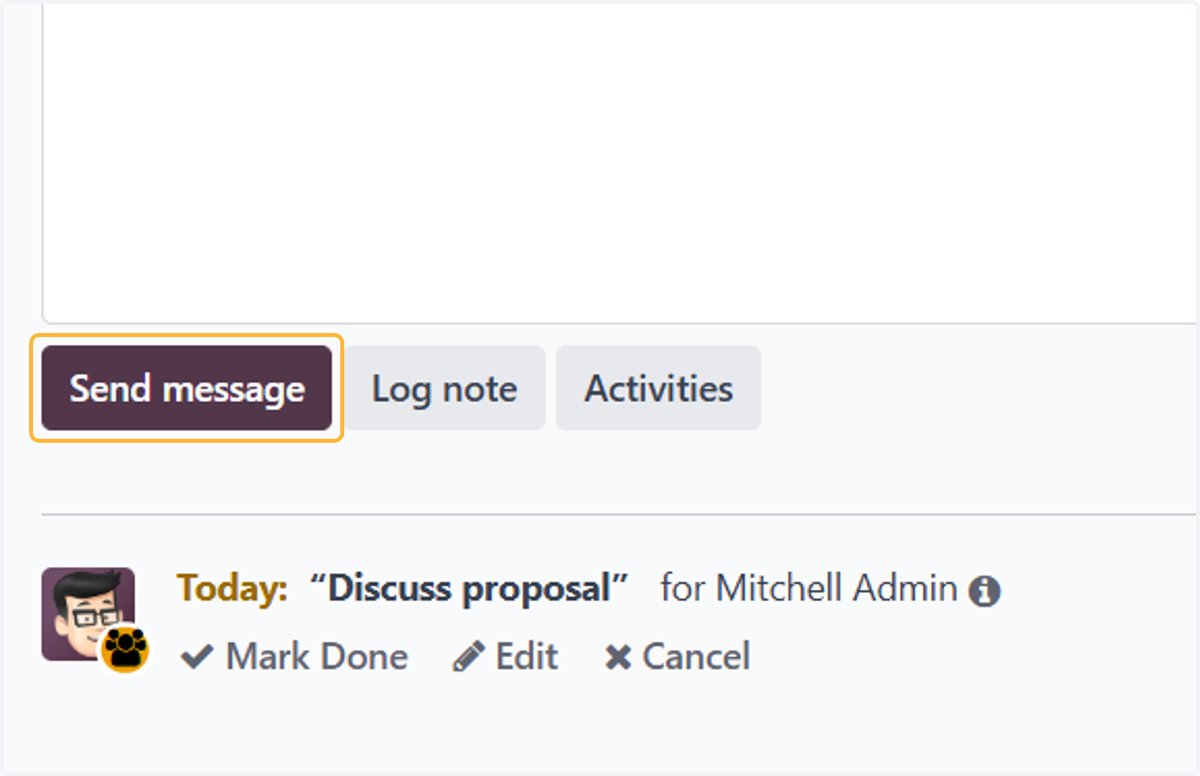
12. Click on Send message
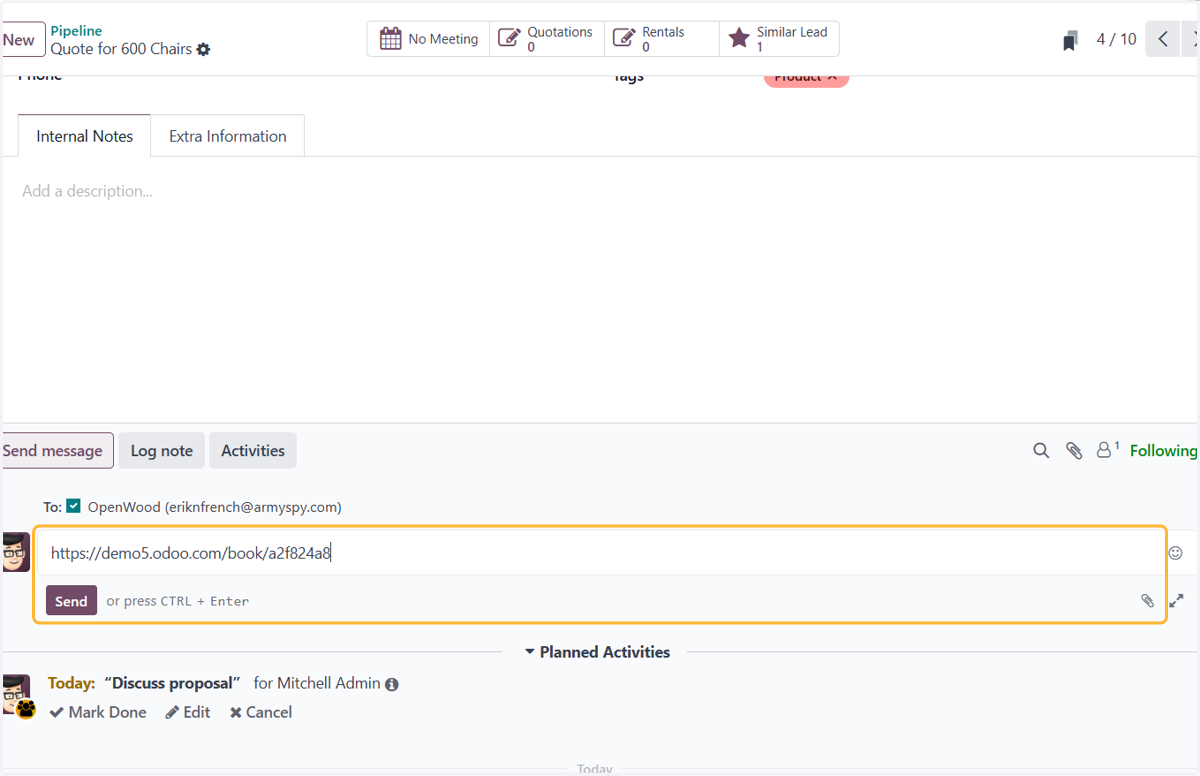
13. Paste the link in message. You can send it to your client by adding them as followers
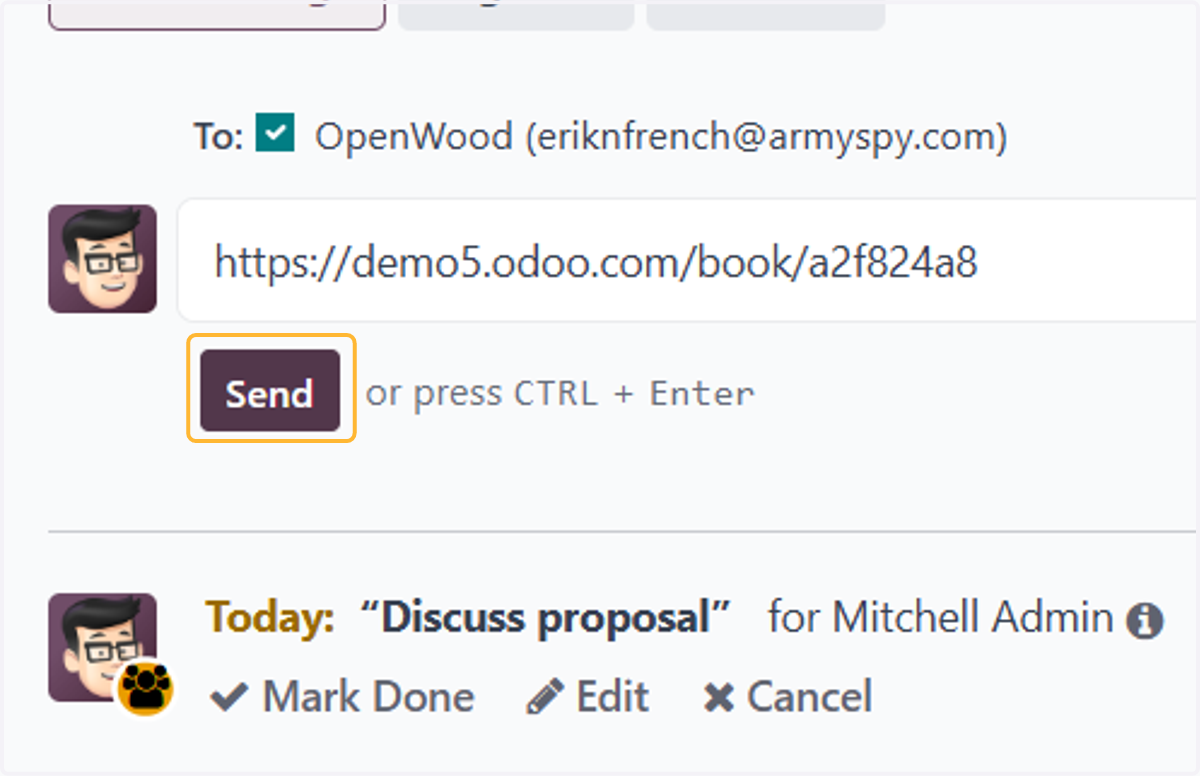
14. Click on Send
15. Click on https://demo5.odoo.com/book/a2f824a8
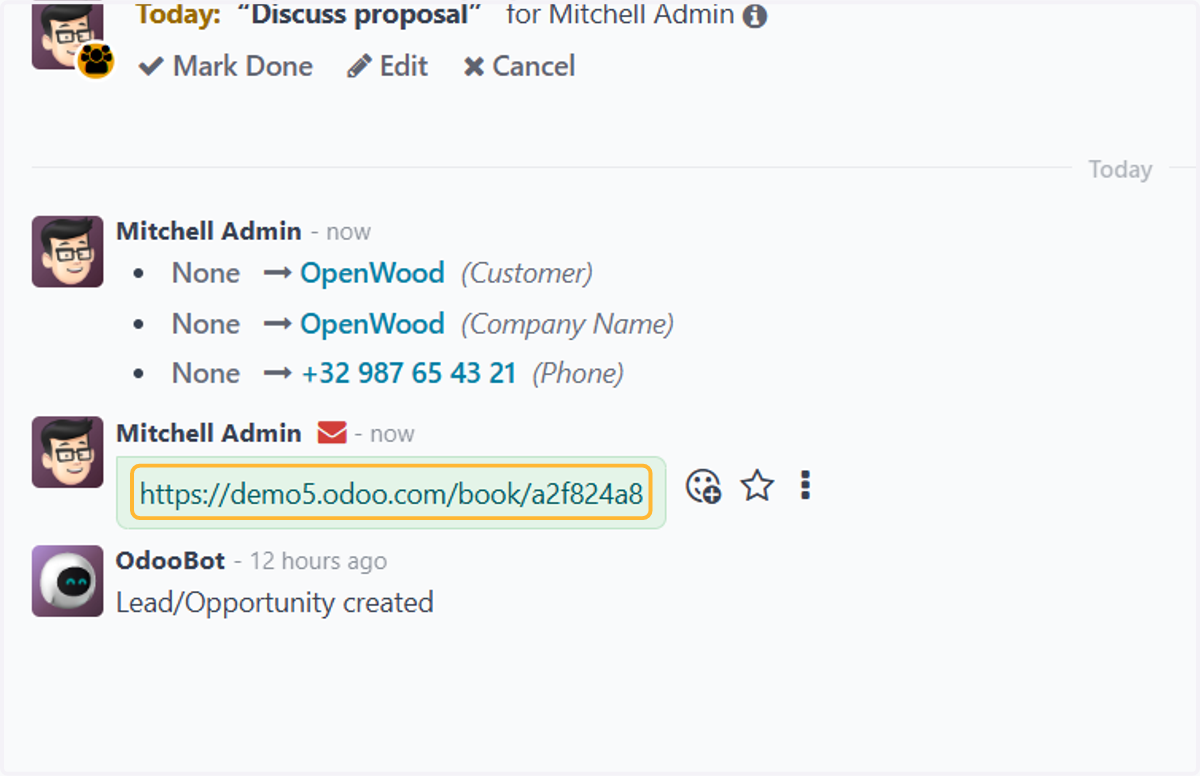
16. Your client will receive a link in email. By clicking the link, they get to view calendar and select any slot that was set by you in previous step
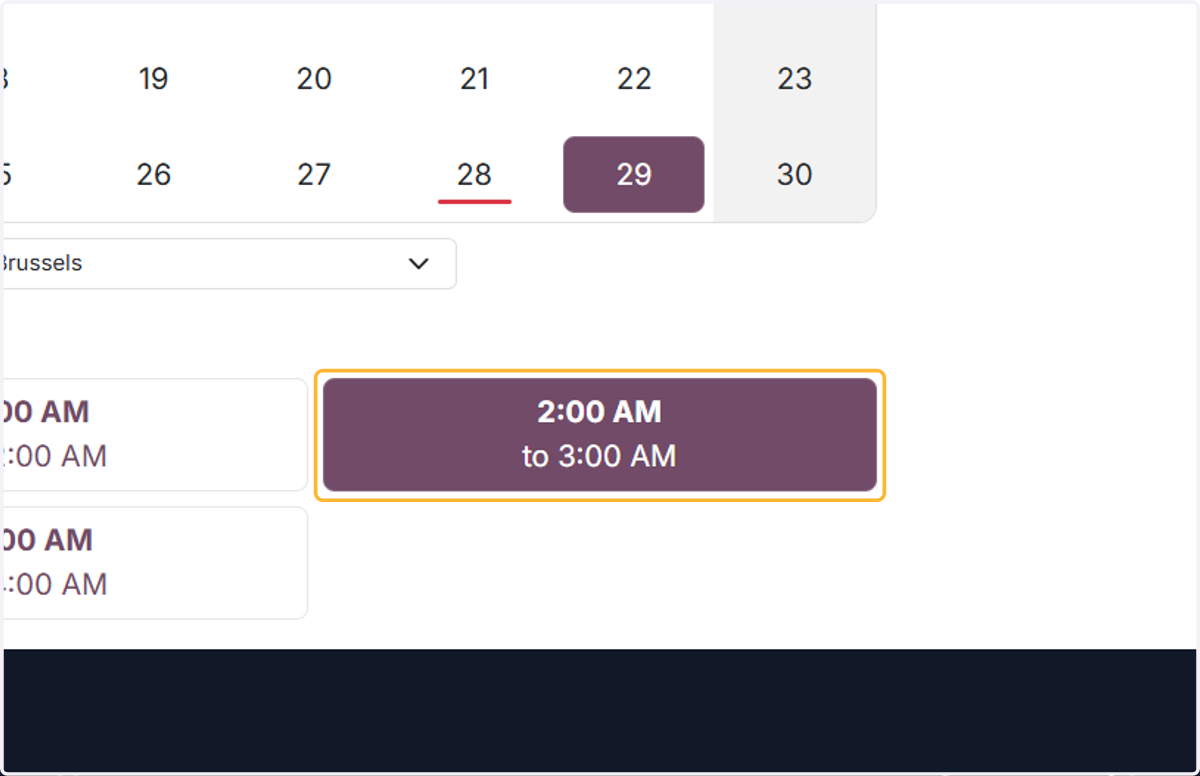
17. After choosing the slot, just click on Confirm Appointment
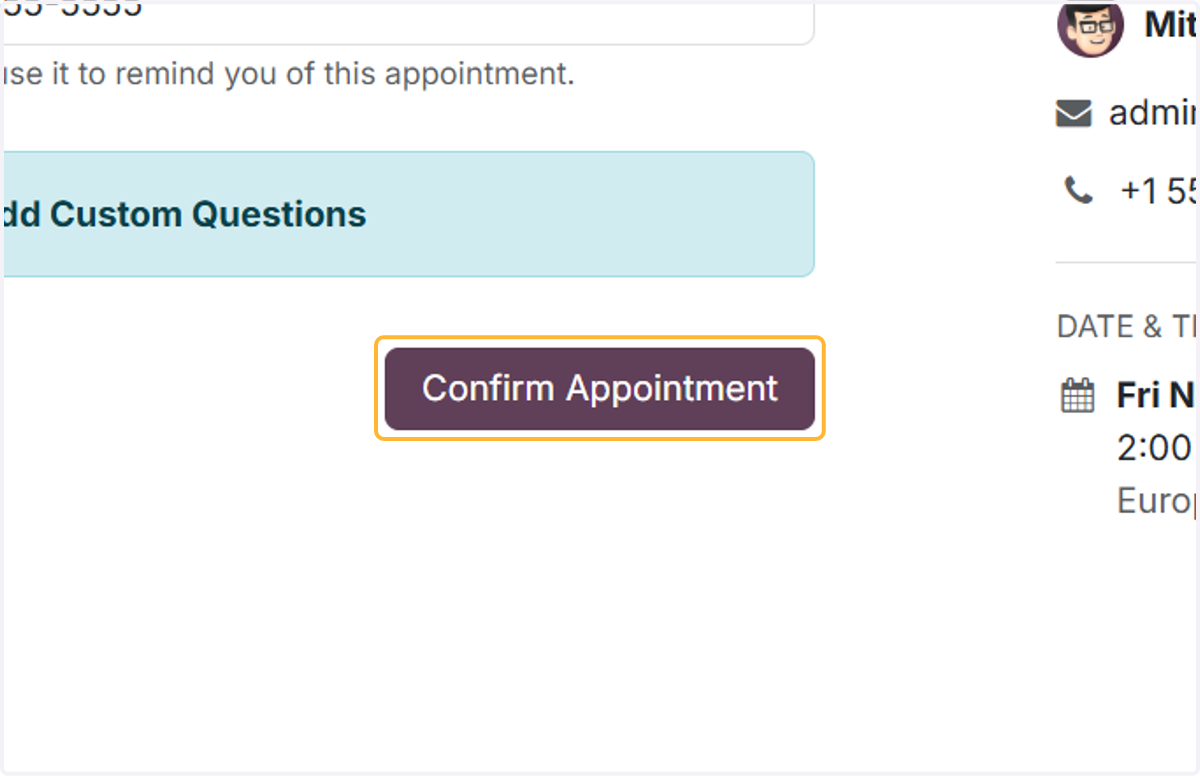
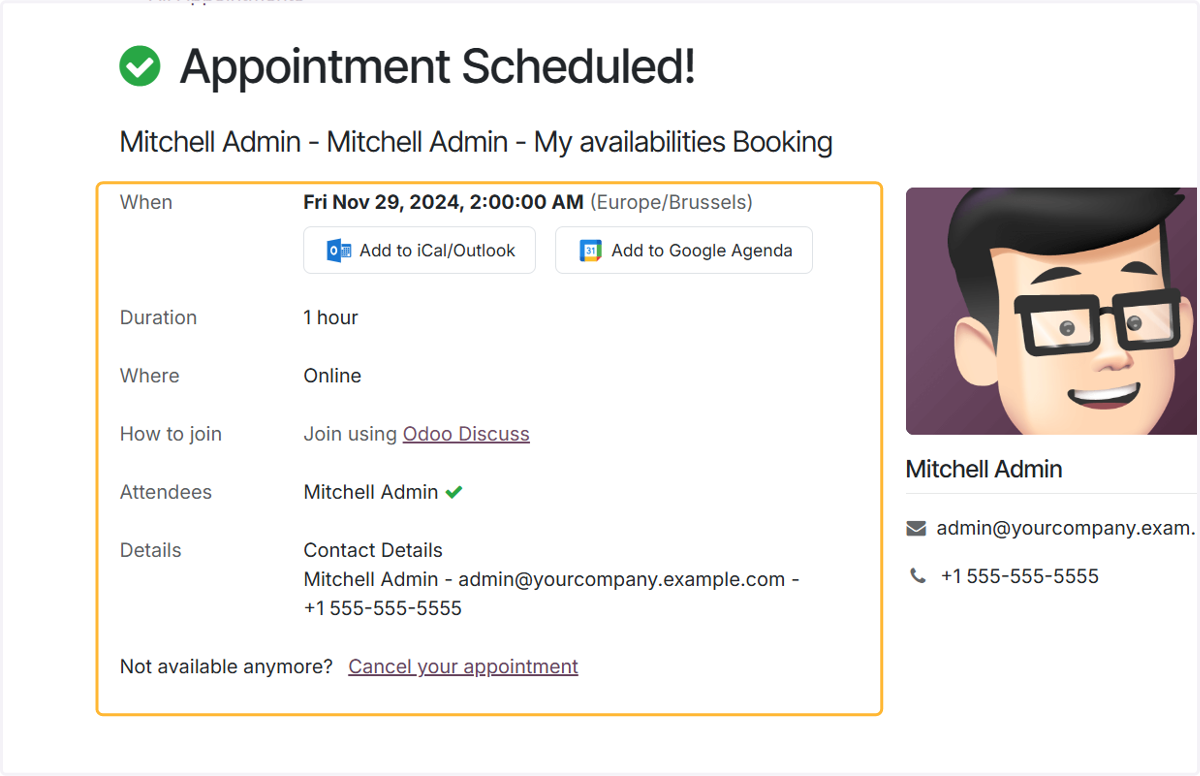
18. Your appointment has been confirmed! You will be notified via email