Update Apartment Pricing & Preserve History
This guide describes how to update a community pricing sheet after a price change request is submitted to the Help Desk. This guide assumes the sales person wants the history to be retained in the pricing sheet.
Open Community Pricing Sheet
1. Highlight Current Rate Column

2. Insert Column Left

3. Enter Column Information
Name = Month or Year price was last changed
Column Type = Text/Number
Click OK

4. Format Column Width As Needed
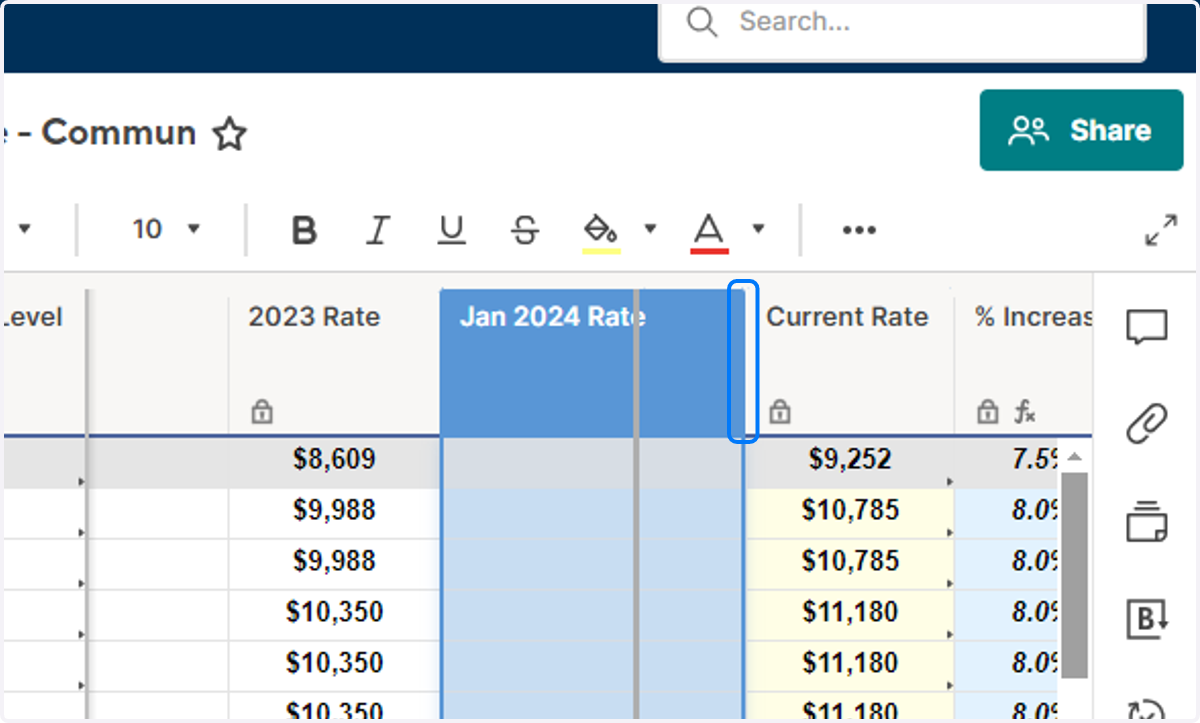
5. Copy Current Rate Data
Highlight the column and CTRL+C to copy the data.

6. Paste Data into New Column
Right-click + Paste Special
OR
CTRL+V

7. Format Column As Needed
Background Color = Automatic

8. Copy Formulas on Header Rows (Grey Rows)
Click the lower right corner of the header row cell in the Current Rate column. Drag left to copy the formula to the new column.

Open the Master Pricing Sheet
9. Filter on the Community
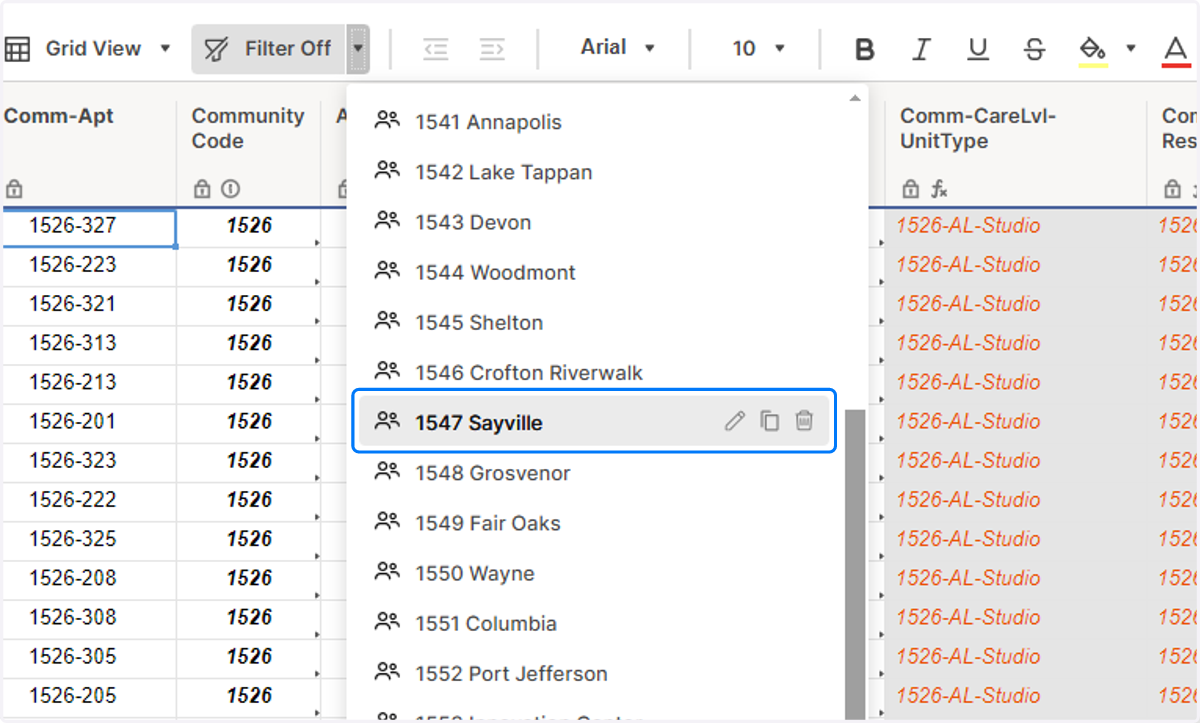
10. Copy New Market Rate Data
Paste data into the Current Market Rate Column

11. Tip: Paste Values to Avoid Formatting Changes
Right-click on top cell of the column, then click Paste Special.
Select Values then click OK.

12. Save

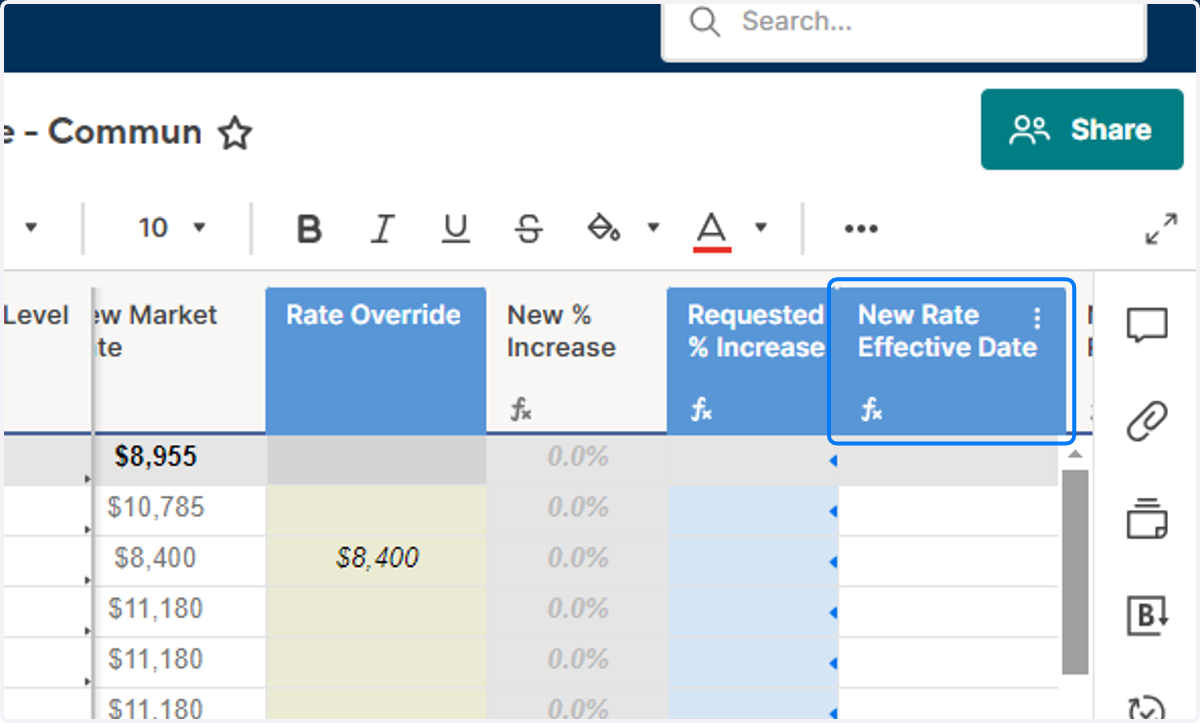
13. Delete Increase Request Data
Highlight Rate Override, Requested % Increase, and New Rate Effective Date.
Press Delete on your keyboard to remove the data.
14. Save
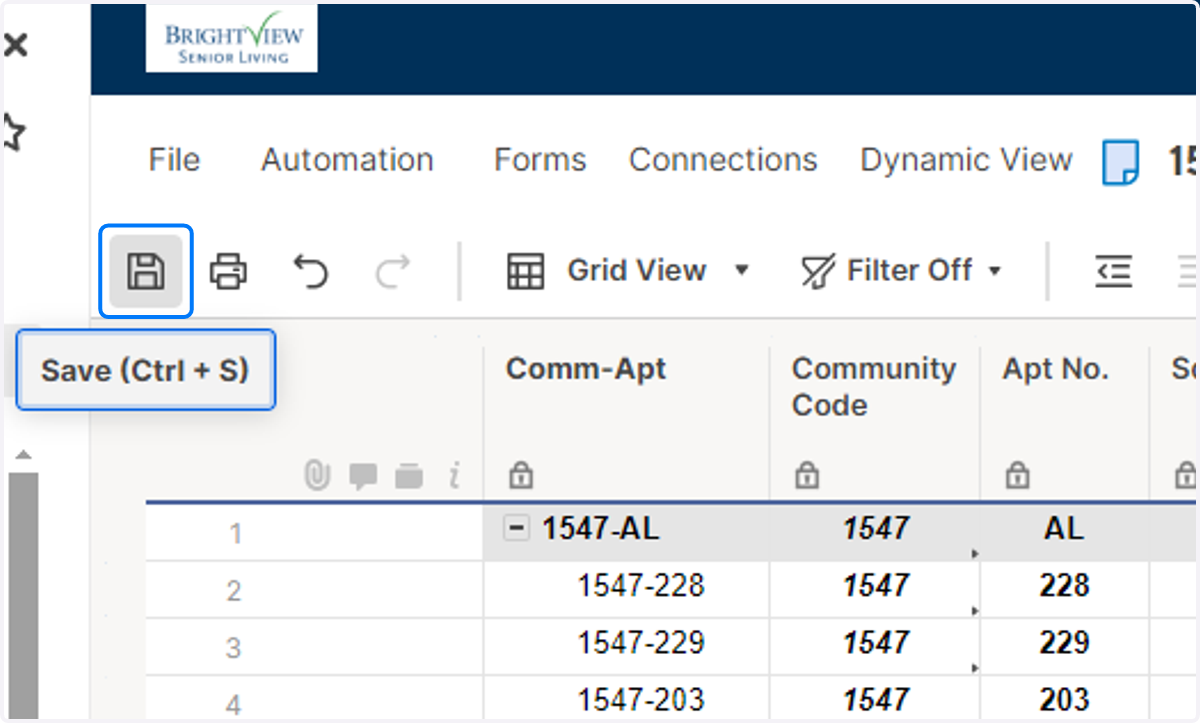
Open Community Pricing Report
15. Open the Associated Community Pricing Report

16. Select New Column
Click on Columns.
Check the box next to the new column you just created. Click OK.
The column will be added to the end of the report.

17. Format Column
Move the column to the appropriate location in the report.
Format column width as needed.
Save.

18. Open the Pricing Sheet Dynamic View & Click Settings

19. Click on View Display

20. Enable New Column
Click the checkbox by the new column.

21. Move the Column As Needed

22. Click Save

23. Click Back to view

24. Review New Column
