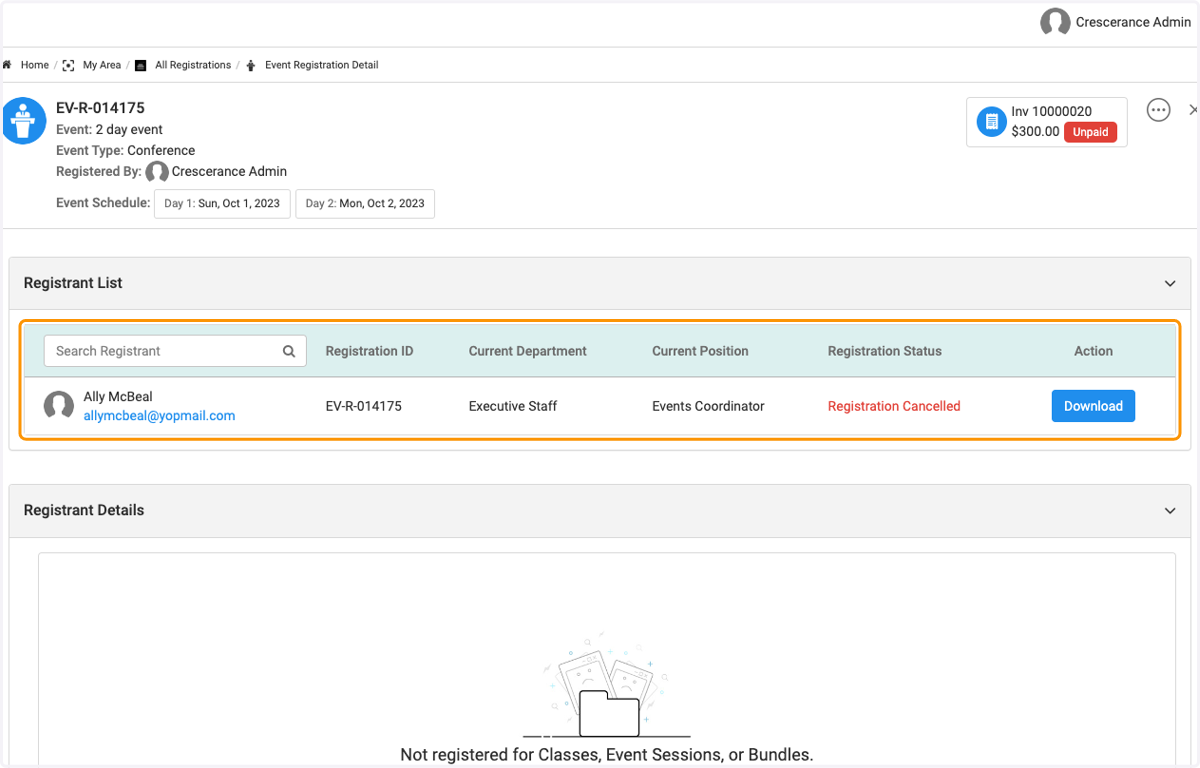
Cancelling an Event Registration
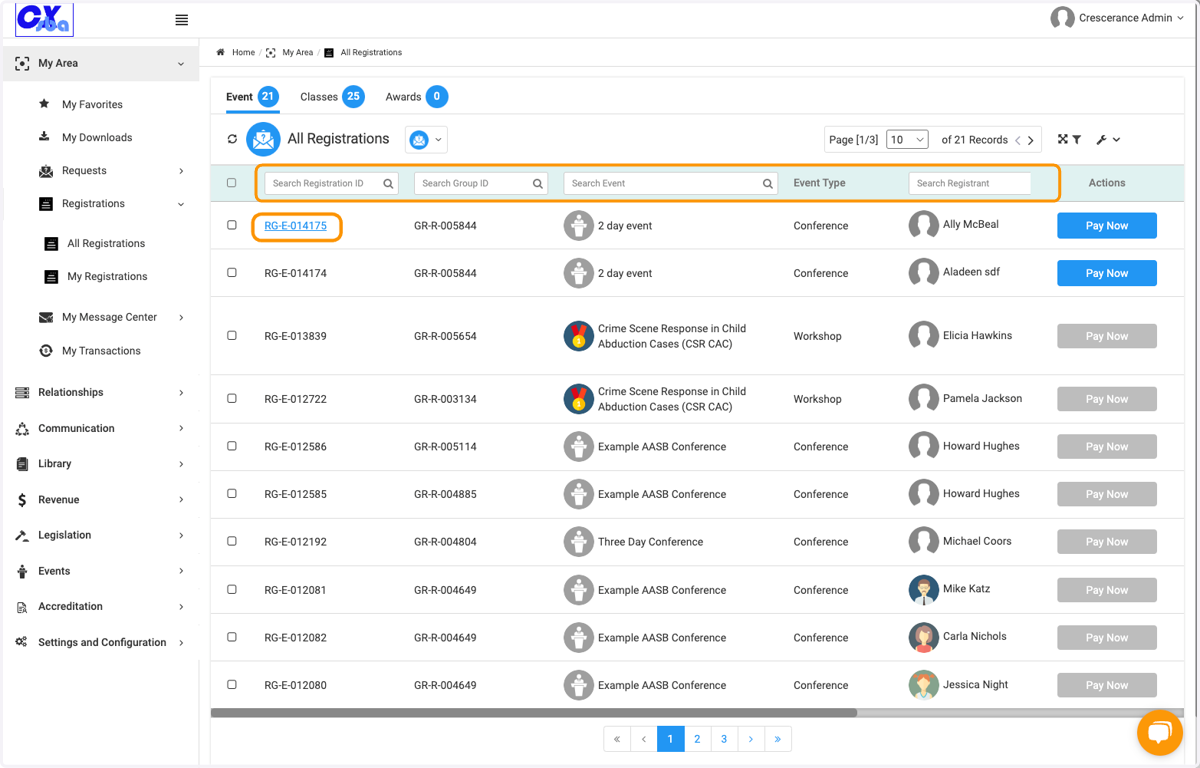
1. Click on My Area
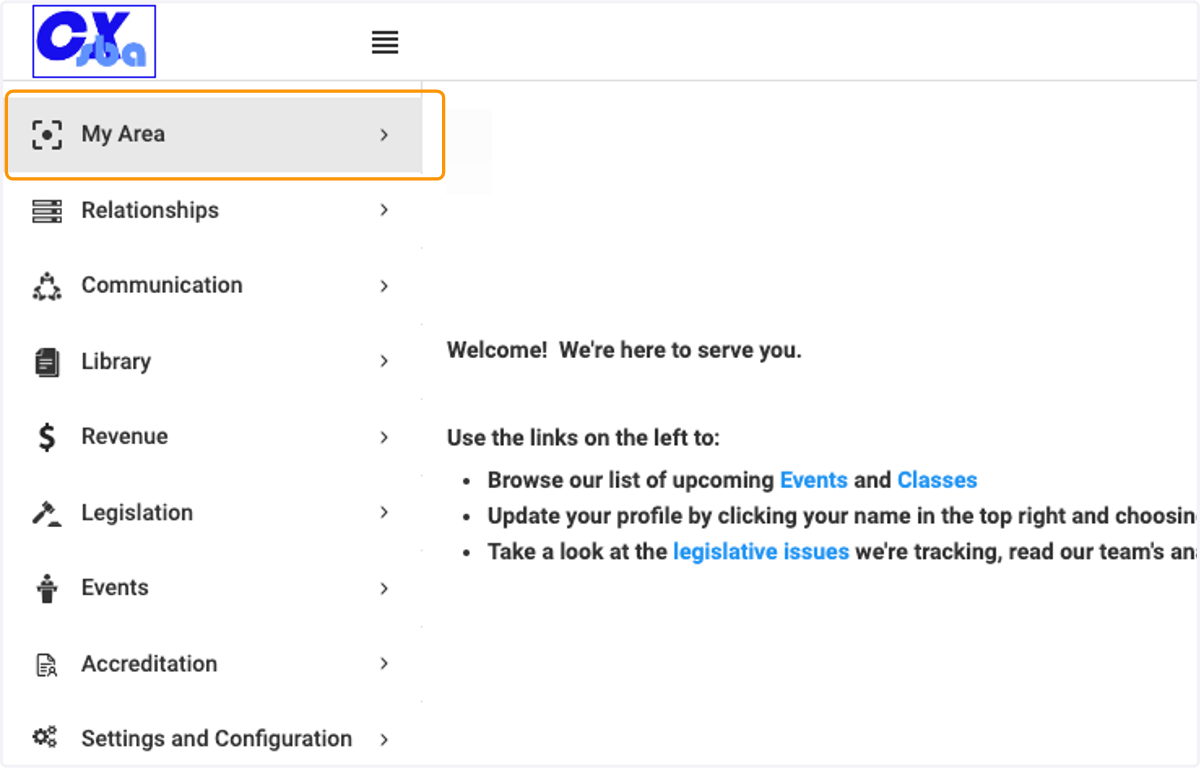
2. Click on Registrations
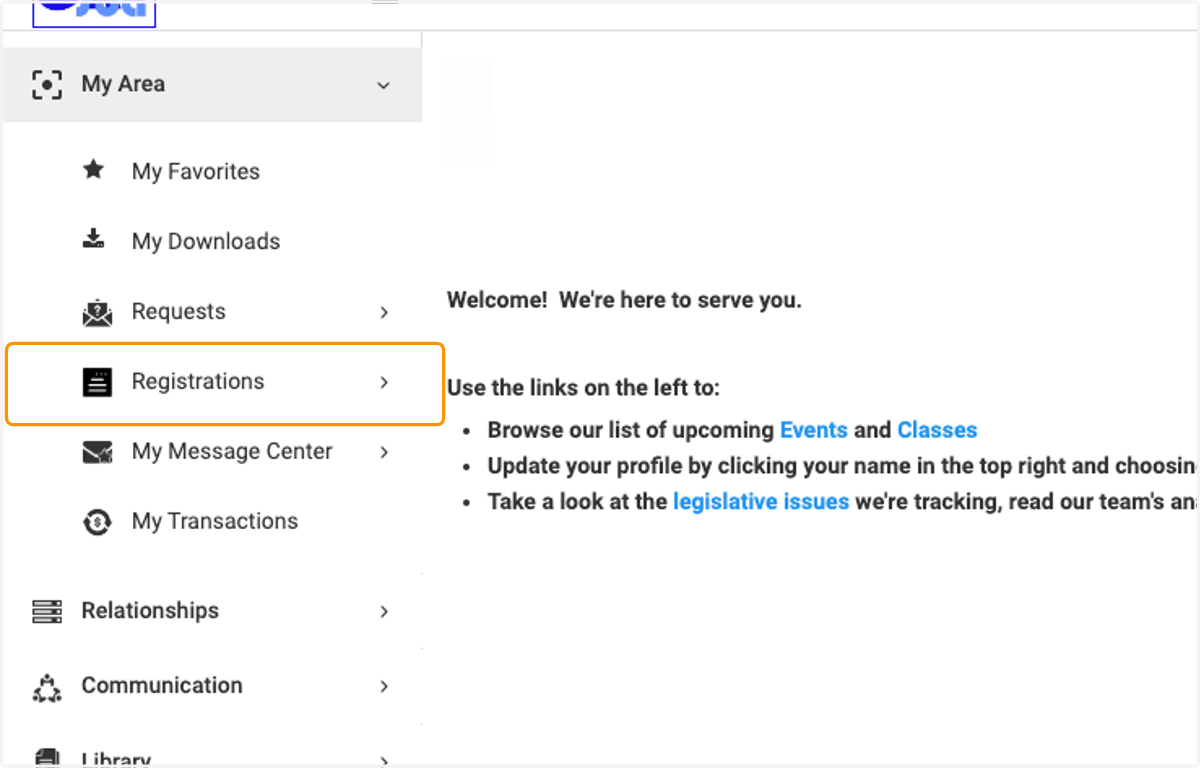
3. Click on All Registrations
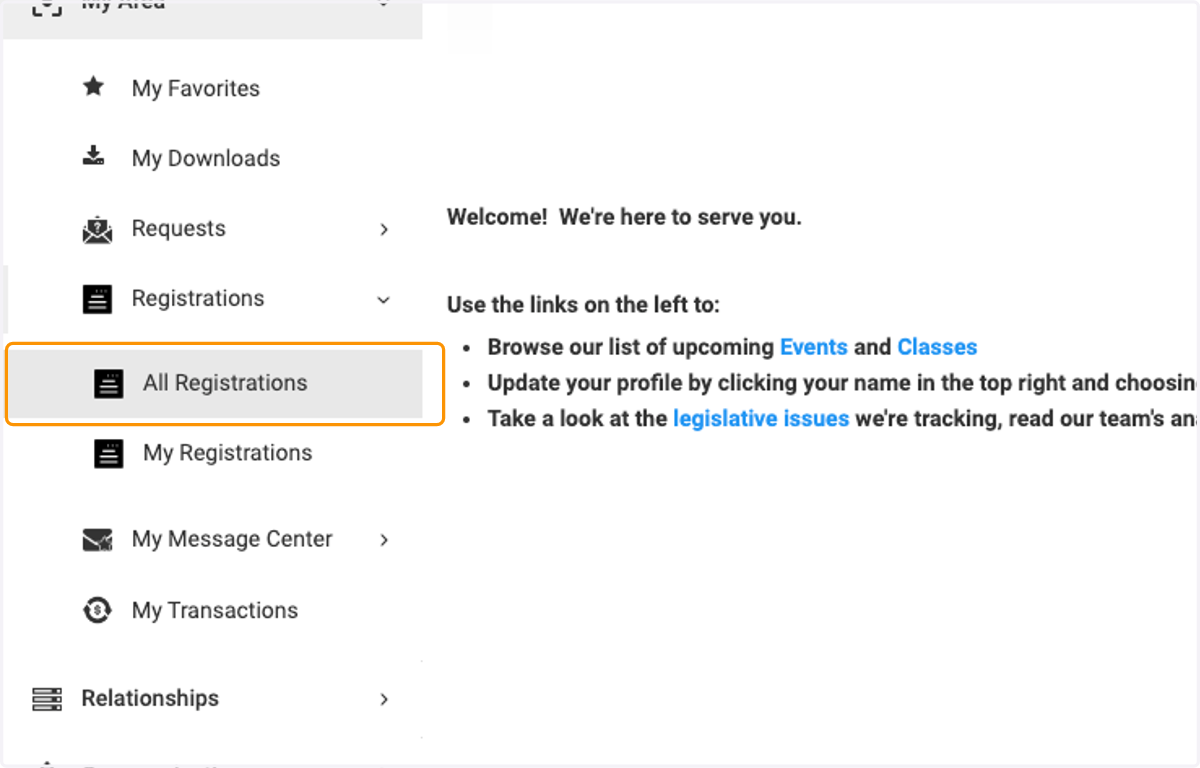
4. You can search by the registration id, group id, event name or registrant's name
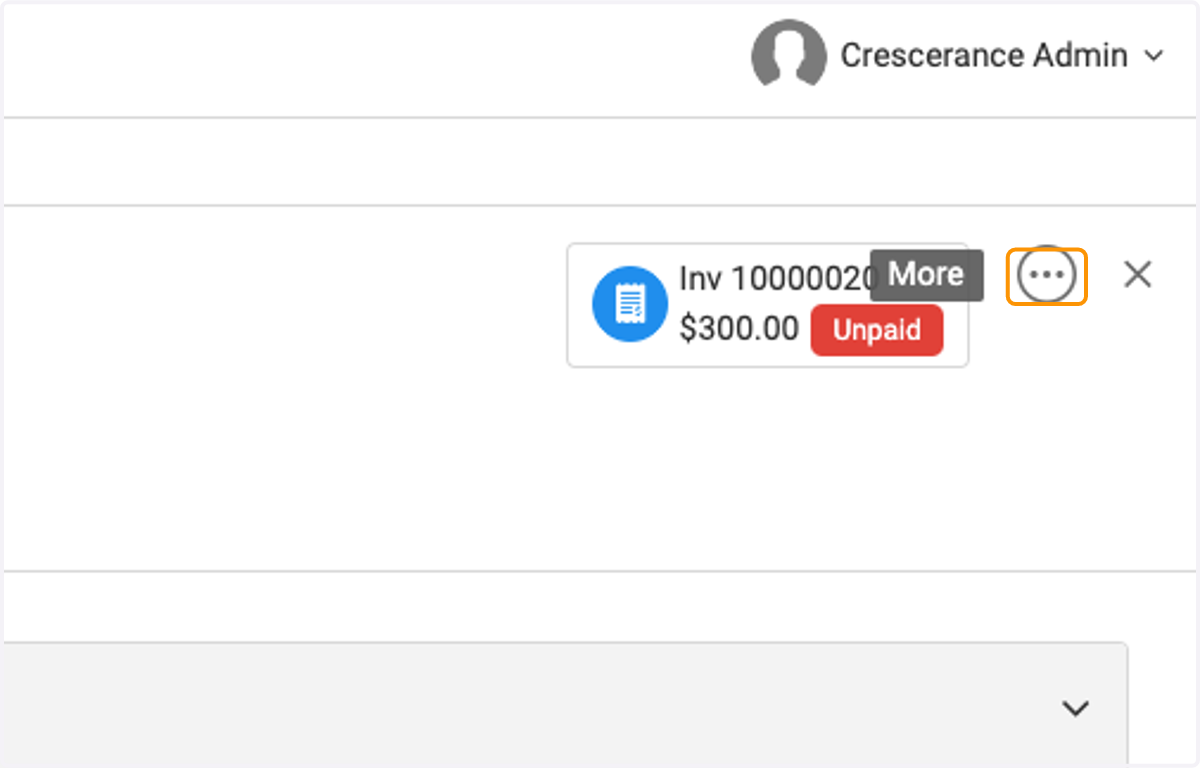
5. Click on the three dots
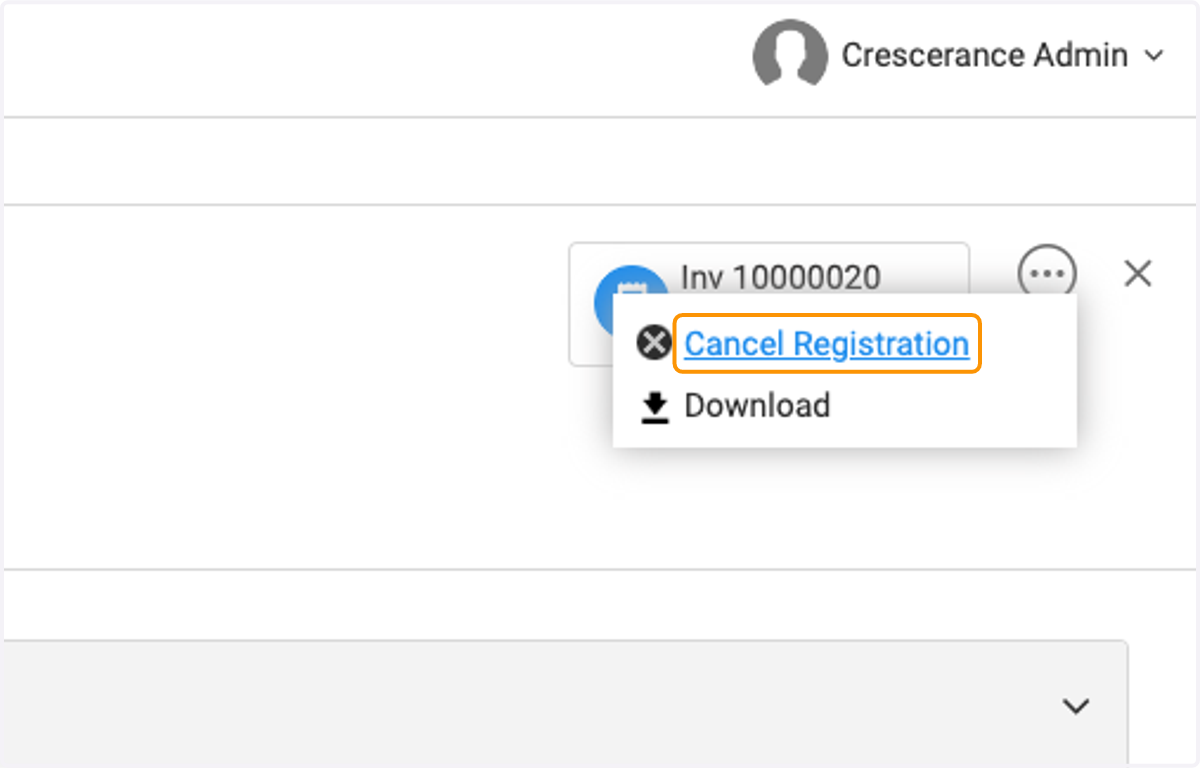
6. Click on Cancel Registration
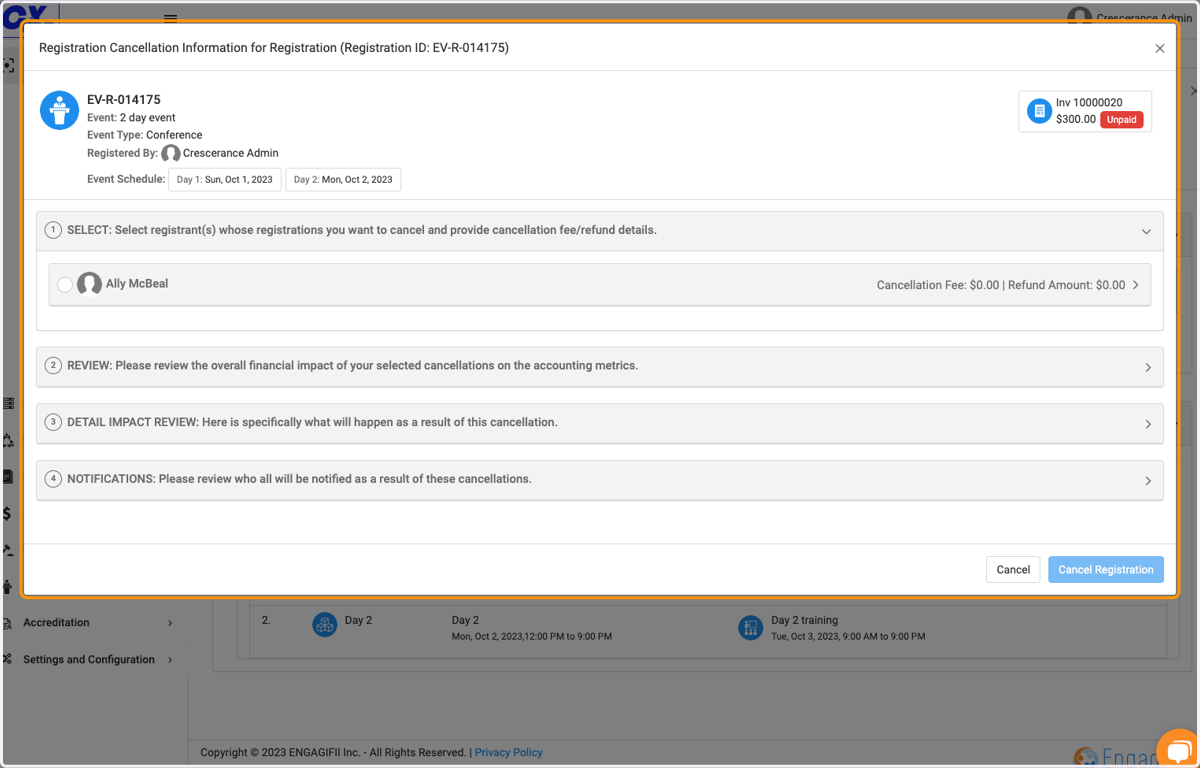
7. A cancellation window pops up with the registration details
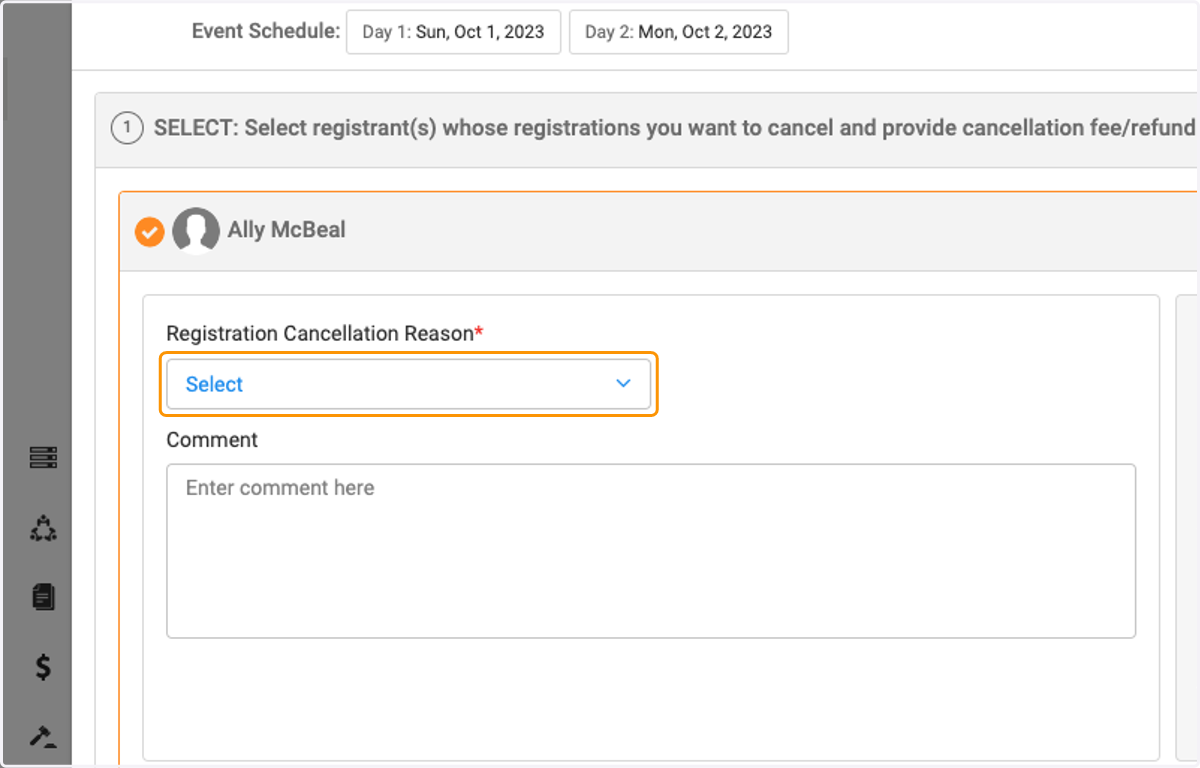
Select the registrant you wish to cancel
8. Click on the dropdown arrrow to select the cancellation reason
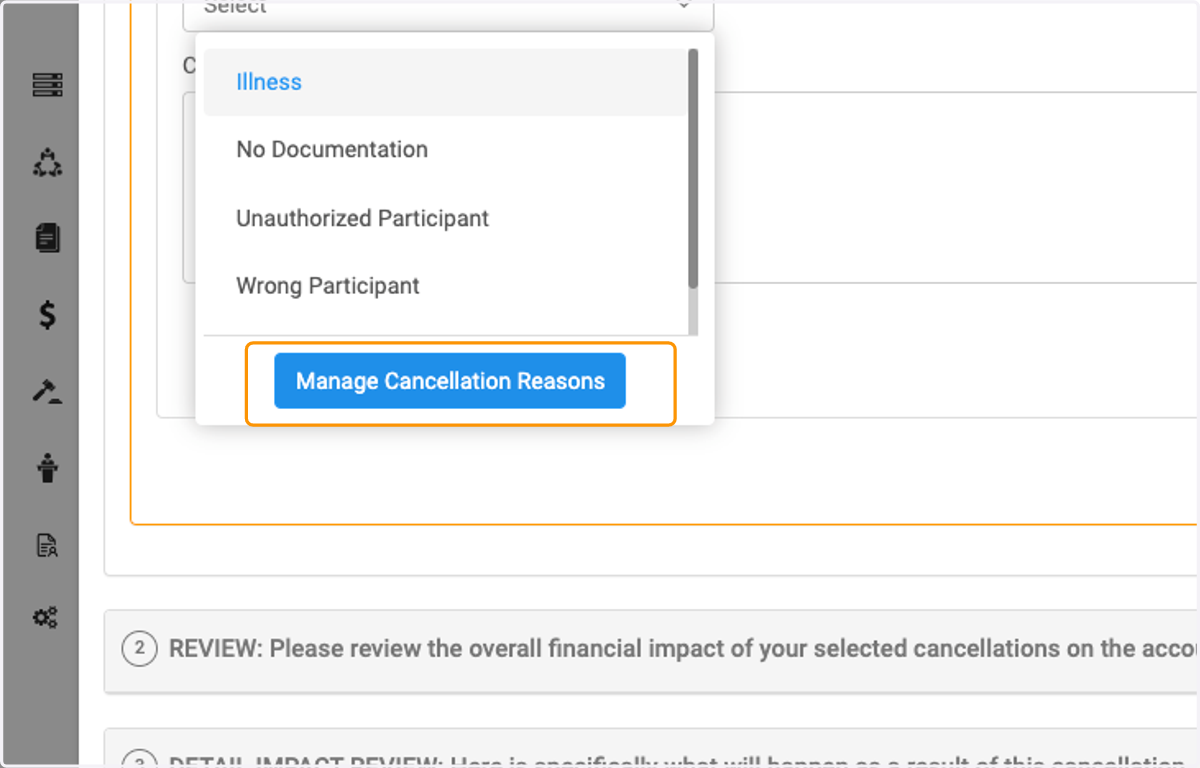
9. You can also click on Manage Cancellation Reasons if you need to add a new reason
But note, adding a new reason here will take you off this page and you will have to start from the beginning again.
10. Enter a cancellation fee (if applicable)
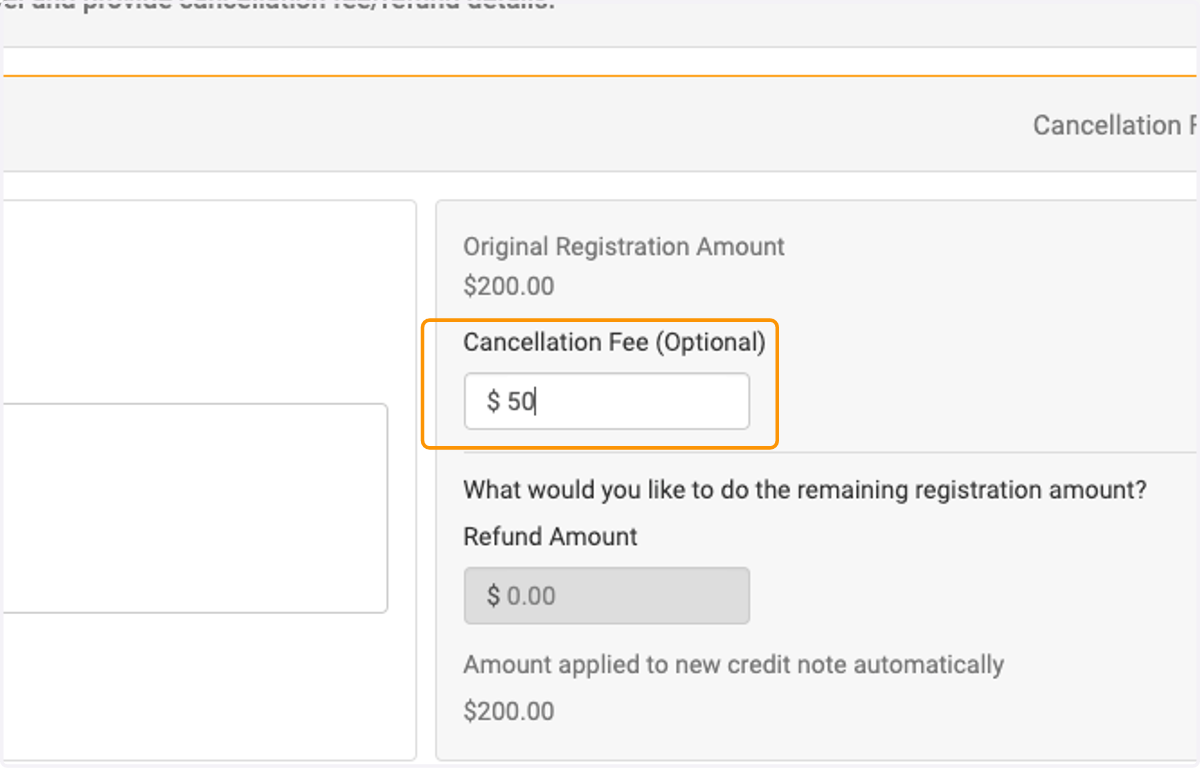
11. Since this invoice is unpaid, a credit note will be generated to offset invoice.
If a paid invoice, and paid by Credit Card, you would be able to enter a refund amount, less the cancellation fee (if any). If paid by check, a credit note will be generated for the organization to use at a later date.
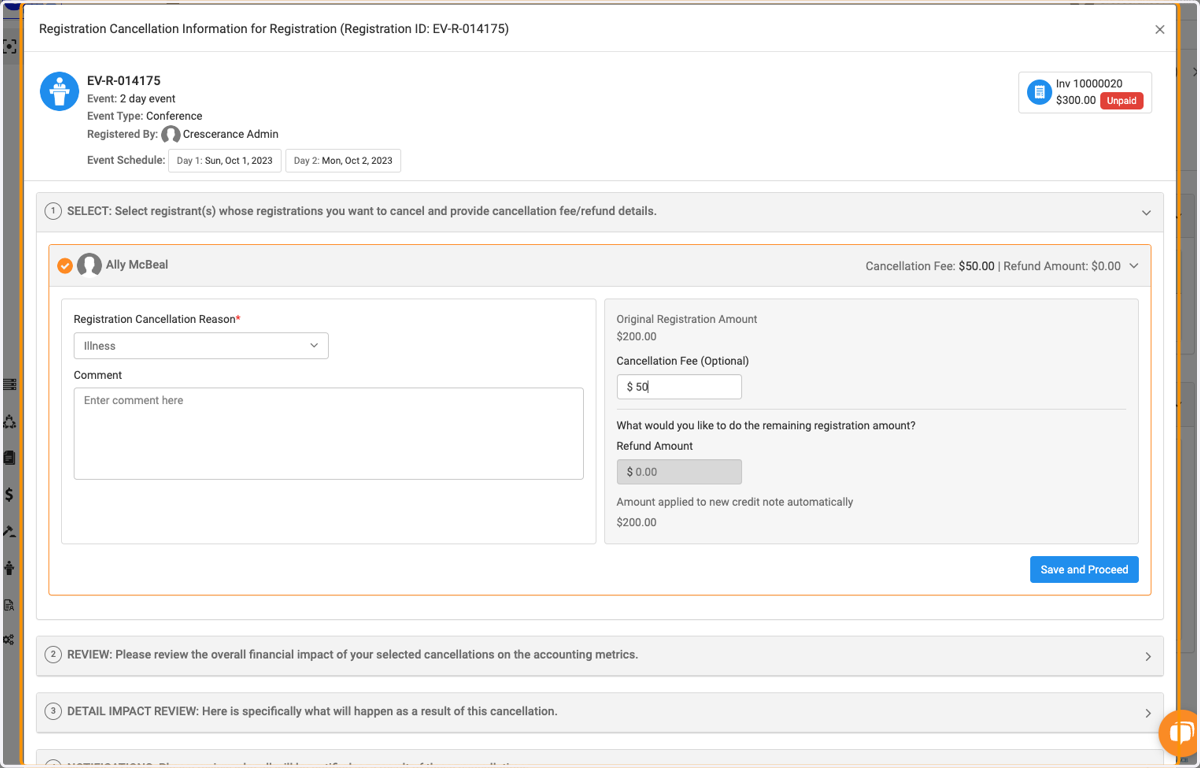
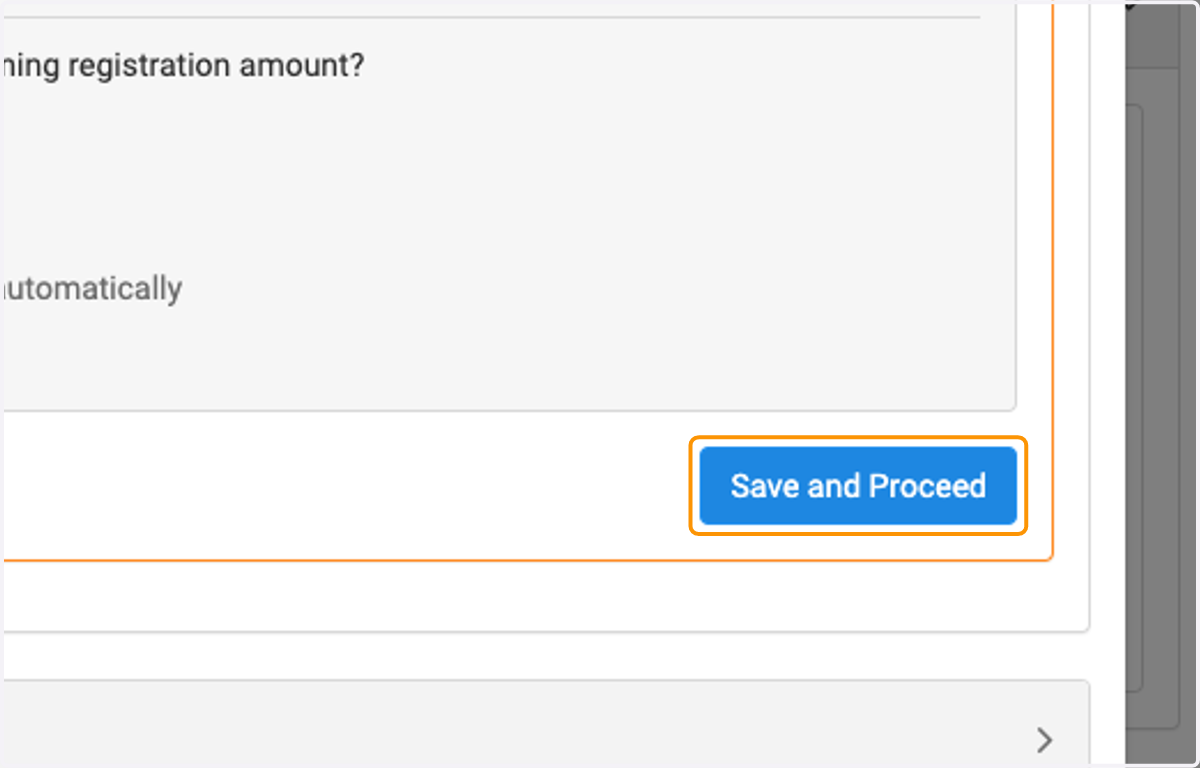
12. Click on Save and Proceed
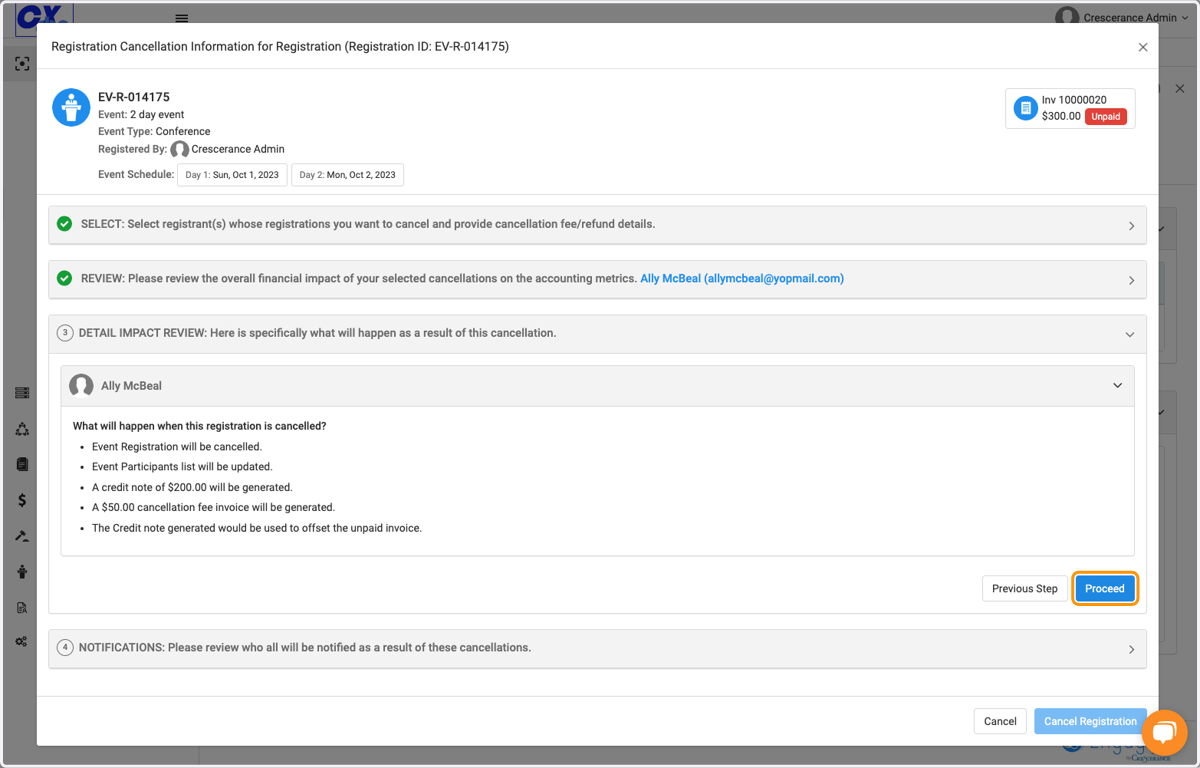
13. You will now see the steps of what the cancellation will do
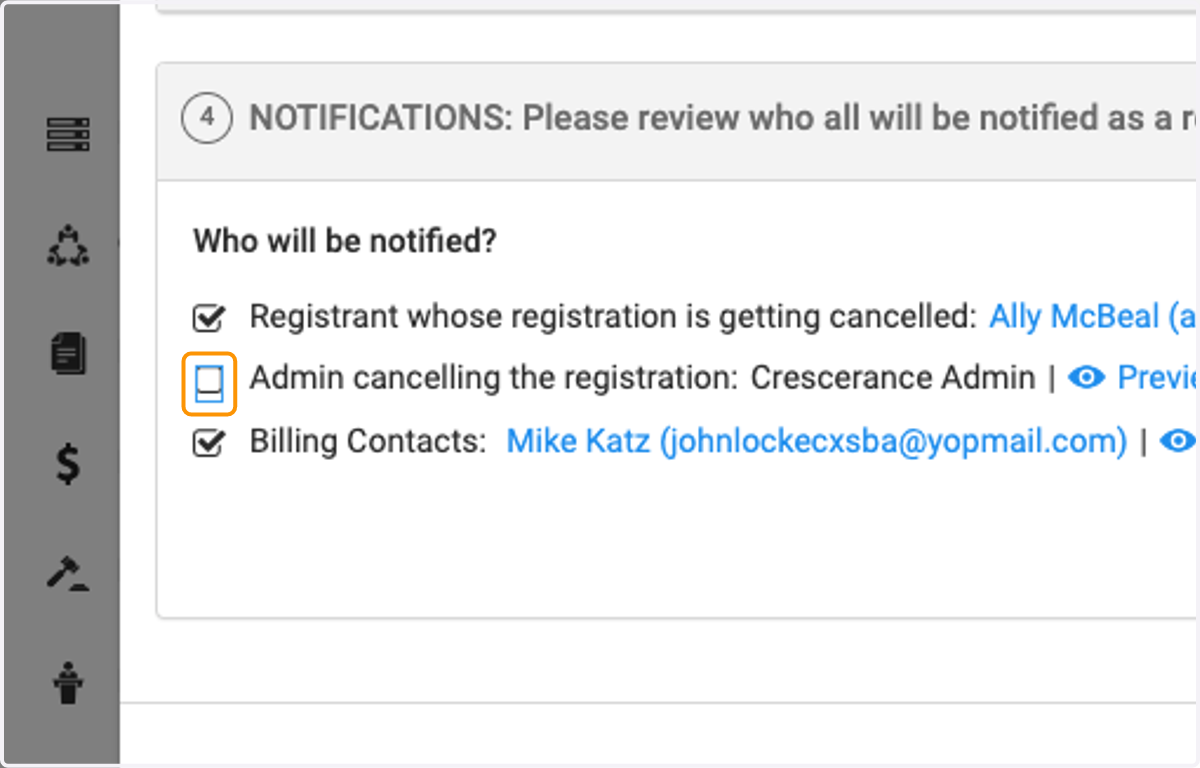
14. You can select who you'd like to receive the cancellation notifications.
15. Click on Finish
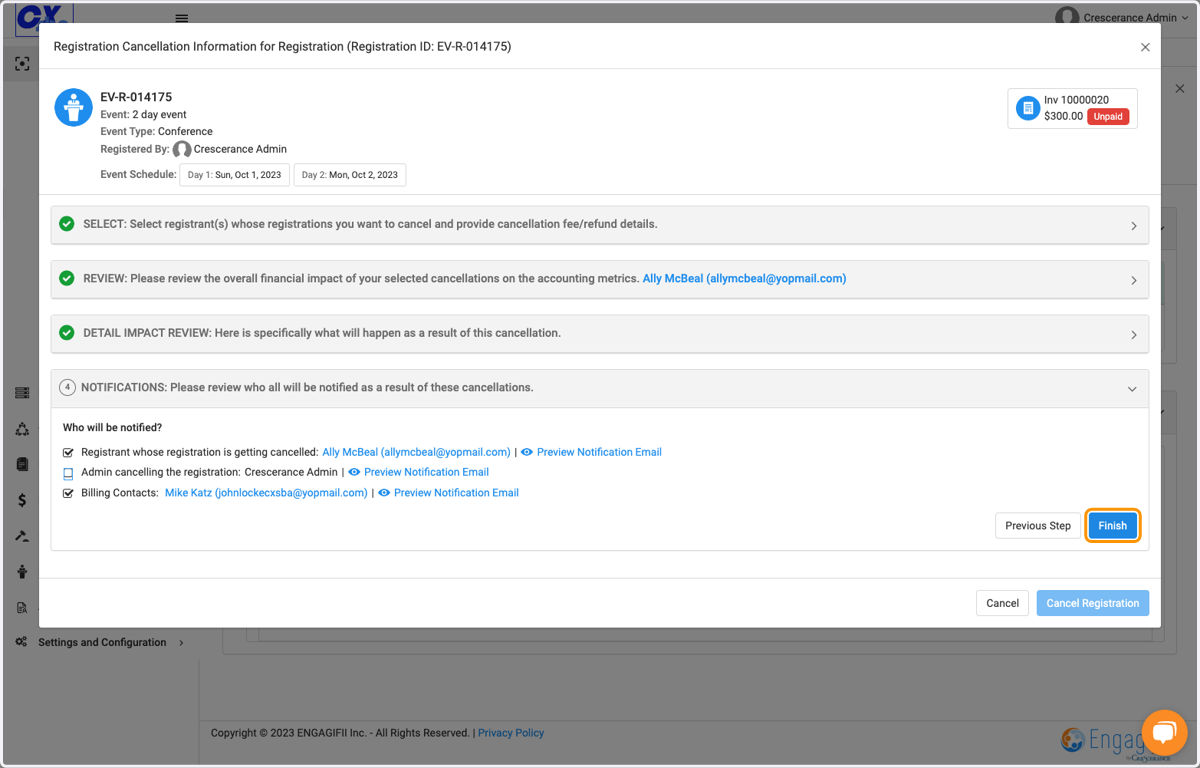
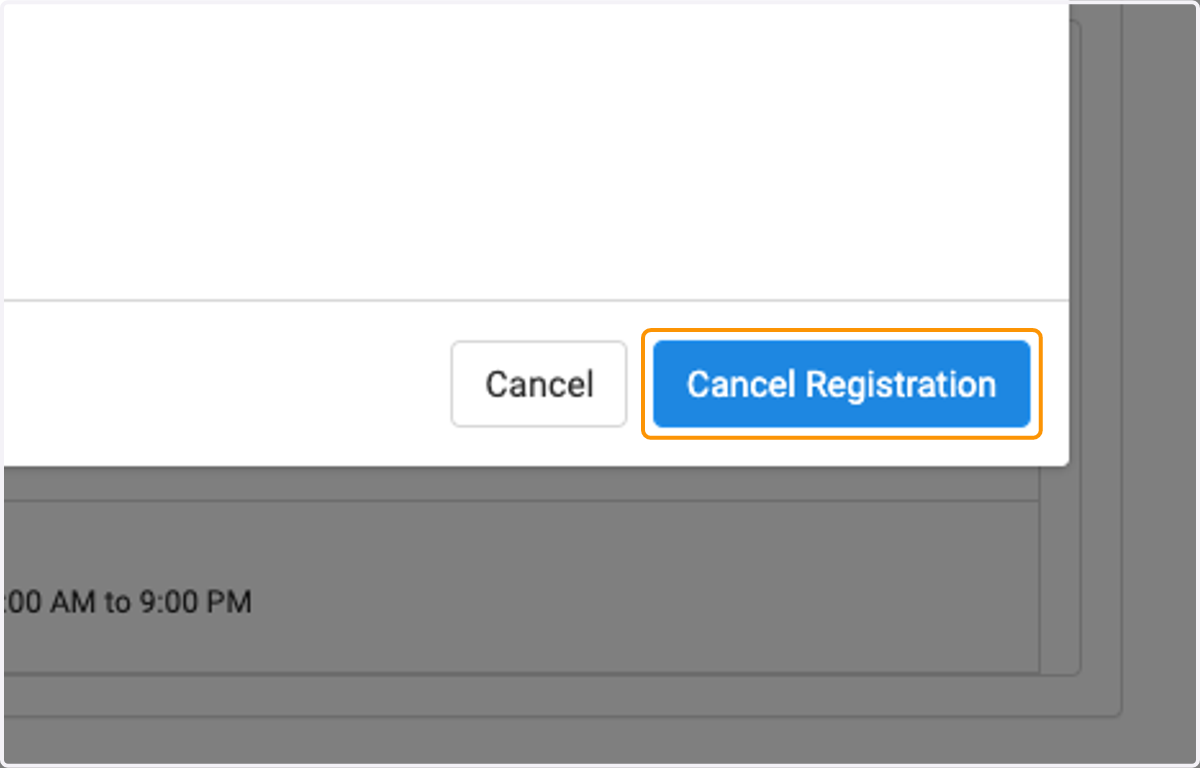
16. Click on Cancel Registration
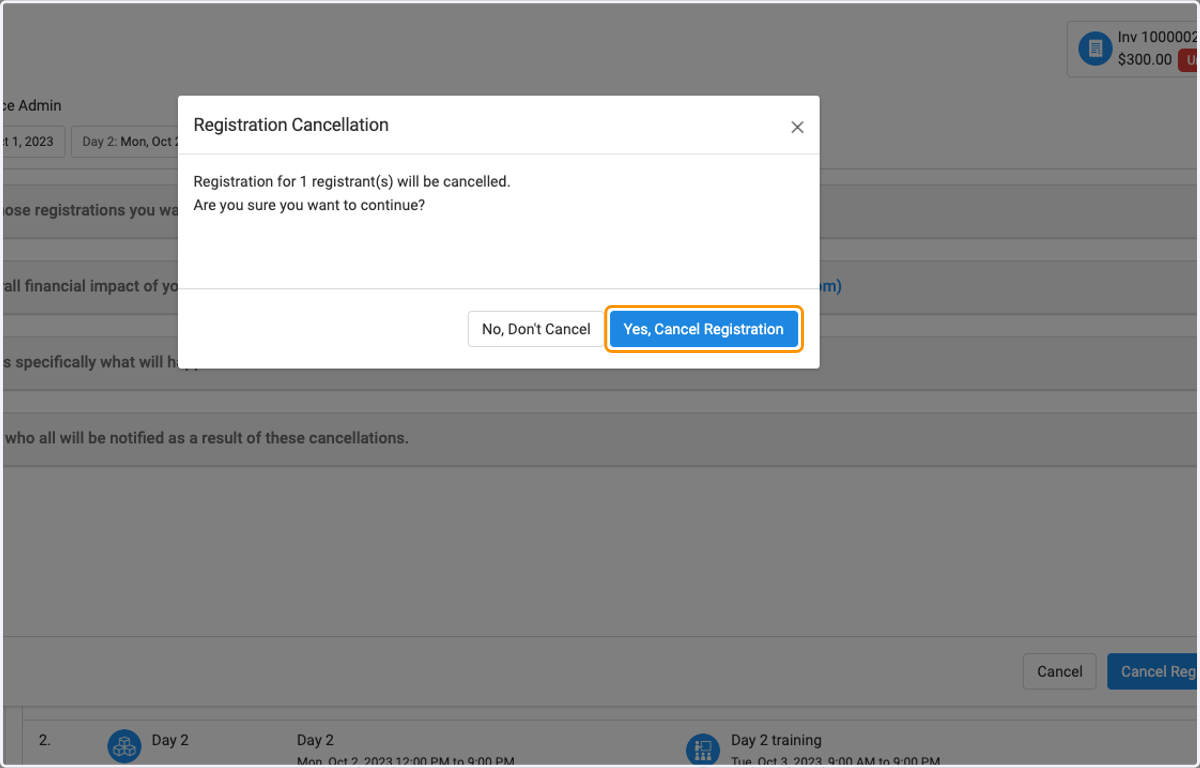
17. Click on Yes, Cancel Registration
18. Click on Okay
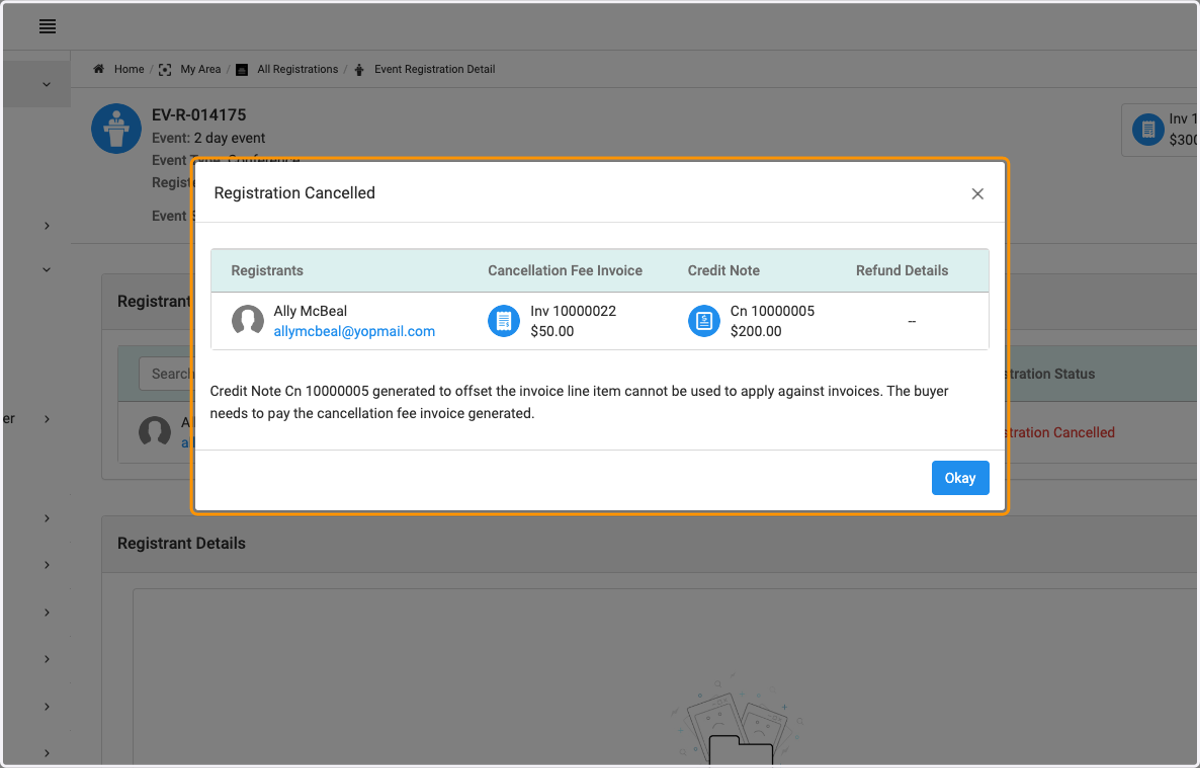
19. Confirmation window pops up with cancellation details
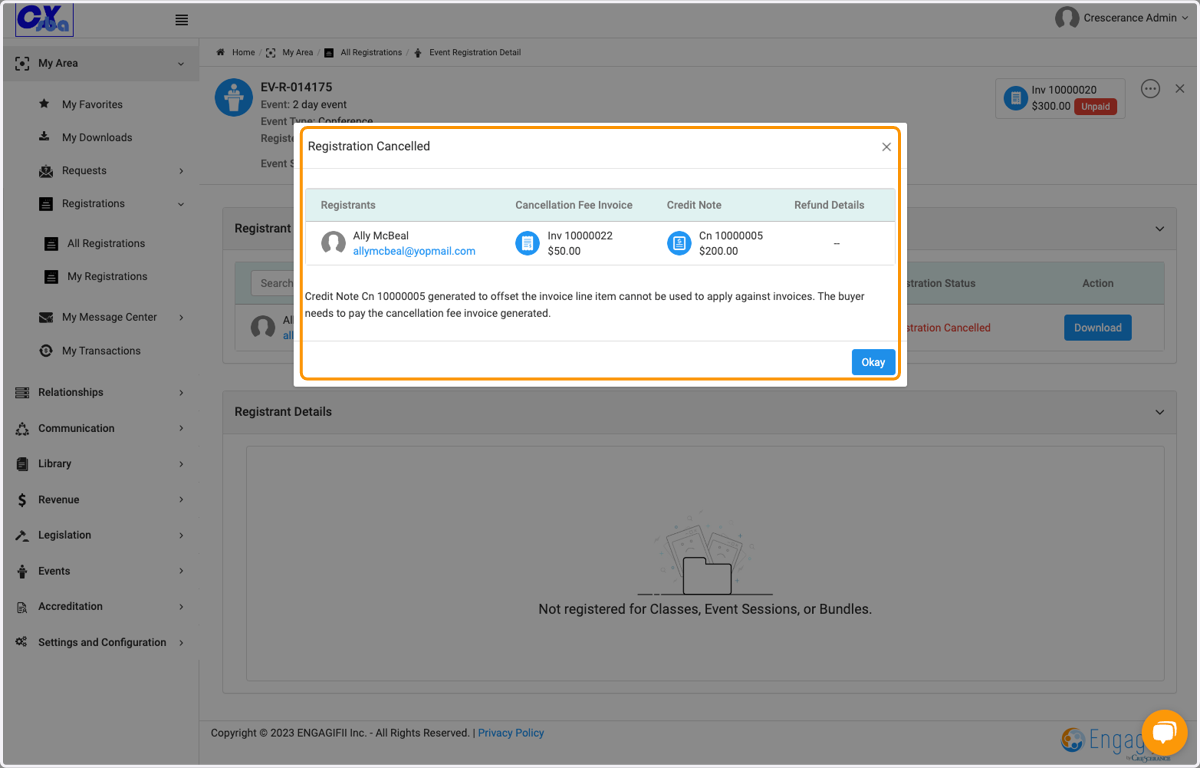
20. Registration status is now cancelled and registrant is removed from the event list.