Creating Automated Touchpoints

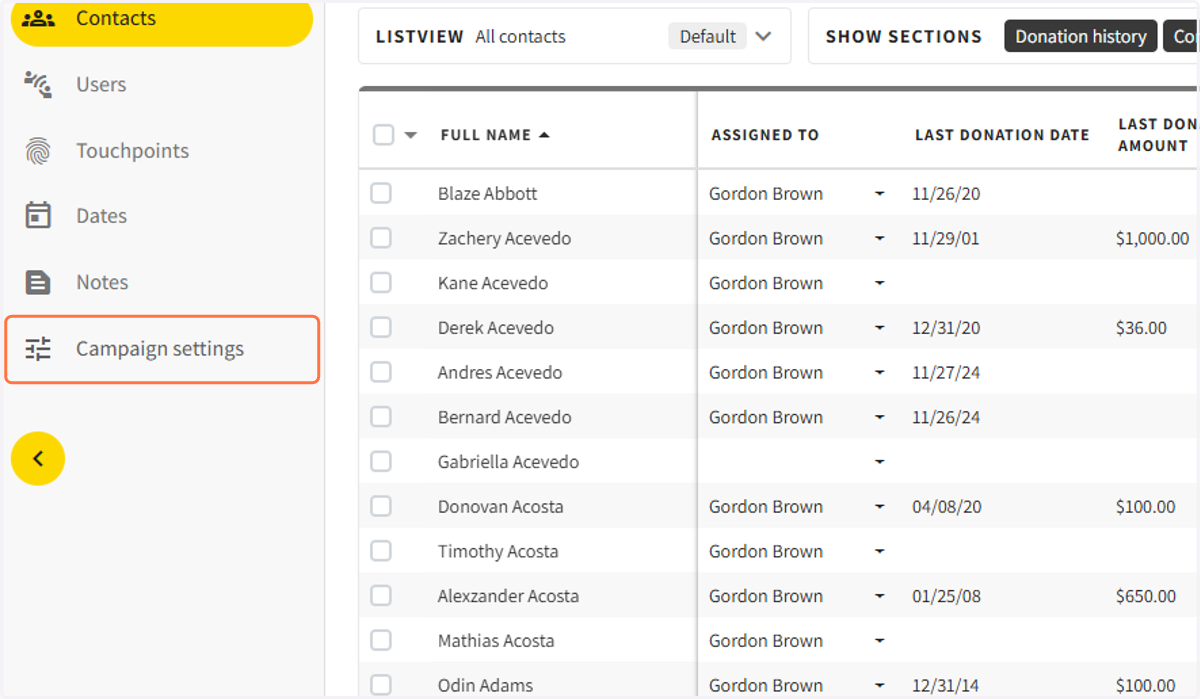
  1. 1. Click on Campaign Settings

    Click on Campaign Settings
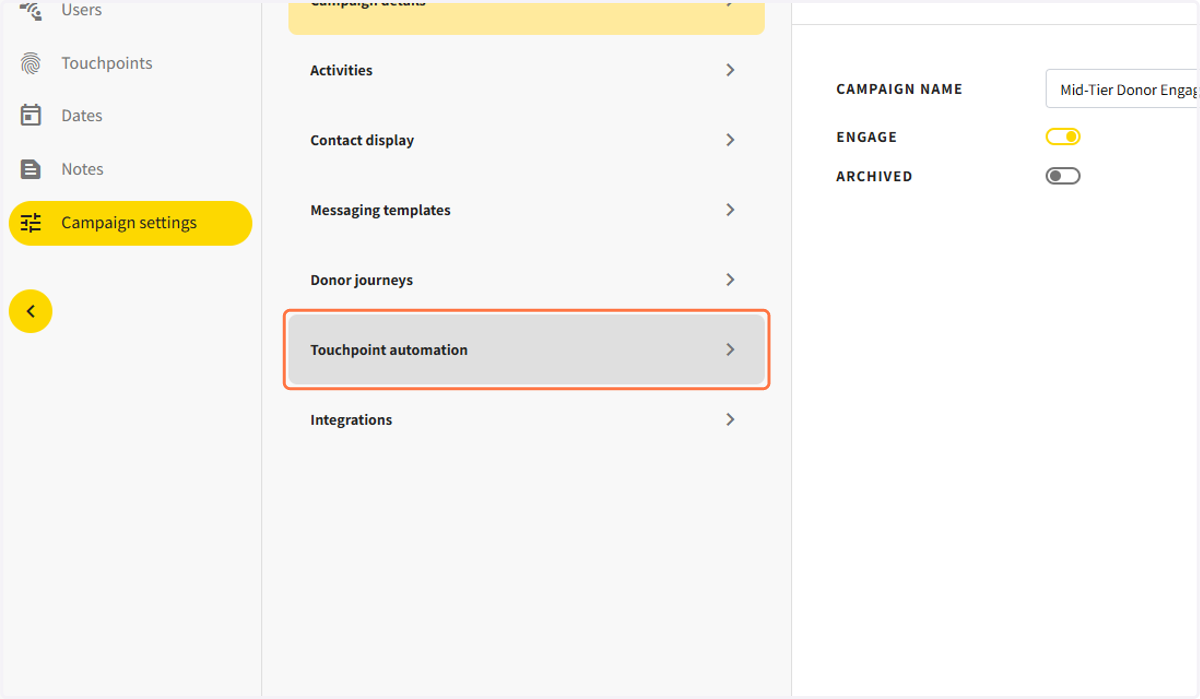
  2. 2. Click on Touchpoint Automations

    Click on Touchpoint Automations
  3. 3. Read the important notes to understand when triggers are activated.
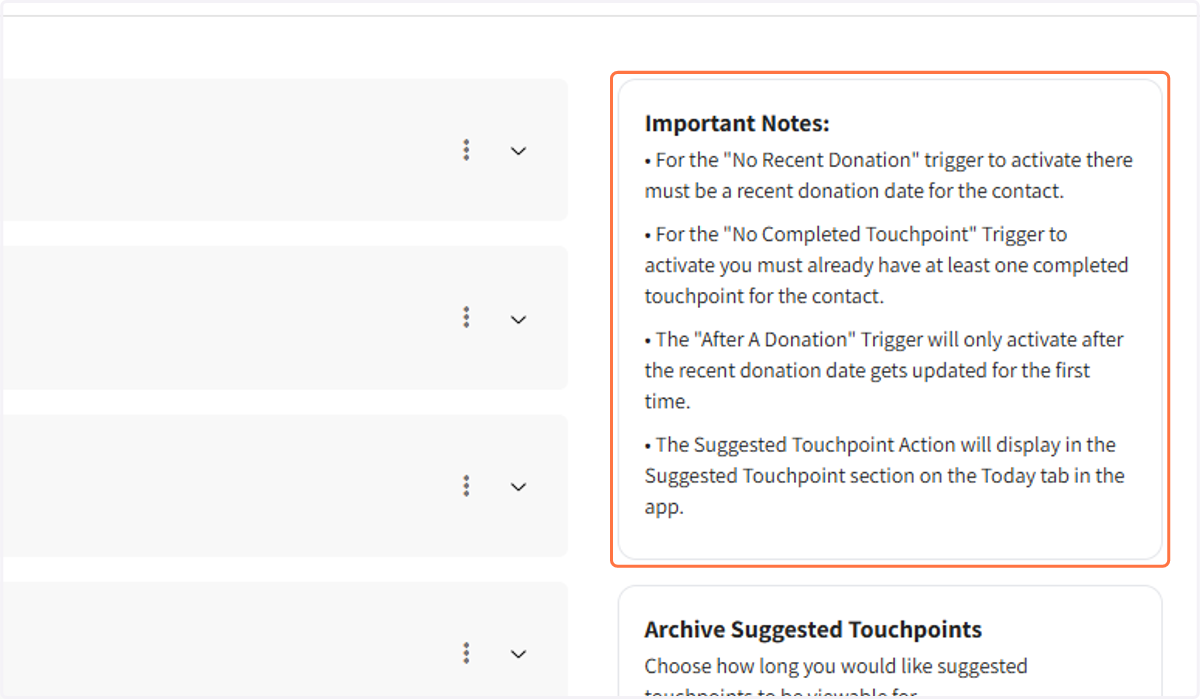
    Read the important notes to understand when triggers are activated.
  4. 4. By default, four automations are already created, with three turned on.

    Click on an automation to view and edit
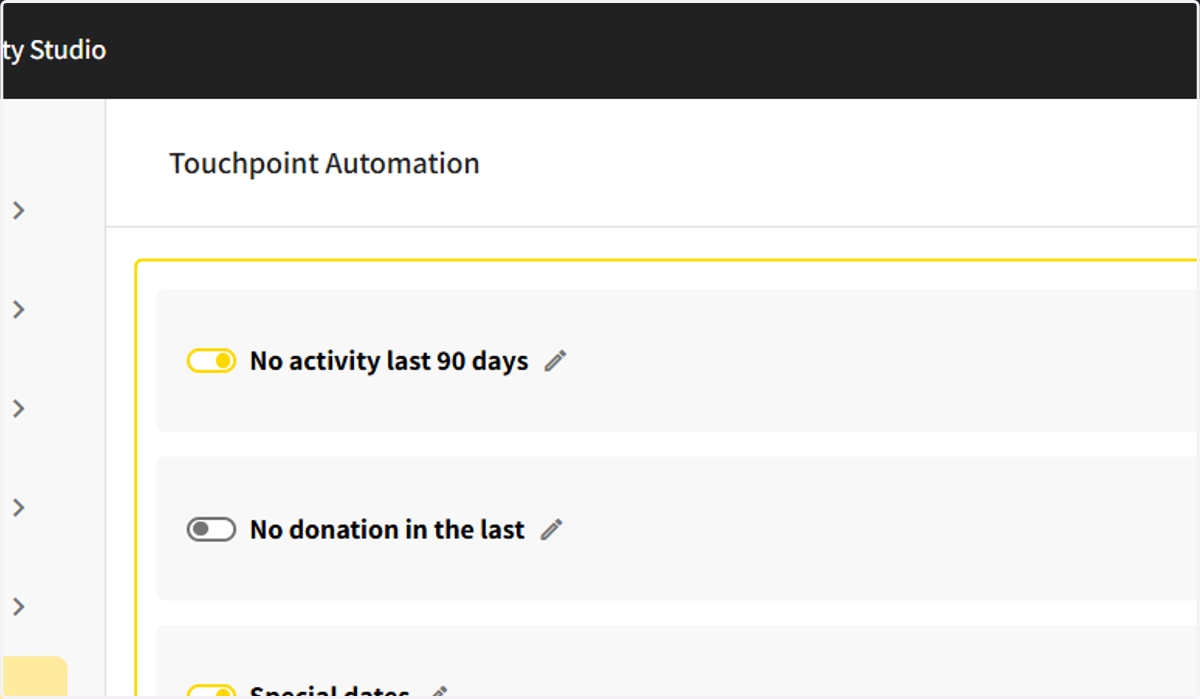
    By default, four automations are already created, with three turned on.
  5. 5. To create a new automation click on Add Trigger
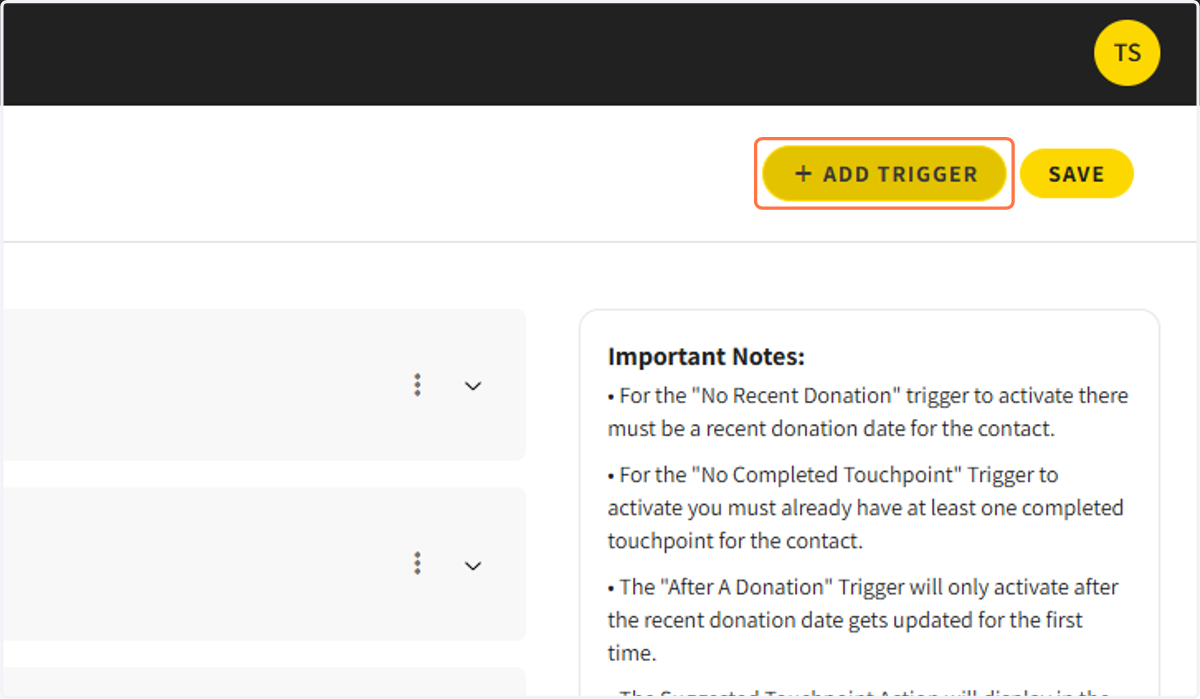
    To create a new automation click on Add Trigger
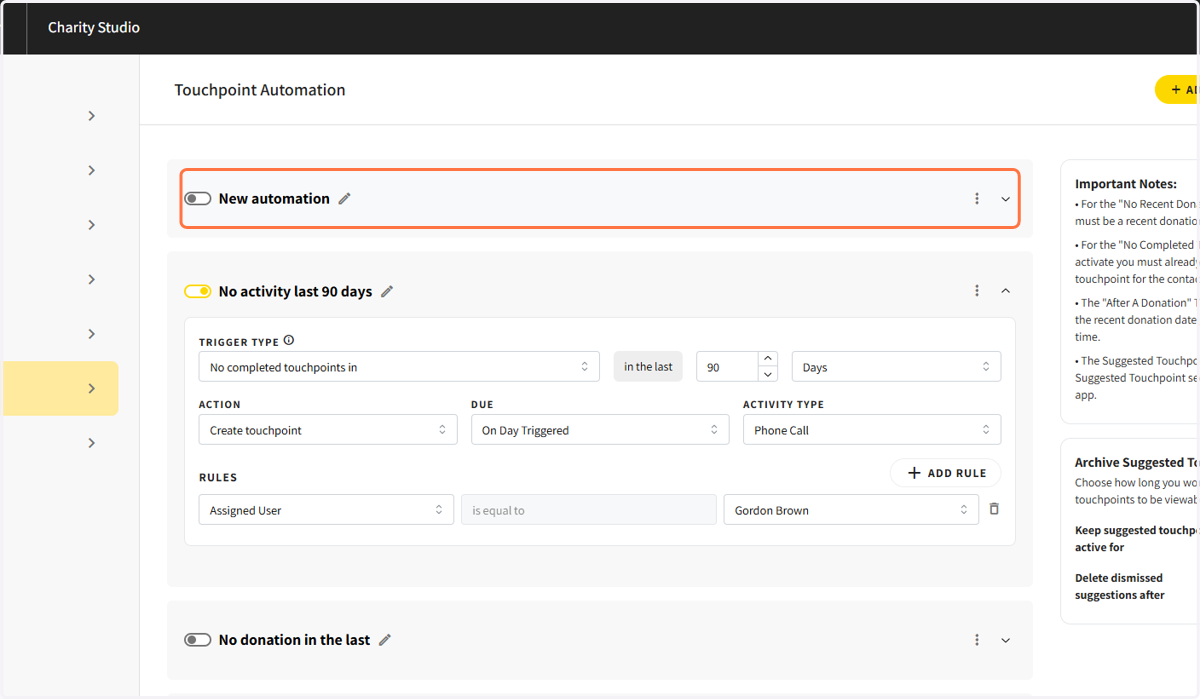
  6. 6. Click on the new automation

    Click on the new automation
  7. 7. Rename the automation to represent the trigger and the trigger rules
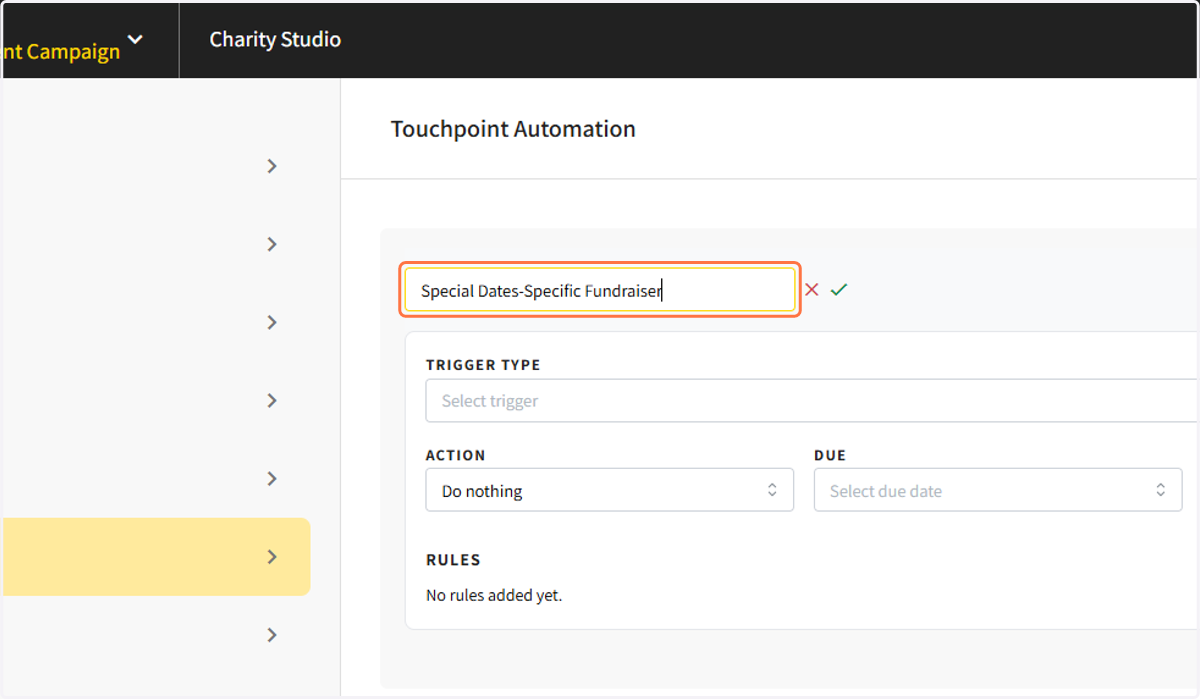
    Rename the automation to represent the trigger and the trigger rules
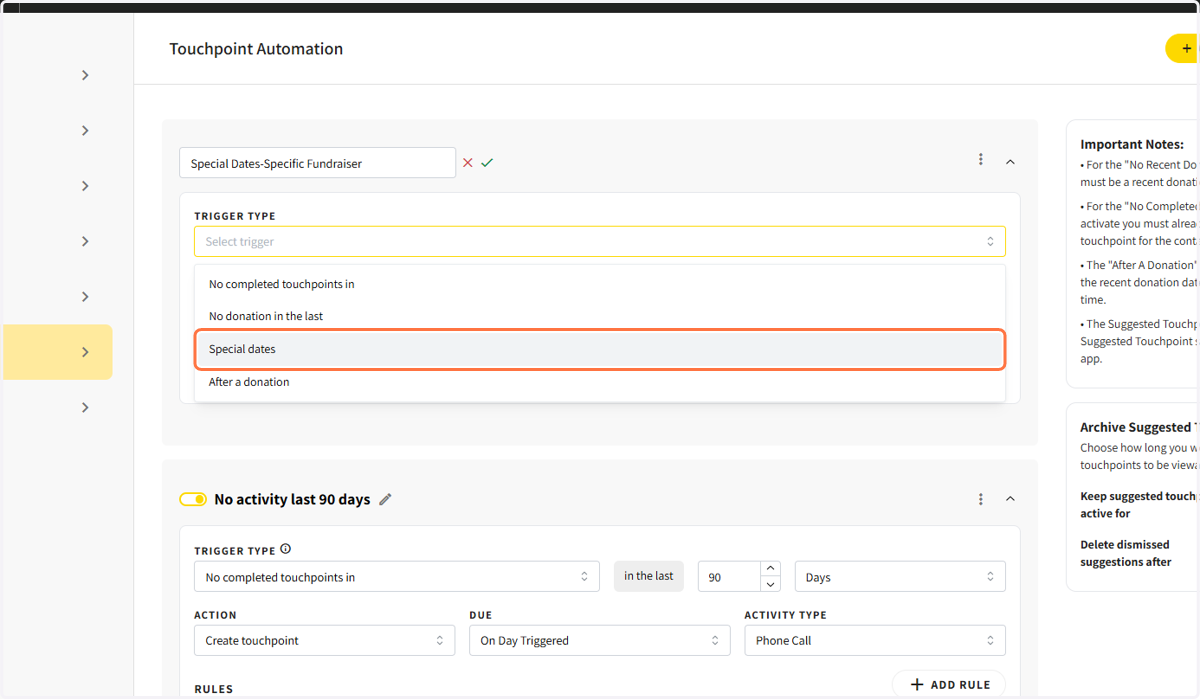
  8. 8. Choose the trigger type

    Choose the trigger type
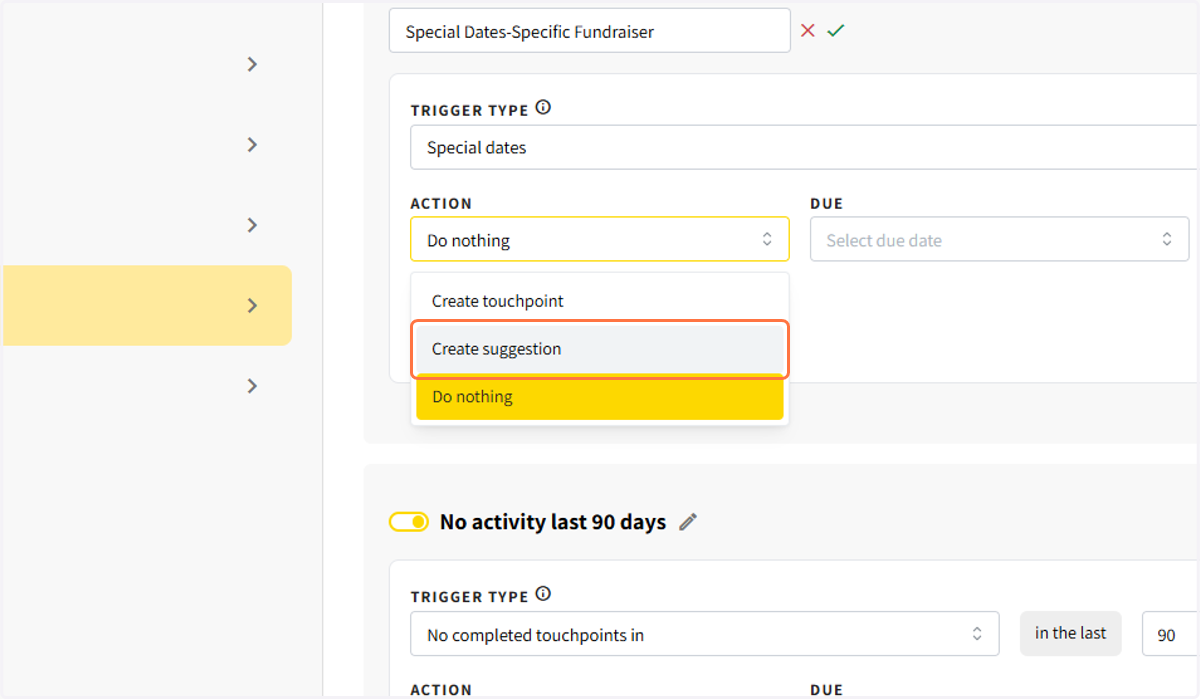
  9. 9. Choose the trigger action

    Choose the trigger action
  10. 10. Select when the touchpoint should display
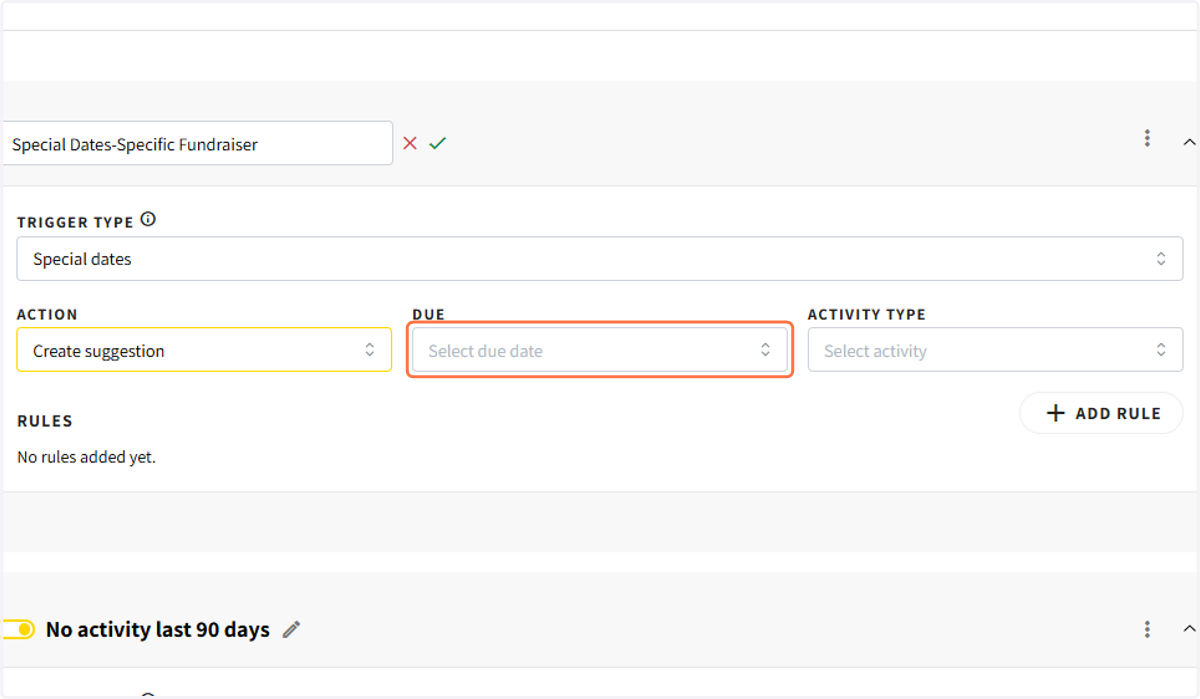
    Select when the touchpoint should display
  11. 11. Select what the touchpoint activity type should be
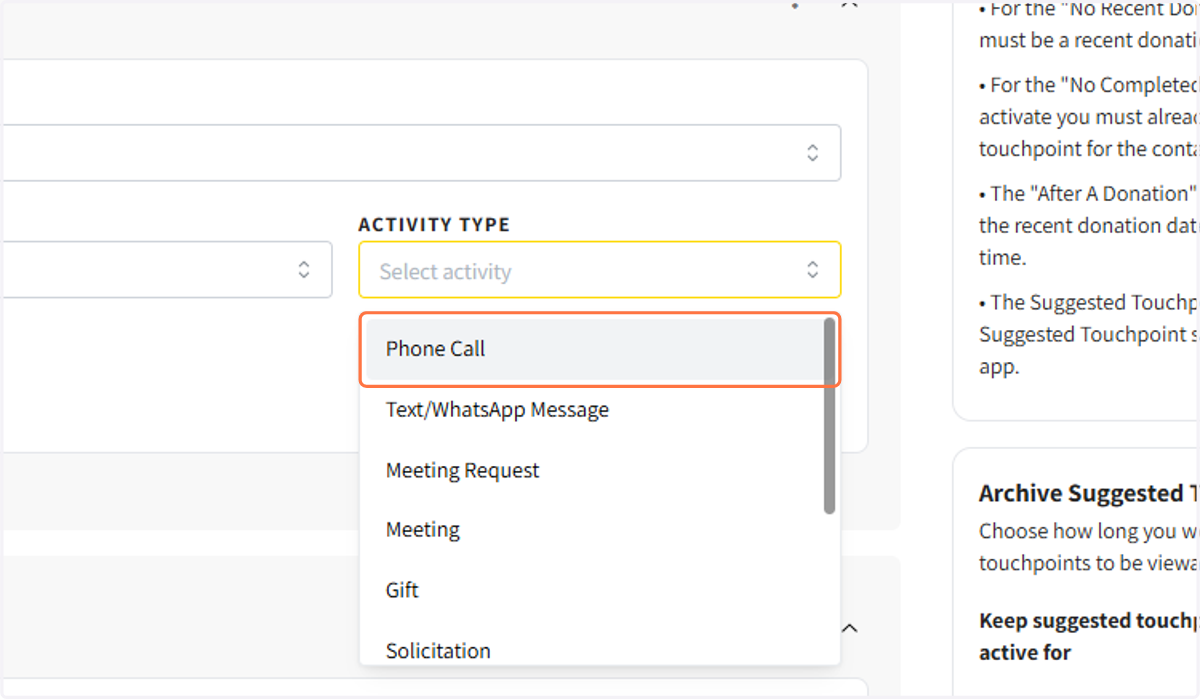
    Select what the touchpoint activity type should be
  12. 12. To add a rule when the touchpoint will trigger, click Add Rule
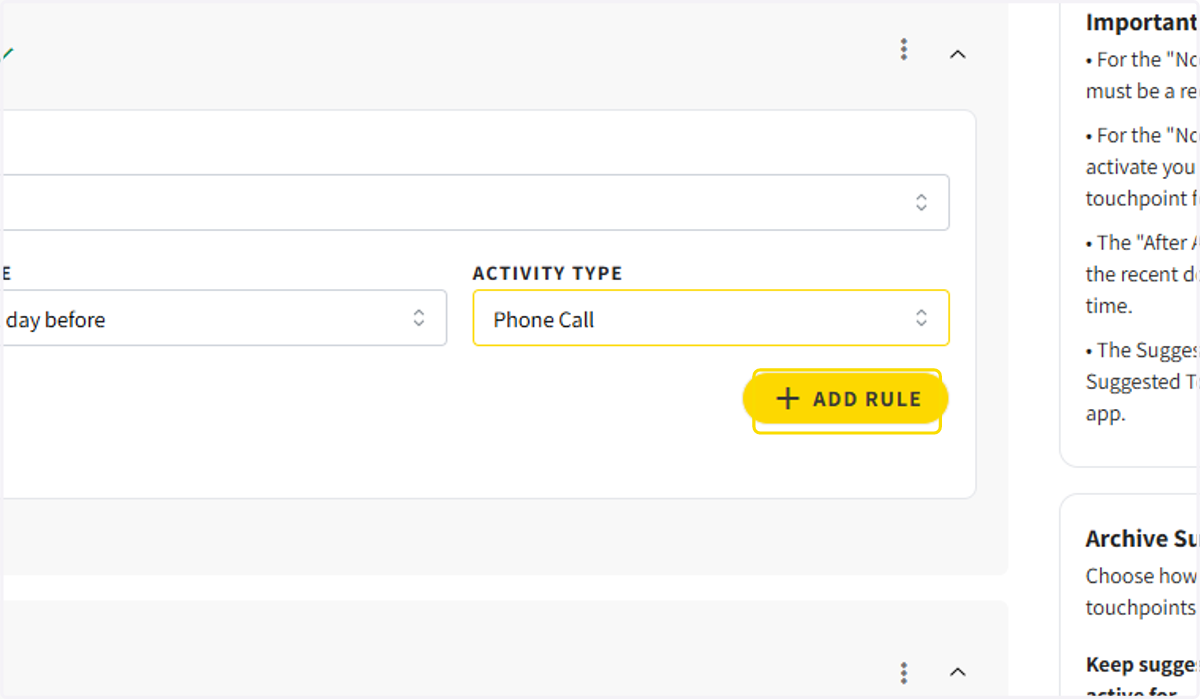
    To add a rule when the touchpoint will trigger, click Add Rule
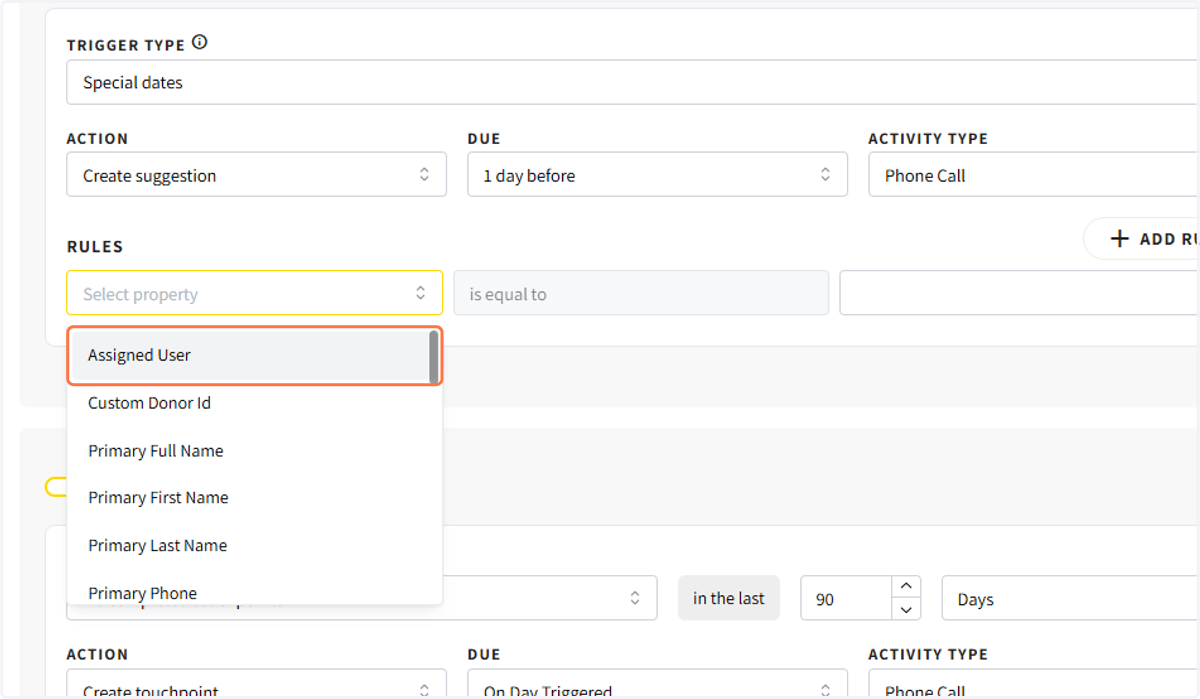
  13. 13. Select what the rule will be

    Select what the rule will be
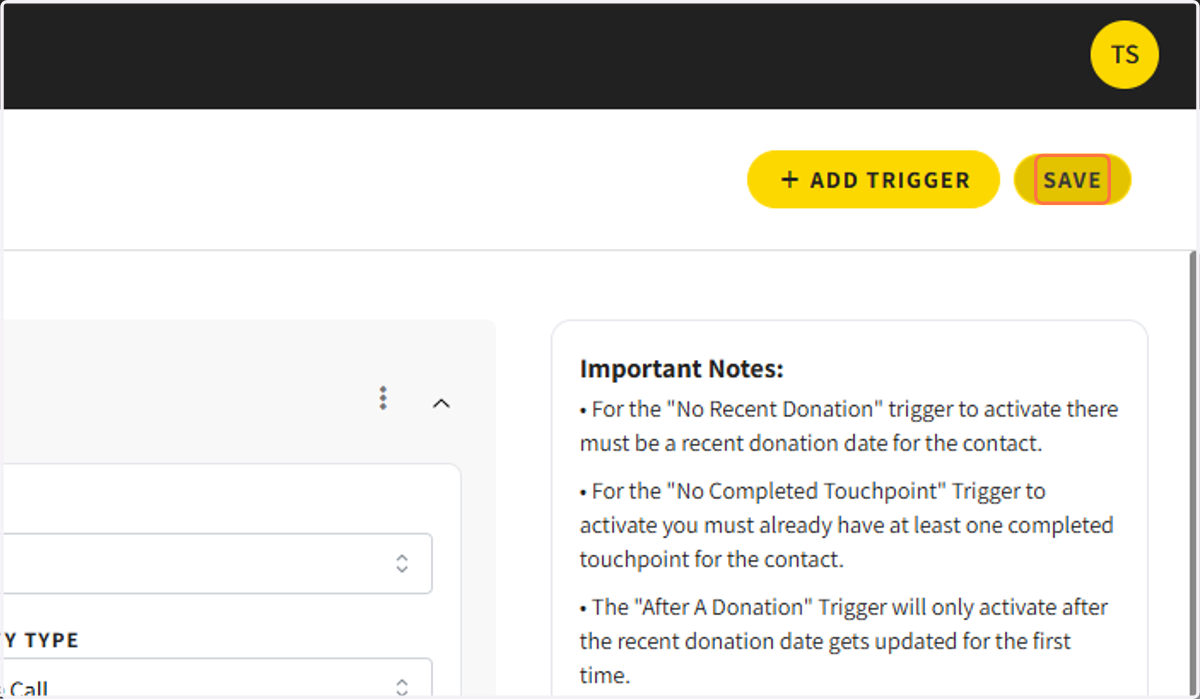
  14. 14. When done click on save

    When done click on save
  15. 15. Choose how long you would like suggested touchpoints to be visible for
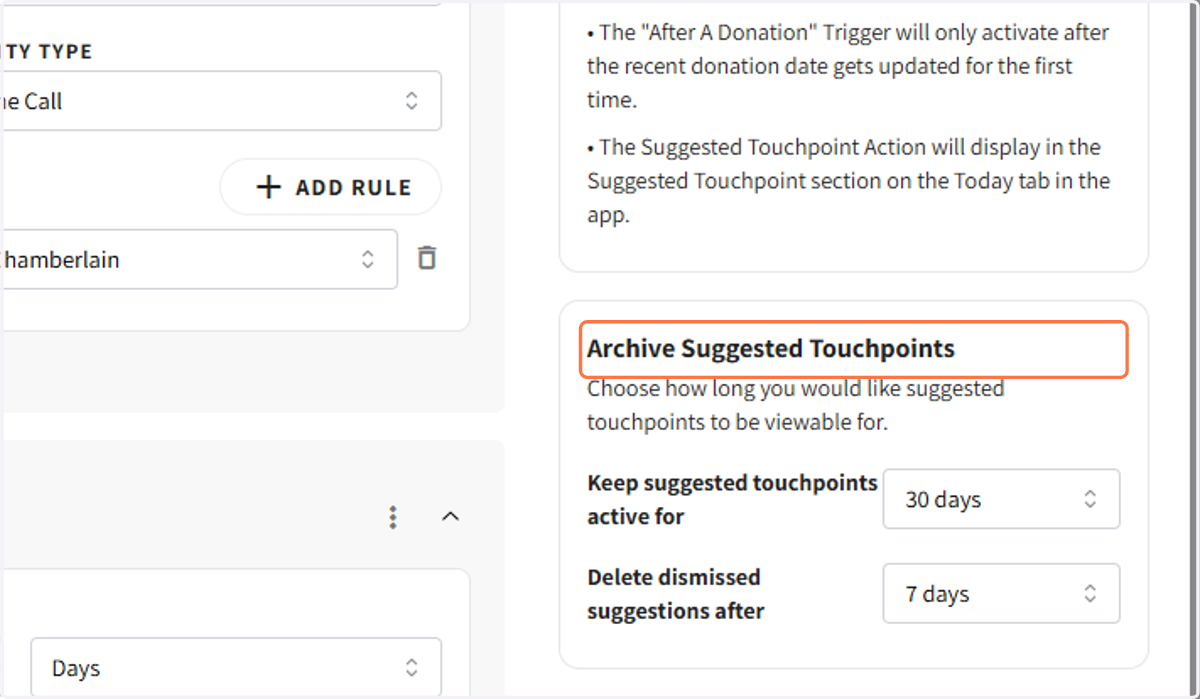
    Choose how long you would like suggested touchpoints to be visible for