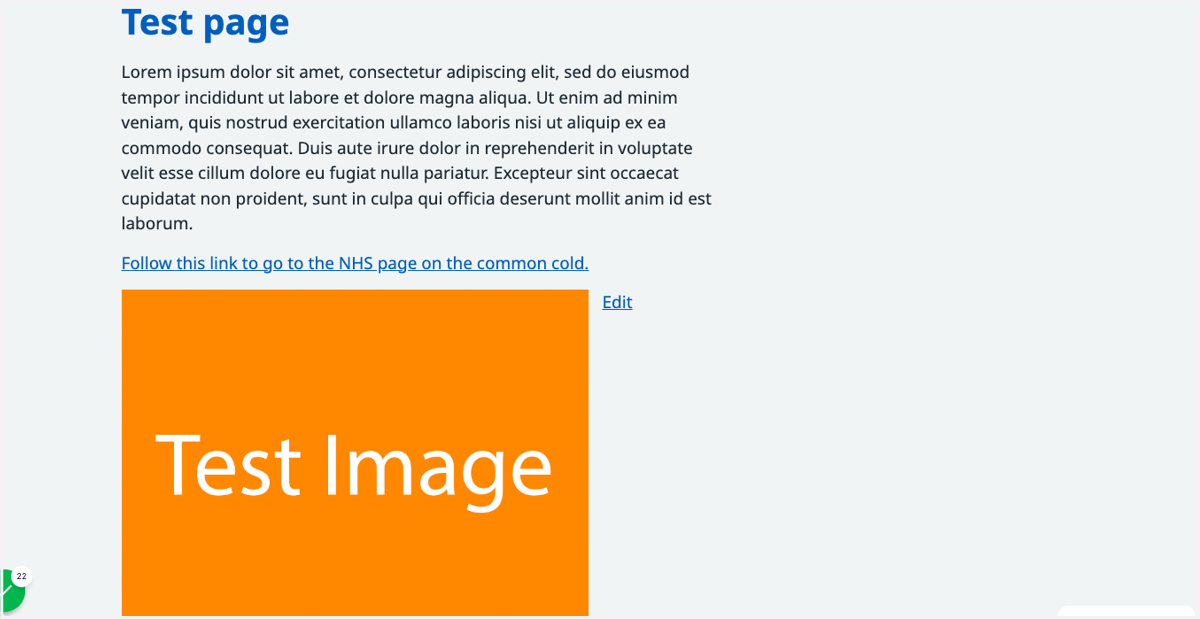
Add a link to an image
This tutorial will show you how to add a link to an image. You can move through the tutorial at your own pace using the NEXT button below.
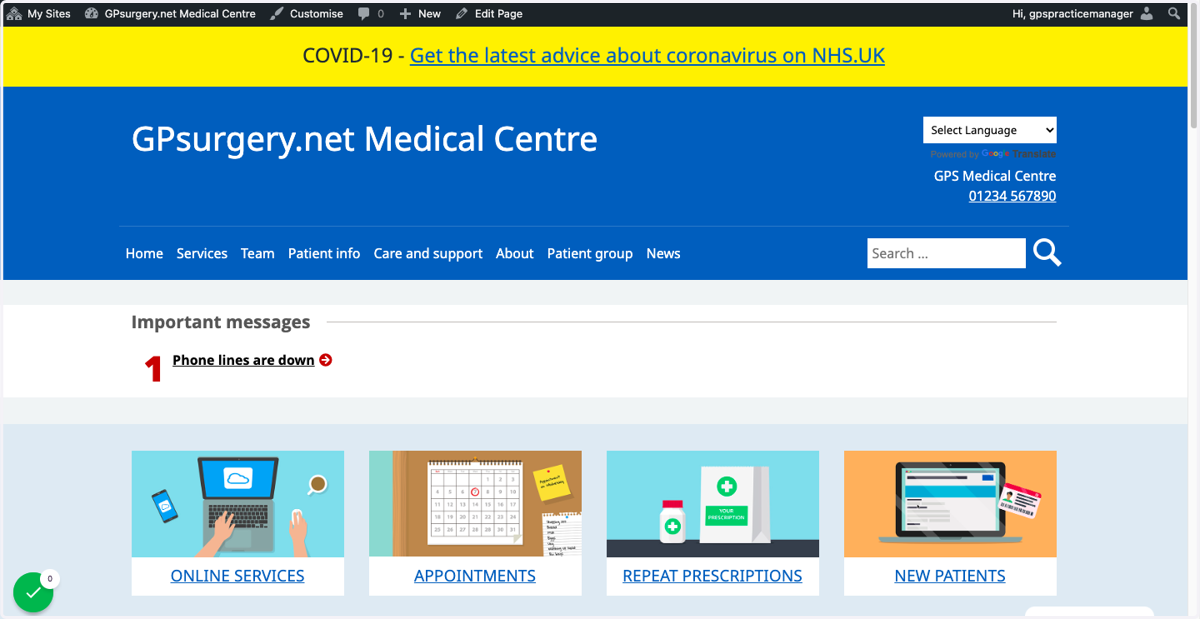
1. Ensure that you are logged into your website. The black admin toolbar should be visible at the top of the screen.
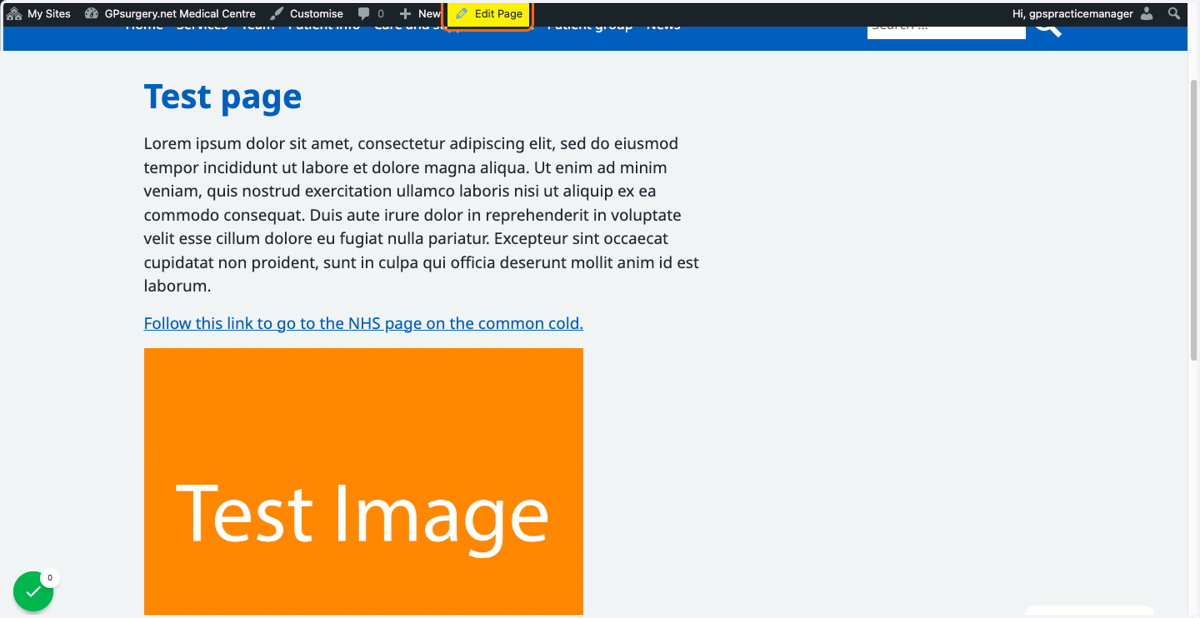
2. Go to the page on which your image is published. In the admin toolbar, click Edit Page.
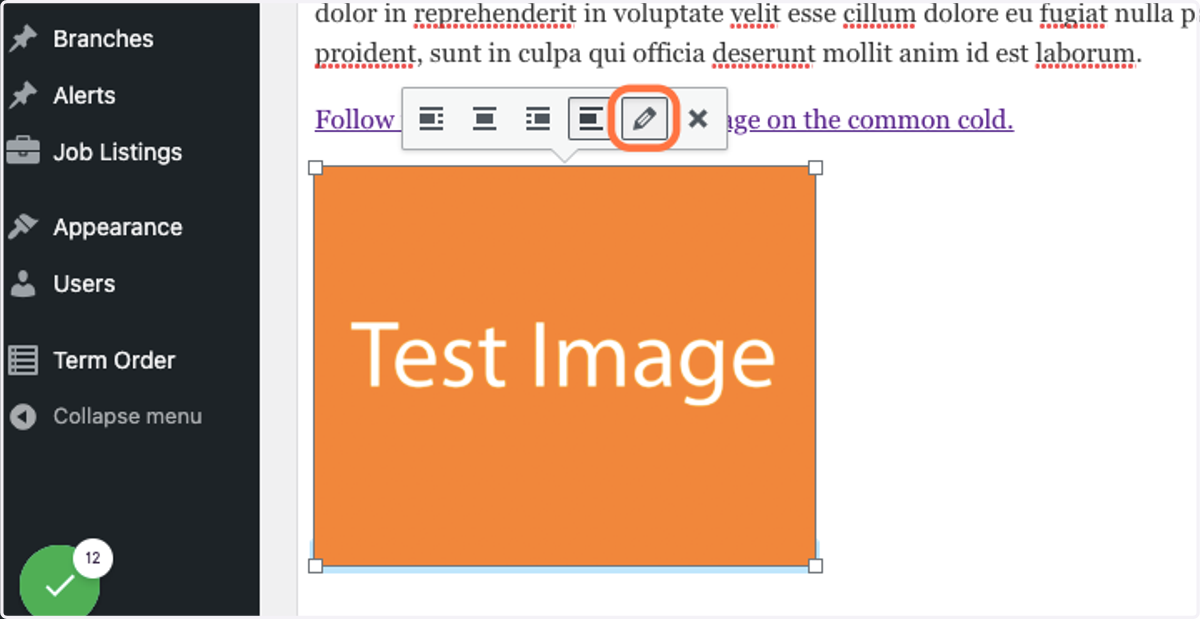
3. To change the size of the image, the website to which it is linked, and the alternative text, click the pencil icon that appears when the image is selected. This will open the Image details screen.
4. From the Link To drop-down menu, you can add a link to the image. If you wish to do this, select Custom URL from the drop-down menu.
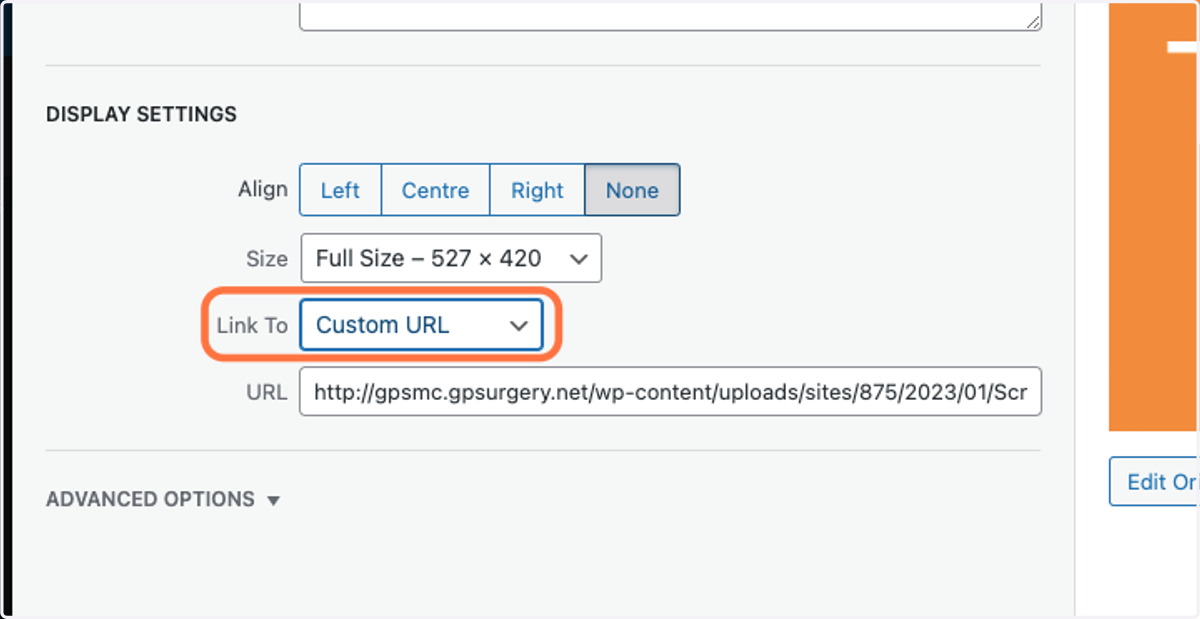
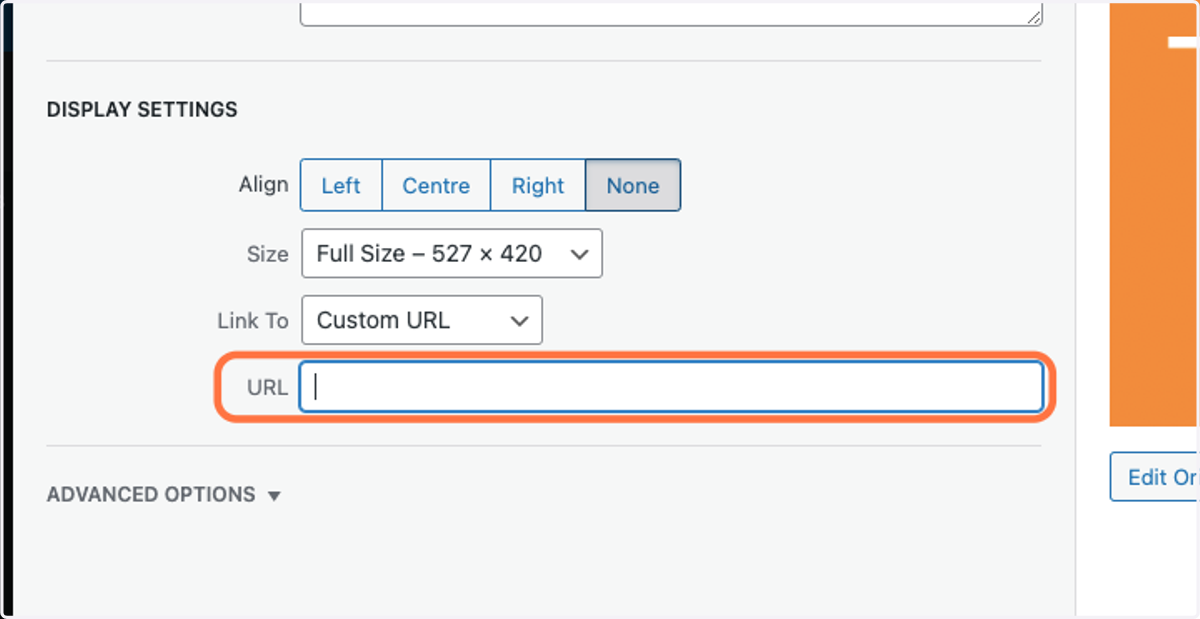
5. In the URL box below, paste in the link that you would like to add to the image.
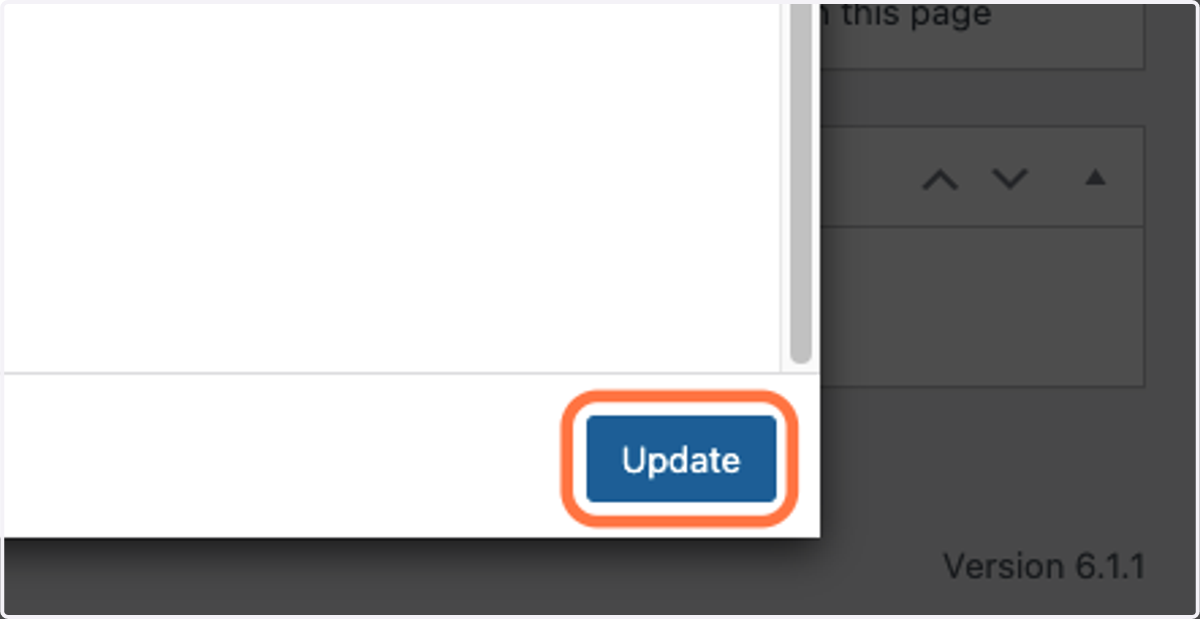
6. Once you have made your changes to the settings on the image, click the blue Update button on the Image details screen. You must do this to save your new settings.
7. To finish, you must click the Update button in the Publish box, otherwise your changes will not save.
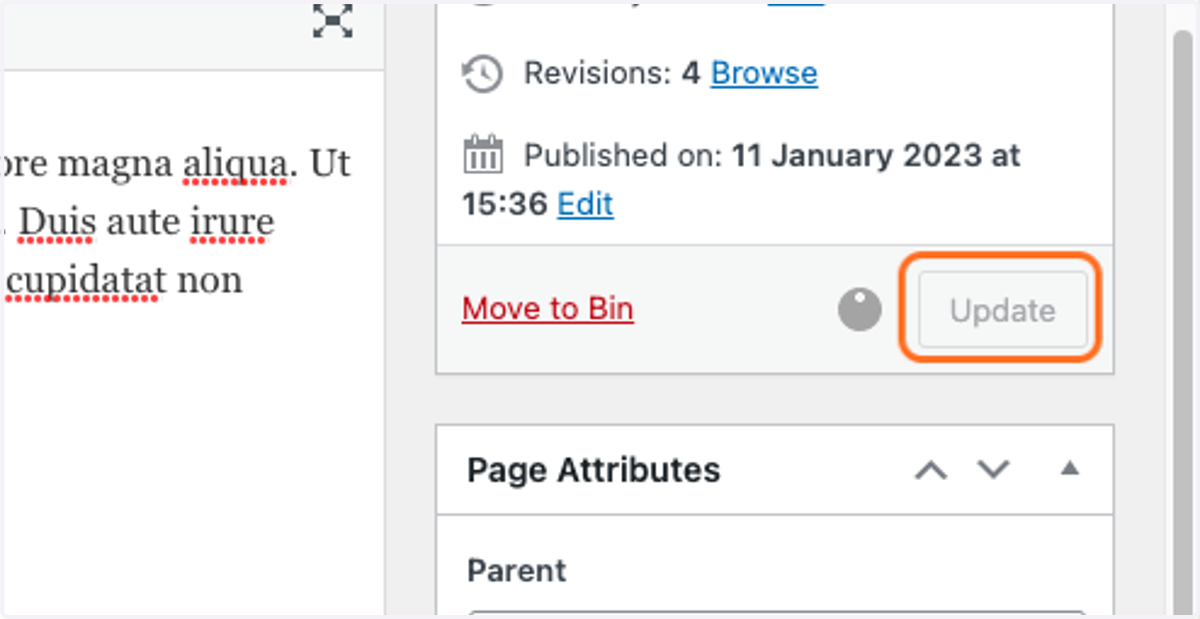
8. Your edits to the image will now be published on the page.