Set a featured image
This tutorial will show you how to add a featured image to a page. You can move through the tutorial at your own pace using the NEXT button below.
NOTE: a featured image may take up a lot of space on your page, making it harder to read. Only set a featured image if it will be helpful to your patients.
Gpsurgery
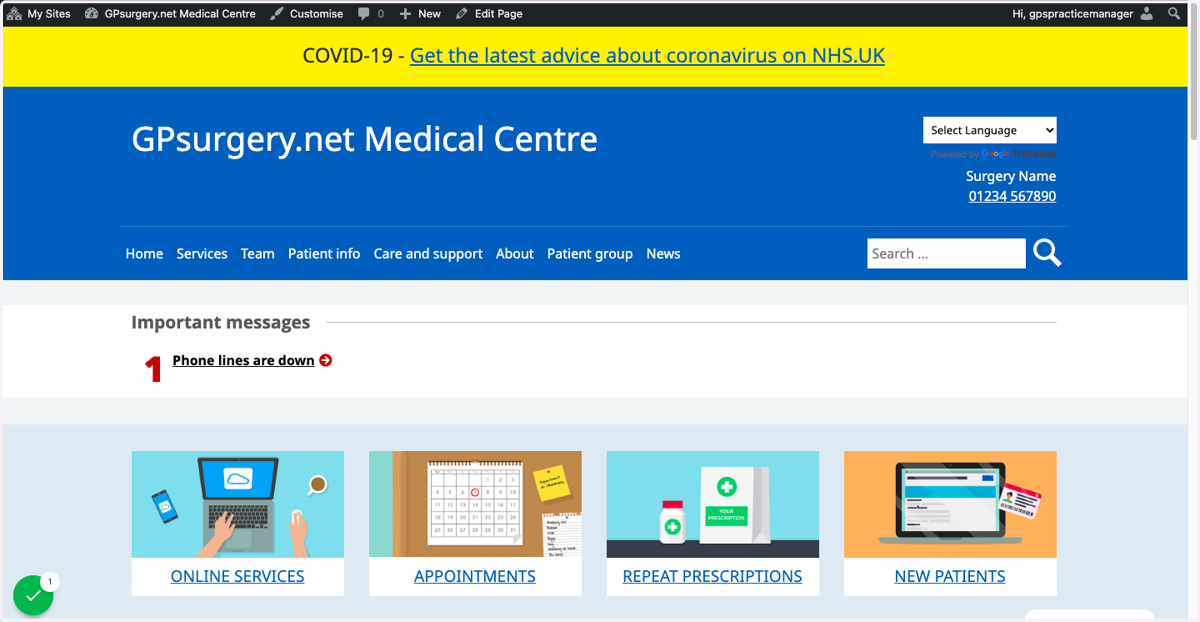
1. Ensure that you are logged into your website. The black admin toolbar should be visible at the top of the screen.
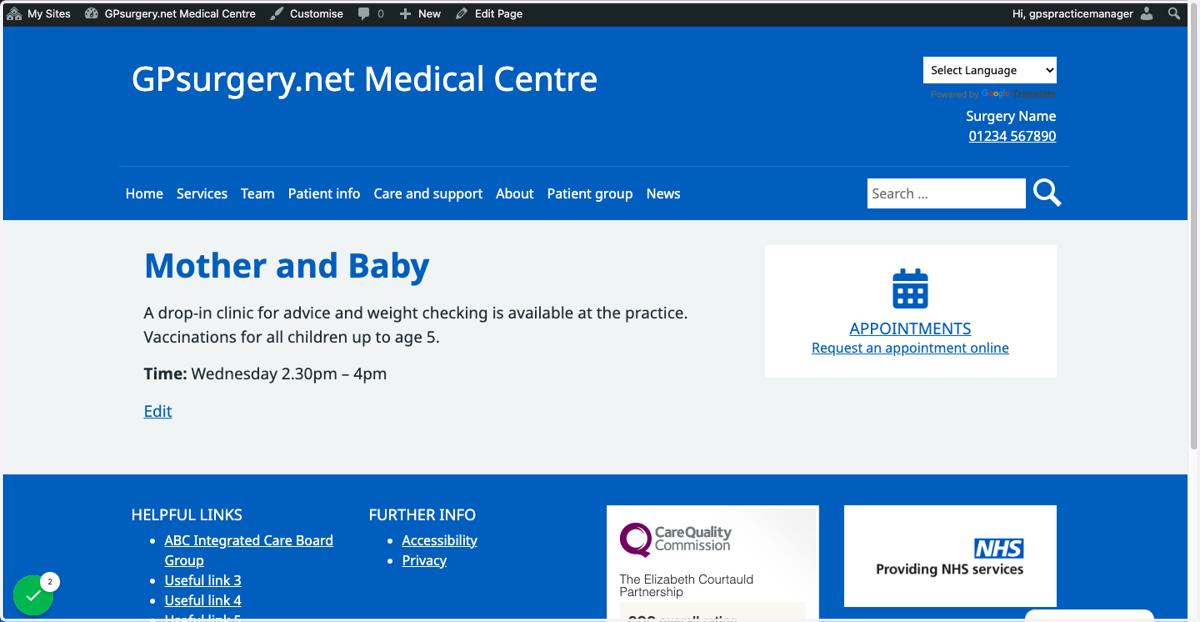
2. Go to the page to which you would like to add a featured image.
For this example, we are using the Mother and Baby clinic page.
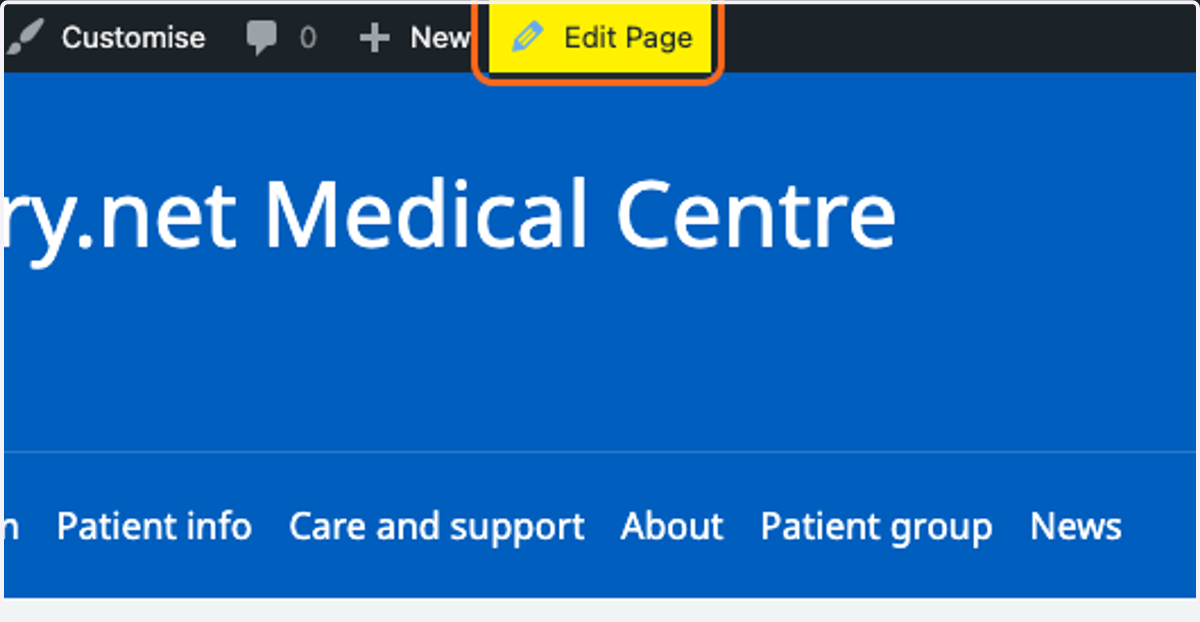
3. Click Edit Page in the admin toolbar.
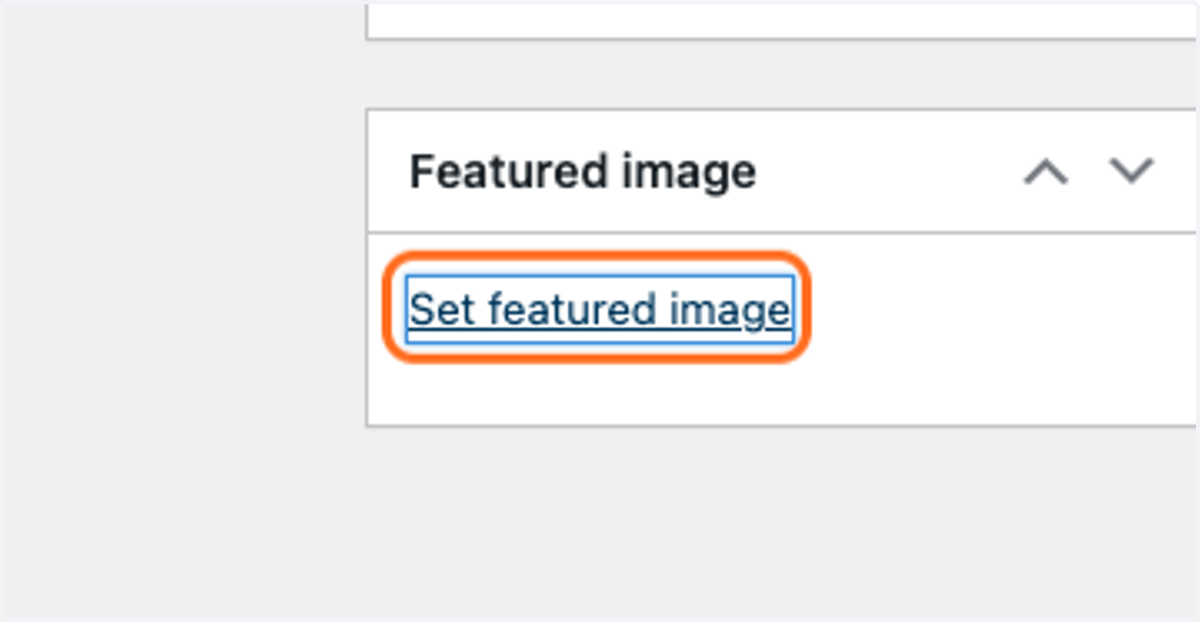
4. Scroll down the page to the Featured image box on the right-hand side. Click the Set featured image link.
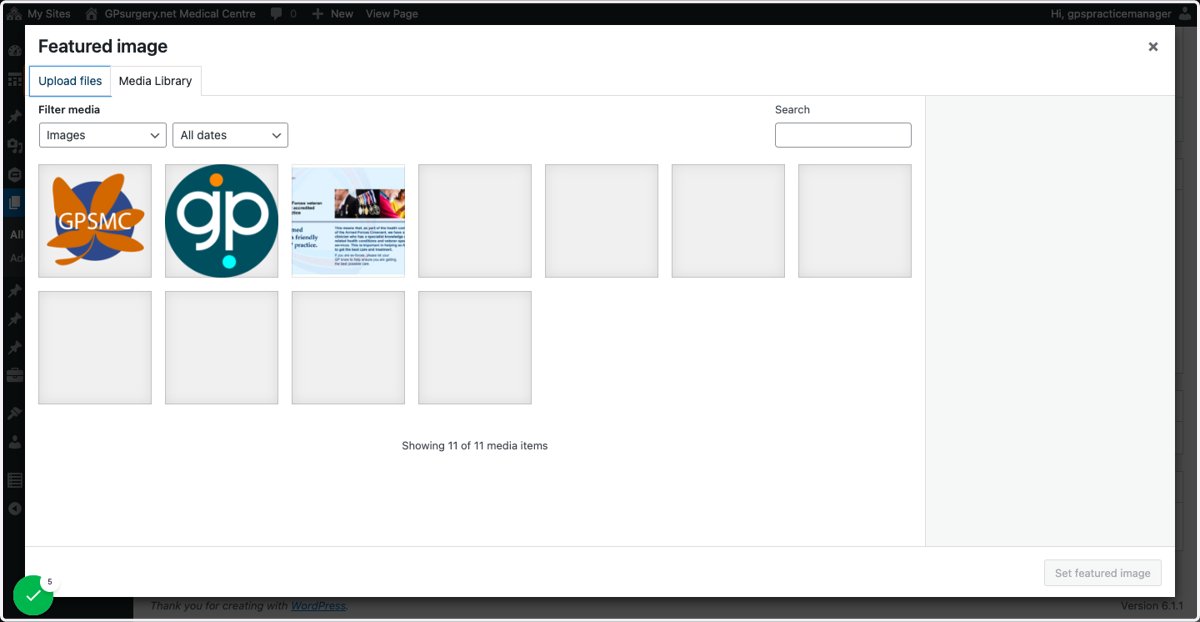
5. Either pick an image already in the Media Library, or click Upload files to upload a new image.
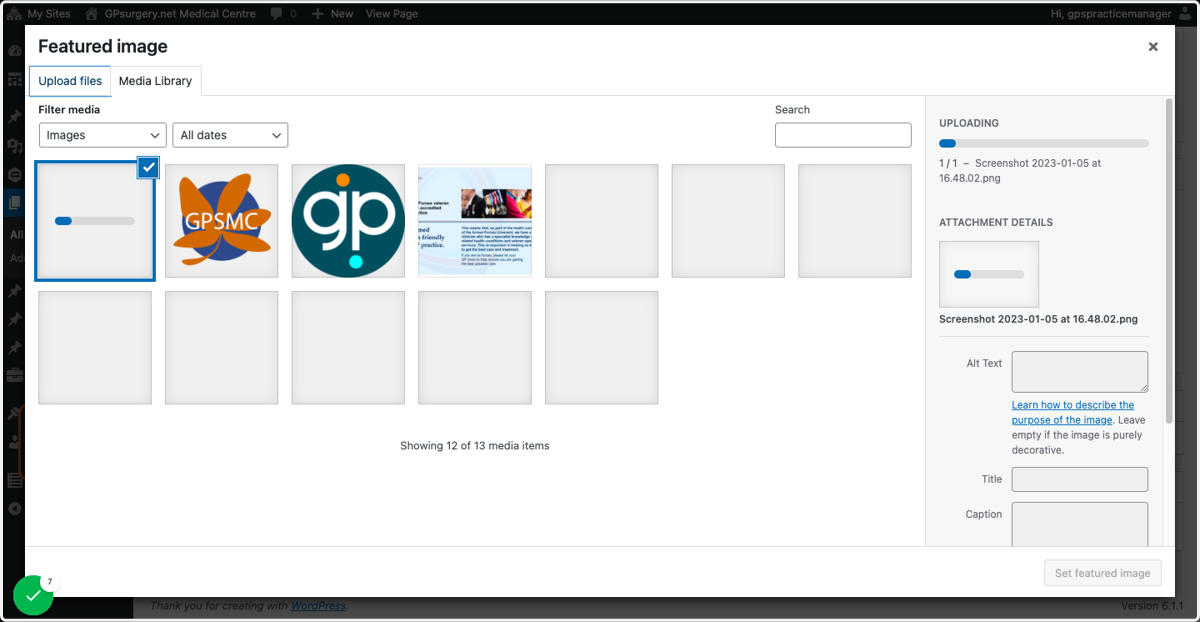
6. Drag and drop your image into the media library, and wait for it to upload.
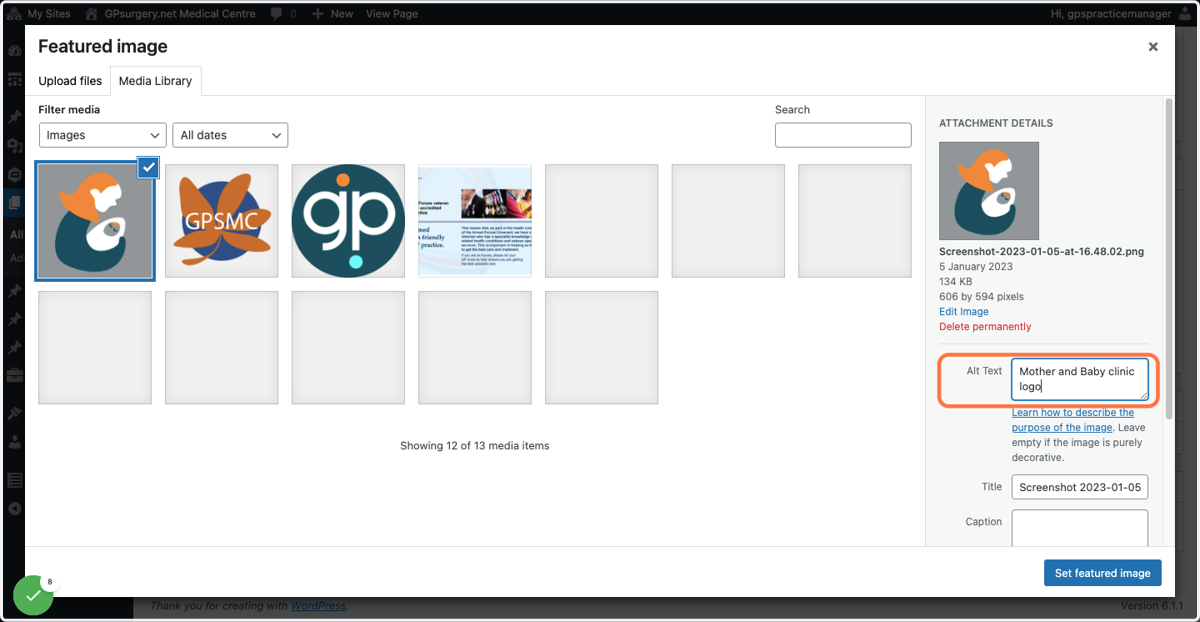
7. Click the image you wish to set as the featured image, and add alternative text into the Alt Text box.
Make sure that your alternative text describes the purpose of the image, not what the image looks like.
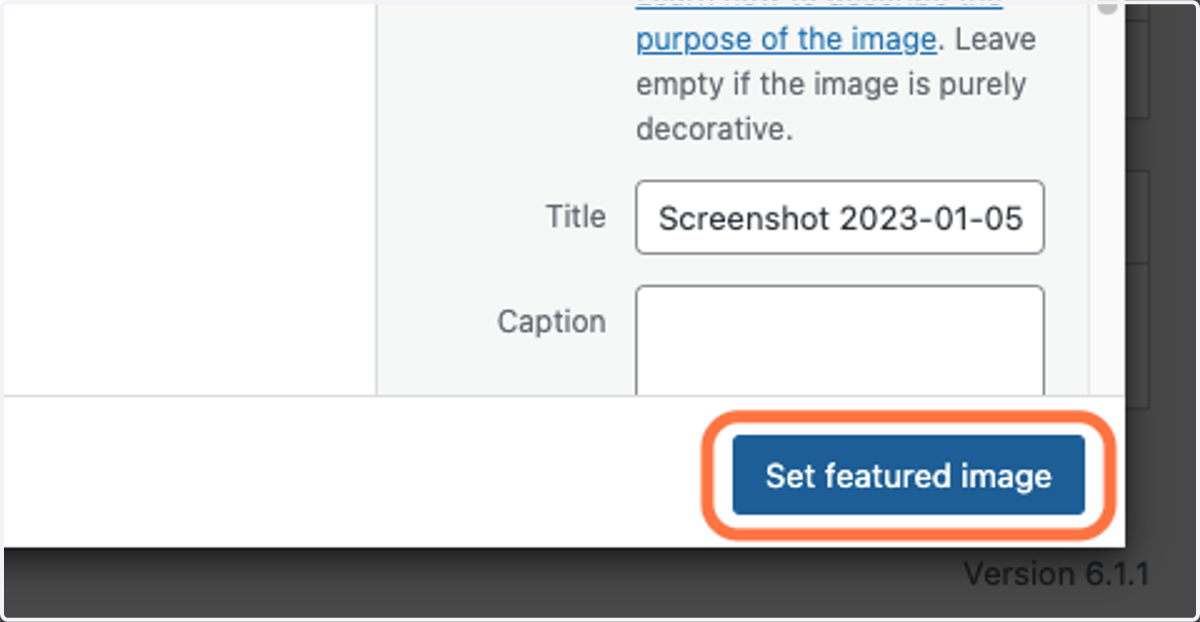
8. Click the blue Set featured image button.
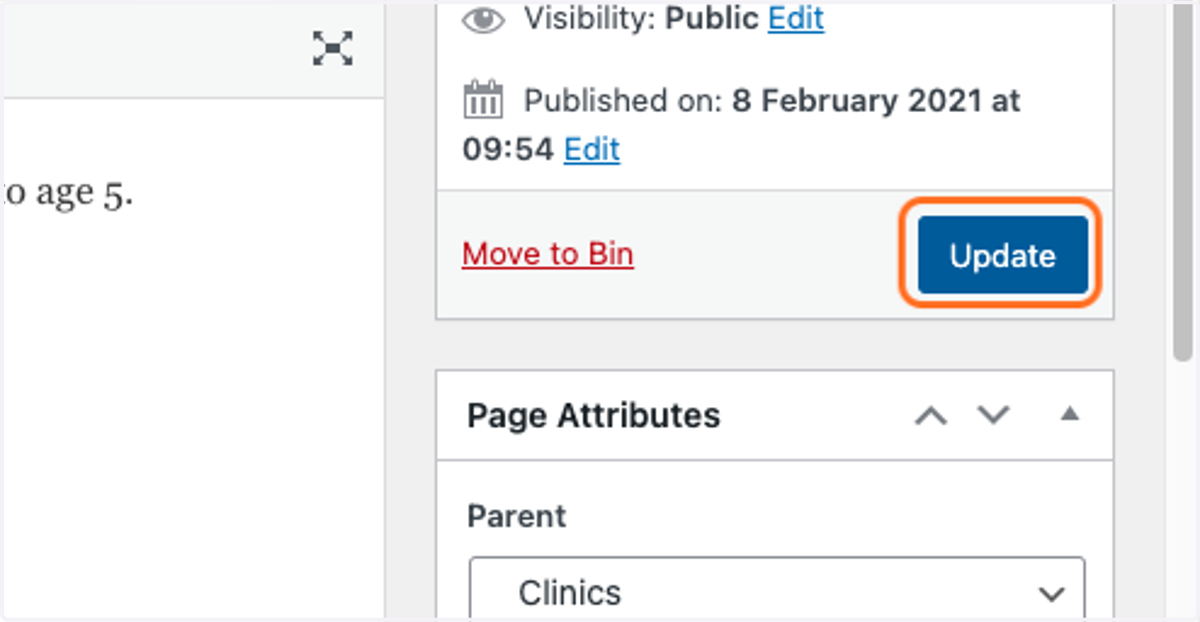
9. In the main page editor, click the blue Update button in the Publish box. This will save your changes to the page.
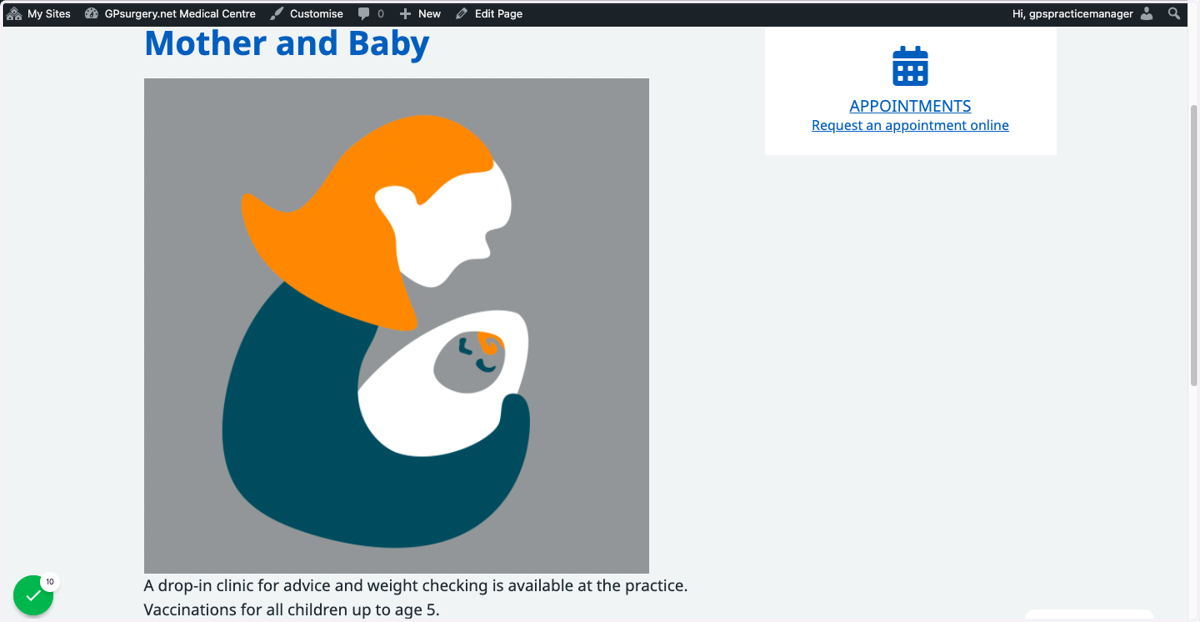
10. The featured image will now appear at the top of your new page.