Creating and Managing SCORM Proxy in Your Linqur platform
Dashboard
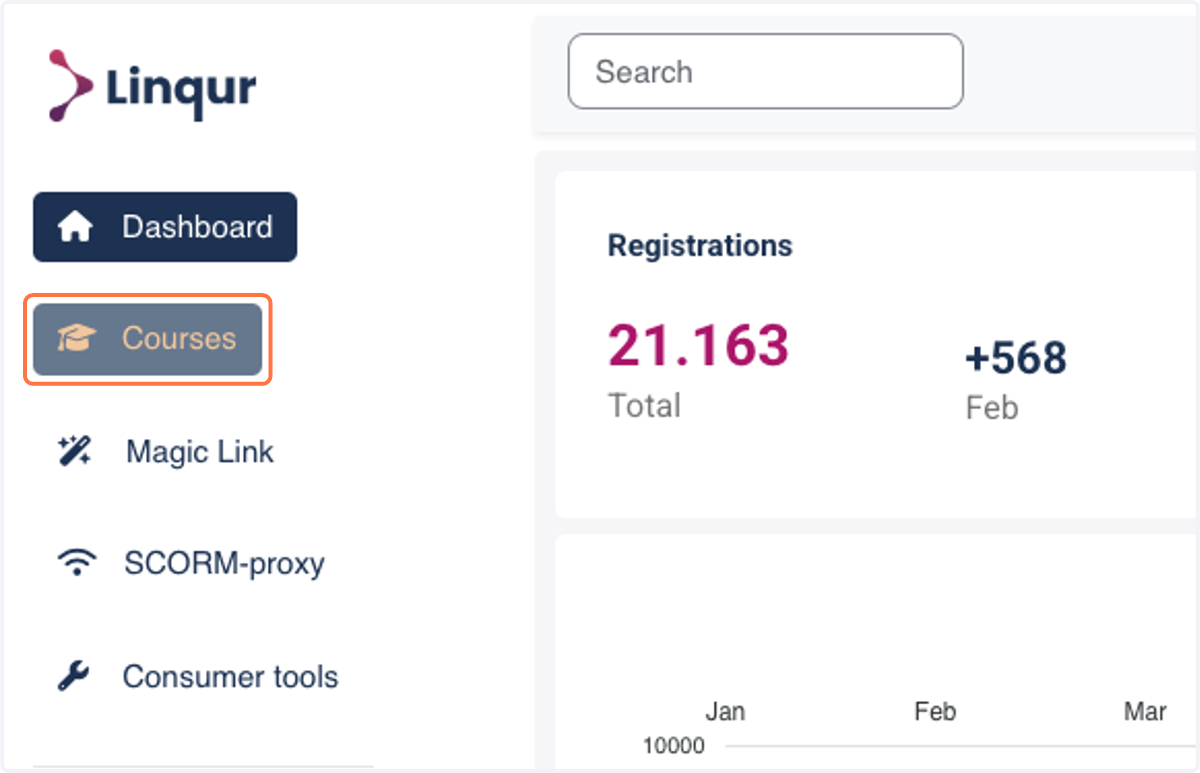
1. Click on "Courses"
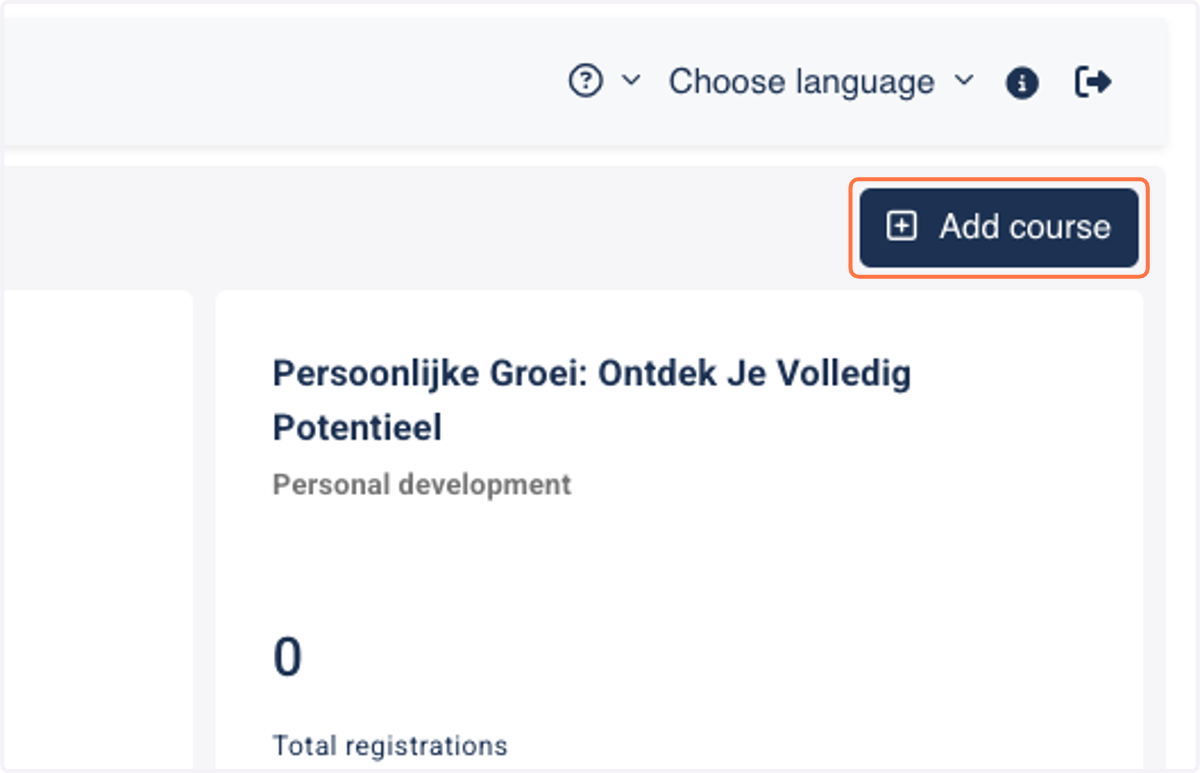
2. Click on "Add course" to create a course.
To start sharing your SCORM-package it will need to be uploaded to a course.
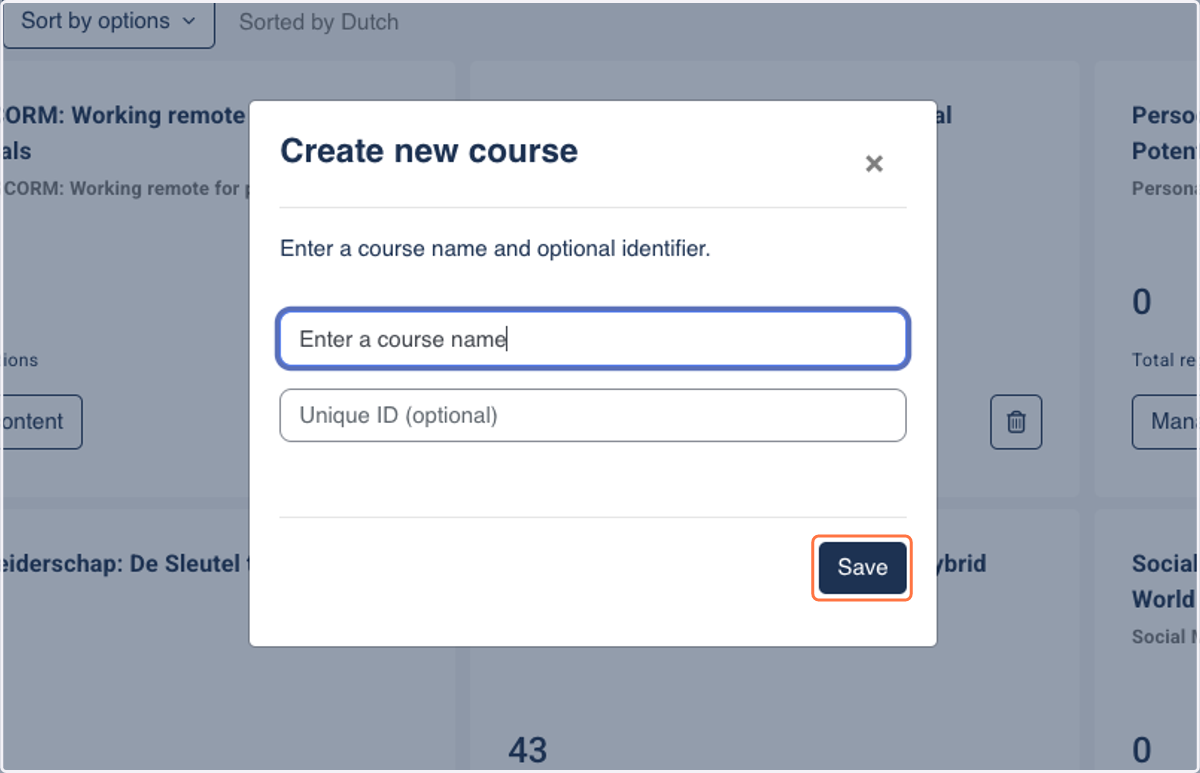
3. Give your course a name and click on "save"
4. Click on Manage content to start editing the course
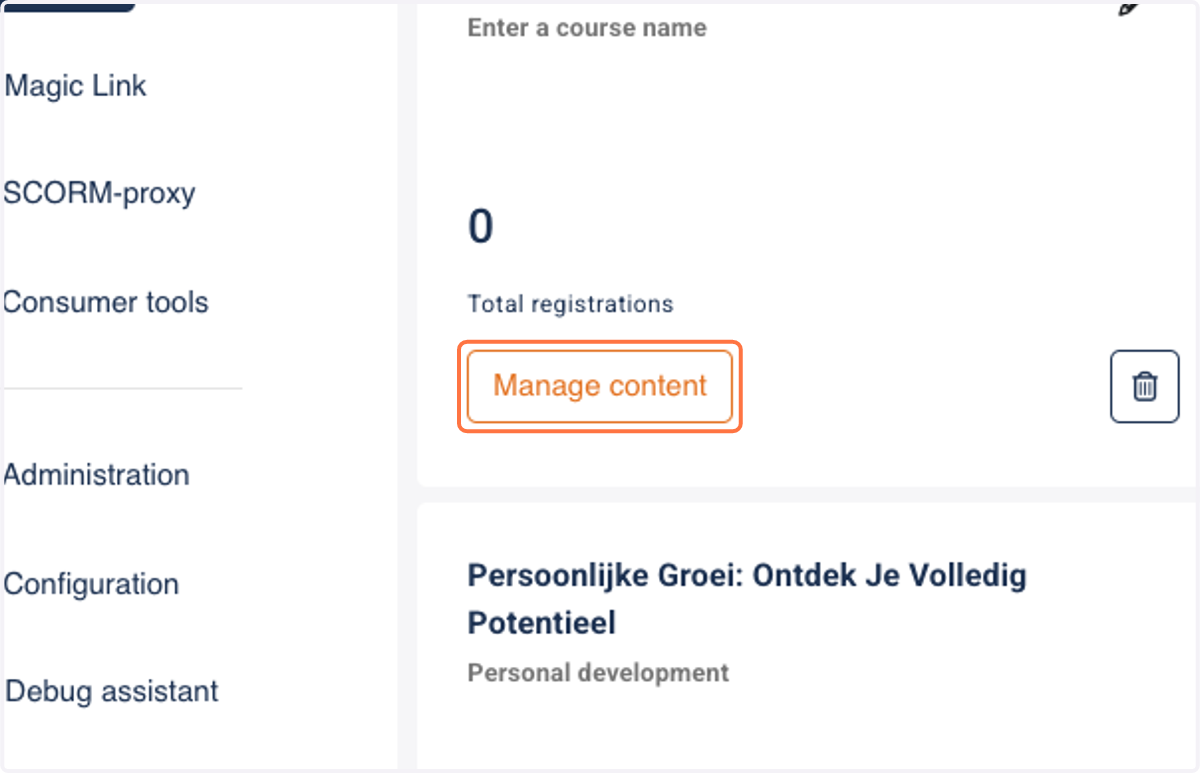
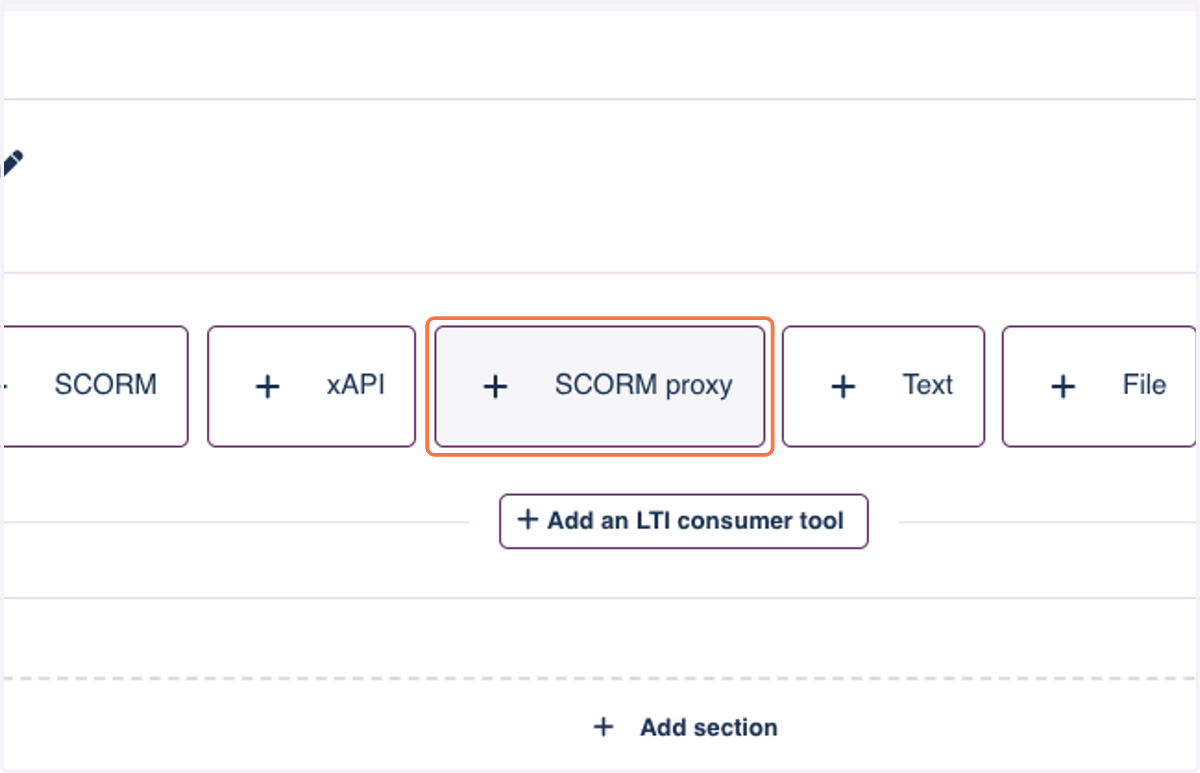
5. Now we will start adding the SCORM. Click on SCORM proxy
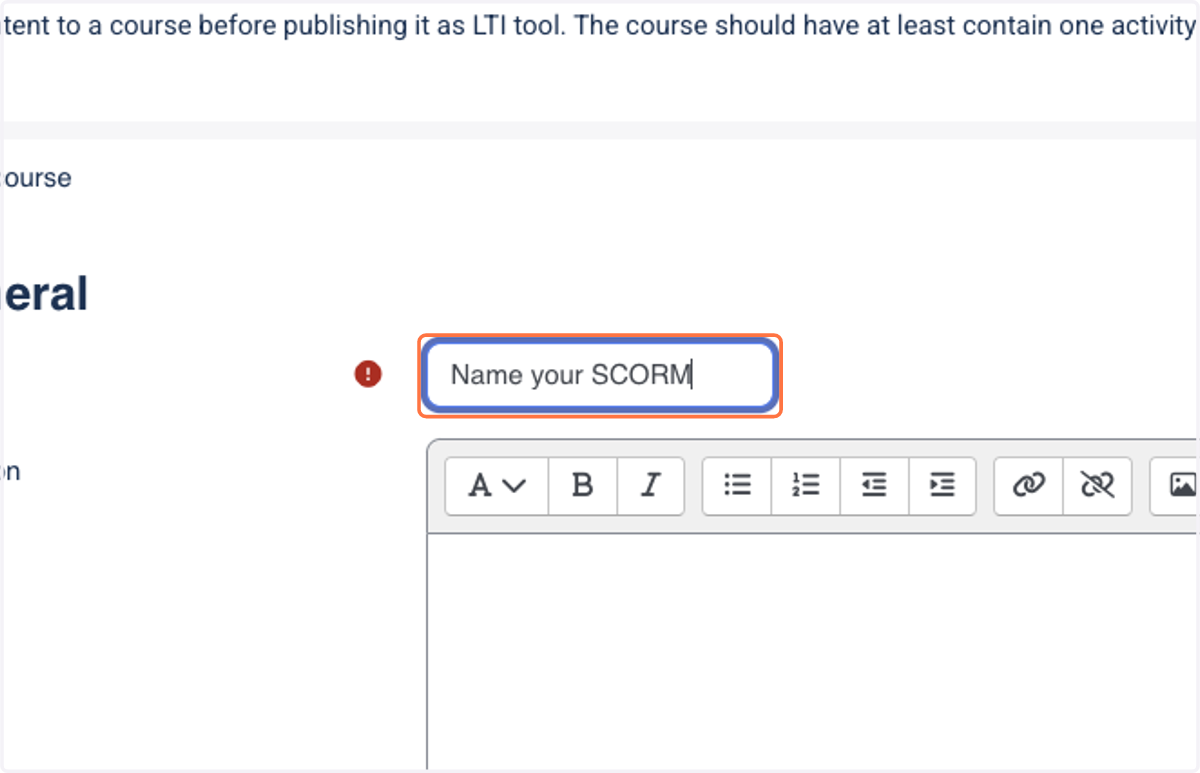
6. Start by naming your SCORM proxy file
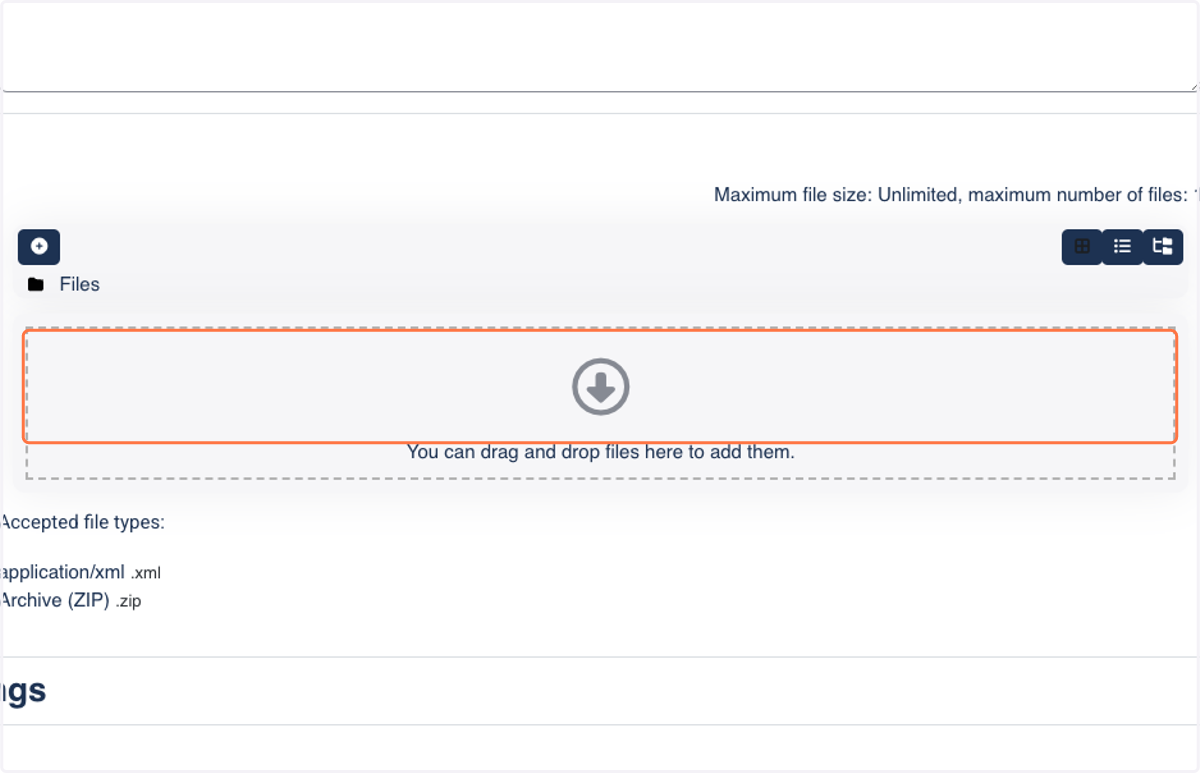
7. Upload your SCORM-package by selecting it from your file system or drag and drop.
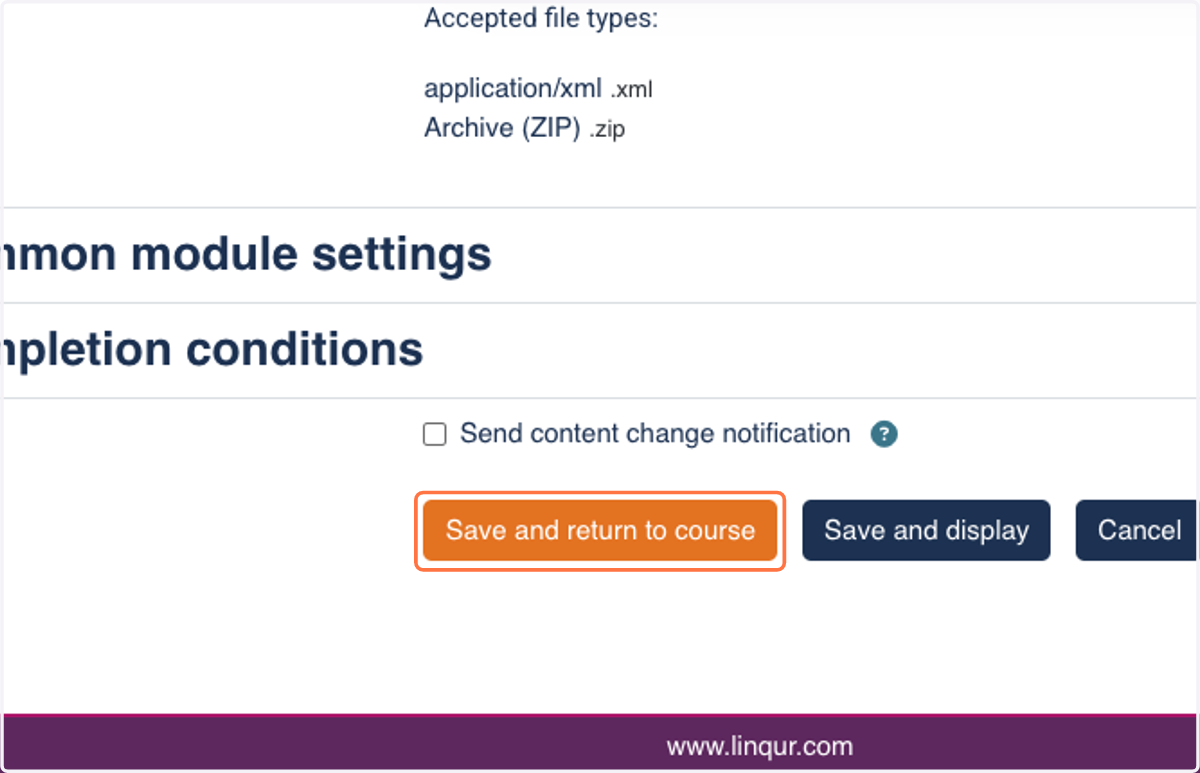
8. Click on Save and return to course
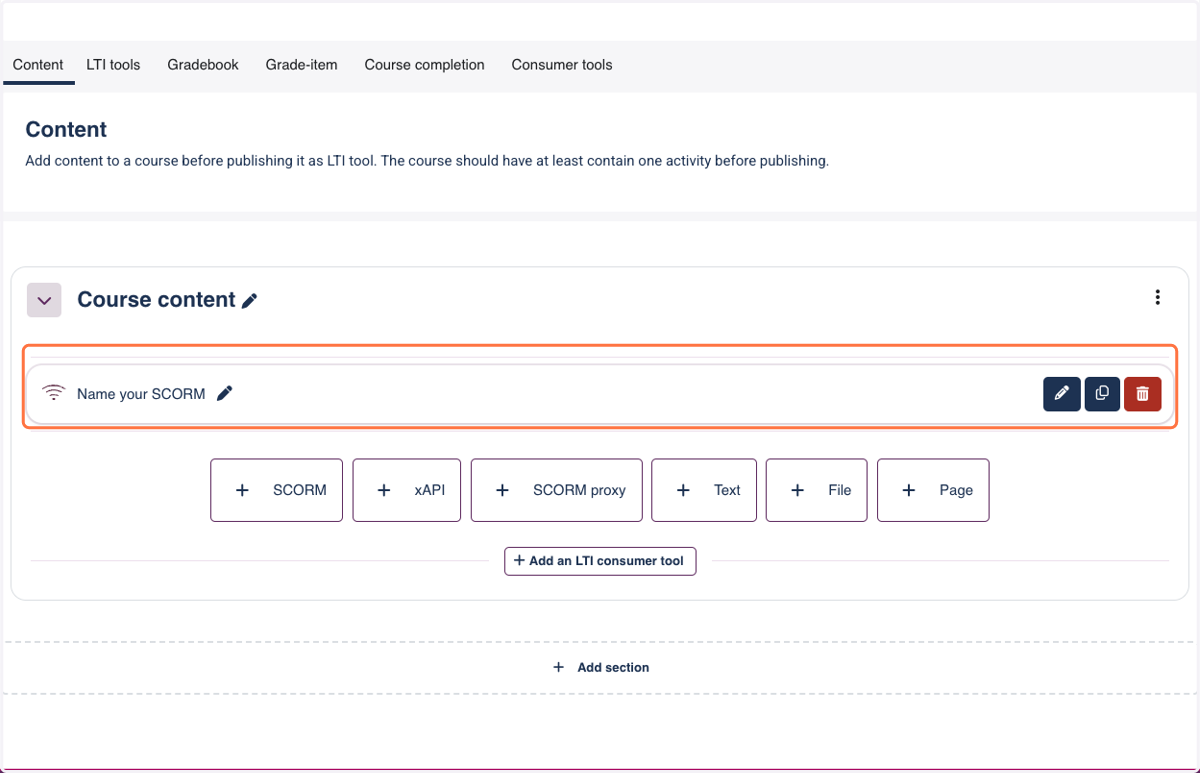
9. You will notice that the SCORM proxy file is added to your course.
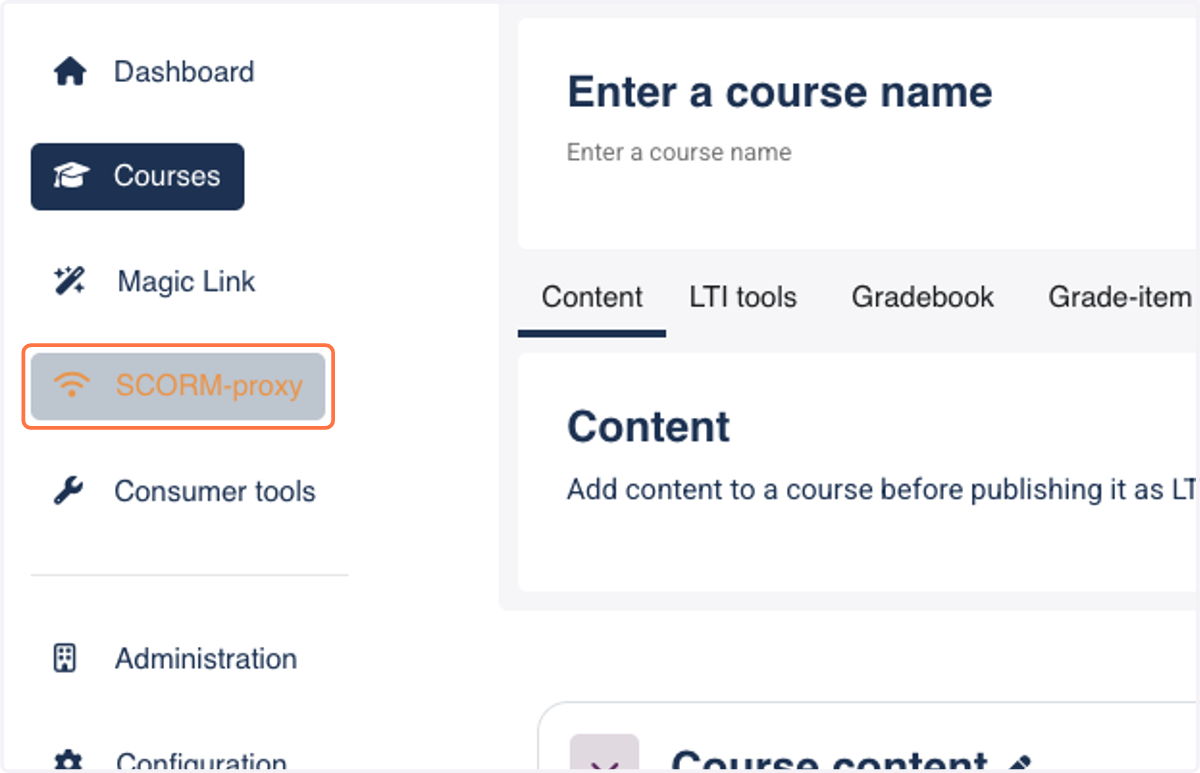
10. Click on SCORM-proxy to start managing access to the SCORM-proxy file
11. Every
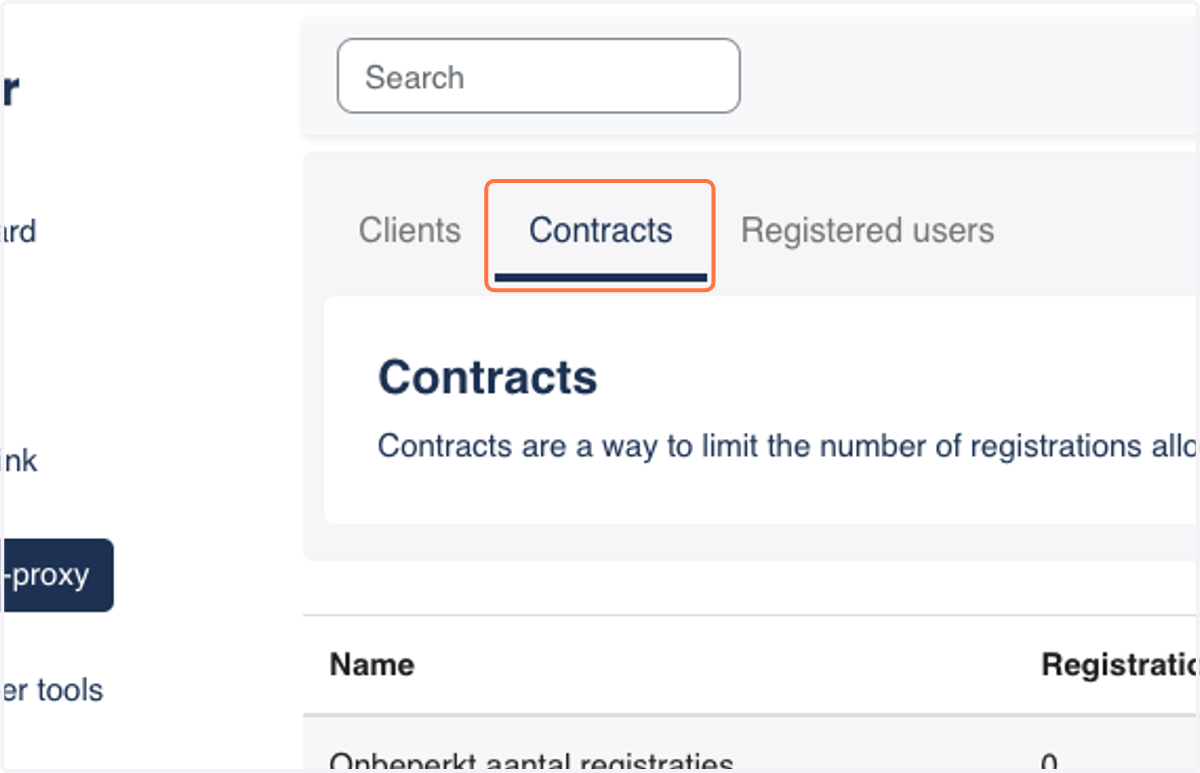
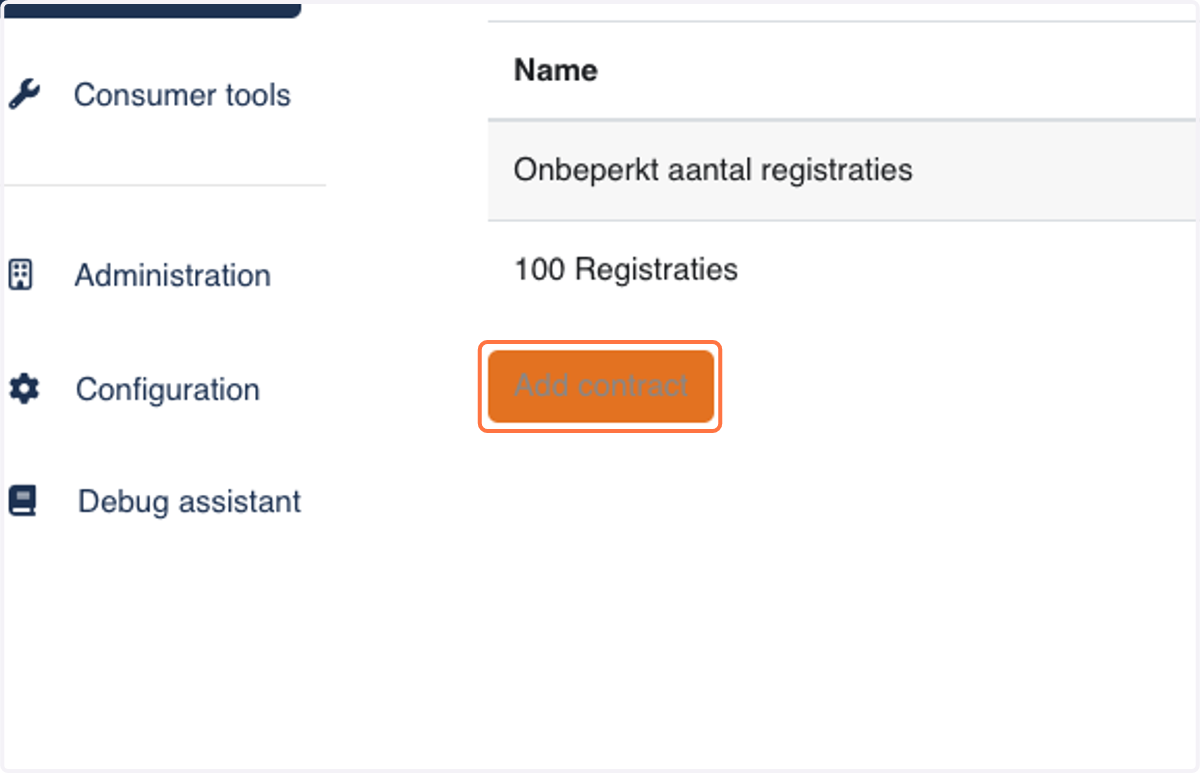
12. To manage access we need to start by adding a Contract. Click "add contract"
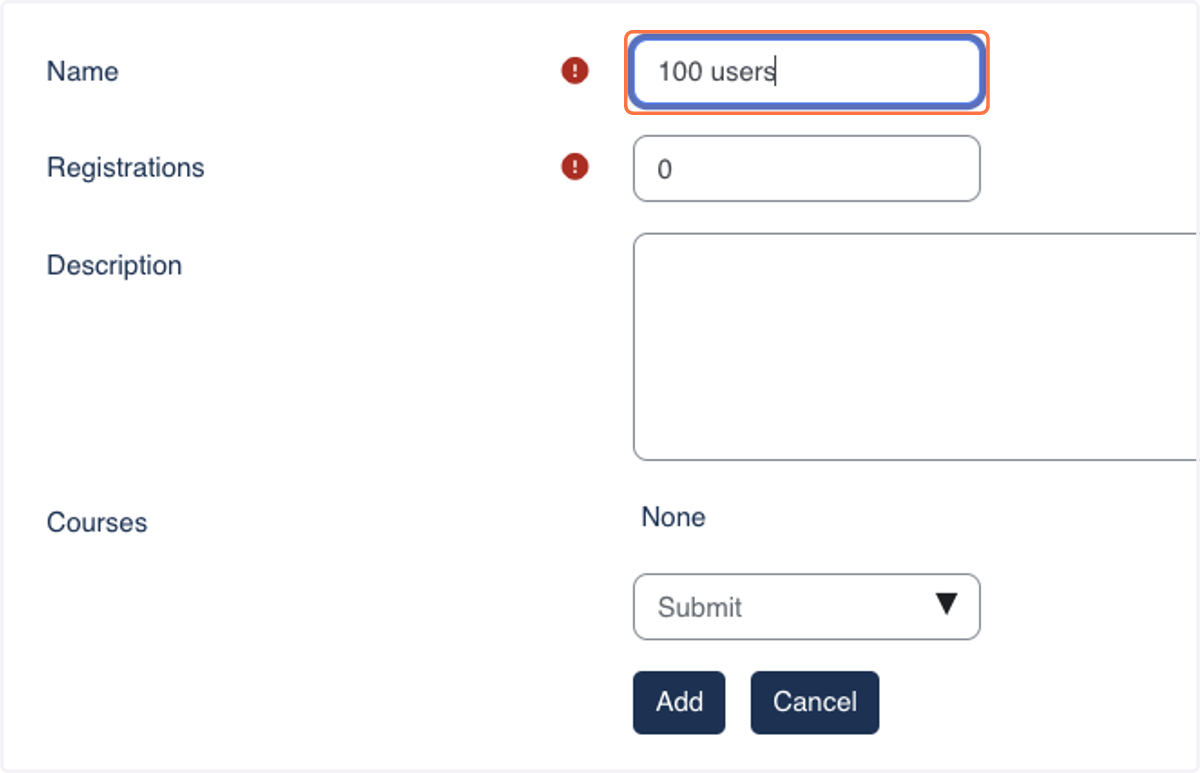
13. Name your contract
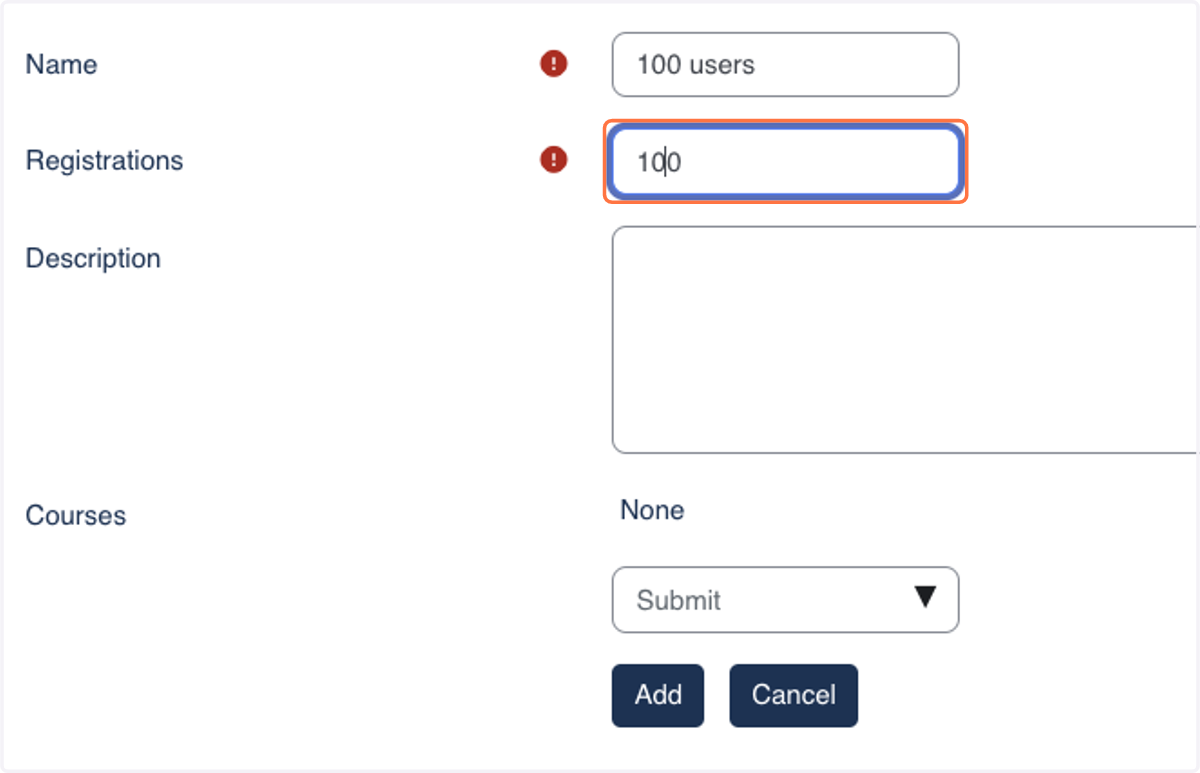
14. Add the number of registrations allowed for this contract
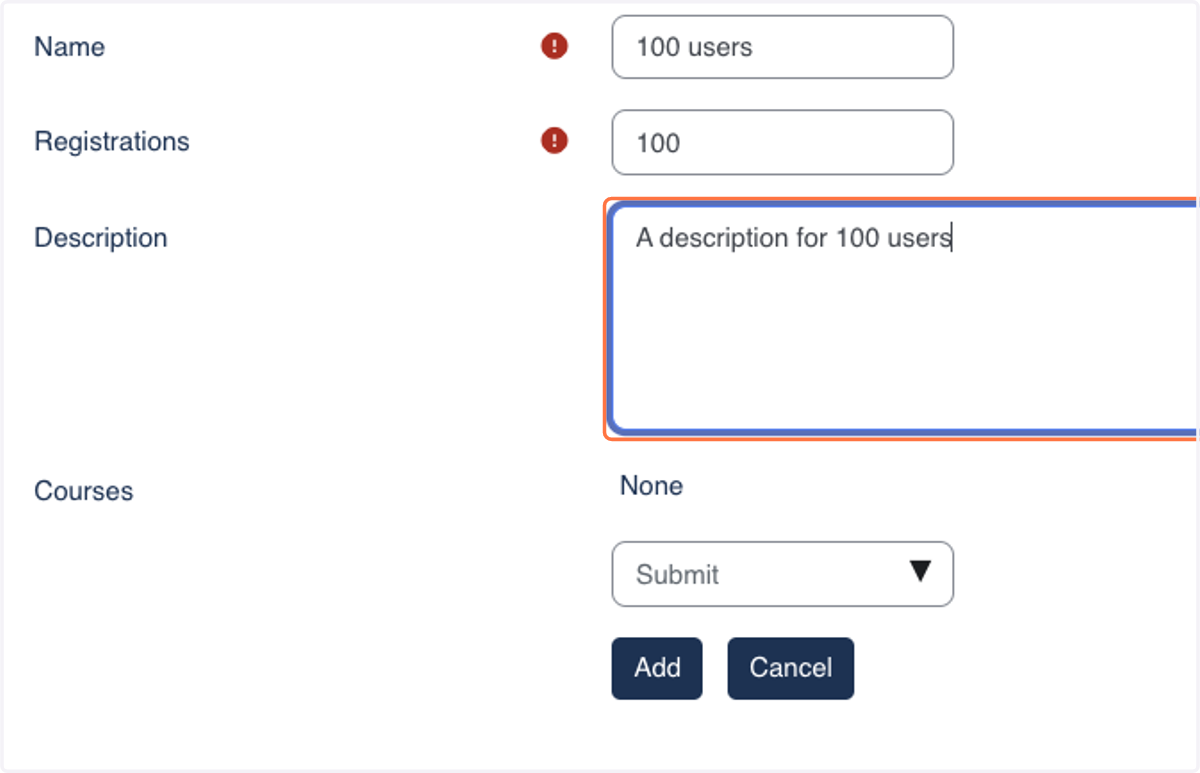
15. Add a description for later reference
16. Open the dropdown menu to start managing courses.
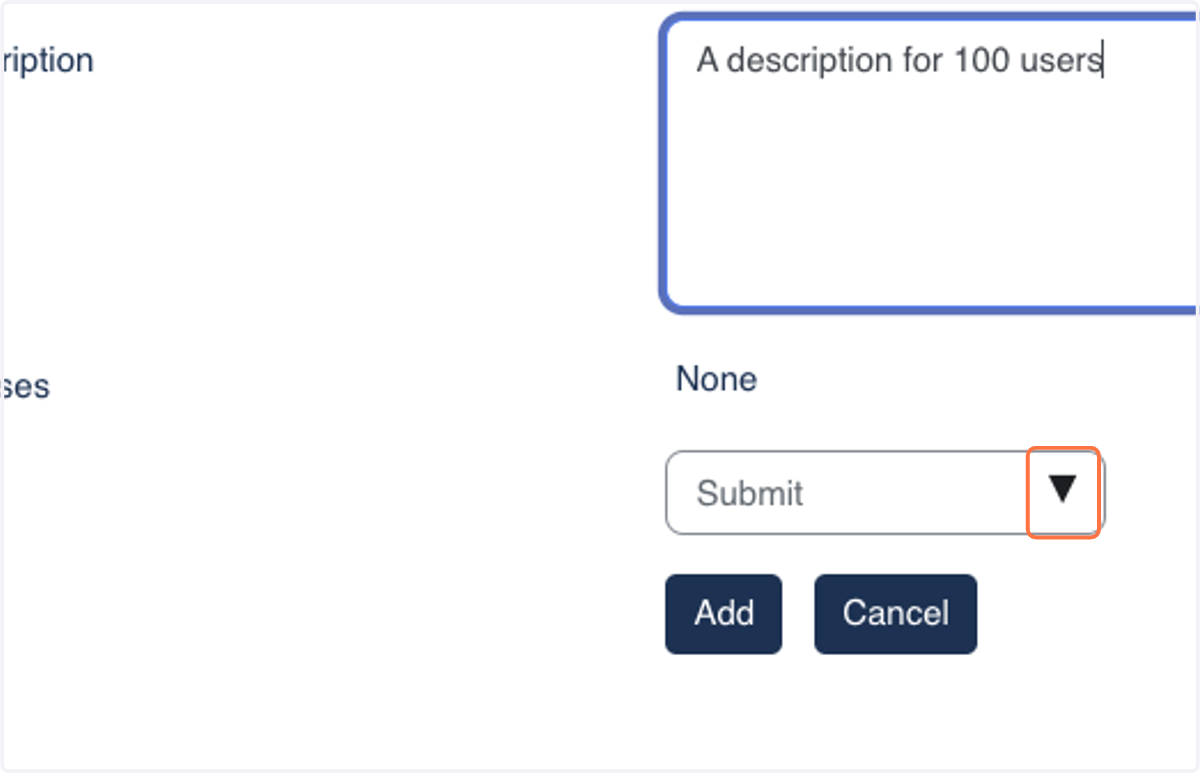
17. Now select the Course or Courses you want the contract to apply to. Courses can be added or subtracted in the future.
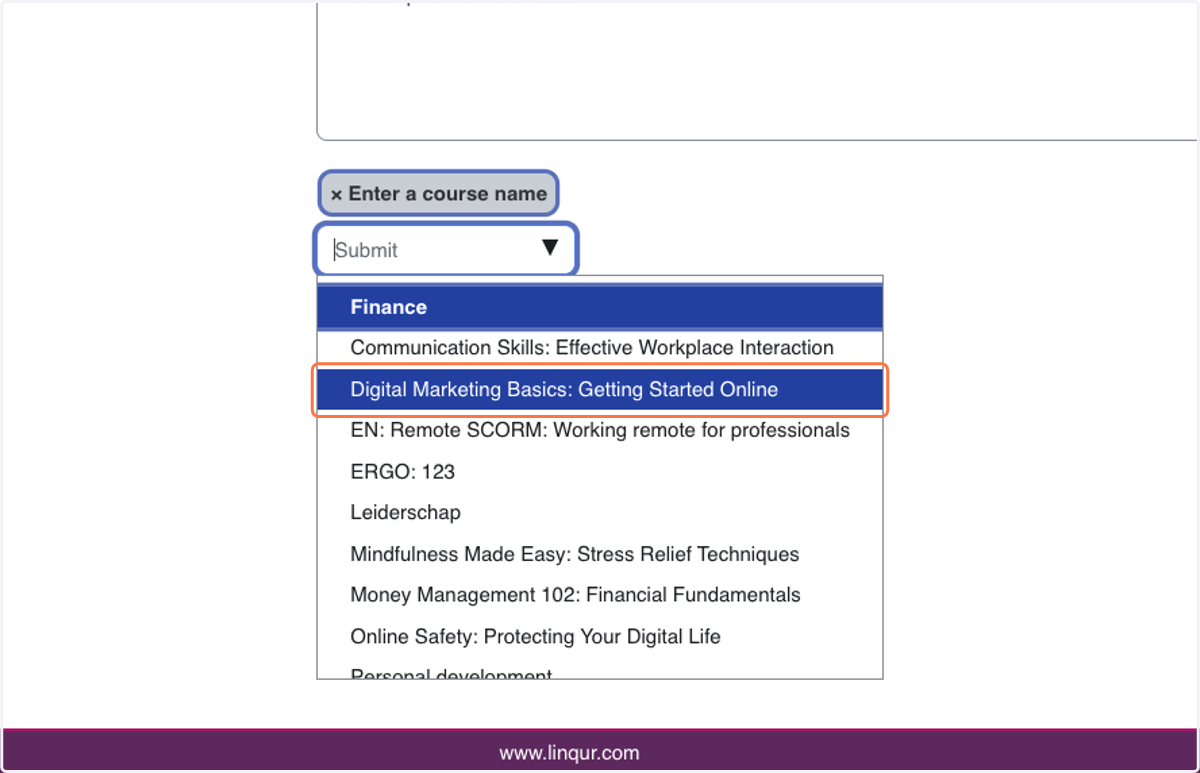
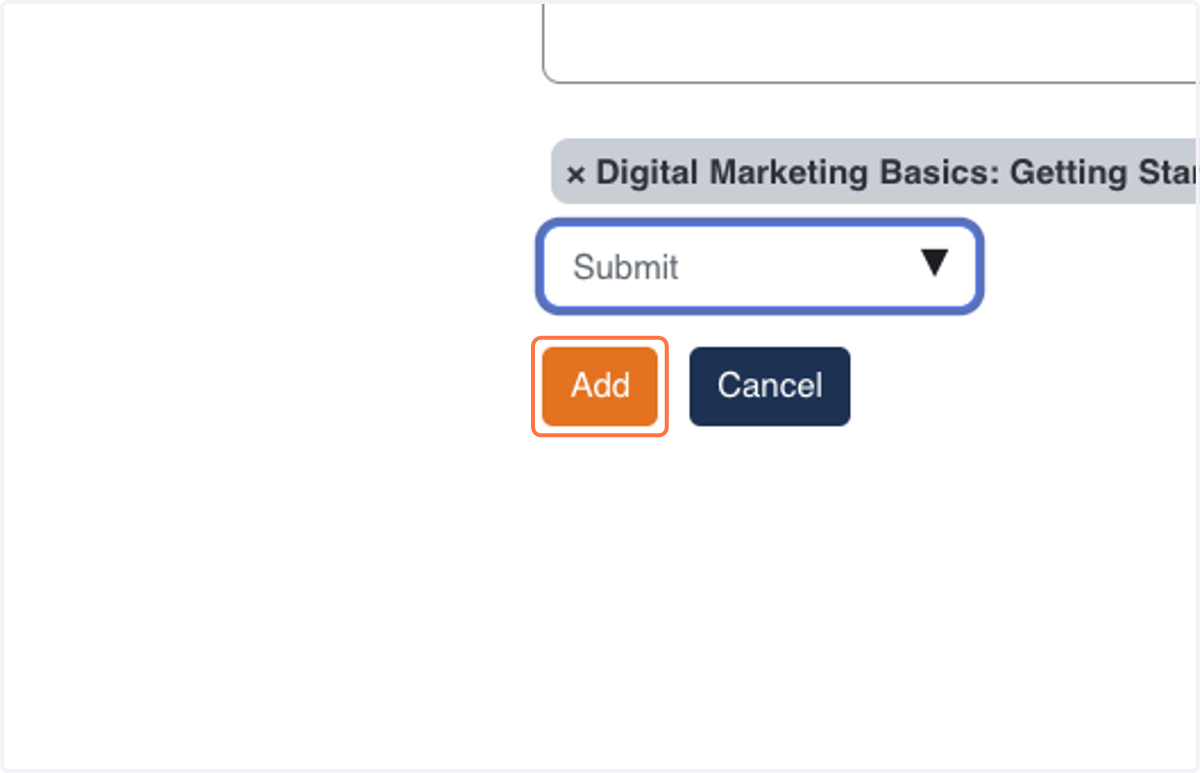
18. Click on Add to finalize the proces.
19. Notice your contract is added to the list.
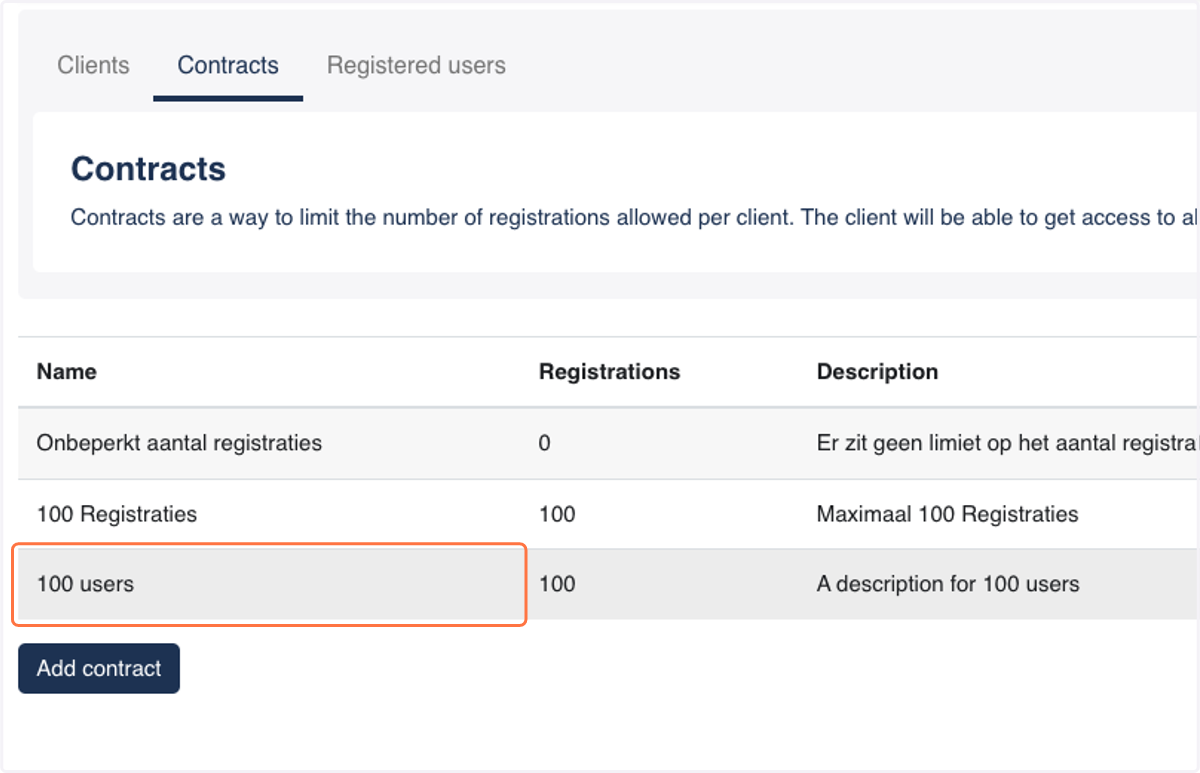
20. Now Click on Clients to start adding a client.
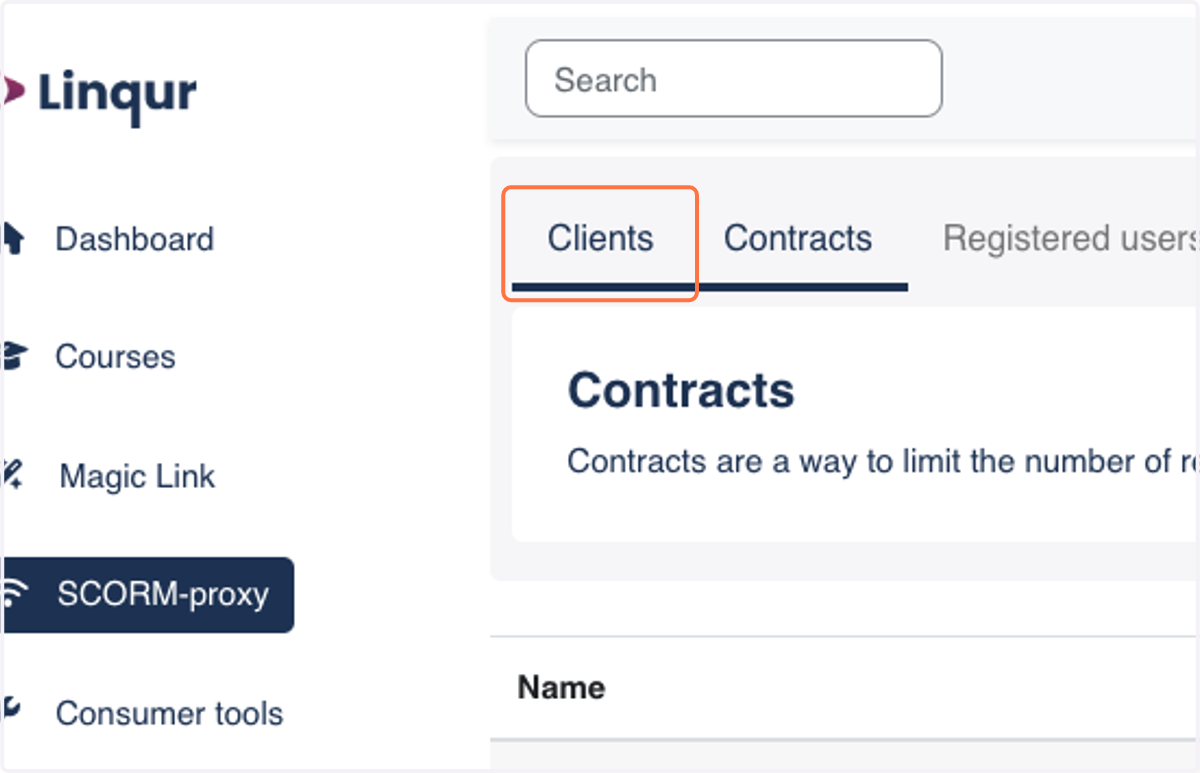
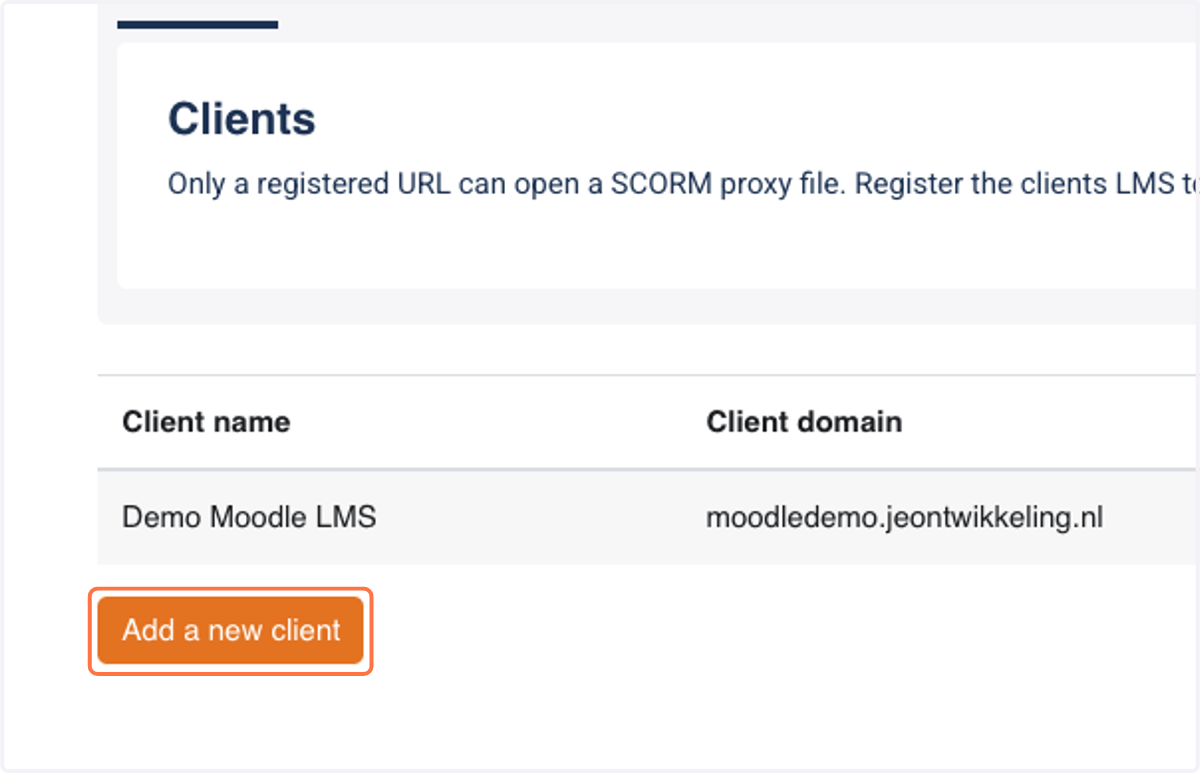
21. Click on Add a new client
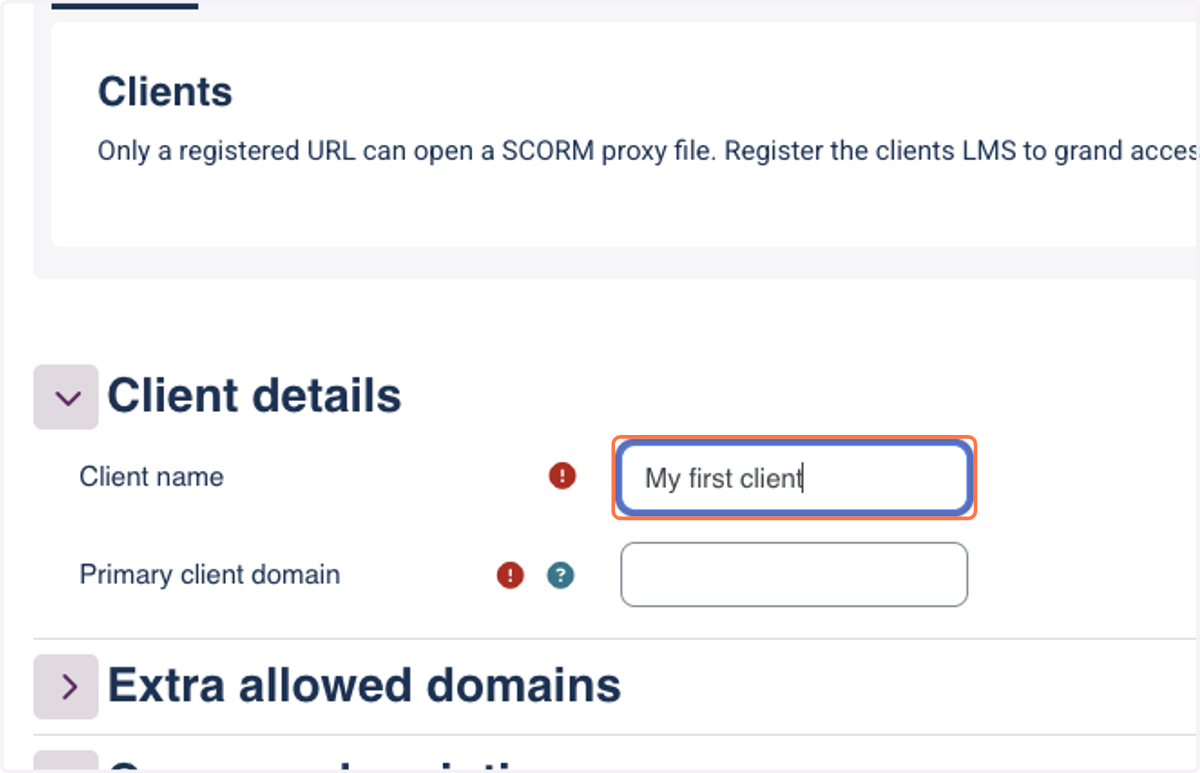
22. Add the clientn name
23. Enter the clients primary domain. This is the domain the client will use to host your SCORM wrapper. This is likely to be the client LMS URL
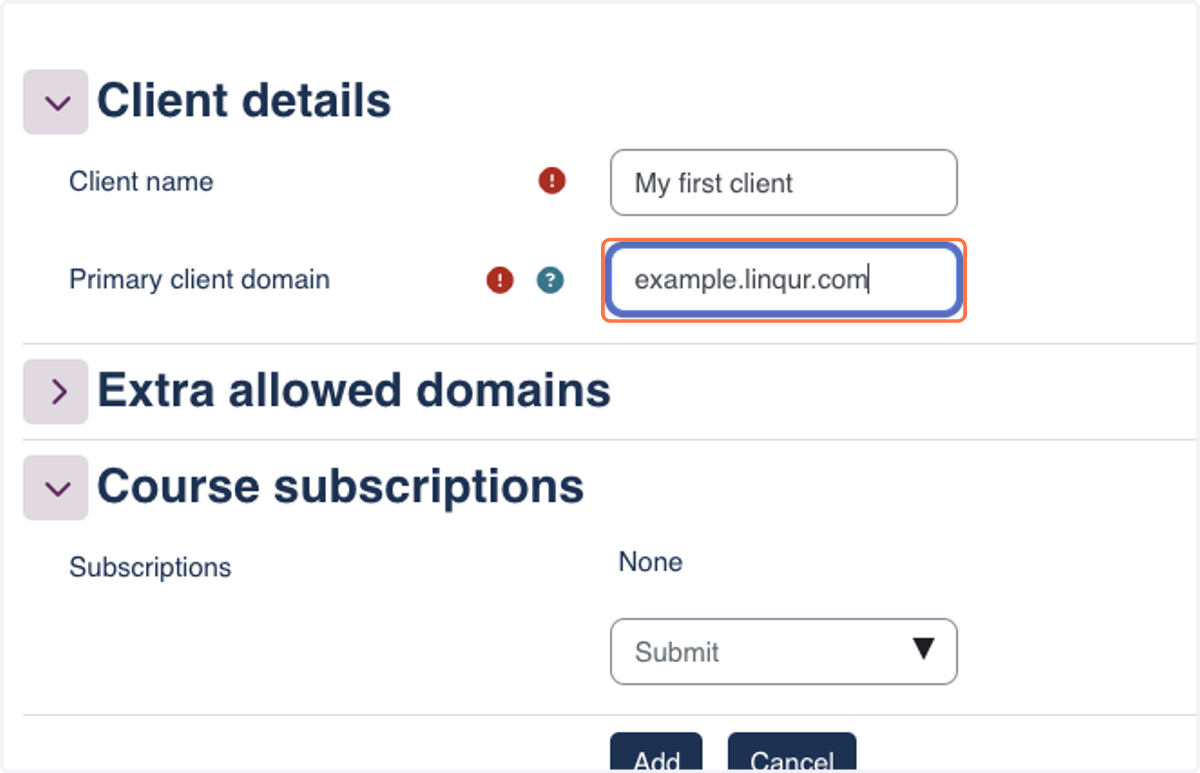
24. Select the description from the dropdown menu and click "add"
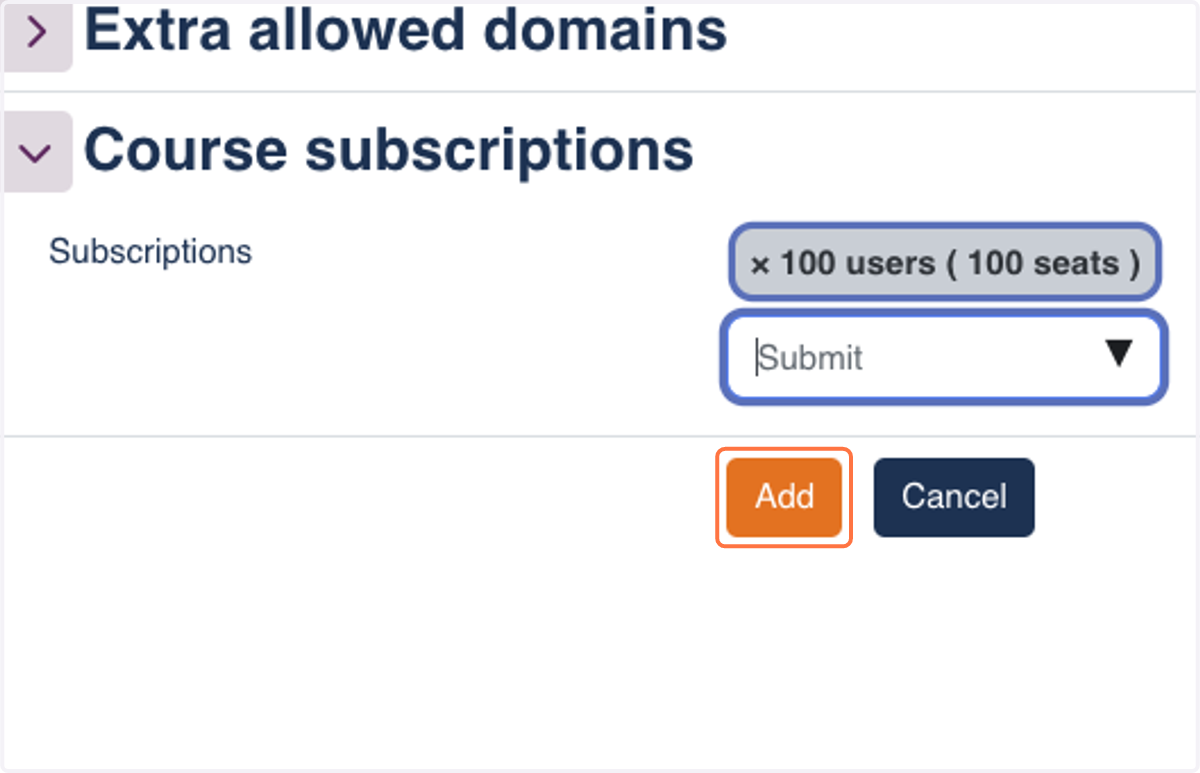
25. Your client has been created and a contract is added to the domain.
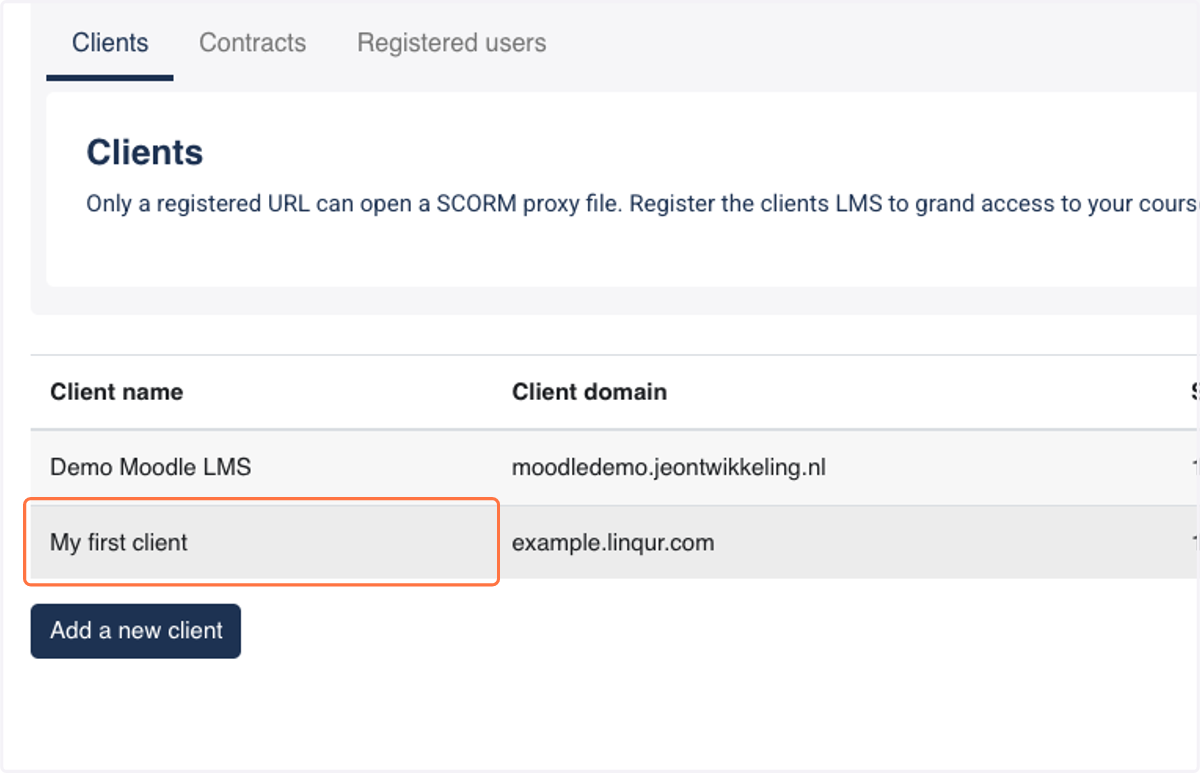
26. To finalyze the proces, we need to download the wrapper. Click on "courses"
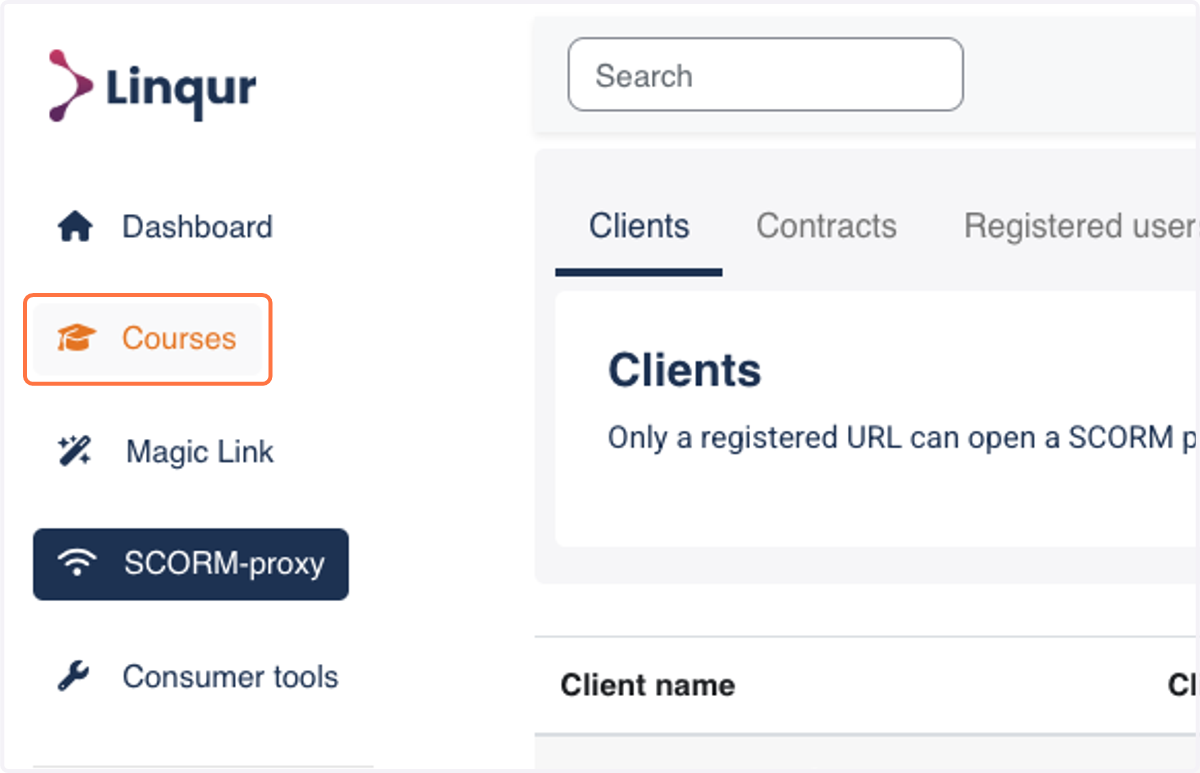
27. Click on Manage content to open your course
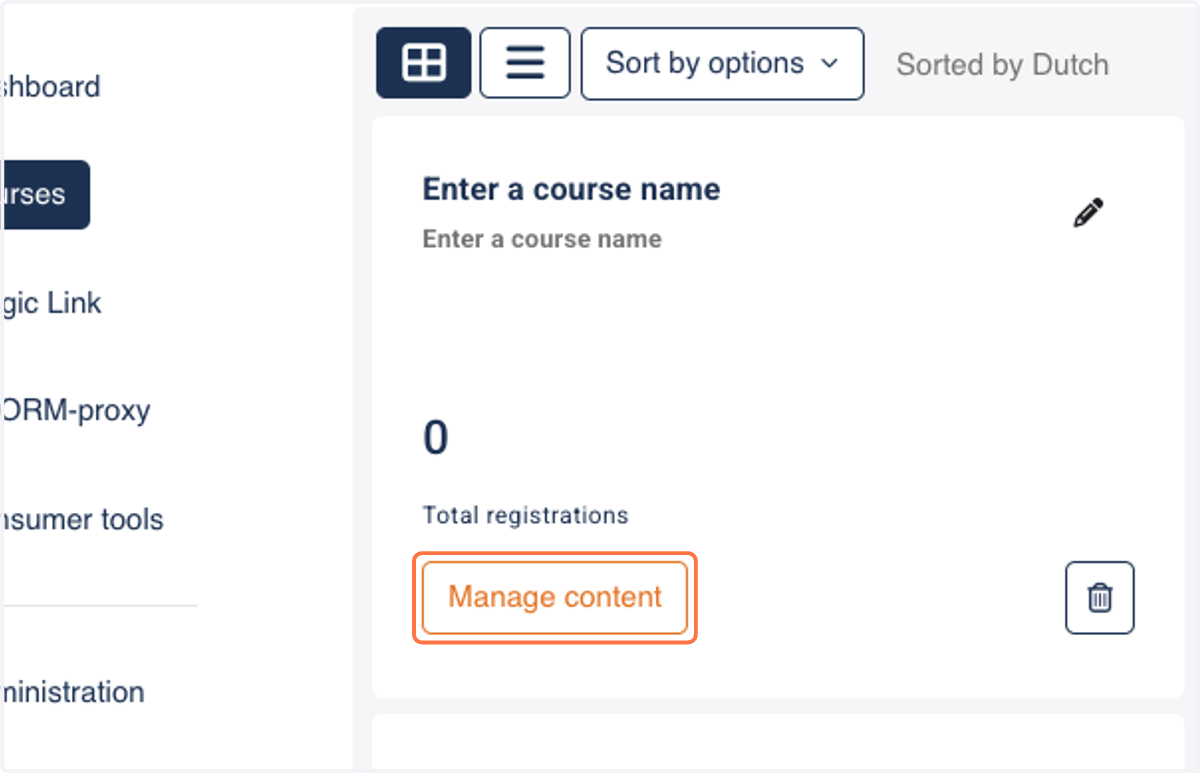
28. Click on your SCORM proxy file.
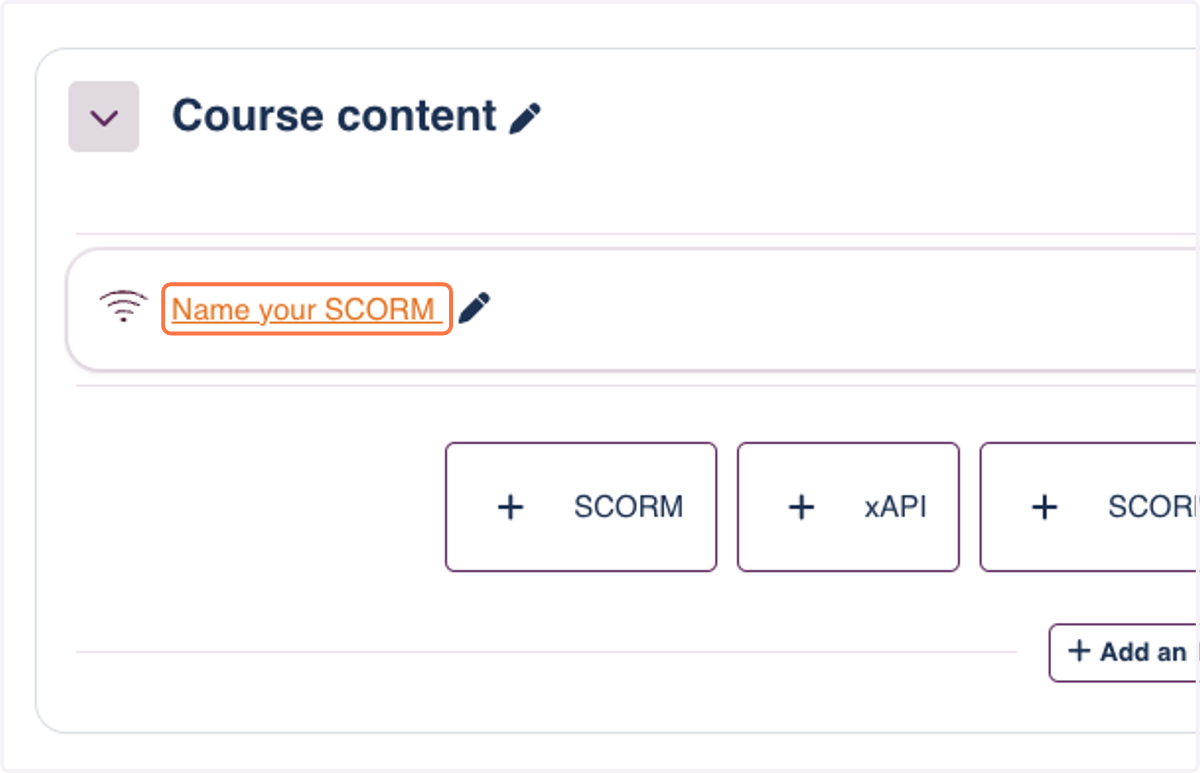
29. Click on Wrapper
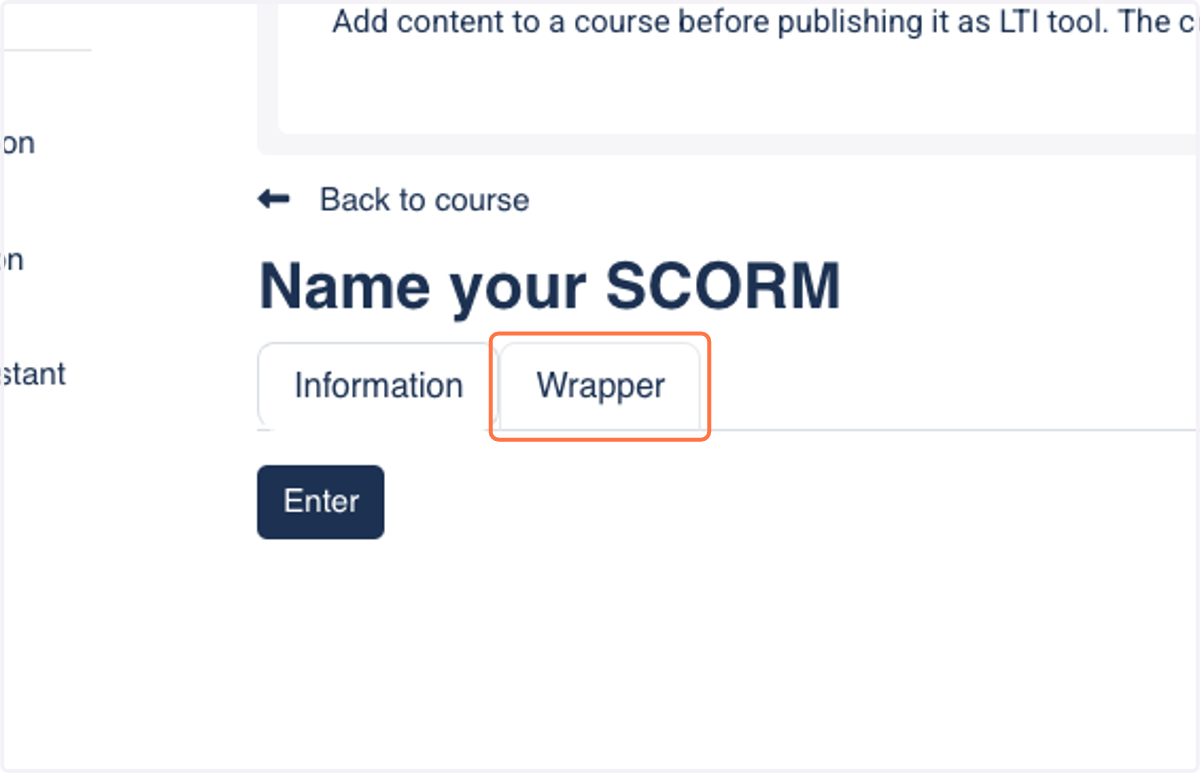
30. Now select your client form the list.
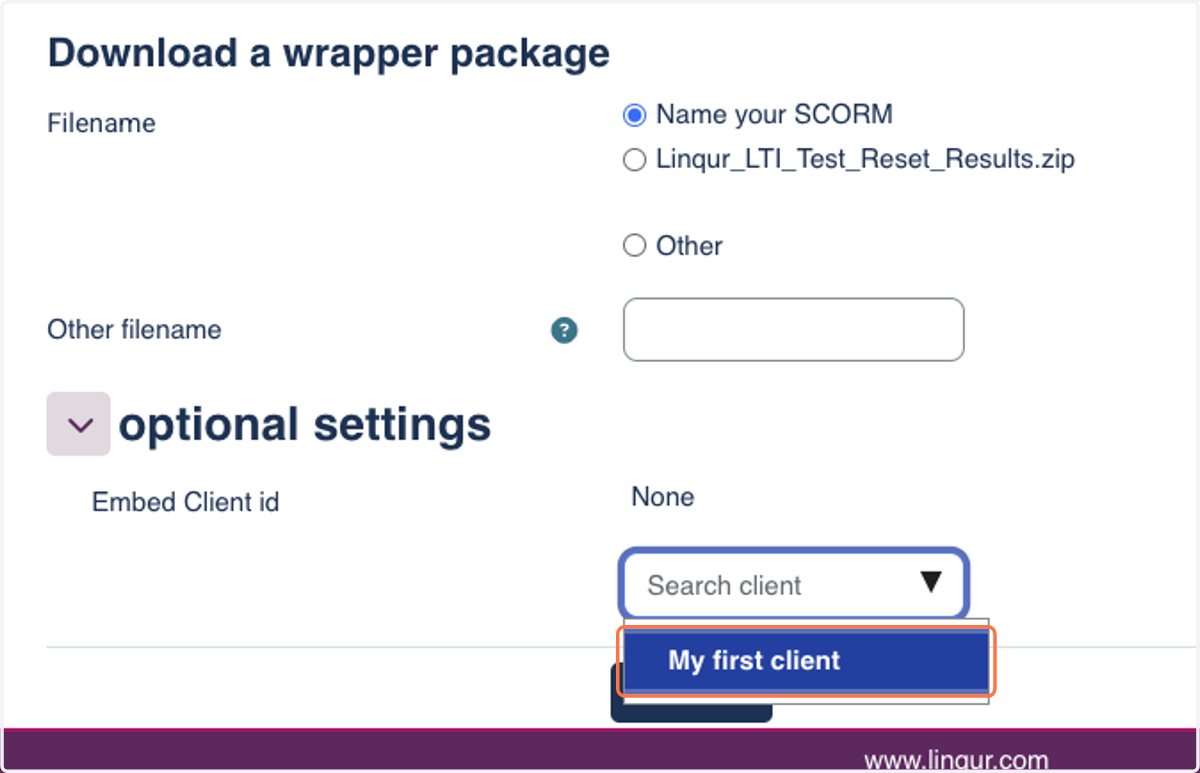
31. Click on Download to download the SCORM Proxy wrapper file
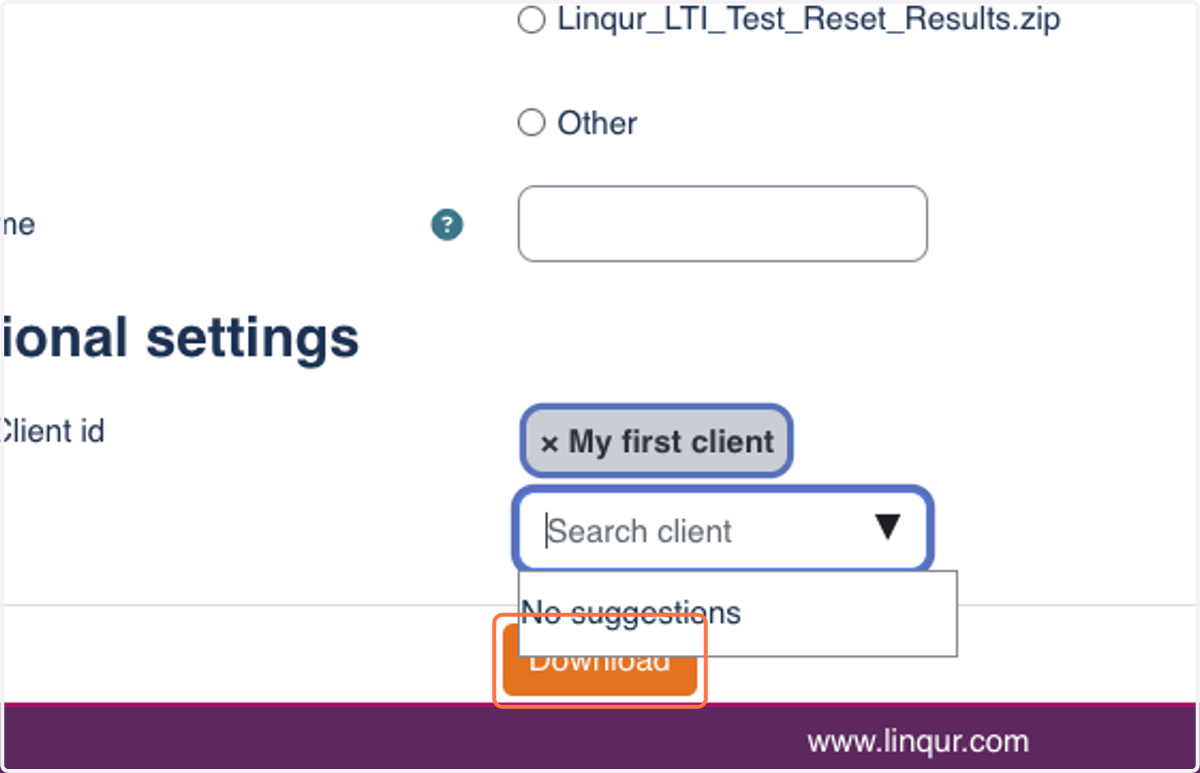
32. You have succesfully created a SCORM wrapper! A .zip file with a SCORM wrapper will be downloaded to your computer.
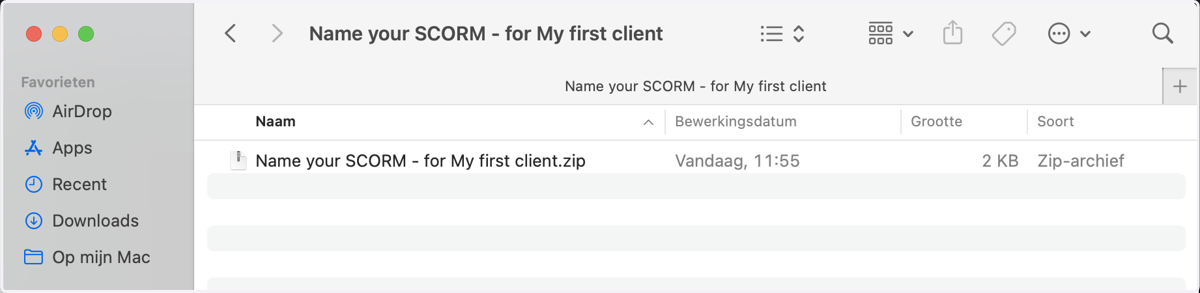
33. Send the SCORM wrapper to your client and ask them to configure it on their LMS to start learning.