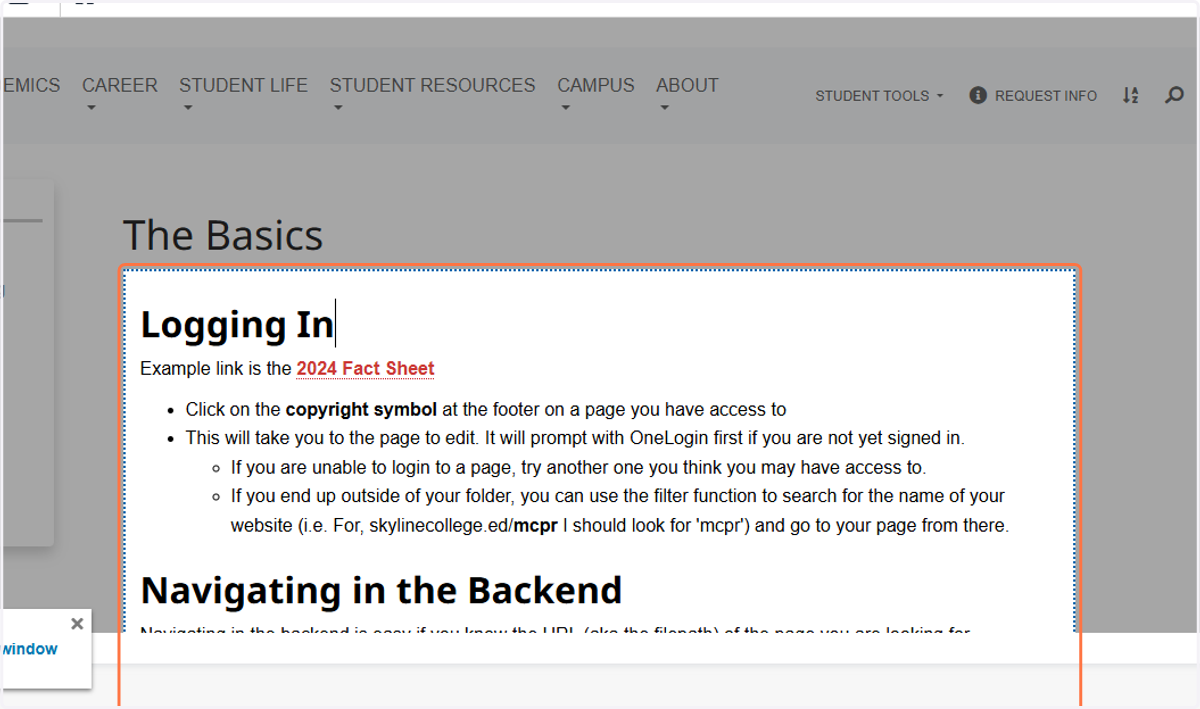
Uploading a Document to the Website
Login to Modern Campus
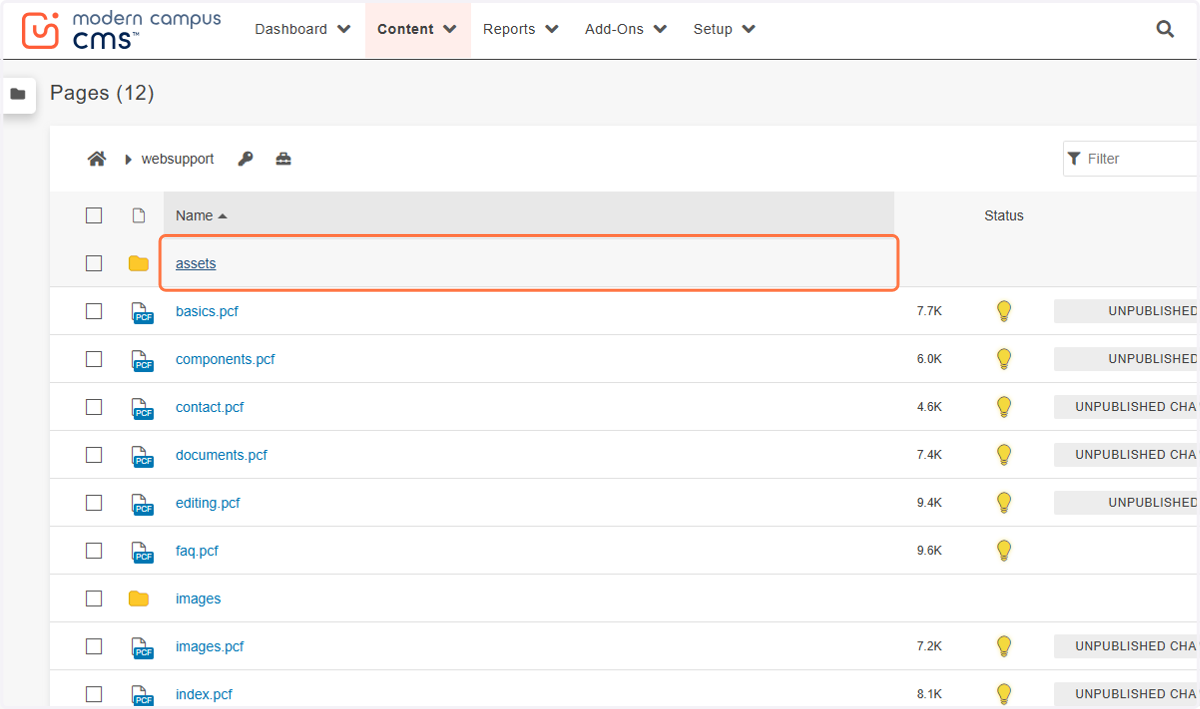
1. Navigate to your website's folder and click on the 'assets' folder.
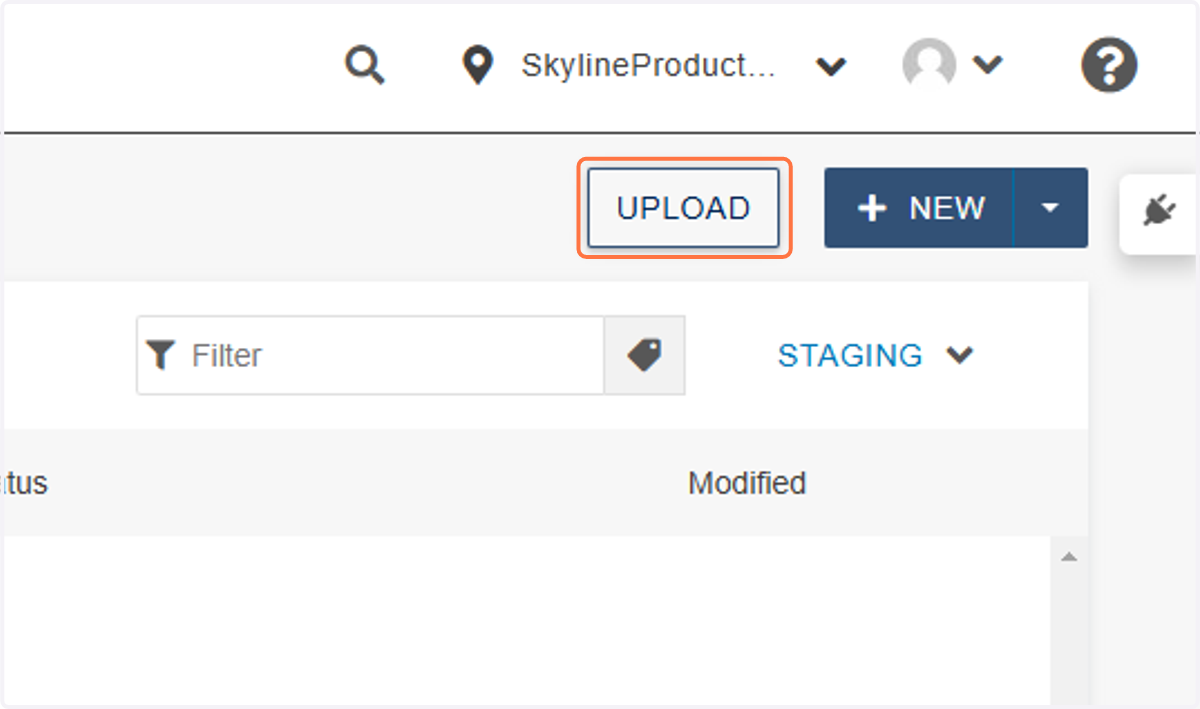
2. Inside the assets folder, now click on the UPLOAD button in the top right corner.
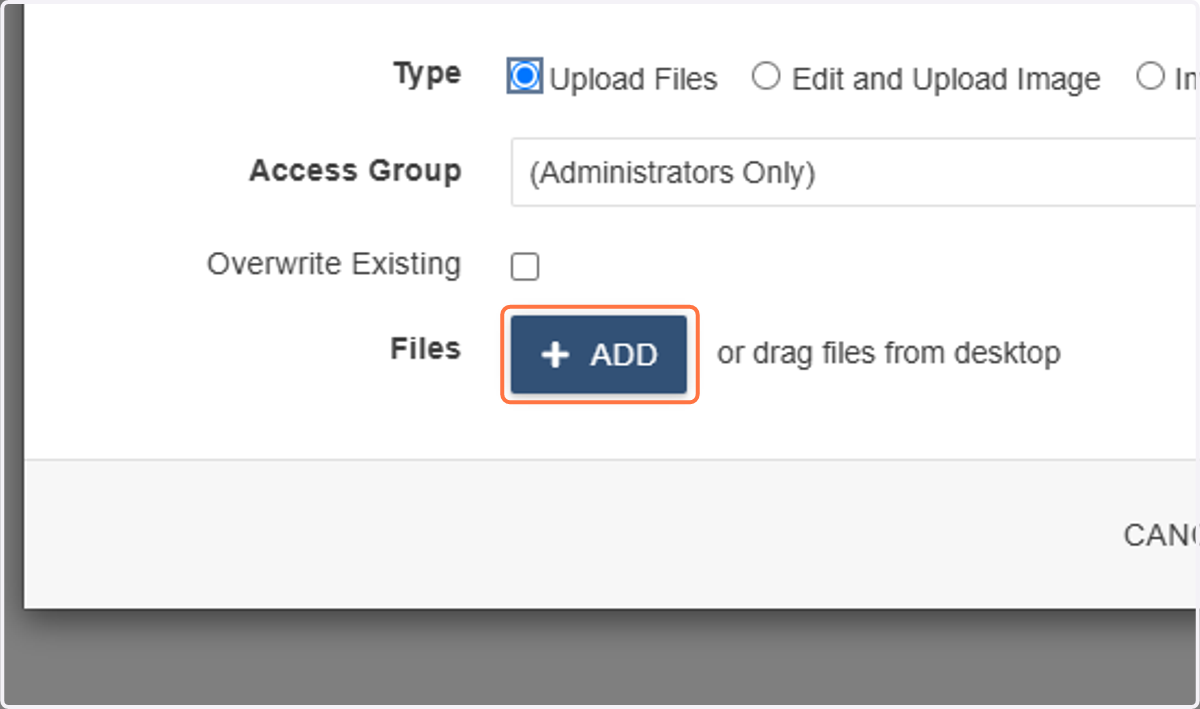
3. A pop-up will appear. Click on Add Files to find your file on your computer, or drag and drop your file into the box.
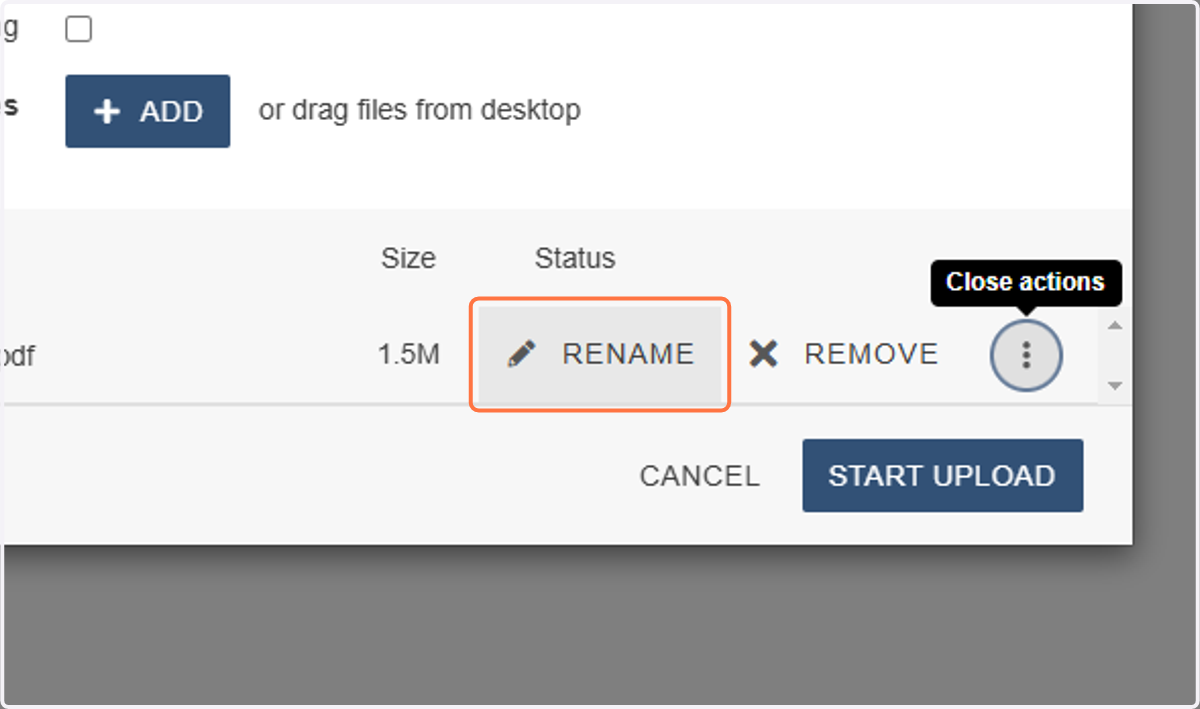
4. If needed, you can click on "More actions" menu to rename the file.
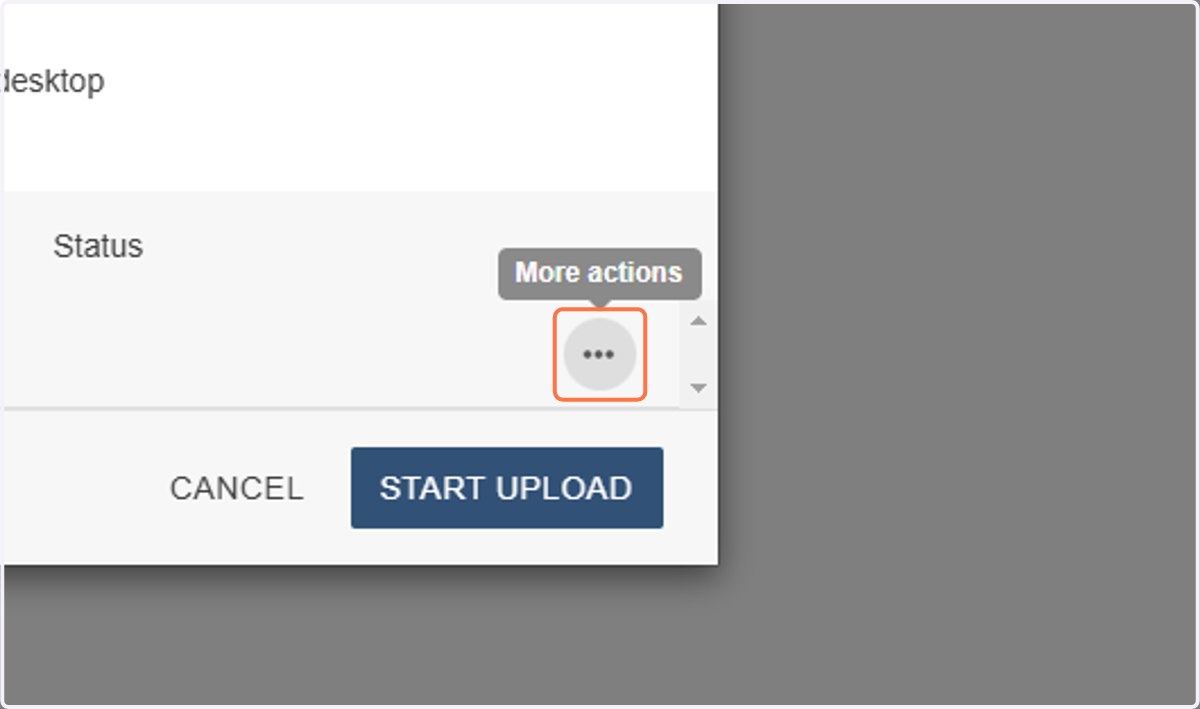
5. Renaming the file is a good idea if you have extra text like FINAL or a date included, if there are disallowed characters like parentheses, if you want to make the name more recognizable, or if there is another file with the same name already.
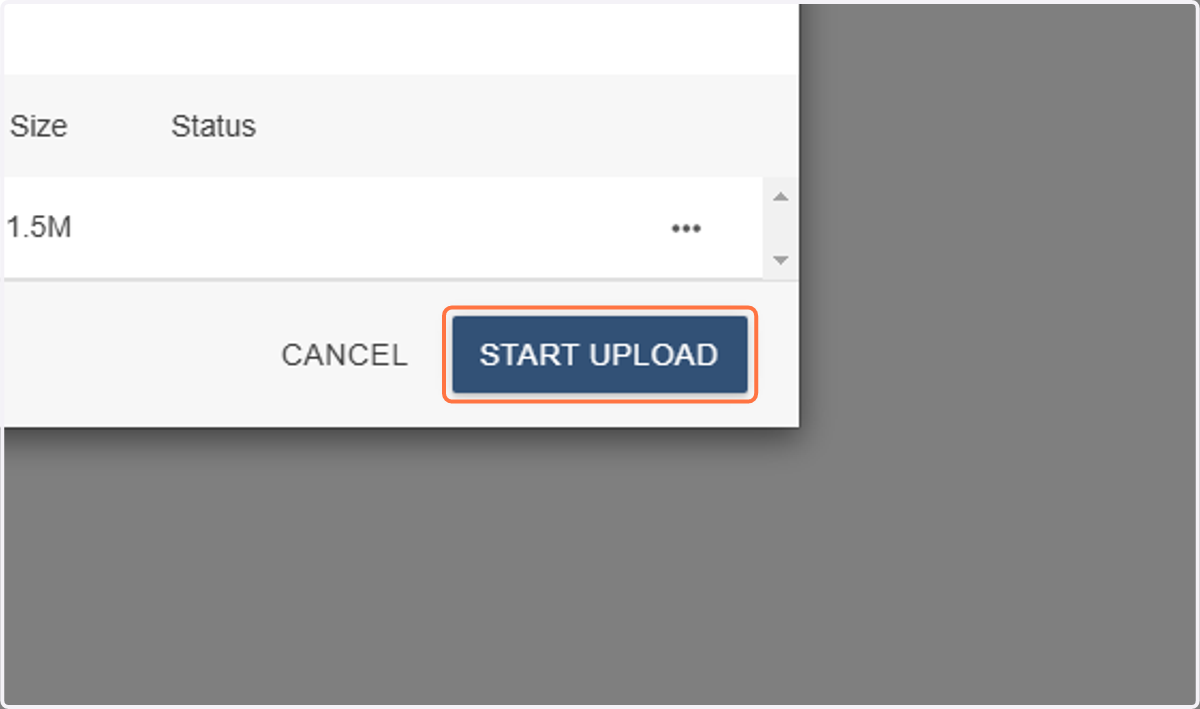
6. Click on START UPLOAD.
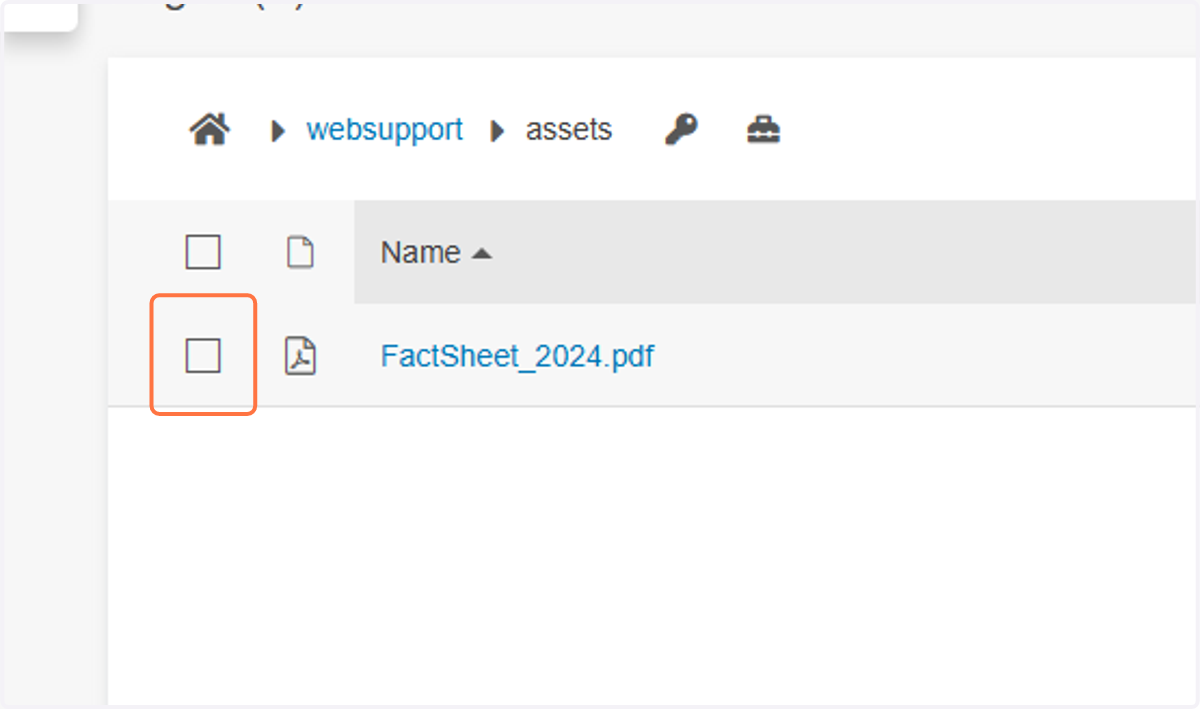
7. Your file is uploaded, but not yet published. Click the checkbox to the left of your newly uploaded file to select it.
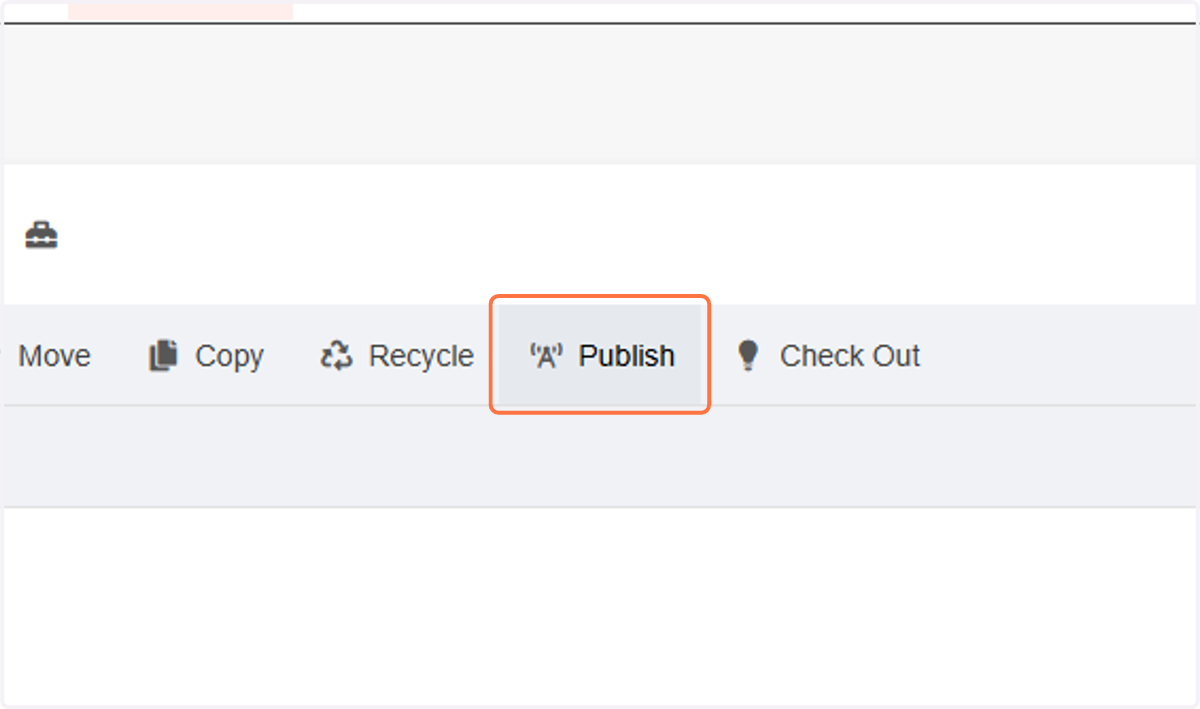
8. Click on the Publish option that appears in the top menu.
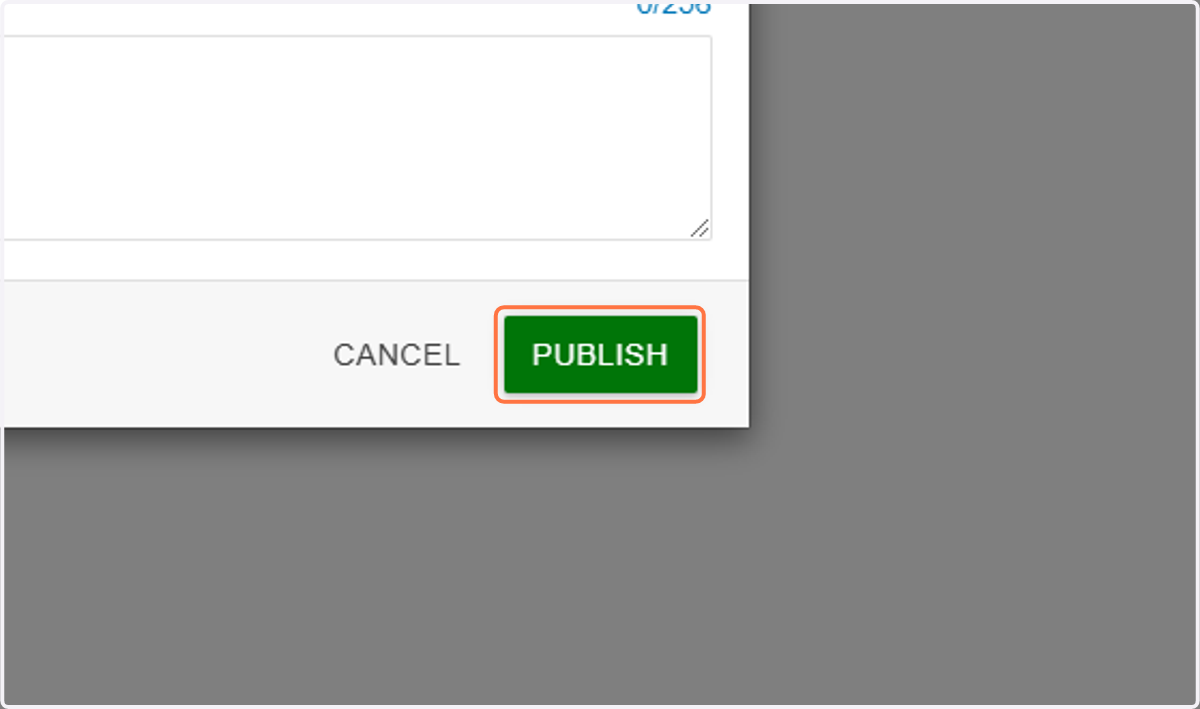
9. Click on the green PUBLISH button in the pop-up. Now the file is publicly available on the web, and you can link to it on your webpage.
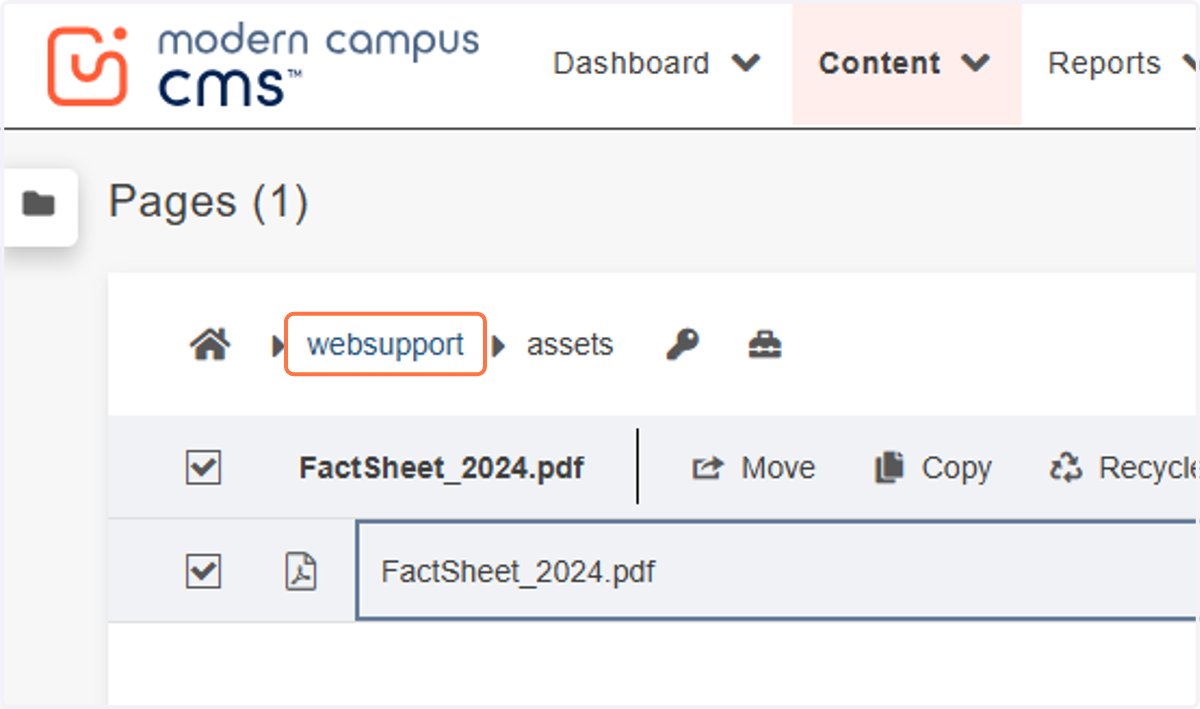
10. Now you can go back to your folder and add it into your page.
11. Once you are back on your page and in the page editor, highlight the desired text you want to link the file to and click on Insert/edit link in the menu bar.
Don't forget that the link text needs to be descriptive about the file. Do not use "click here", "this link", "download here" or similar general language.
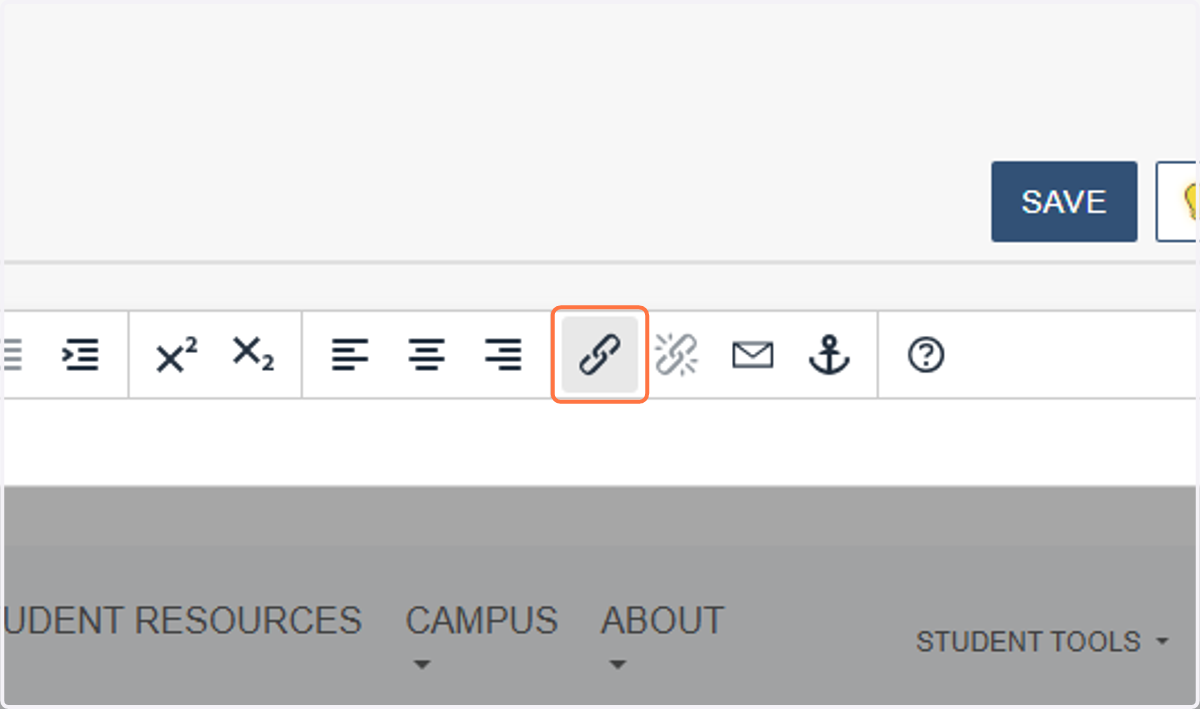
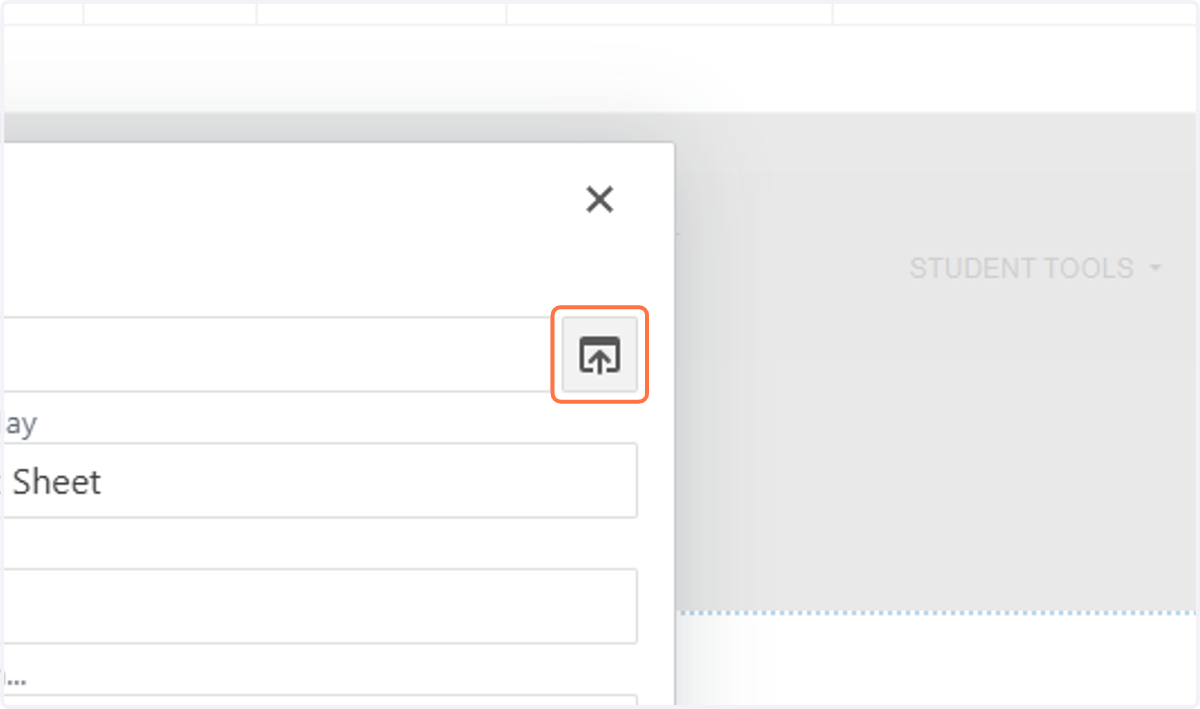
12. In the pop-up, you can use the highlighted icon to easily find your newly uploaded file in our file system.
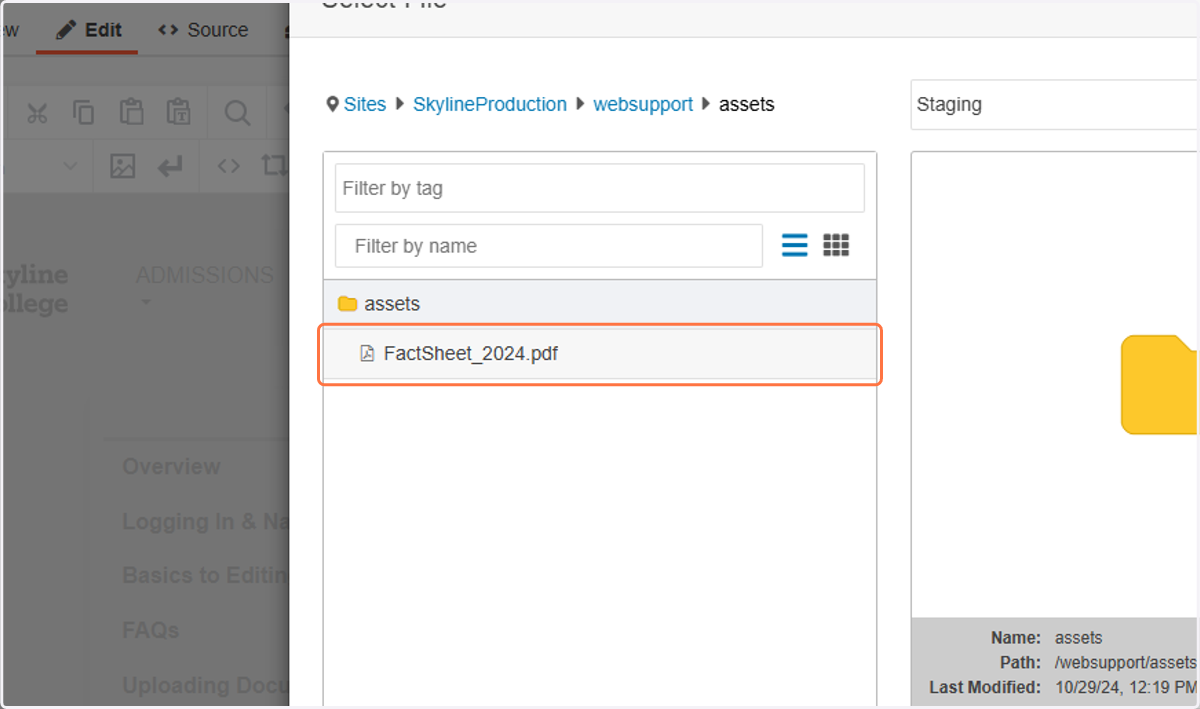
13. Go to the assets folder and find your file. Select the file, and click the blue 'insert' button that will appear.
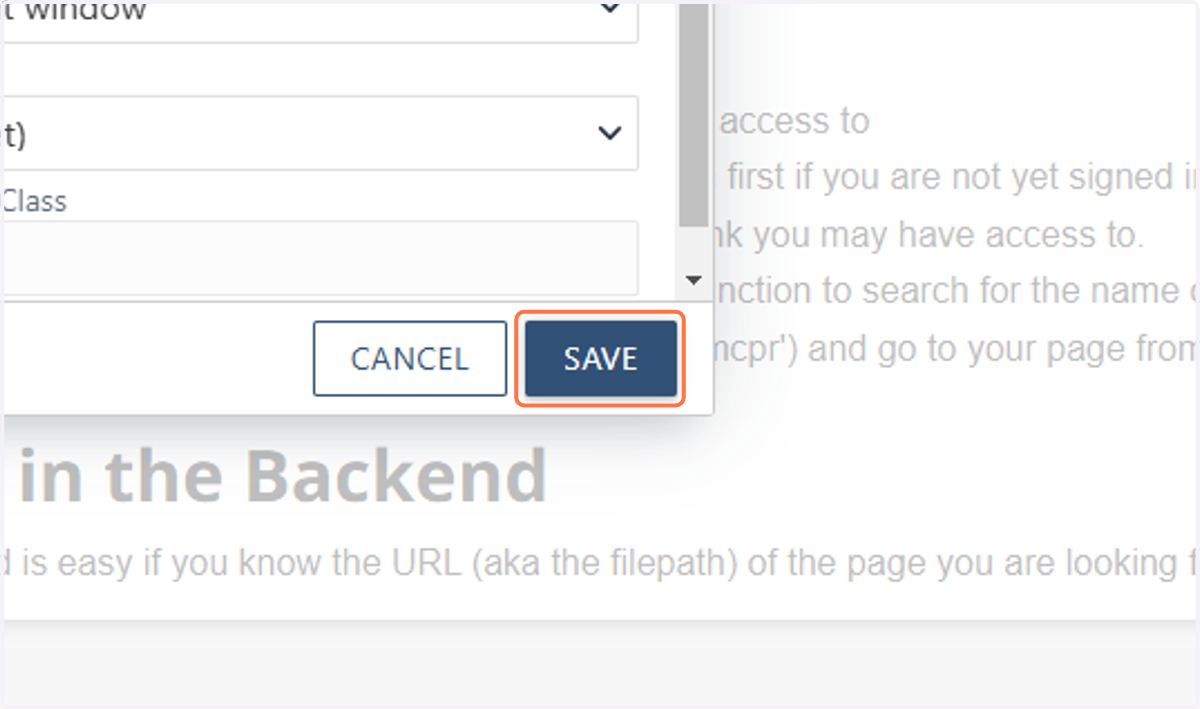
14. Save.
15. Now your file is linked!