Check your images
This tutorial will show you how to check your images for accessibility using the Accessibility Checker. You can move through the tutorial at your own pace using the NEXT button below.
Gpsurgery
1. When you are using the page editor, you'll see the blue Accessibility Checker button in the bottom right hand corner of the main text box.
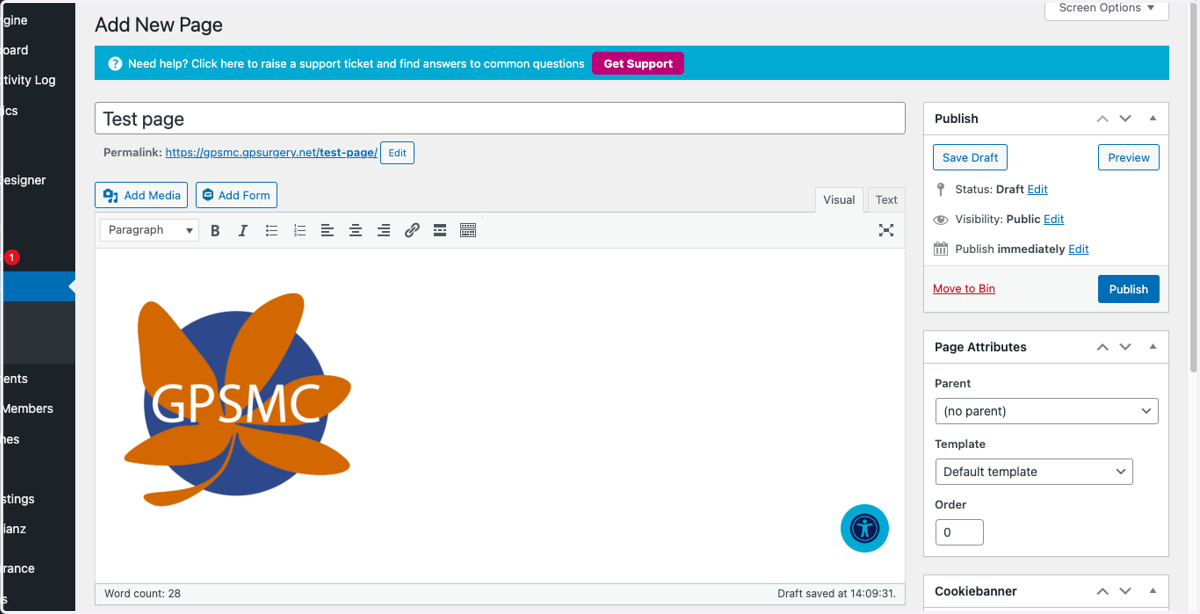
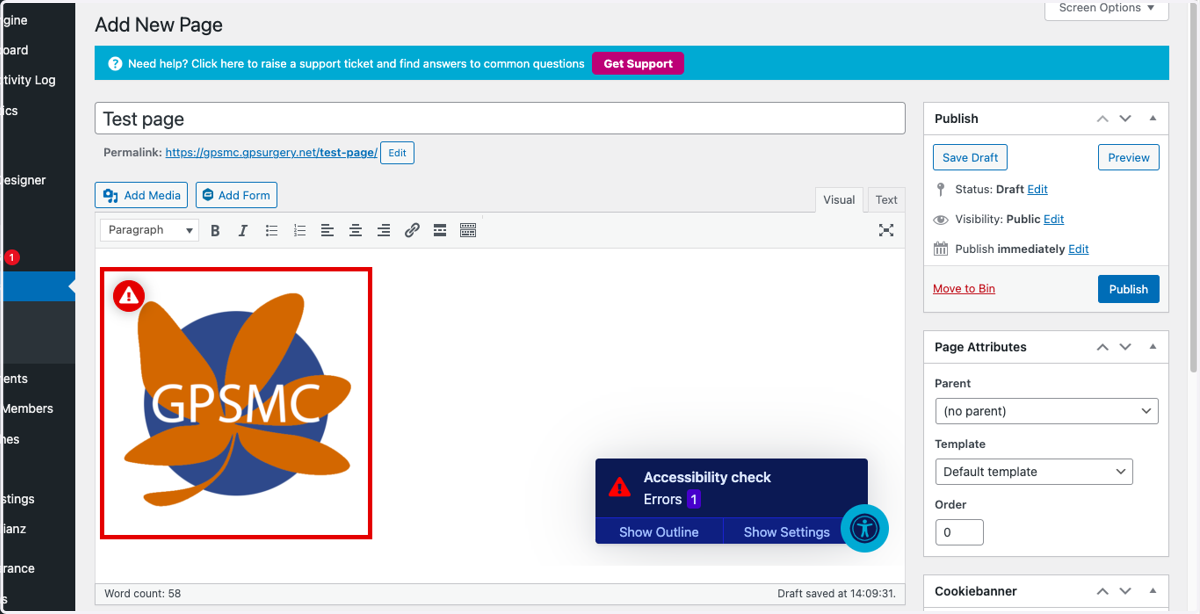
2. To check your images, click the Accessibility Checker button. Any errors on the page will be highlighted in red.
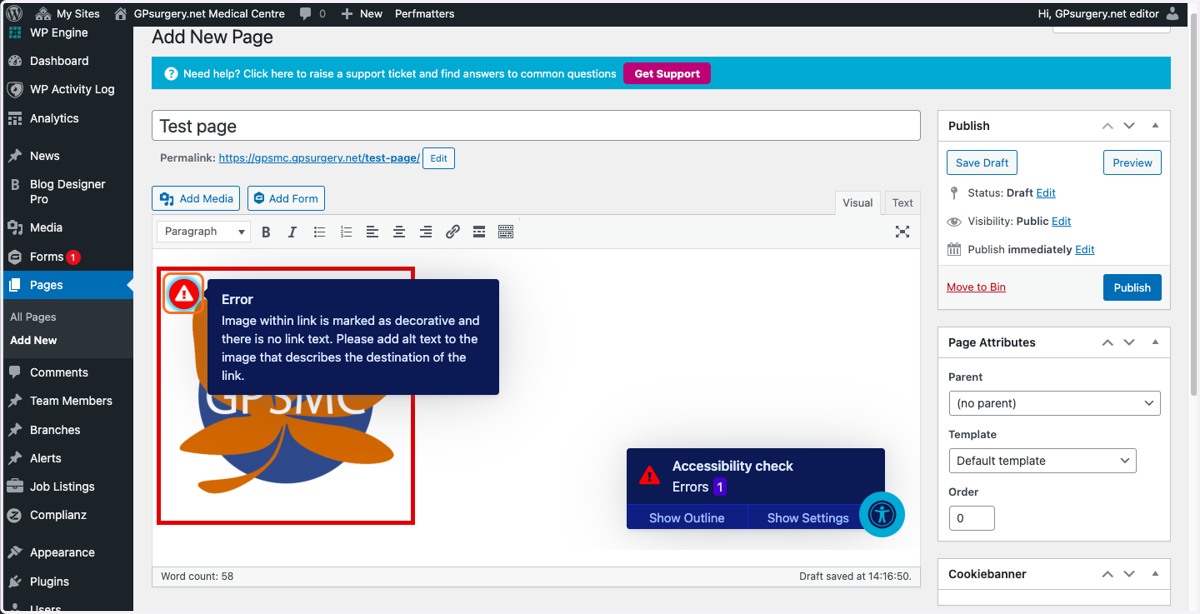
3. Click on the error for more information about the issue, and use this information to correct the problem.
Gpsurgery
4. When you've made your changes, click the Accessibility Checker again to ensure that you haven't missed any issues.
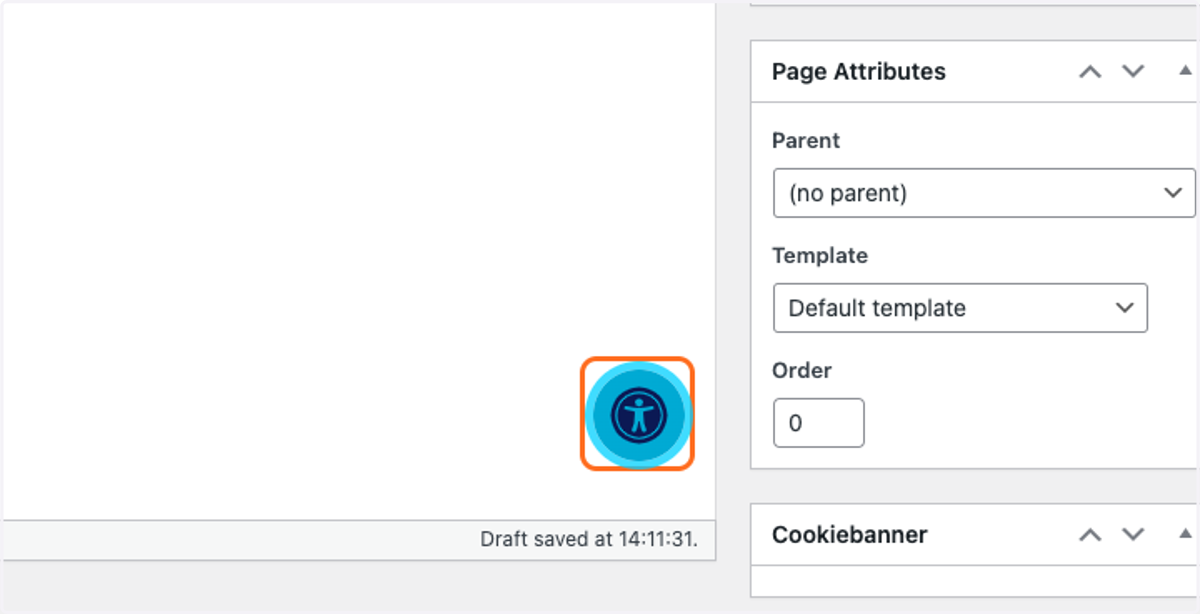
5. If you've fixed all the issues, the checker will show with a confirmation message.
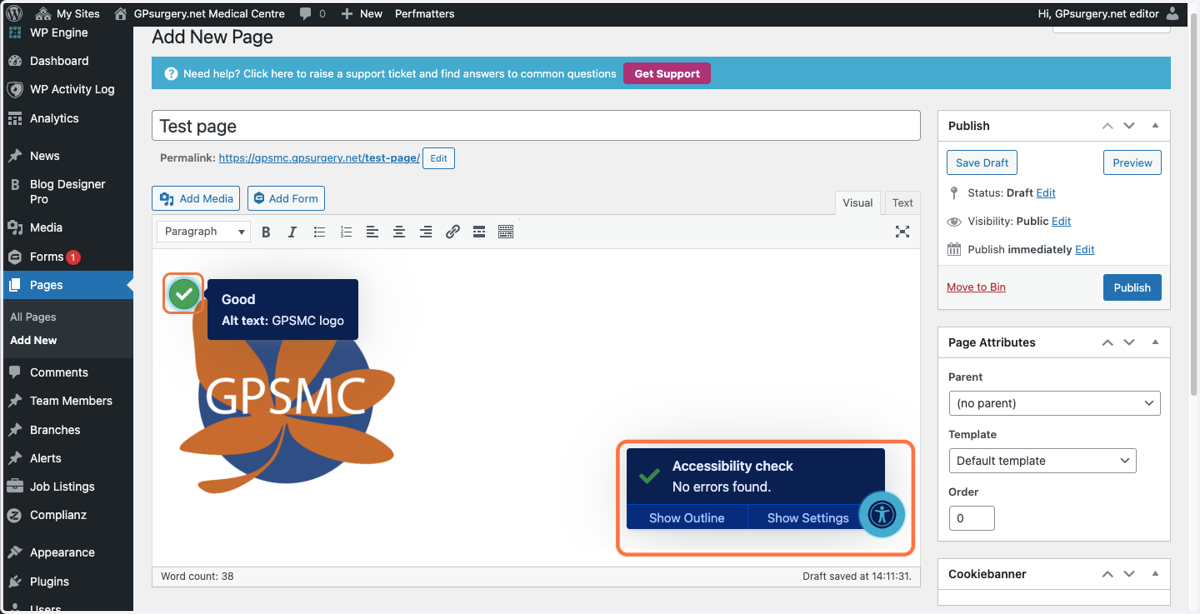
6. Remember: images should only be used where they are directly helpful to the patients. These images should also be accompanied with alt text that describes the purpose of the image.