Webassessor Item Creation
Create your items
1. Log into Webassessor and navigate to Assessments. Select on "Item Banks" in the drop down menu.
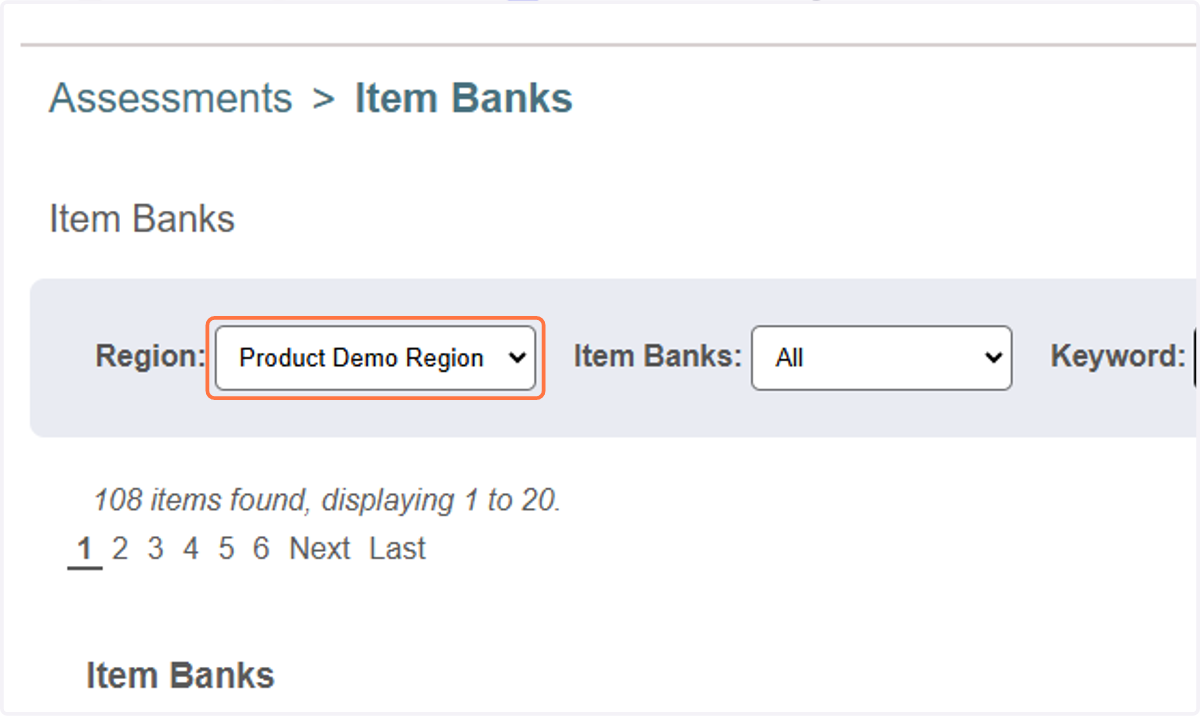
2. Select the region that you would like to create your items in, if applicable.
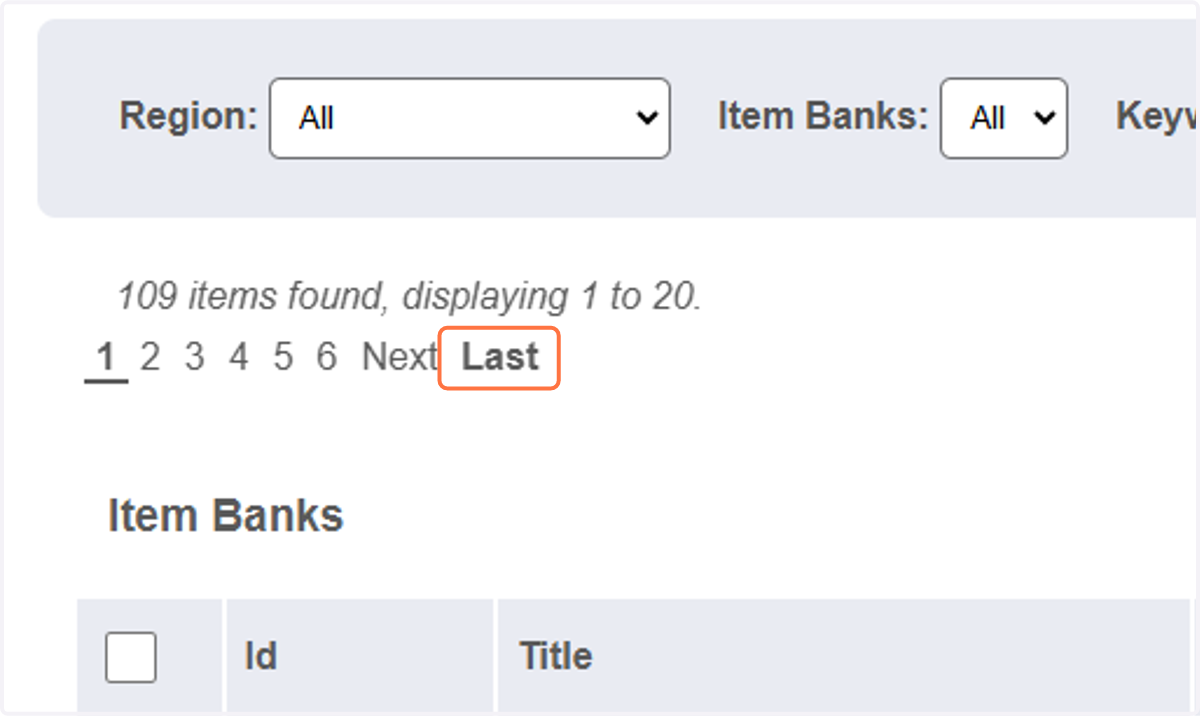
3. To start creating items, navigate to the item bank folder that you would like the items nested under.
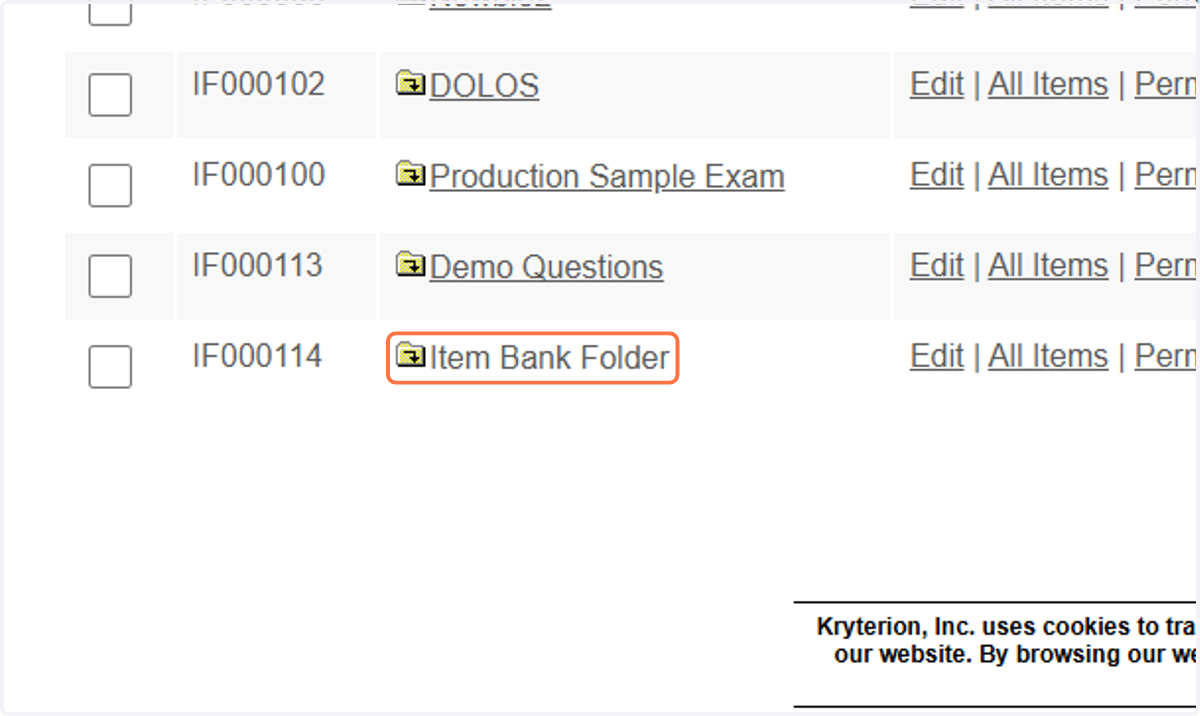
4. Click on the item folder name.
5. Click on 'New Item'.
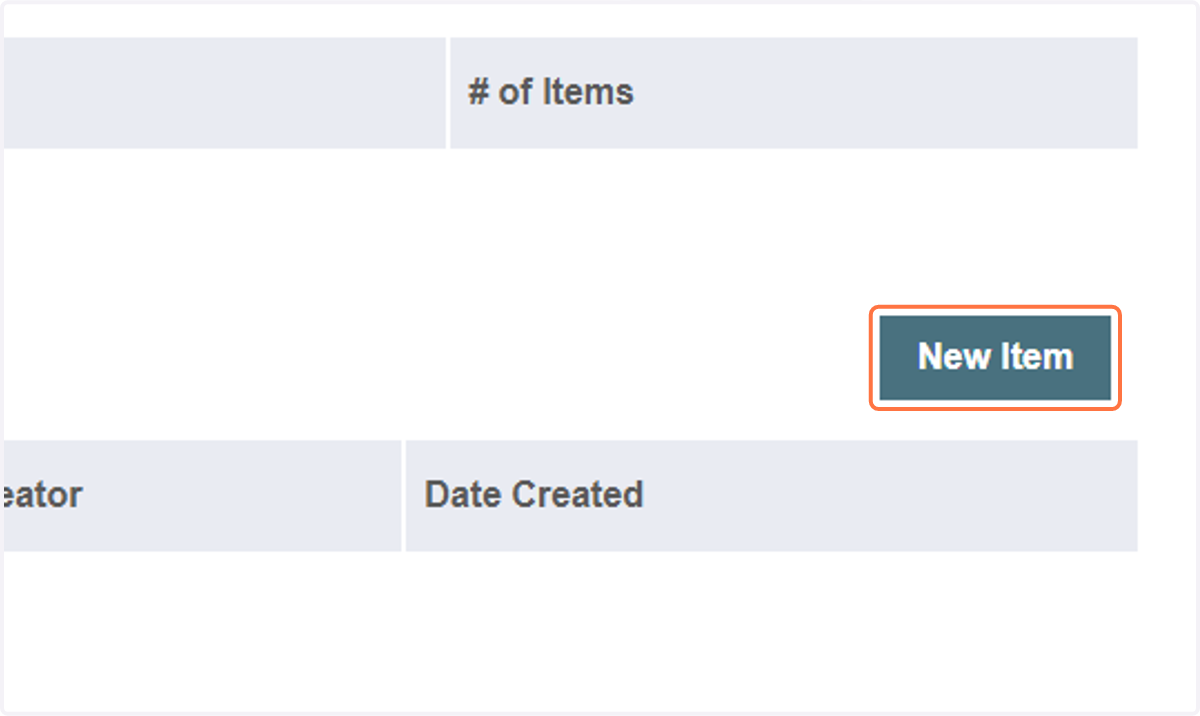
6. Select the item "Type" that you would like to apply to your new item.
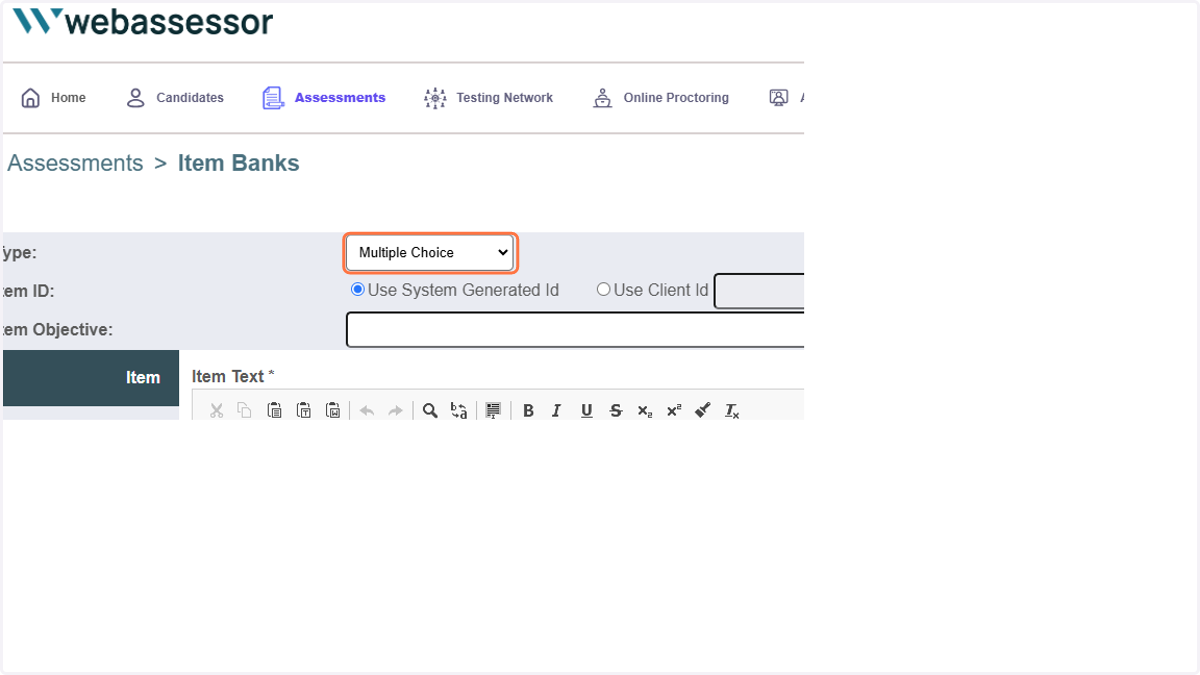
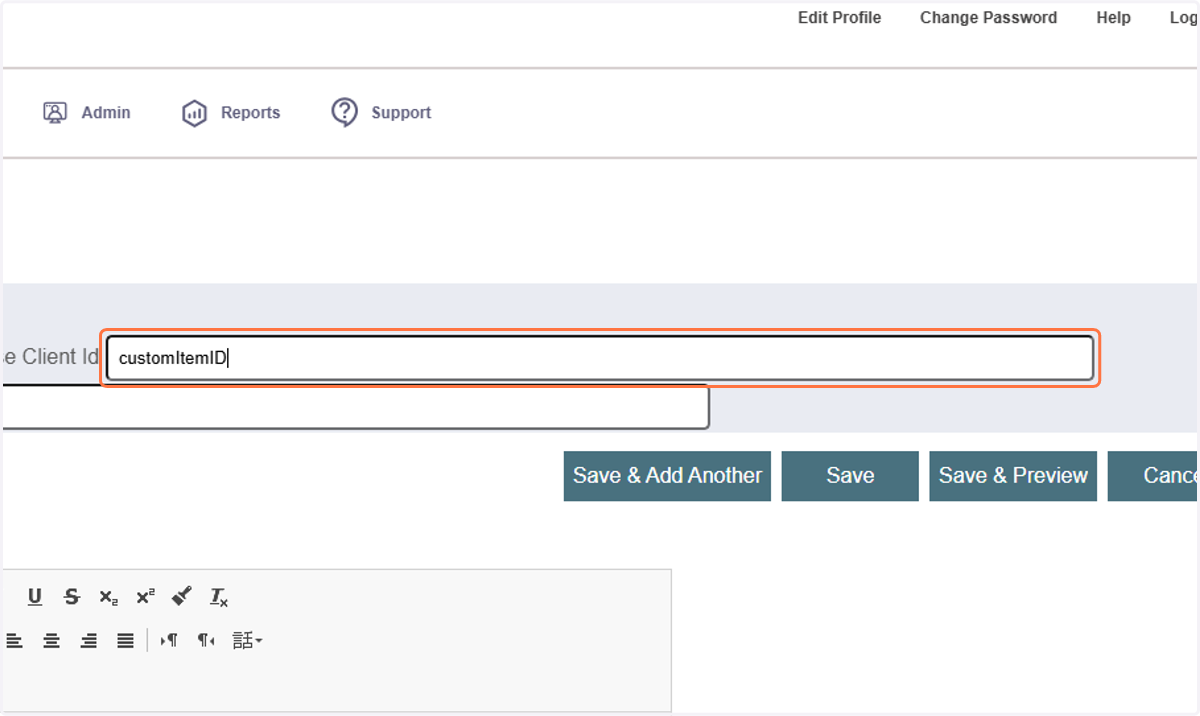
7. Optional field: 'Use Client ID' is an optional item ID field.
8. Optional field: Type the name of your 'Objective'.
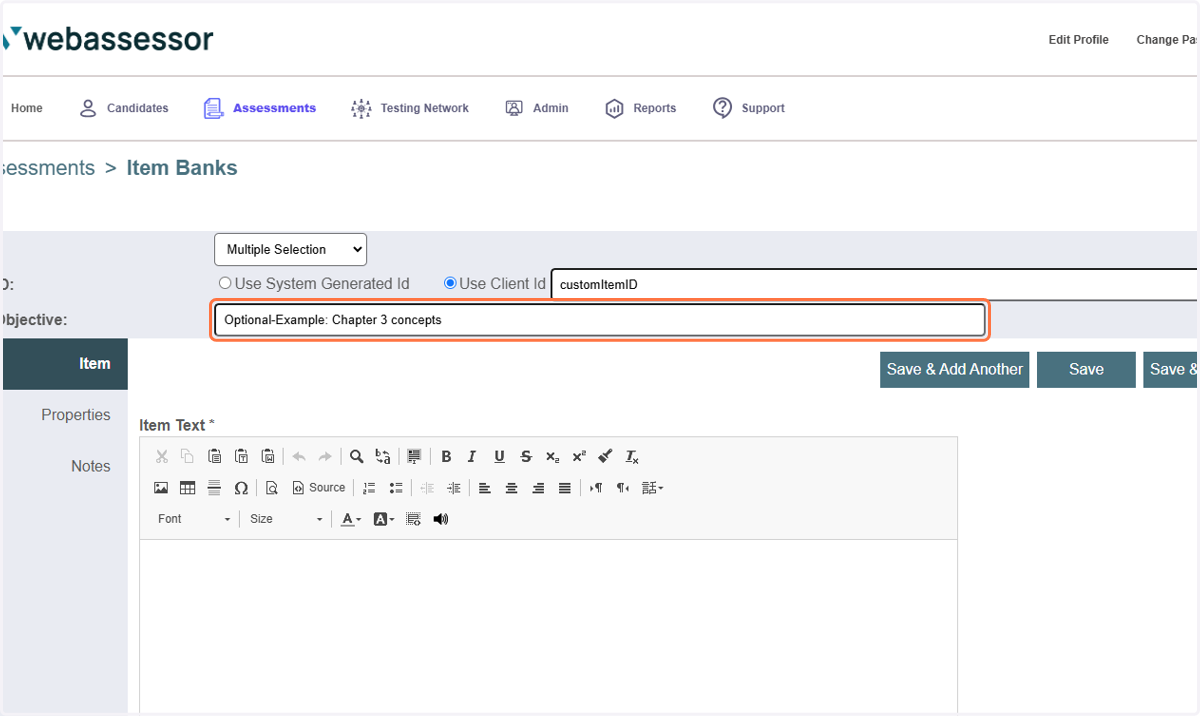
9. Write your item stem/question in the open field.
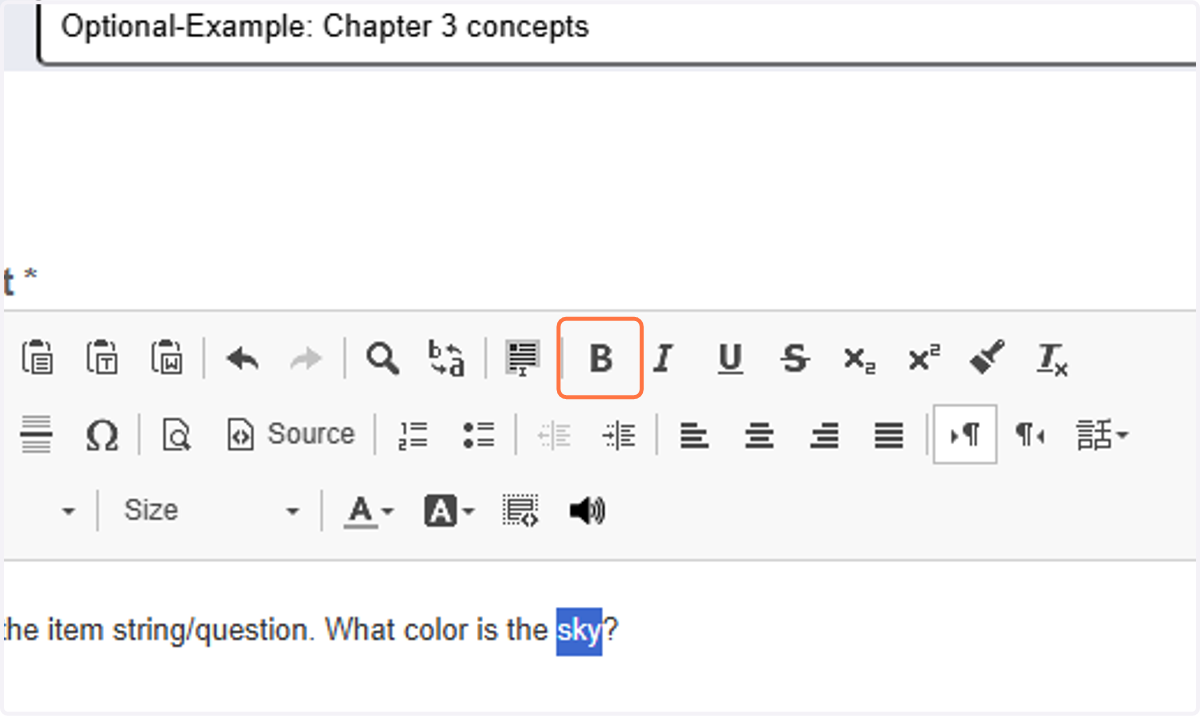
10. Additional options when using multiple select item type.
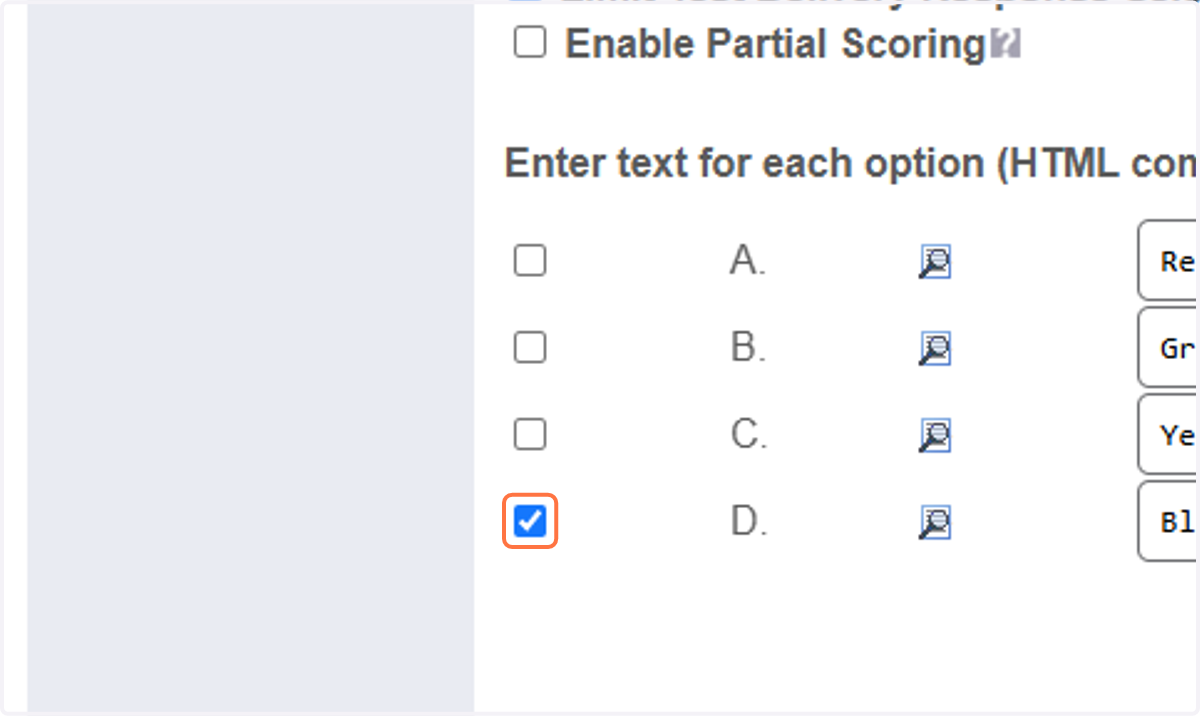
-Limit the candidate responses to the exact correct number of responses by enabling ' Limit Test Delivery Response Selection to the Total Number of Correct Responses'.
-Enable partial scoring gives candidates a partial credit for each correct response.
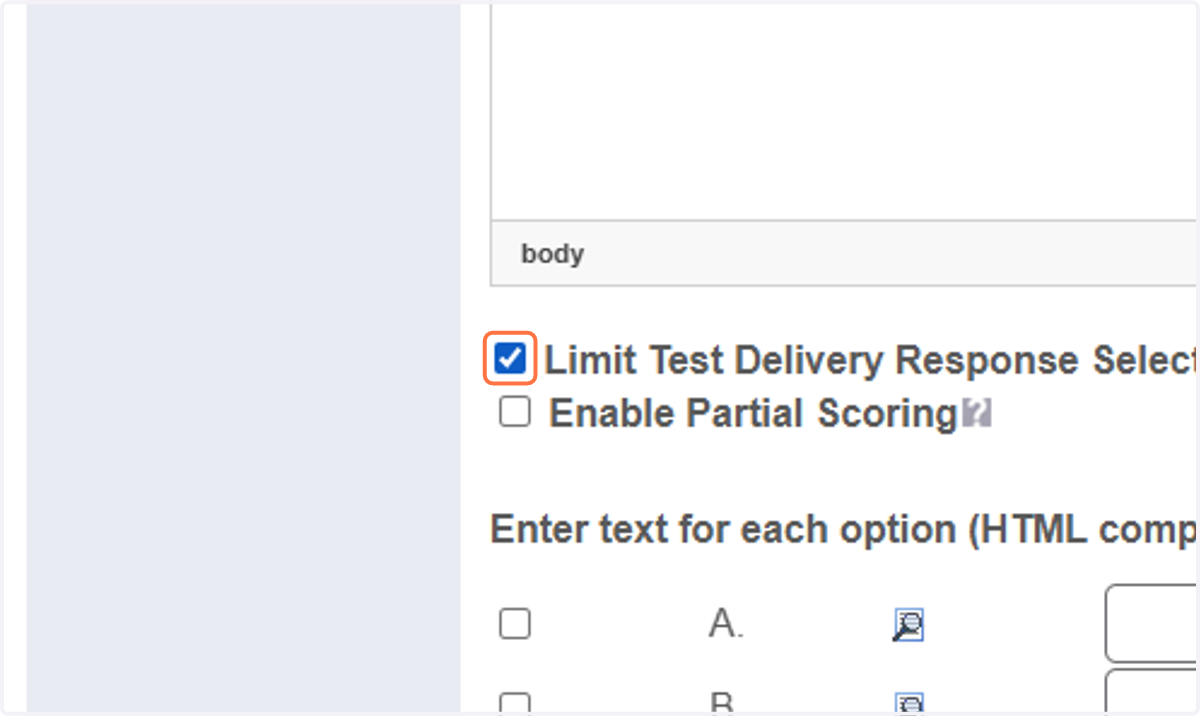
11. Select the amount of responses options.
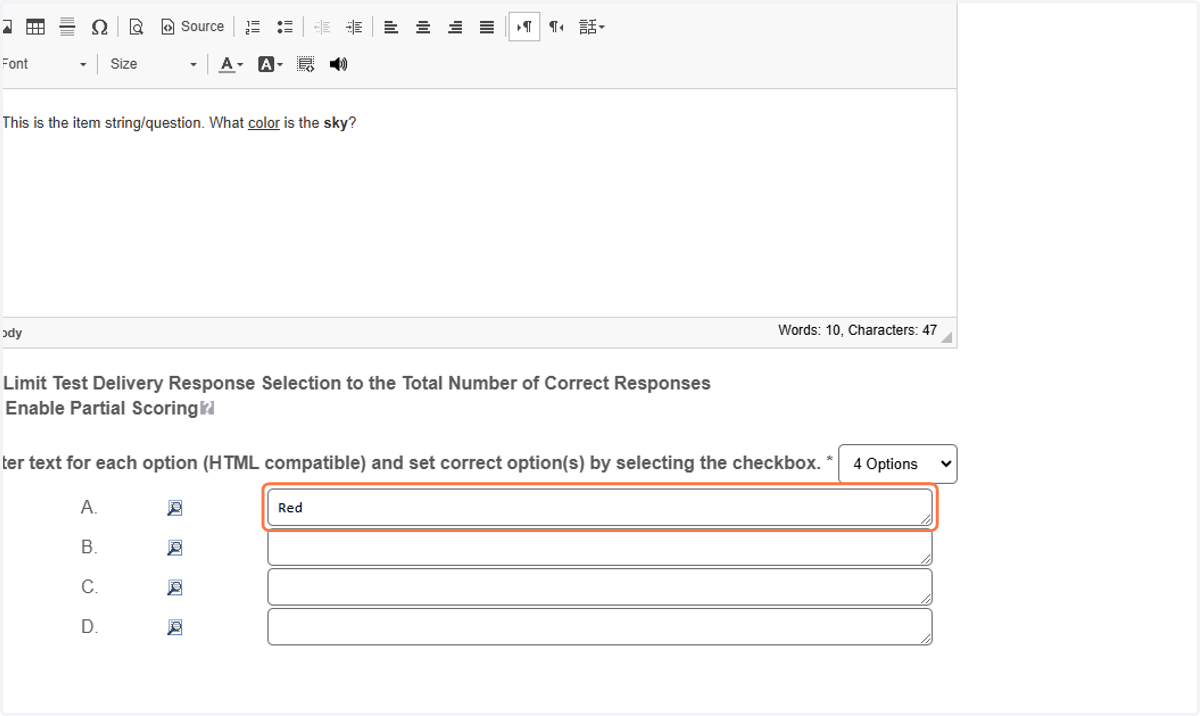
12. Click on 'Enter text' for each option (HTML compatible).
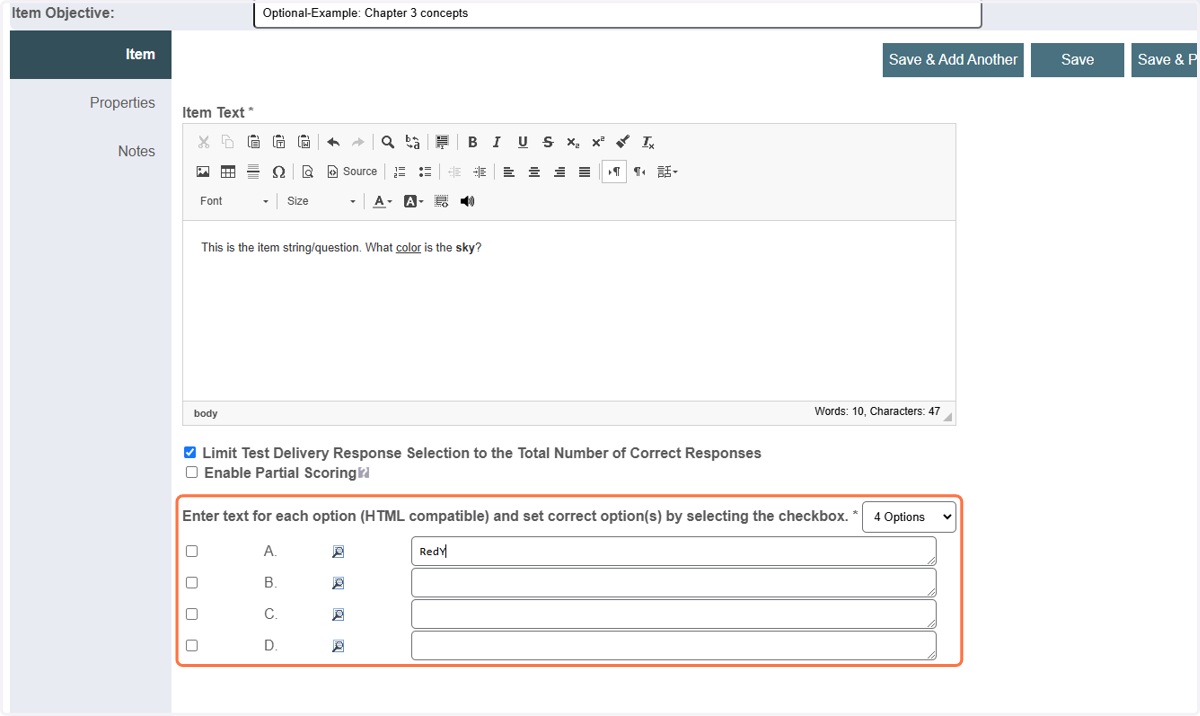
13. Set correct option(s) by selecting the checkbox left of the response option.
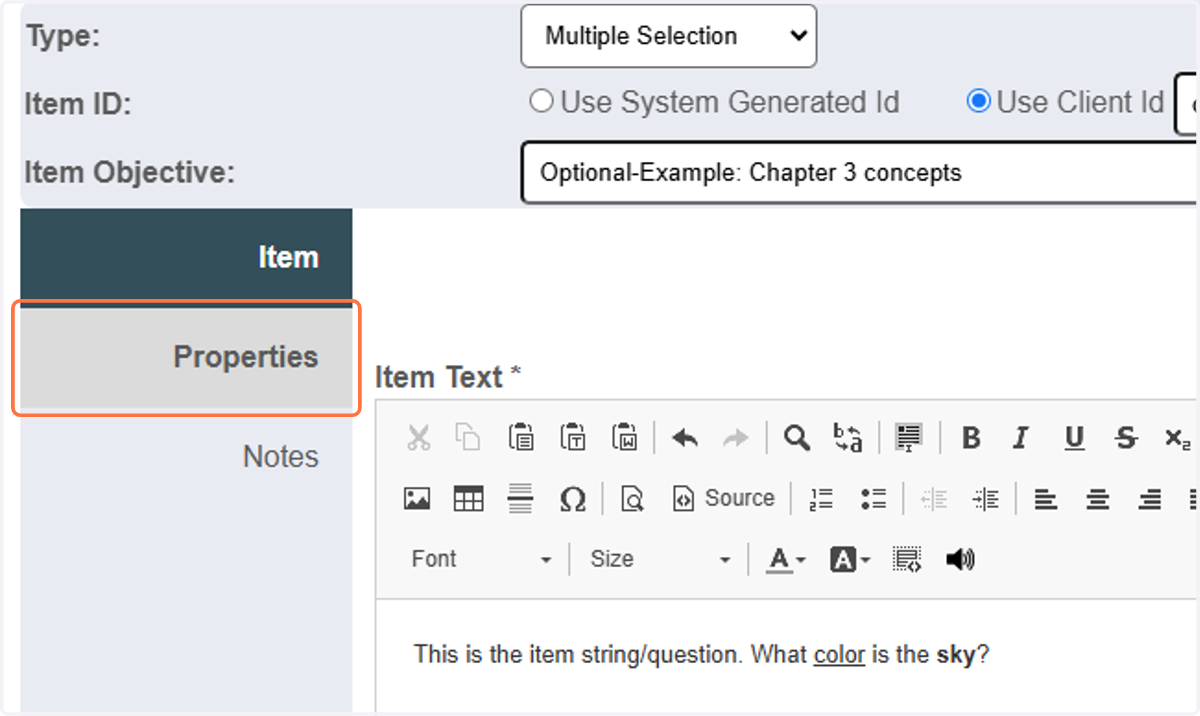
14. Click on 'Properties' tab on the left pane.
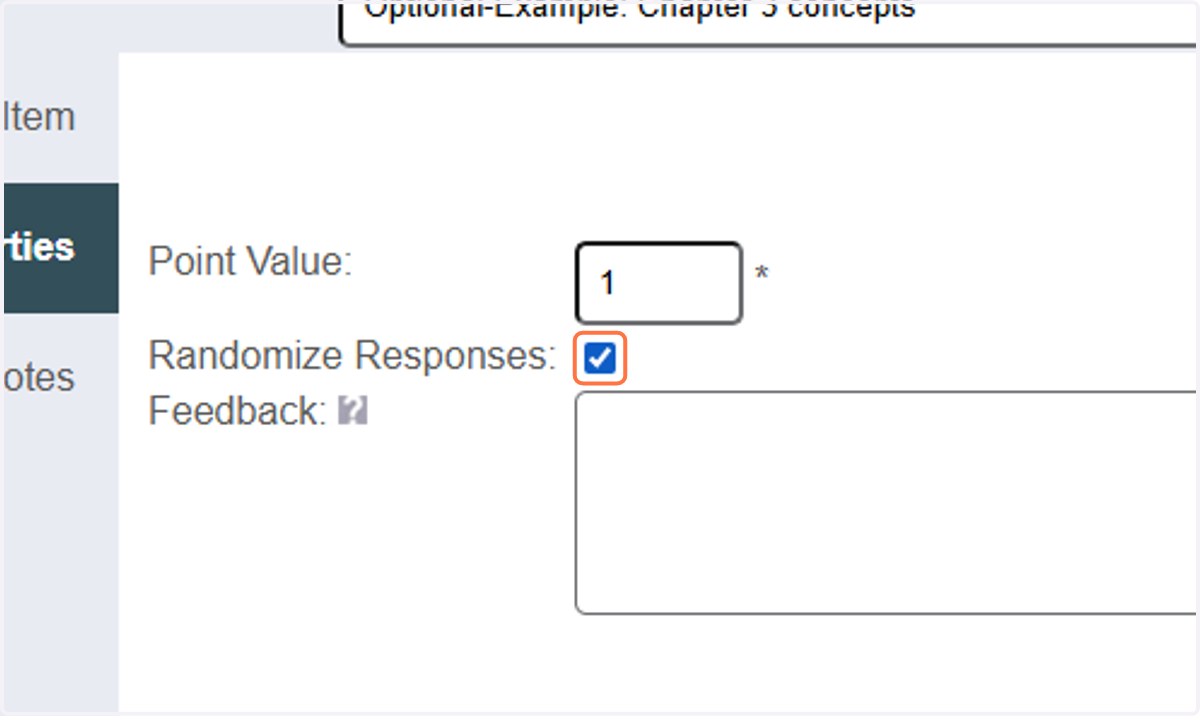
15. Set the item point value set response randomization.
-Set the item point value.
-Enable "Randomize Responses" if you want the responses to automatically randomize when being delivered.
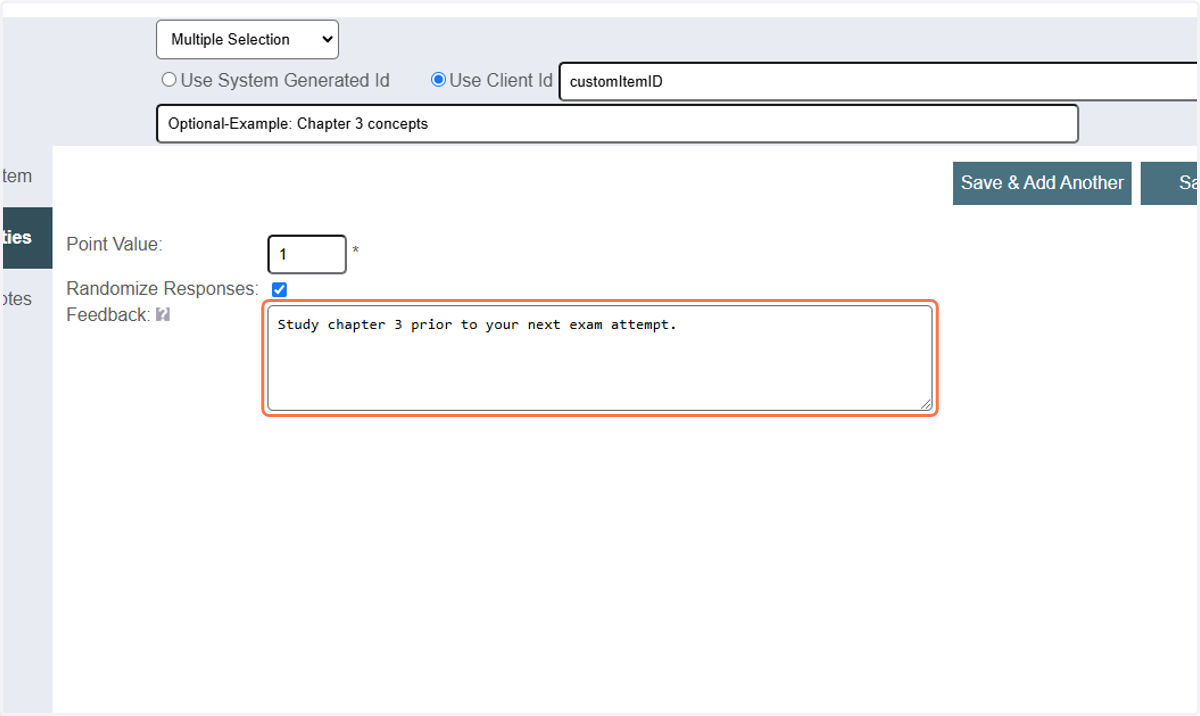
16. Optional field: Provide 'Feedback' on items.
If you would like for candidates to view 'Feedback' after exam completion, enter content in the 'Feedback' text field. *To have this show, it is enabled on the test form level as well.
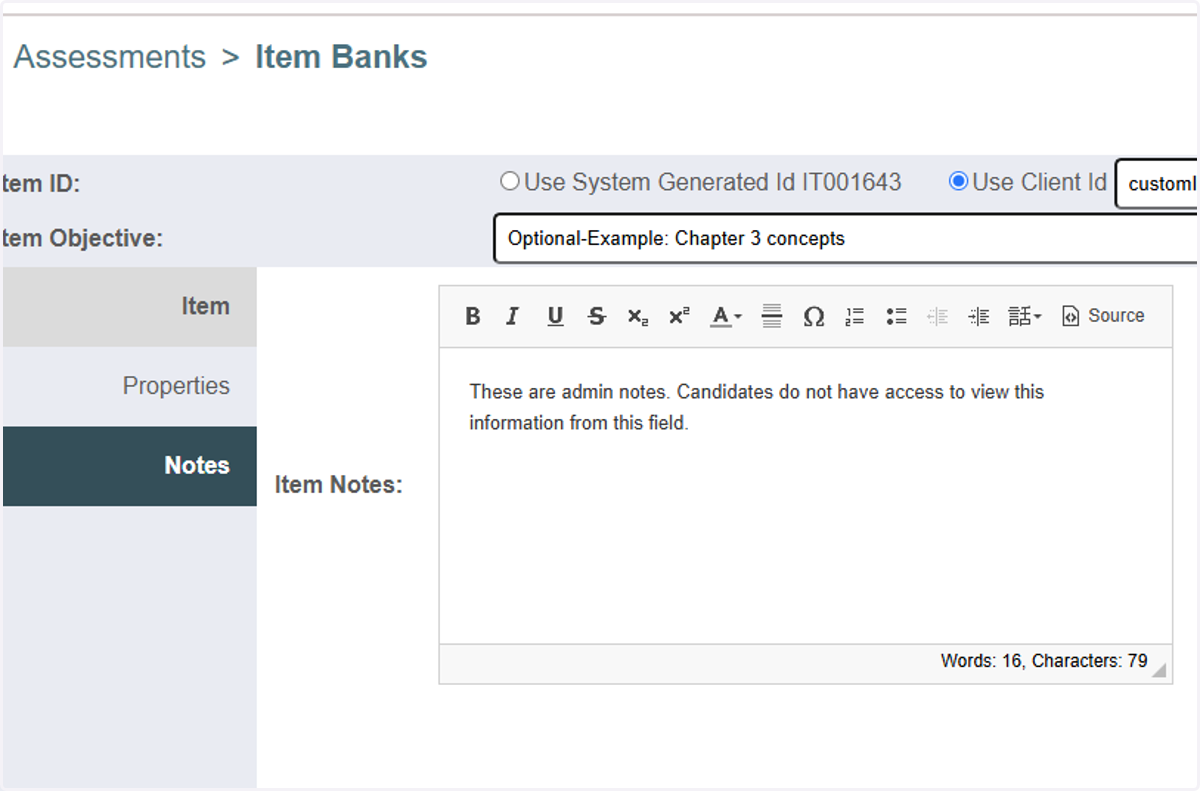
17. Optional field: Add administrative notes to your item.
Select on 'Notes' tab on the pane to the left and enter any item notes that you may want to track. This is optional.
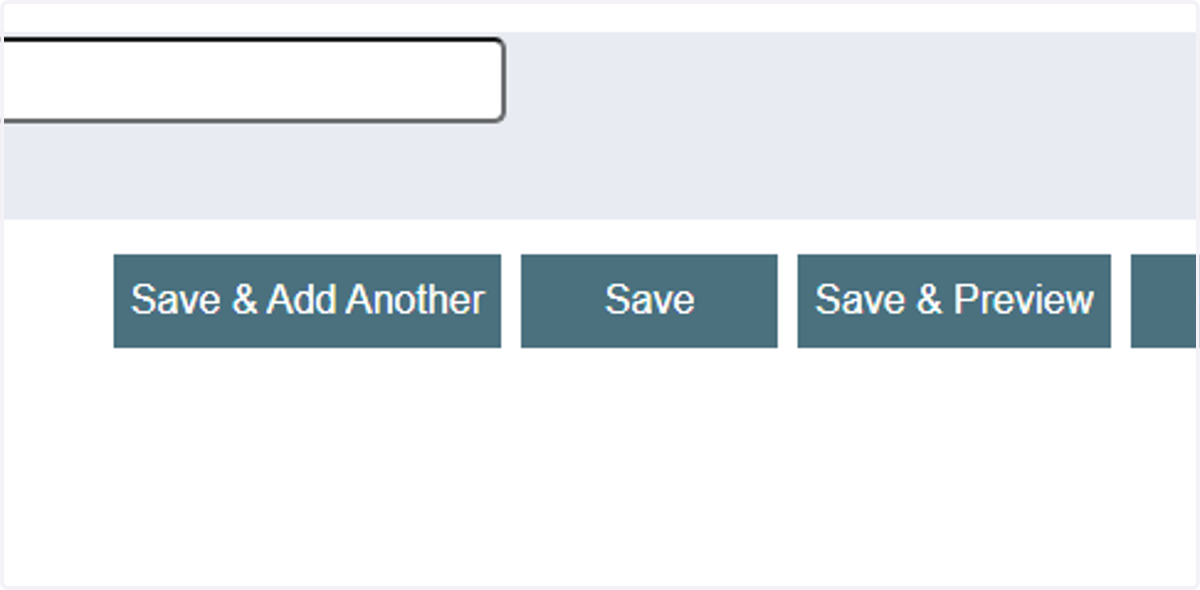
18. Click on one of the save options.
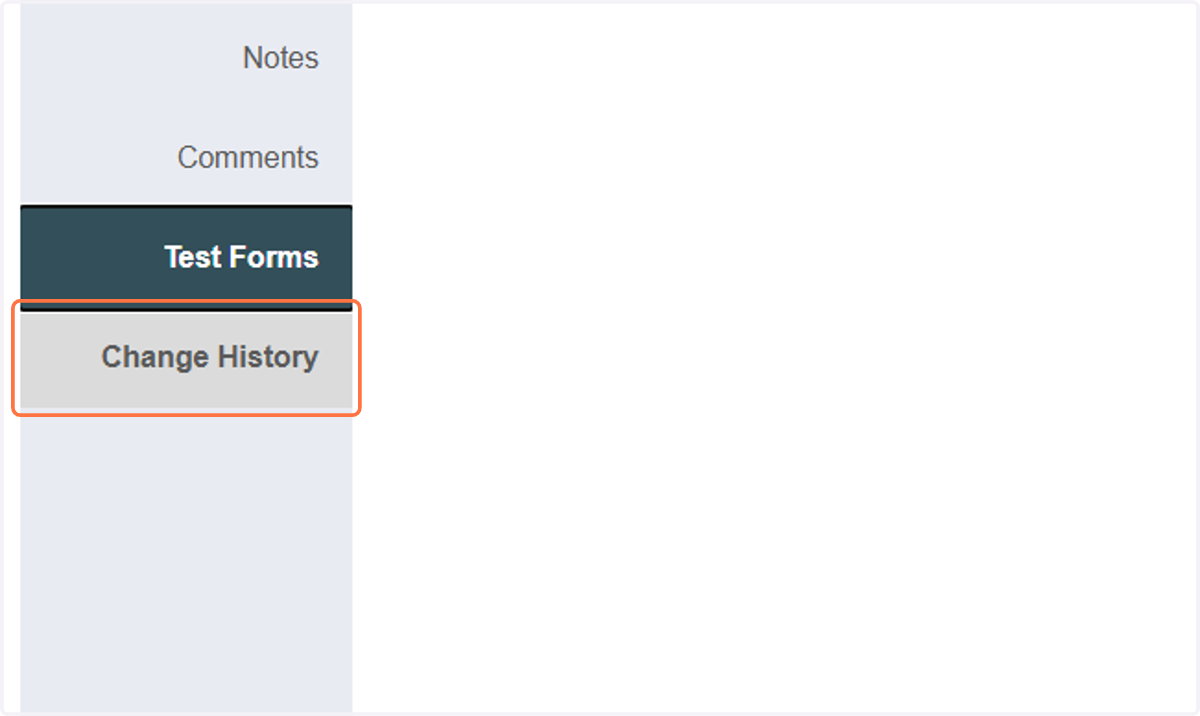
19. After an item is saved, you will notice the 3 additional tabs on the left pane.
-Comments: This page will populate on once candidates provide item comments, if enabled on the test form.
-Test Forms: This page will display the list of forms the item is currently assigned to.
-Change History: This page will display a log of item edits.