Main Page Description
In this tutorial, we will describe the main page of QScan and the options included in it
This page's main purpose is to show the system's summary status, provide shortcuts to some specific actions, and provide information about the files.
From the main page, you can:
Launch QC jobs using Quick Analysis
See all running QC jobs
See all queued QC jobs
See all finished QC jobs and access their reports and some additional tools such as the timeline view for audio and video
Direct access to IMF or DCP packages analyzed in QScan
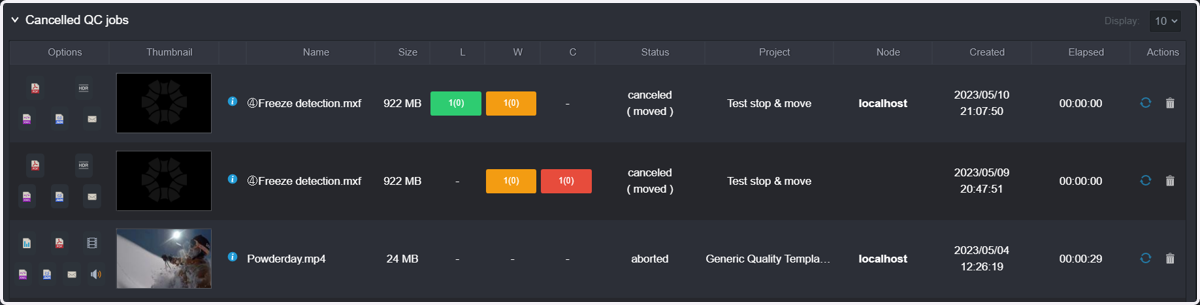
See all cancelled QC jobs (due to configured stop actions, manual cancellations, and files in error)
Go to http://localhost:8080/users/main
1. The first option that you can see when entering QScan is the Quick Analysis.
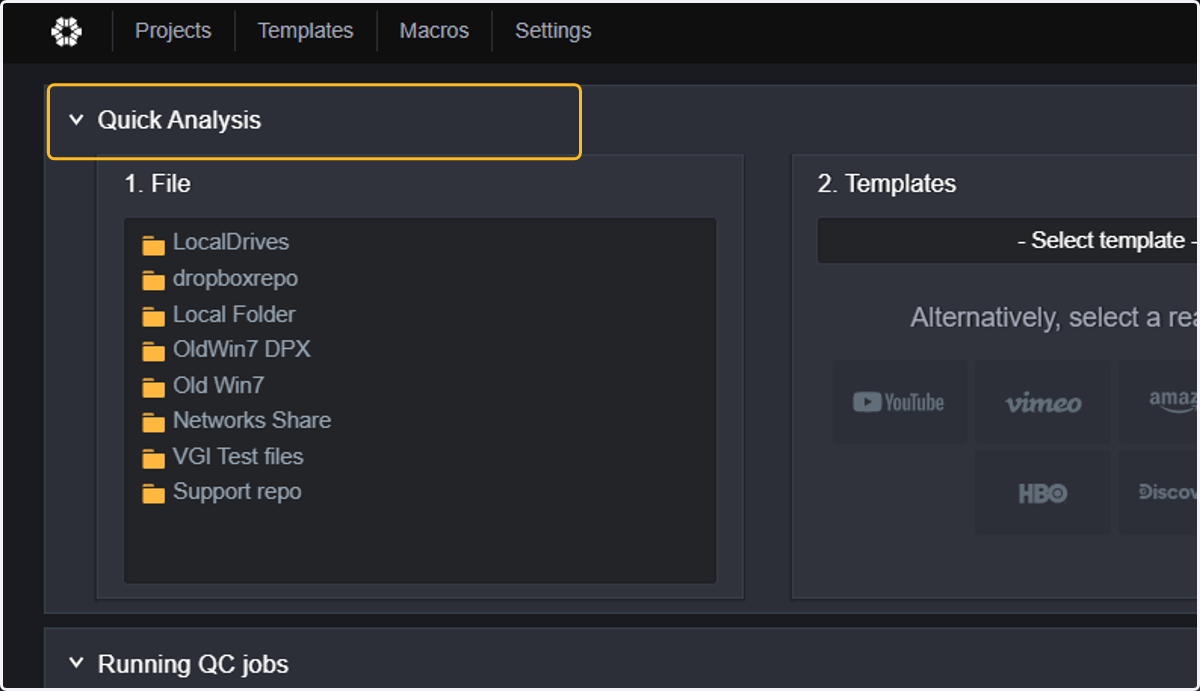
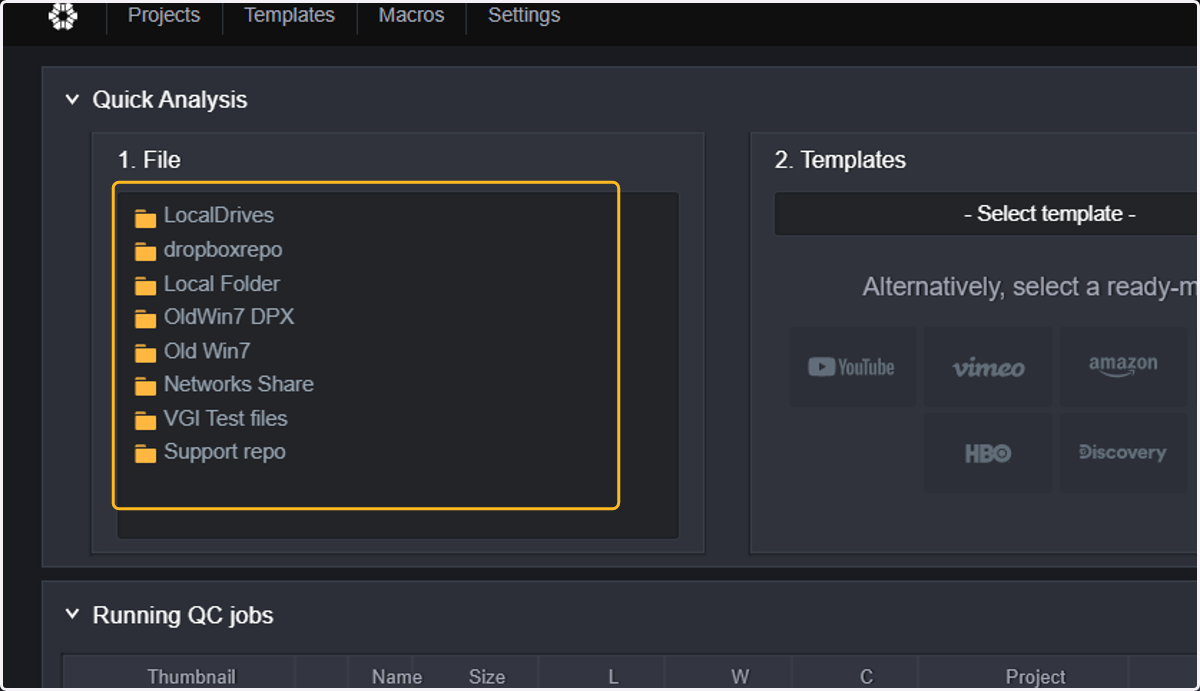
2. To run a quick analysis, you need to first select a file or files by browsing through the list of folders and repositories.
3. Select the files that you want to analyse. The selected files will be added to the Confirm list.
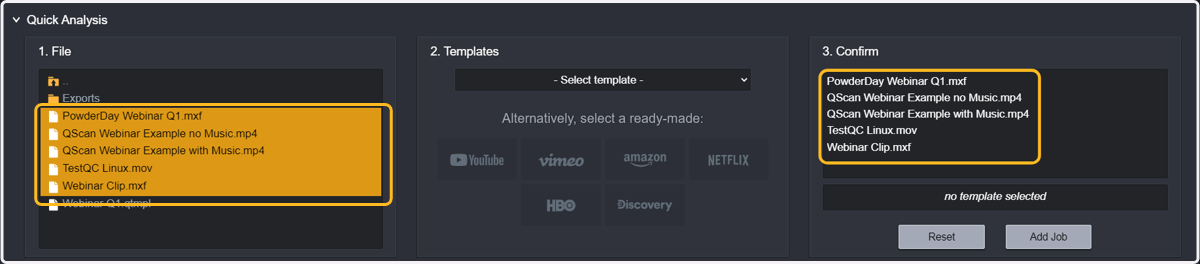
4. Select the template you want to use from the shortcuts or the dropdown list
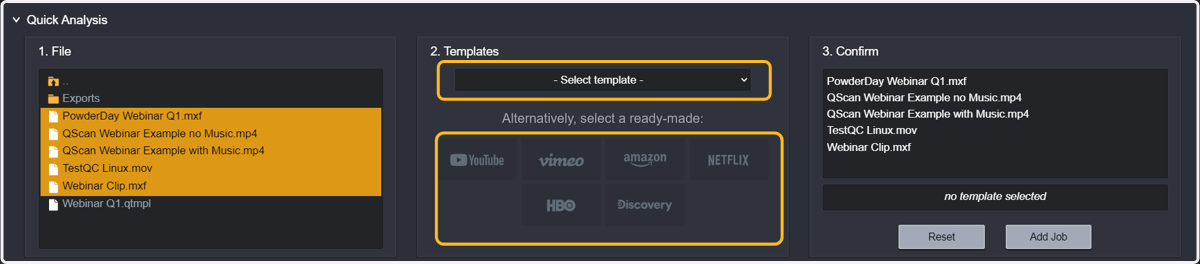
5. Click on Add Job
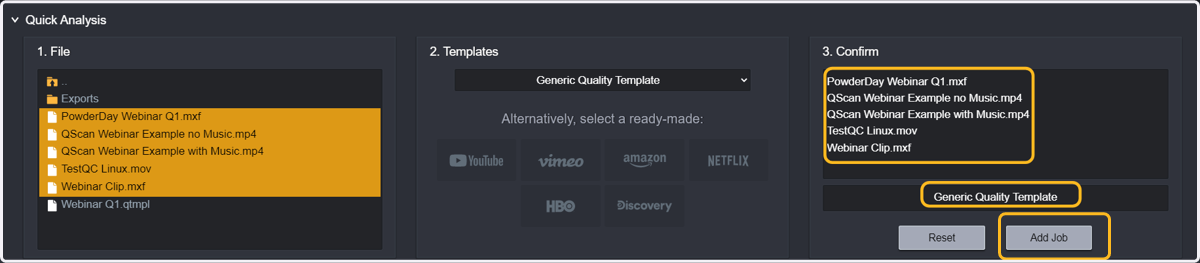
6. Once you click on Add Job, QScan will start analyzing and show the files in the Running QC Jobs list.
Depending on the license you have, files will be analyzed one after the other, or in groups of 2, 4 or more.
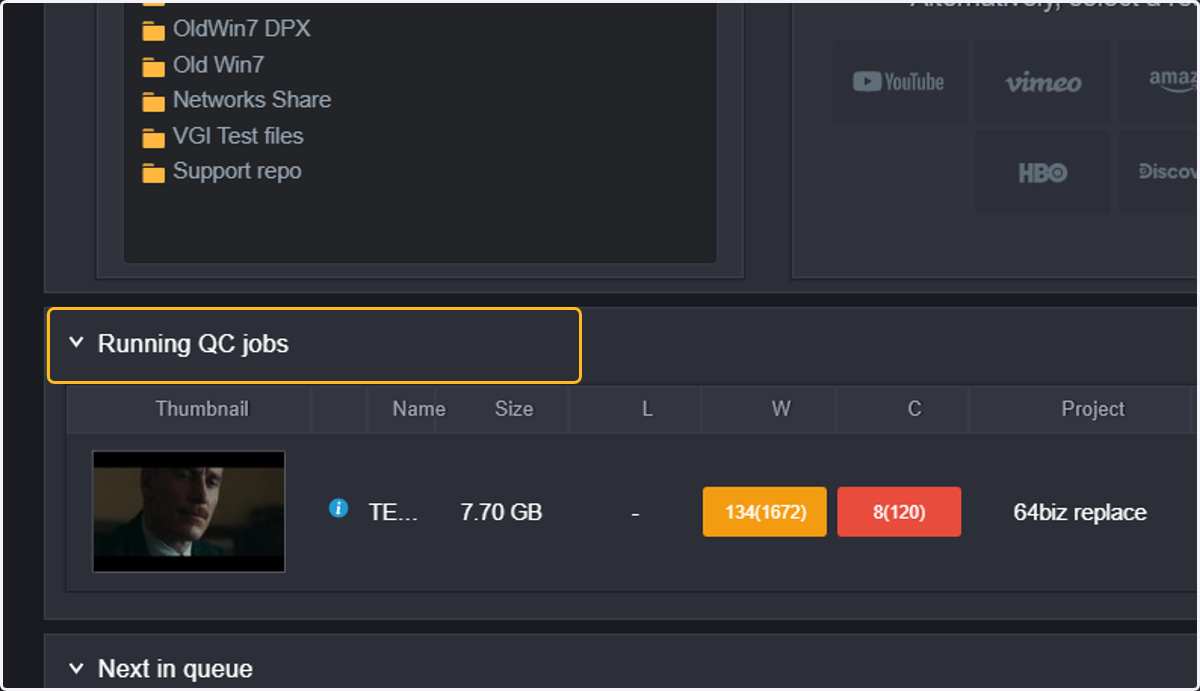
7. Running QC jobs will show some helpful information.
A thumbnail that will change while the analysis is progressing
A clickable file name showing file format information.
An "i" icon will open a new window showing file format information provided by Mediainfo.
The size of the file
Logging (L), Warning (W), or Critical (C) events as they are being detected
A project that the file belongs to (with a direct link to the project contents)
The node where the analysis is taking place
Date and time of the creation of the analysis instance
Progress and ETA for analysis
Elapsed time
Actions: stop or pause analysis

8. If you cannot analyze more simultaneous files due to your license option, the rest of the files will show in "Next in Queue".
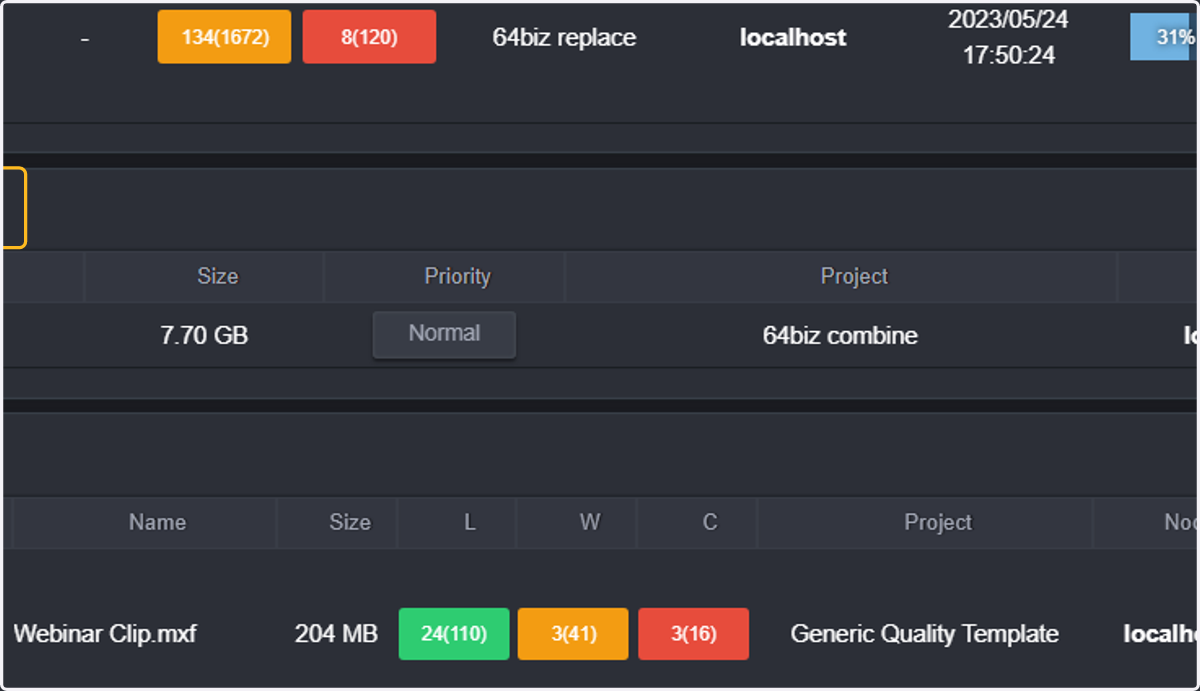
9. Next in Queue will also show some helpful information and allow some actions:
Name and info about the file (calling Mediainfo)
Size of the file
Priority: by clicking on this button the priority of the analysis can be toggled between normal-high-low thus changing the order in which files will be QC'ed
Project that the file belongs to (Clickable access to the project page)
Node assigned for the analysis
Created: when was the file analysis launched
Lock/unlock: locking a file will skip the analysis of this file until it is unlocked

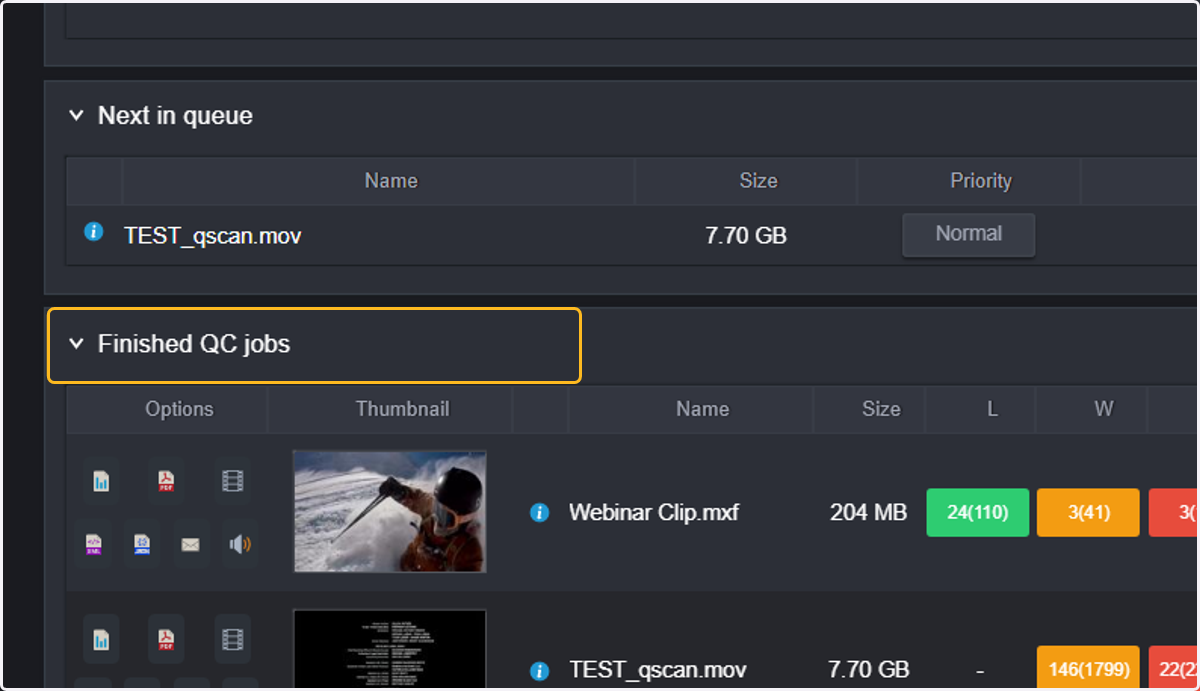
10. Once the analysis is over, the file will be displayed in the Finished QC Jobs section.
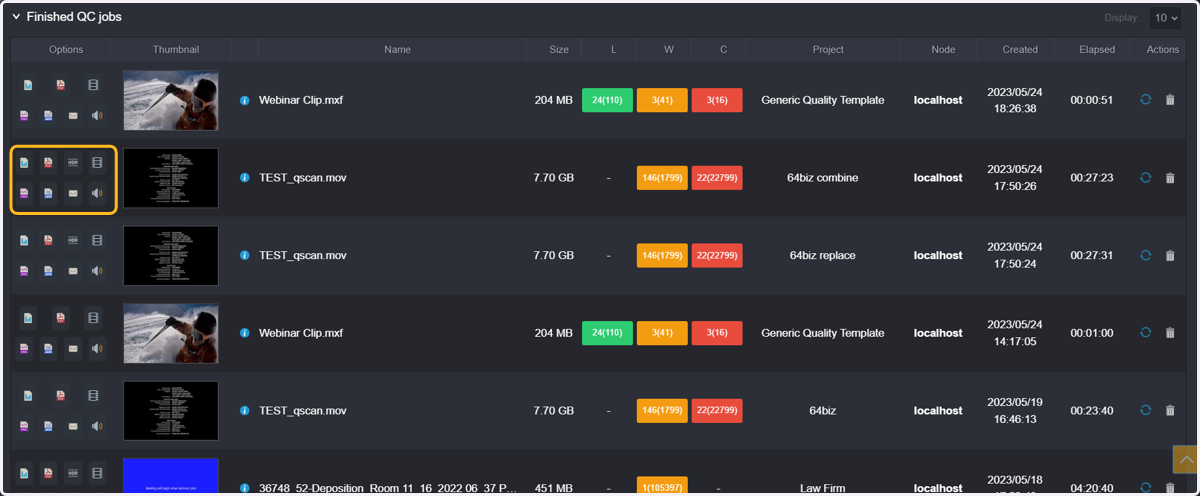
Finished QC jobs will show a summary of the QC for each file, and will give direct access to reports, and review tools such as the timeline view
11. On the left-hand side of the file name, you will be able to access the different report options.
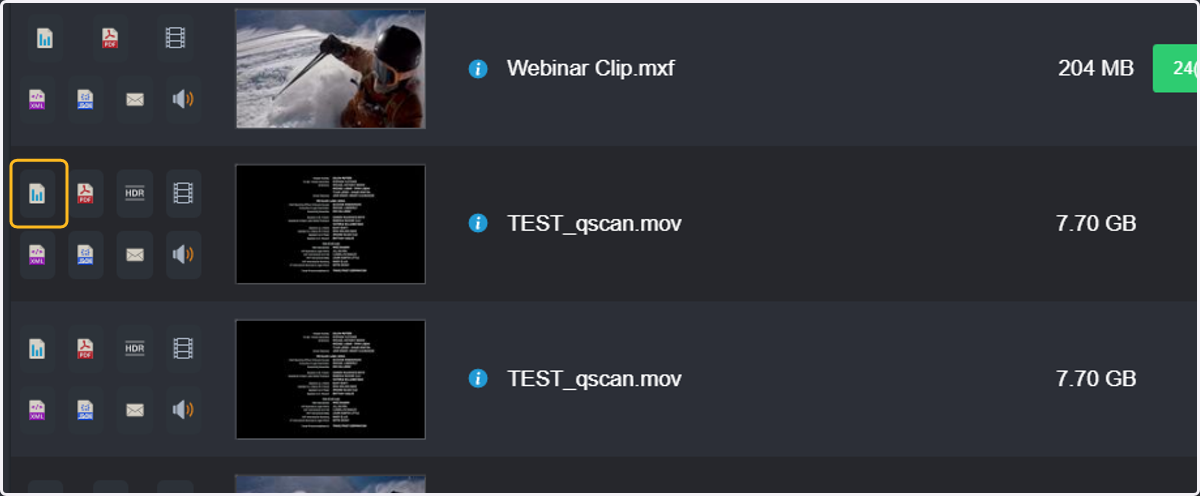
12. HTML Report: an interactive report that allows quick review of the results.
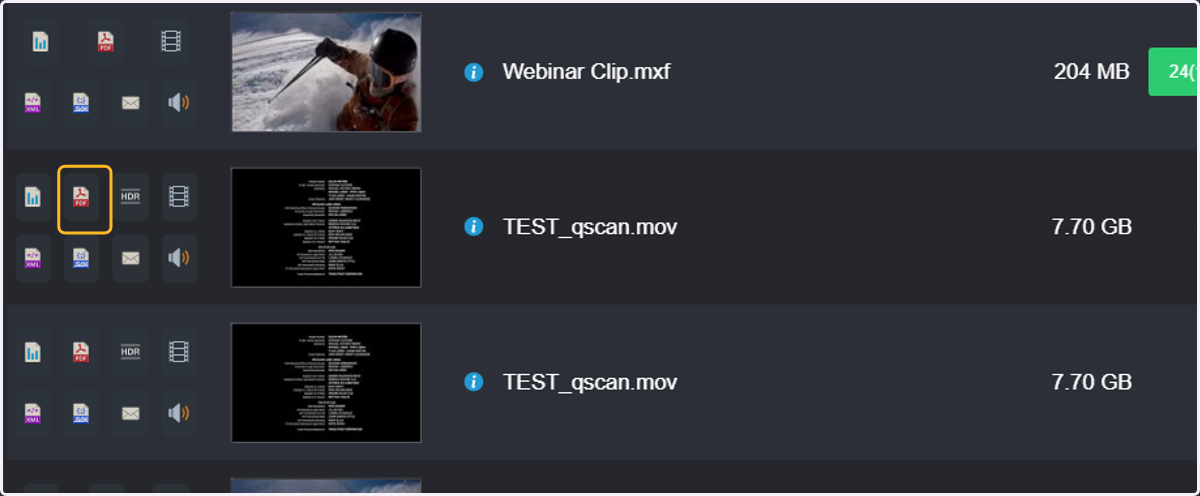
13. PDF Report: Download the PDF report on our local machine.
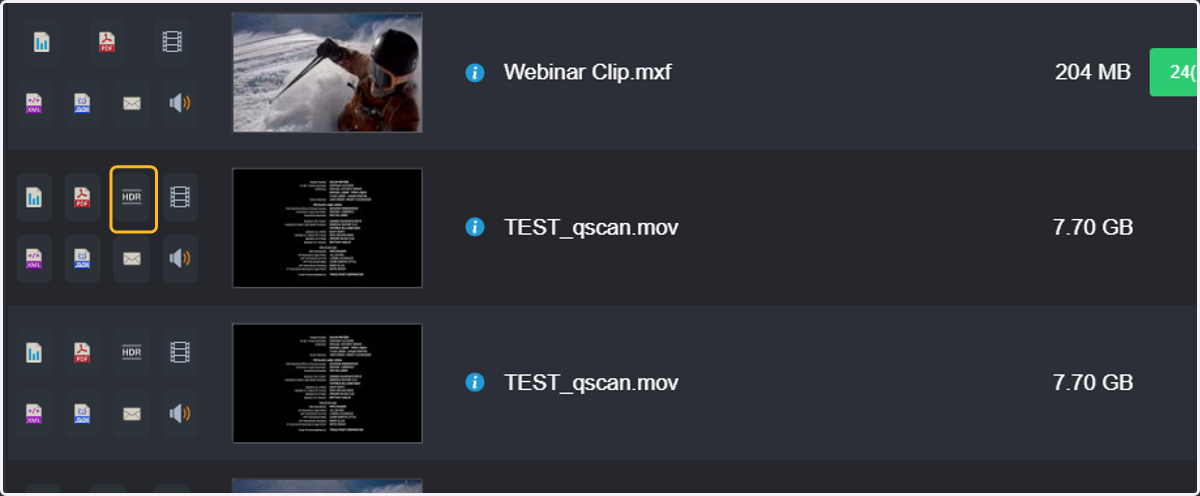
14. HDR Report (only available in MAX): Download the HDR report if HDR was enabled.
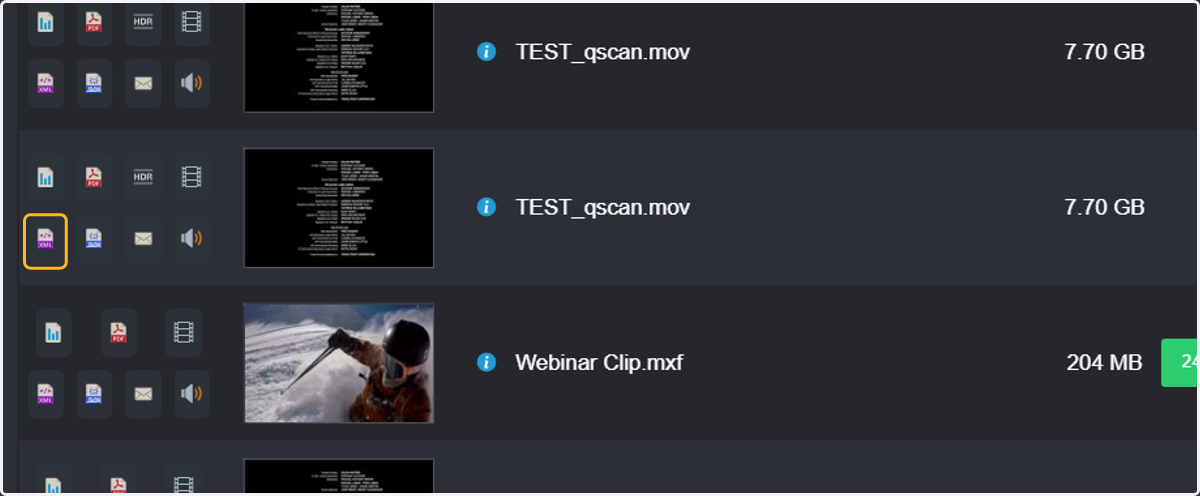
15. XML report: a report in XML format (mainly intended for integrations).
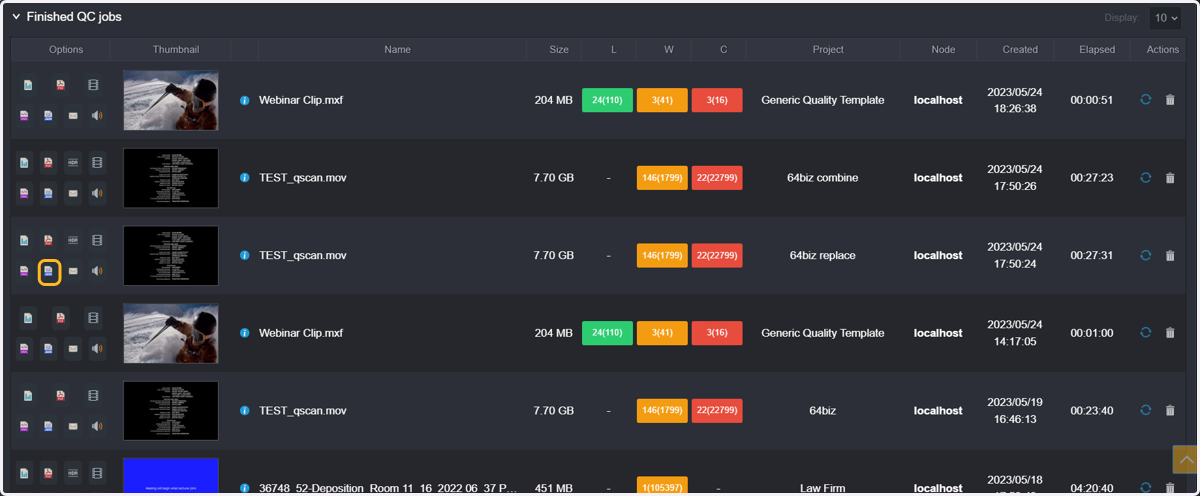
16. JSON Report: a report in JSON format (mainly intended for integrations).
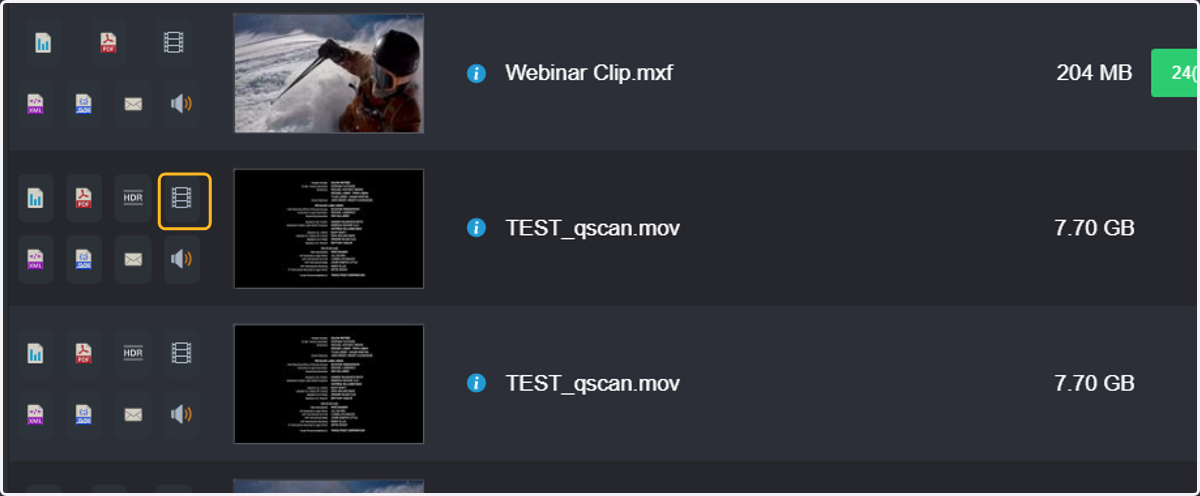
17. Shortcut to Video Timeline View.
18. Shortcut to Audio timeline view.
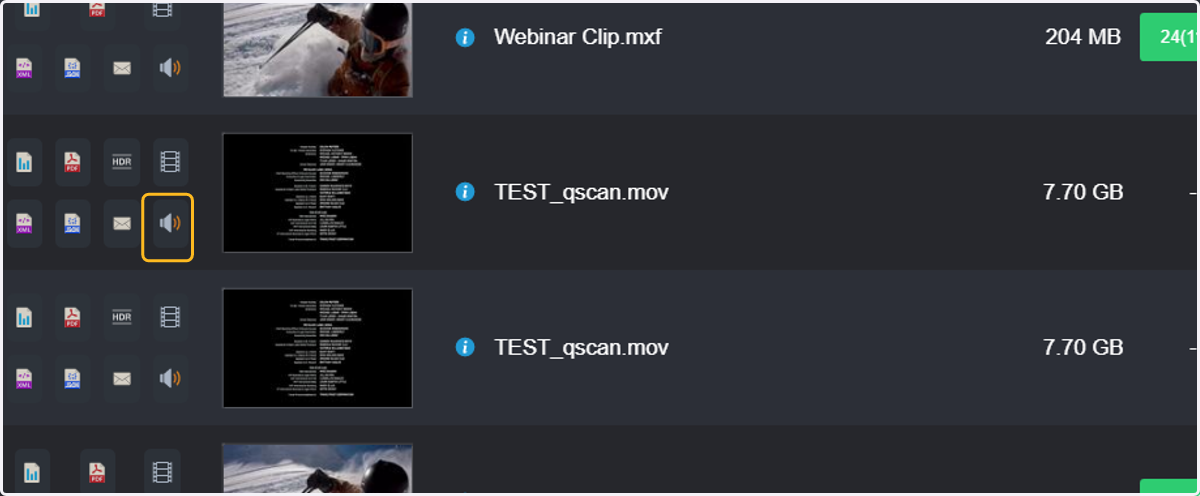
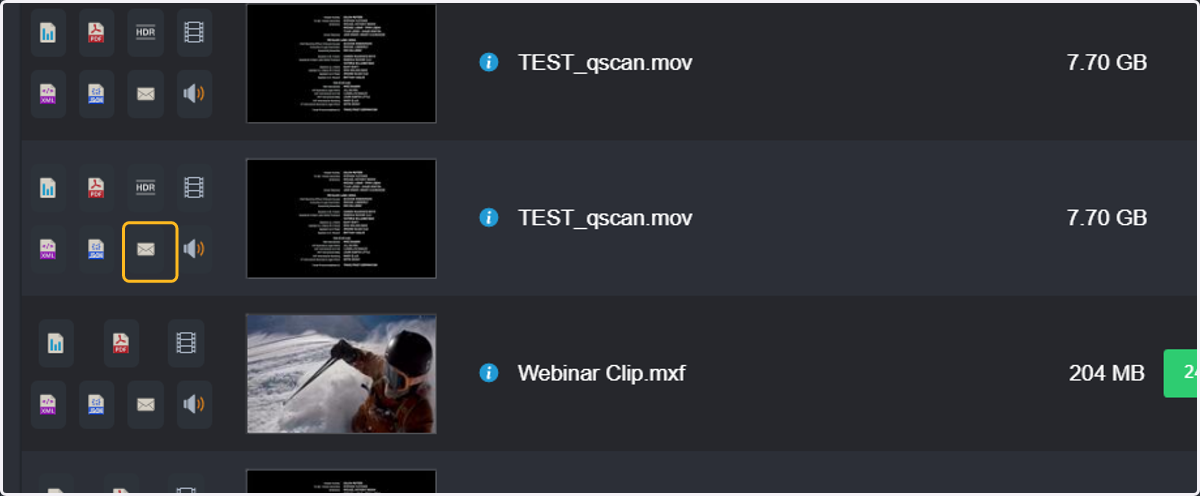
19. Send report by email: This will push a new email containing the PDF report to be sent to the configured accounts.
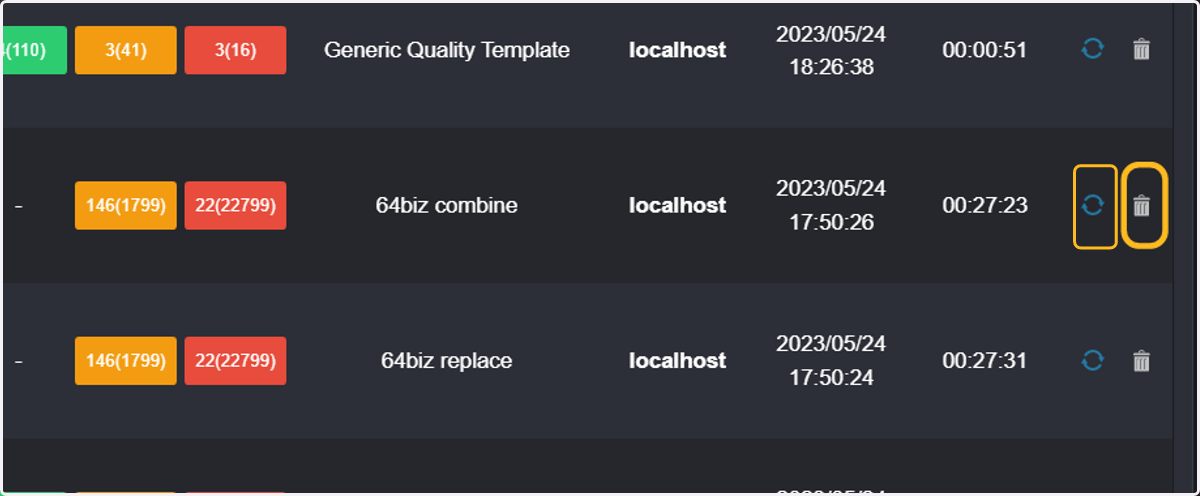
20. Additional actions are possible for the Finished QC Jobs — reanalyze and remove.
Reanalyze: will remove all previous analysis data and reanalyze the file
Remove: analysis data is removed from Database
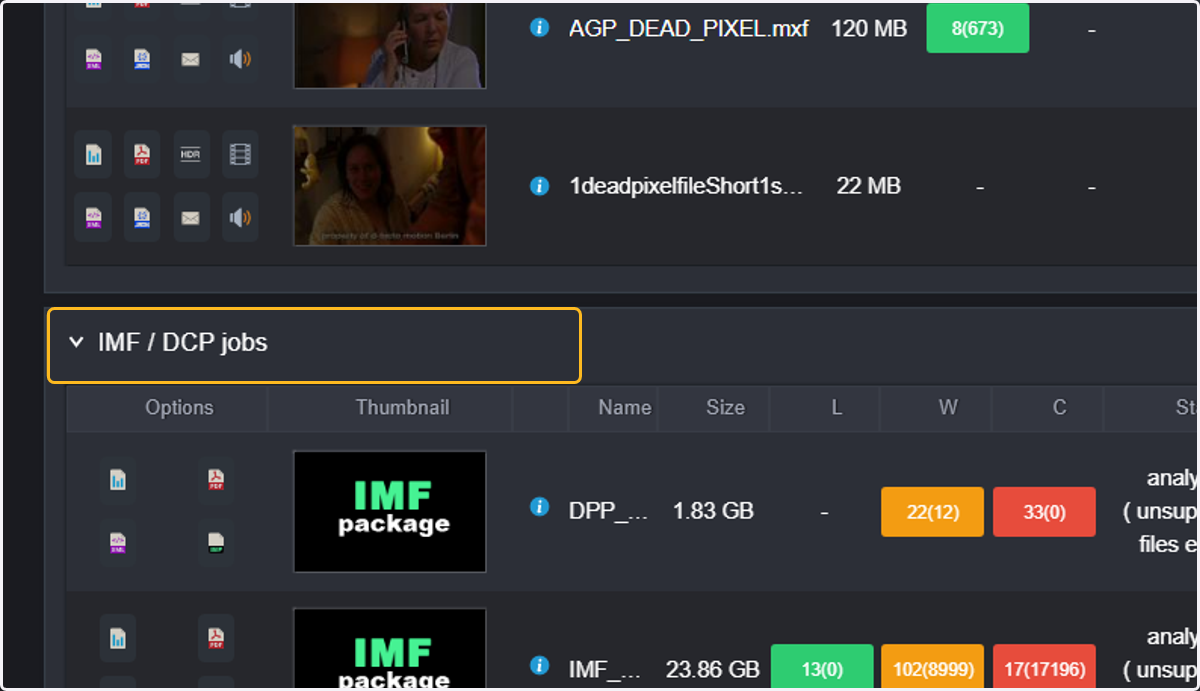
21. The main page also provides access to all IMF or DCP jobs.
IMF and DCP packages contain several different files, such xml, video files, audio files, etc.
QScan shows them as a complete package for ease of use and understanding
Details of the IMF/DCP package can be accessed by clicking on the name of the IMF Package
22. Cancelled QC jobs will show all jobs that contained an error or could not be completed.
The main reasons why a QC job can finish abnormally:
- A stop action was configured in the template/project
- The user stopped analysis
- Analysis failed to perform
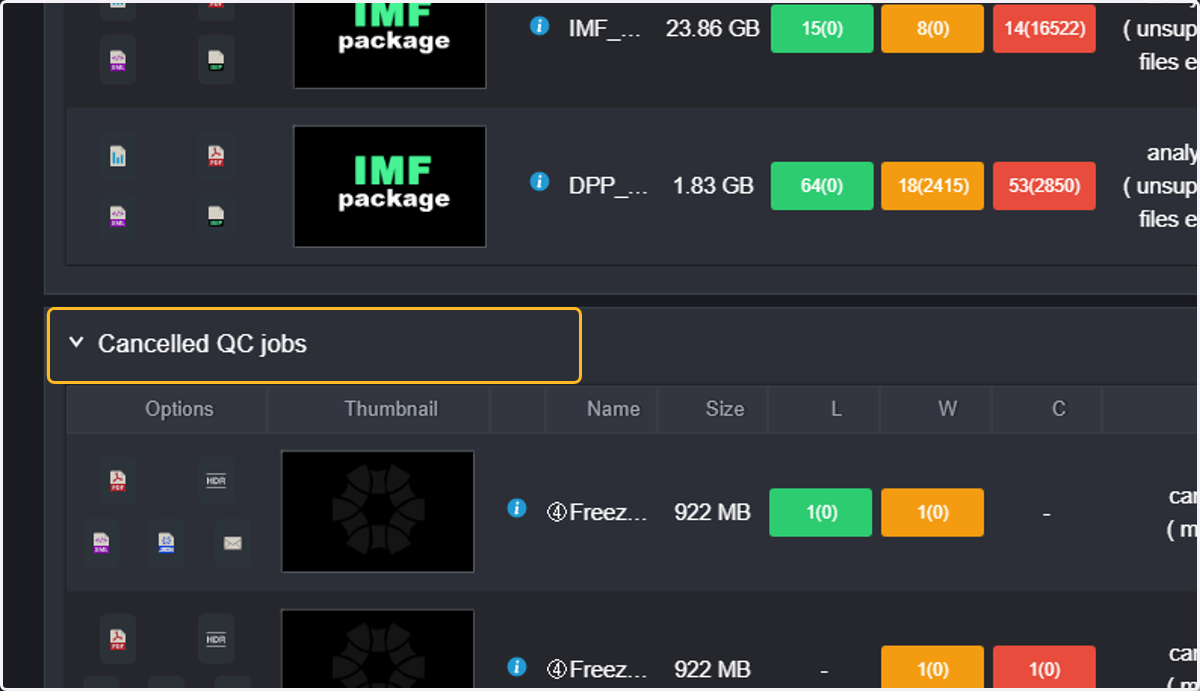
23. Files in Cancelled QC Jobs can also be reanalyzed or remove analysis data.
This screenshot shows two files with the status cancelled (moved), which indicates that a stop&move condition happened according to the template used, and one file that was cancelled by the user (aborted).