Receiving Serialized Items

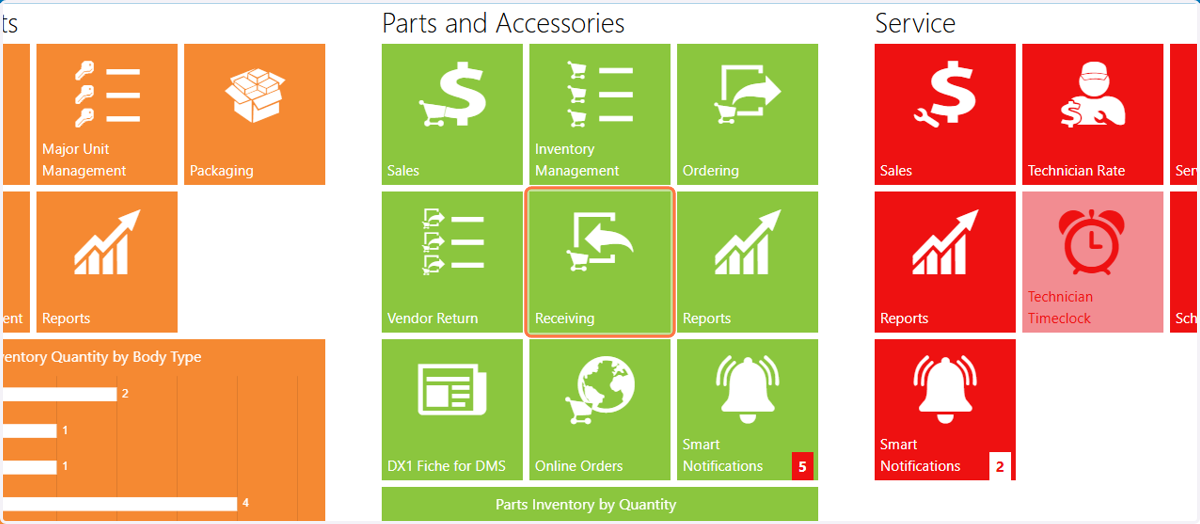
  1. 1. Click on the Receiving tile

    Click on the Receiving tile
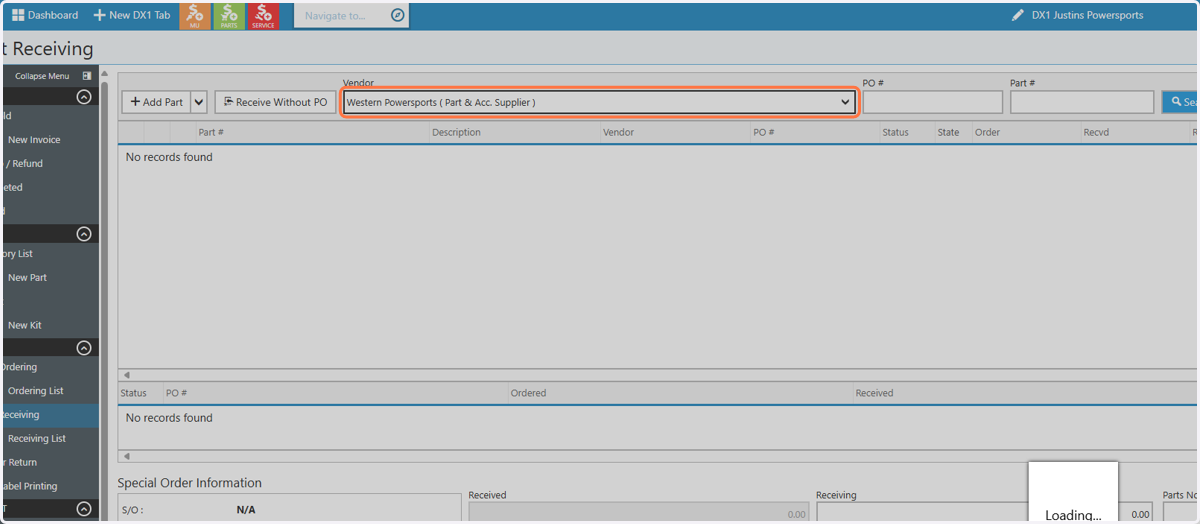
  2. 2. Selectyour desired Vendor

    Selectyour desired Vendor
  3. 3. Once you find the vendor and the part you are looking for, add in the received quantity
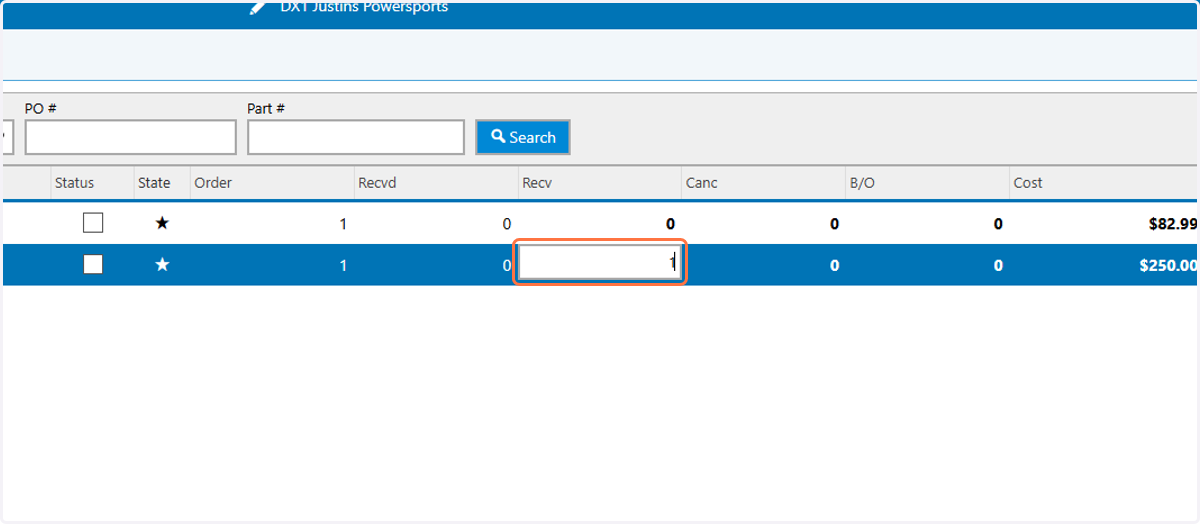
    Once you find the vendor and the part you are looking for, add in the received quantity
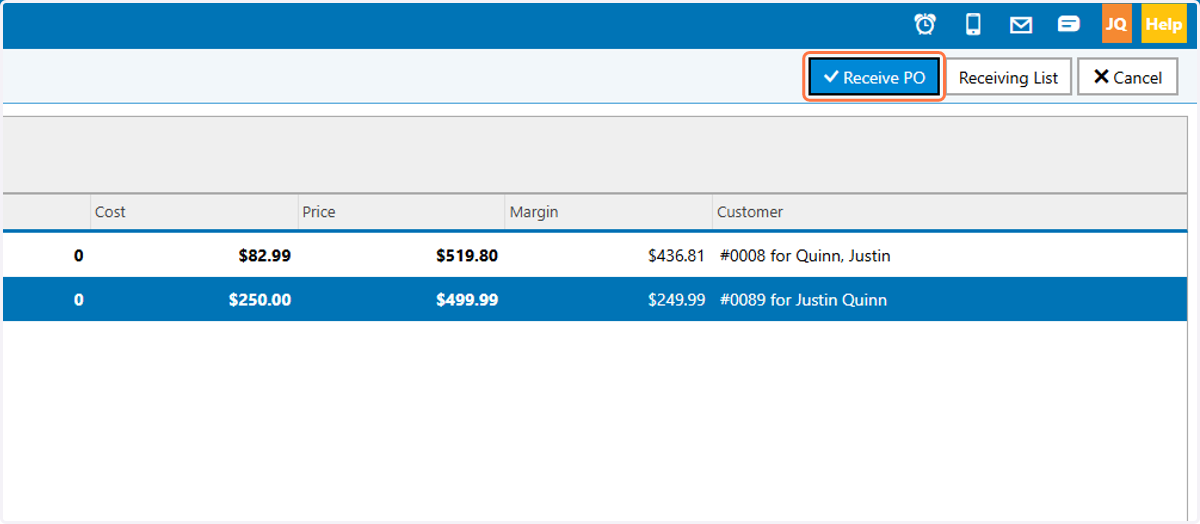
  4. 4. Click on the Receive PO button

    Click on the Receive PO button
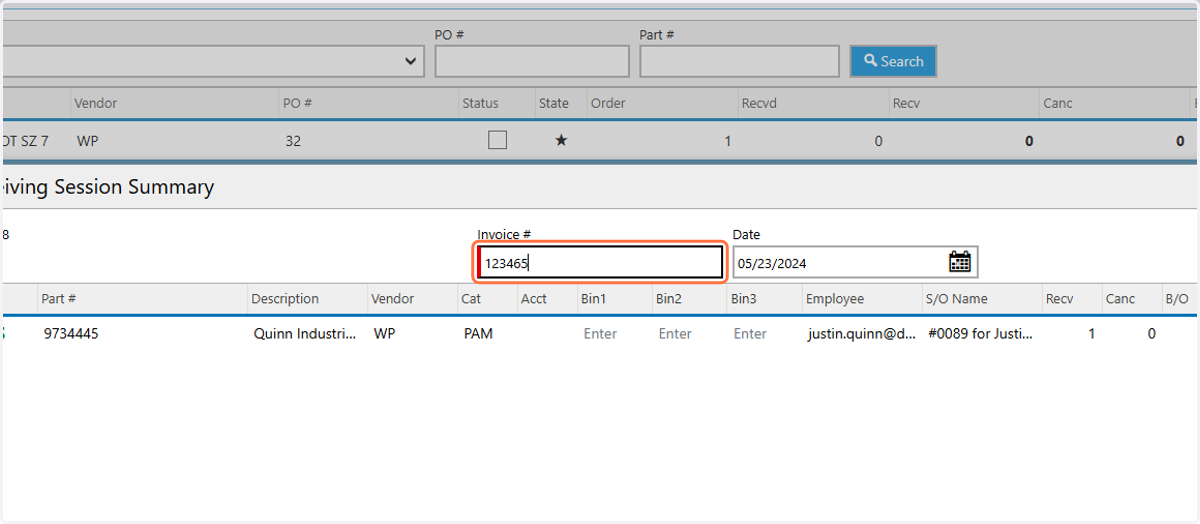
  5. 5. Add the required invoice number

    Add the required invoice number
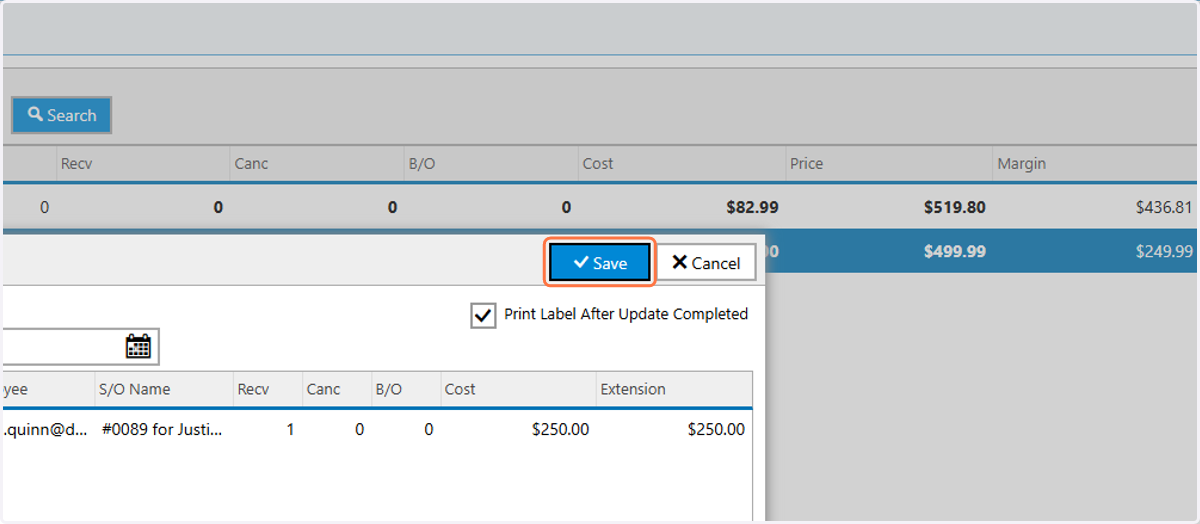
  6. 6. Click on the Save button

    Click on the Save button
  7. 7. When the serial number list pops open, click on Enter Serial Number
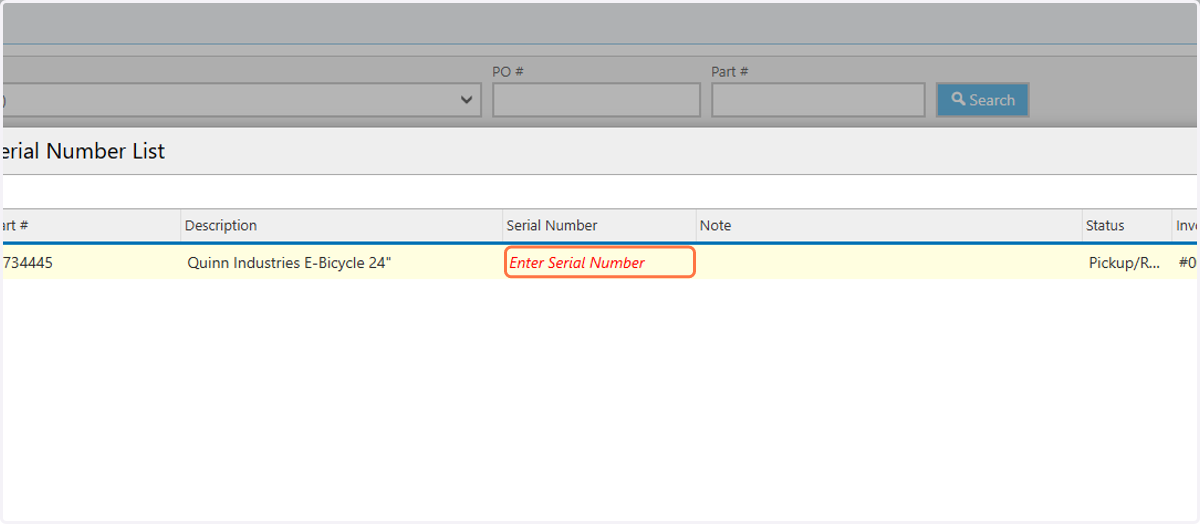
    When the serial number list pops open, click on Enter Serial Number
  8. 8. Enter the serial number for the item
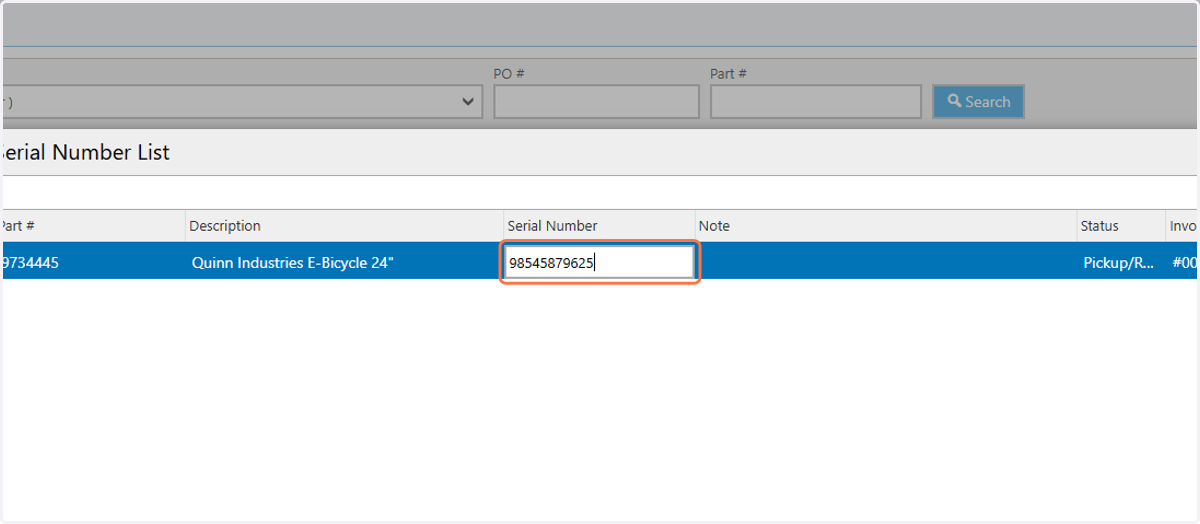
    Enter the serial number for the item
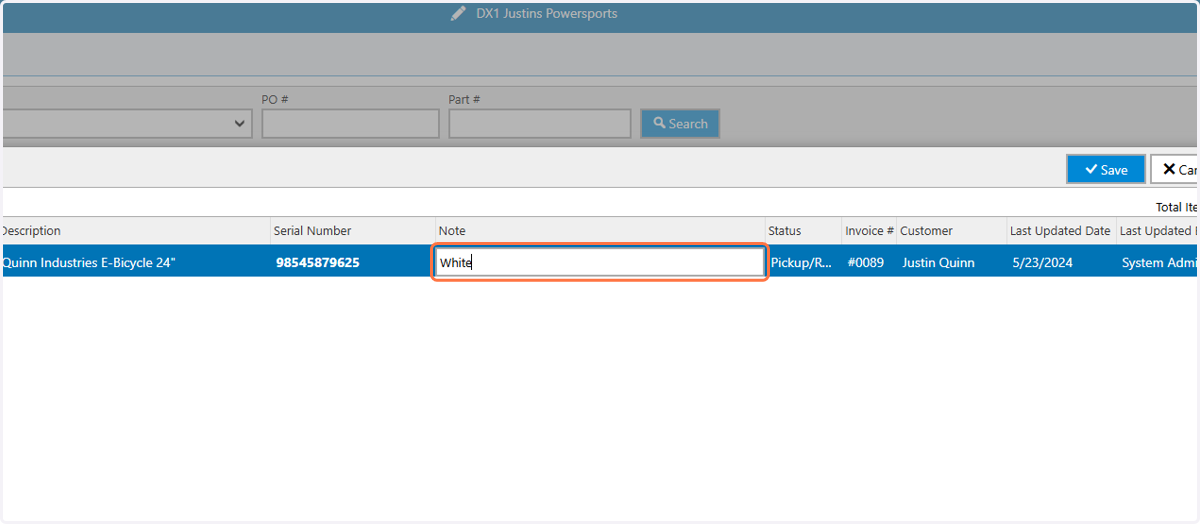
  9. 9. Add a note if needed

    Add a note if needed
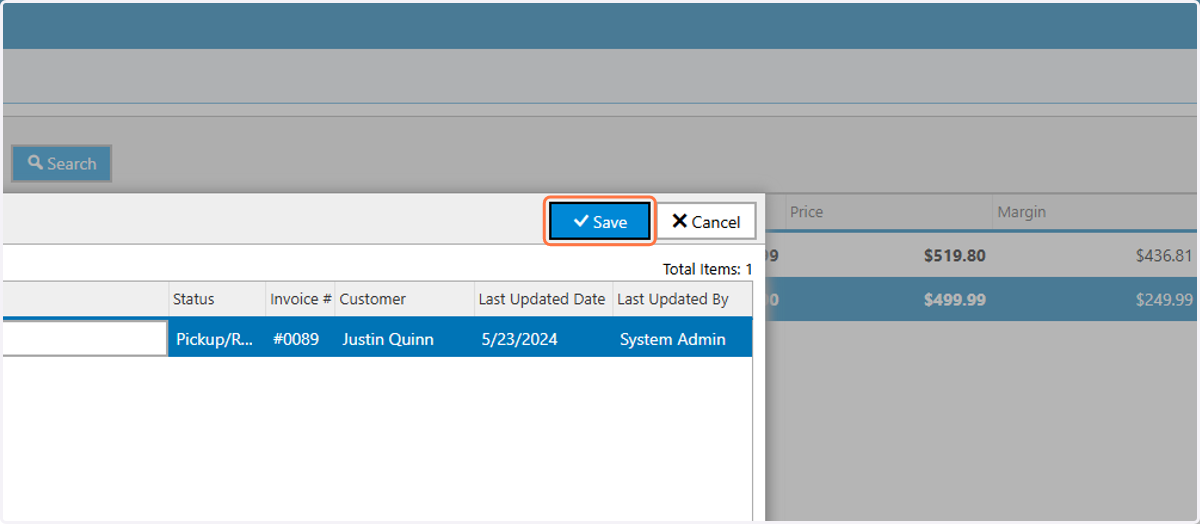
  10. 10. Click on Save

    Click on Save
  11. 11. If you elect to print labels, click the print button
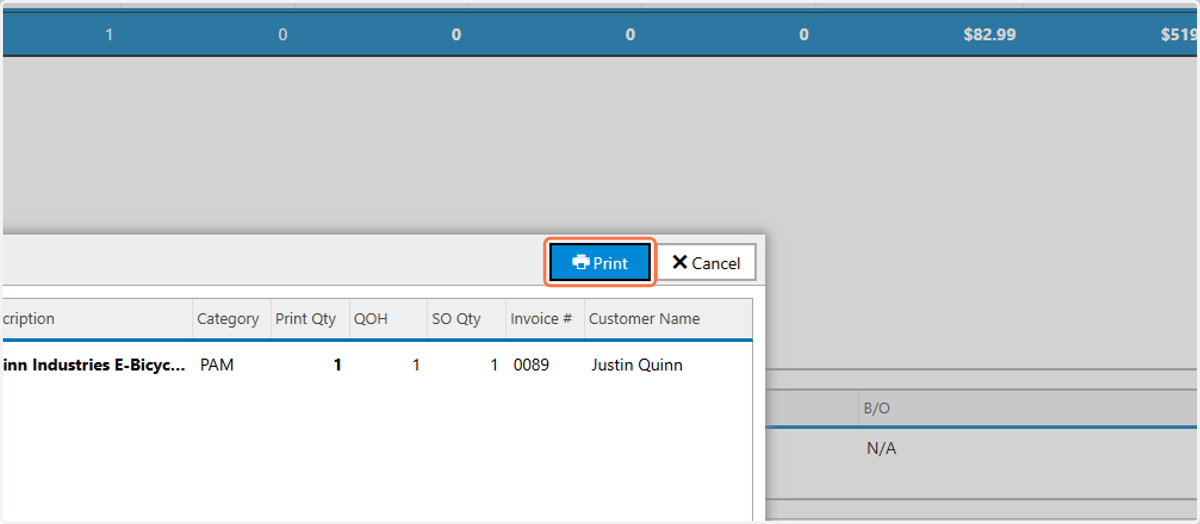
    If you elect to print labels, click the print button
  12. 12. Select the label type and click the Print button
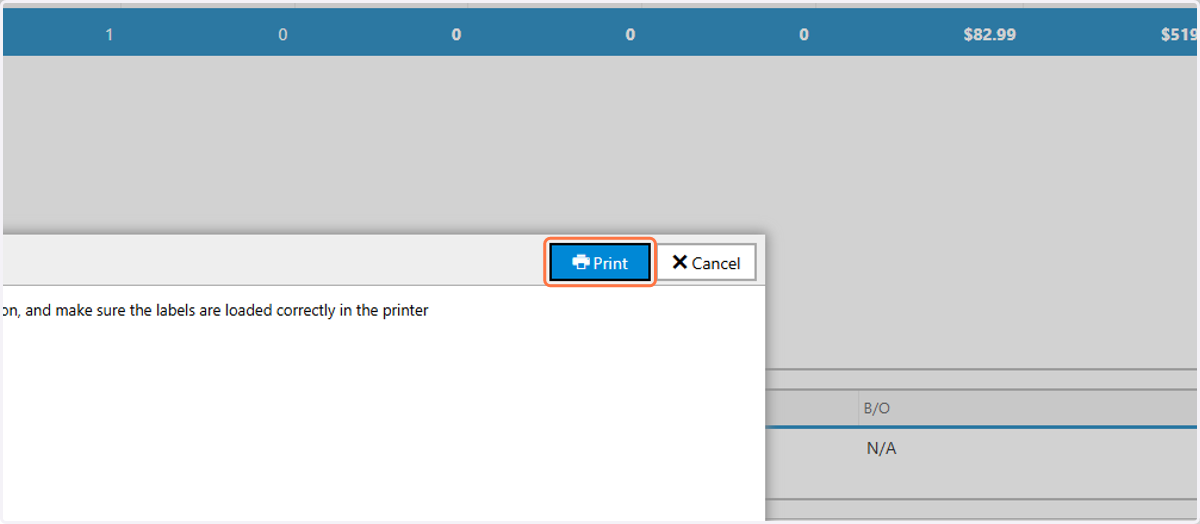
    Select the label type and click the Print button
  13. 13. If all the labels have been printed correctly click Yes, if not click No. You have now completed the process
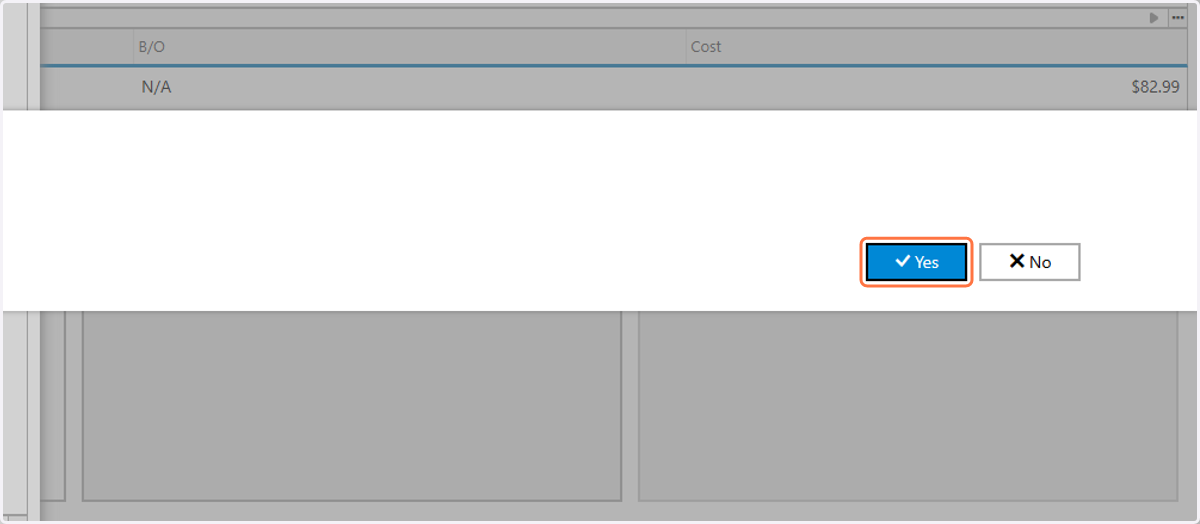
    If all the labels have been printed correctly click Yes, if not click No. You have now completed the process