How to build a Length of Stay Map?
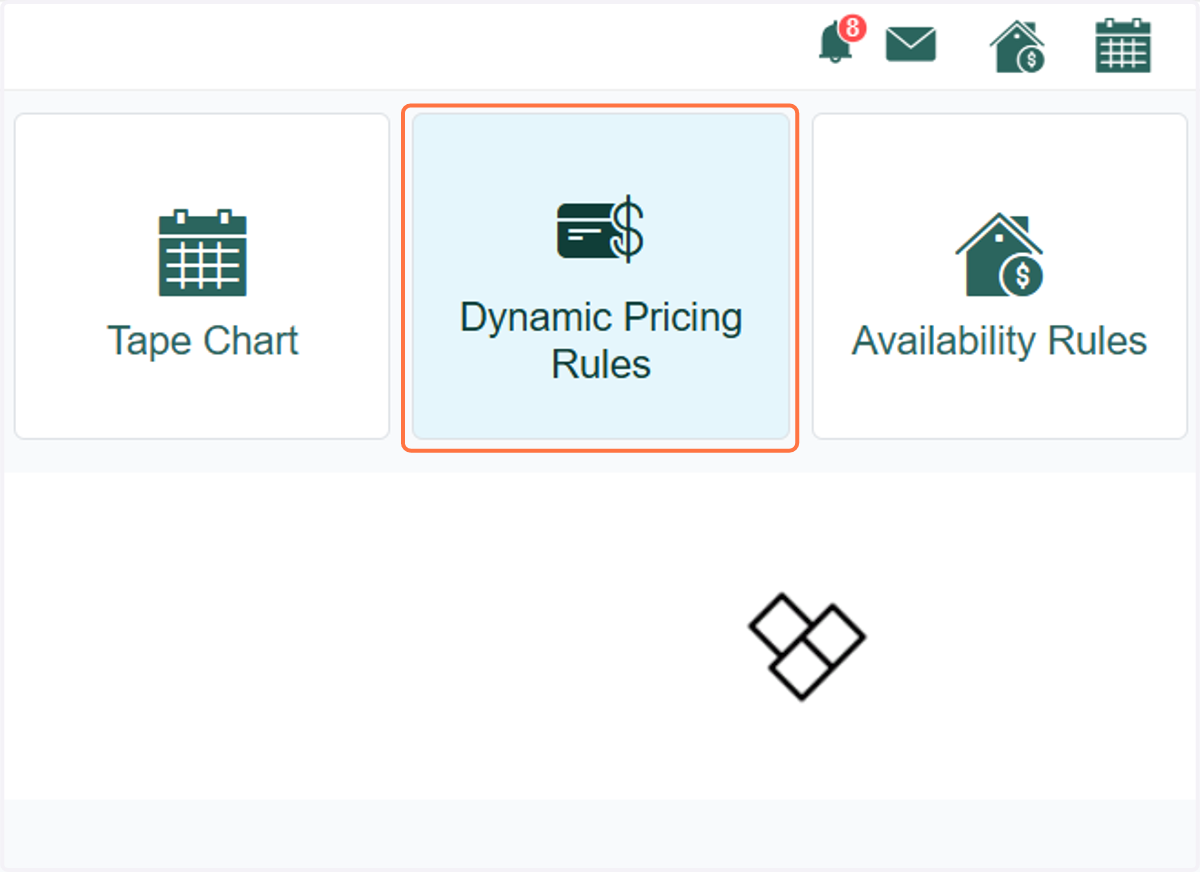
1. From your RevMax main page, click on Dynamic Pricing Rules
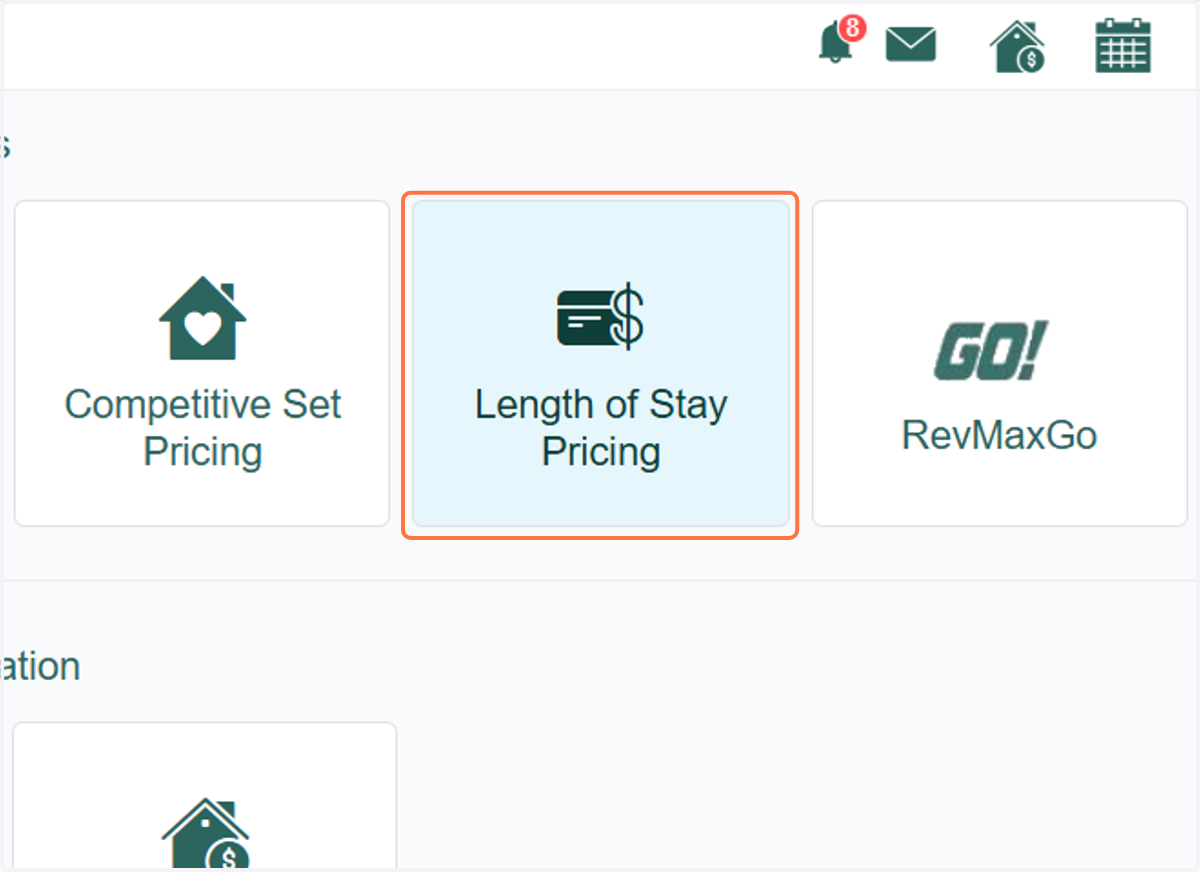
2. Click on Length of Stay Pricing
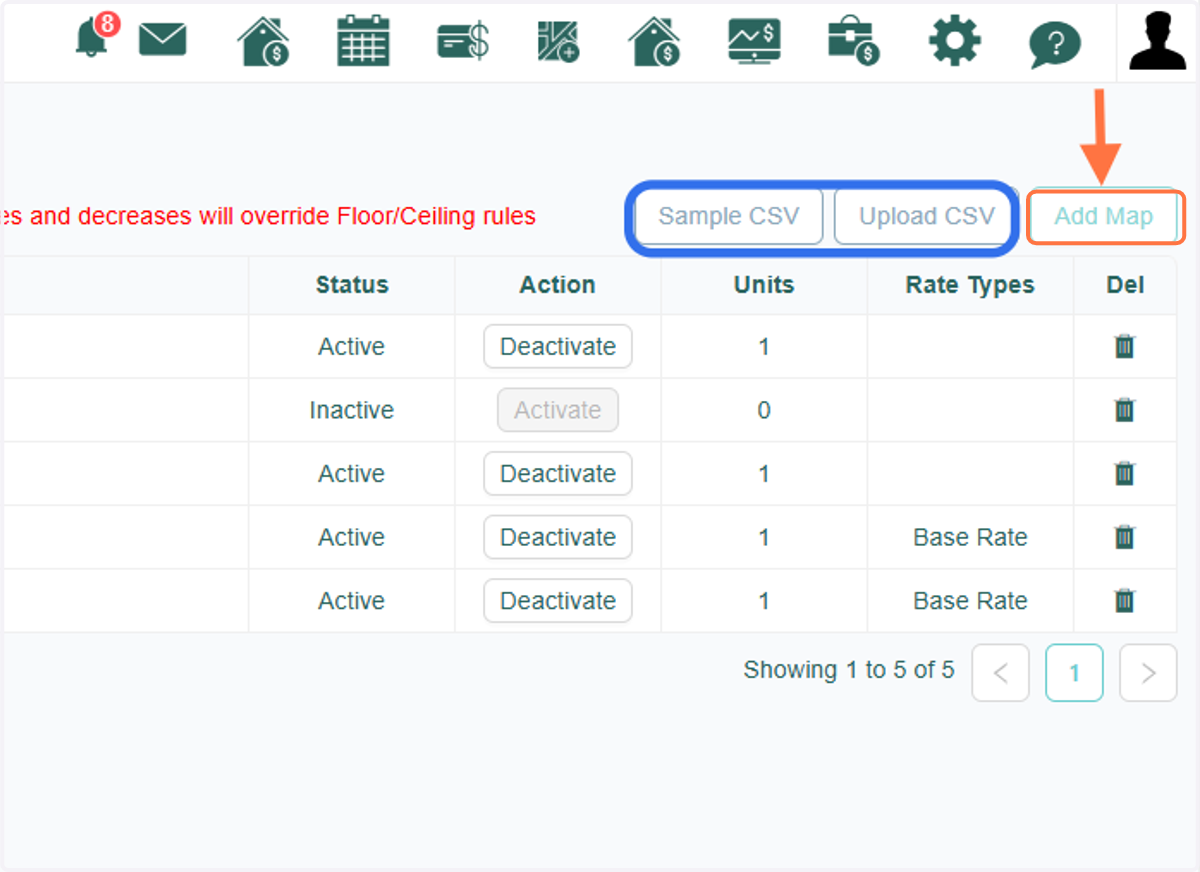
3. Once you're on the Length of Stay page, click the 'Add Map' button to get started. You also have the option to upload a CSV file as your map. If you'd like guidance on formatting your CSV file for the LOS Map, simply click on 'Sample CSV' for a reference template.
4. In the Add Map window, start by entering the general information, including the Name of the LOS Map and selecting Base Rate.
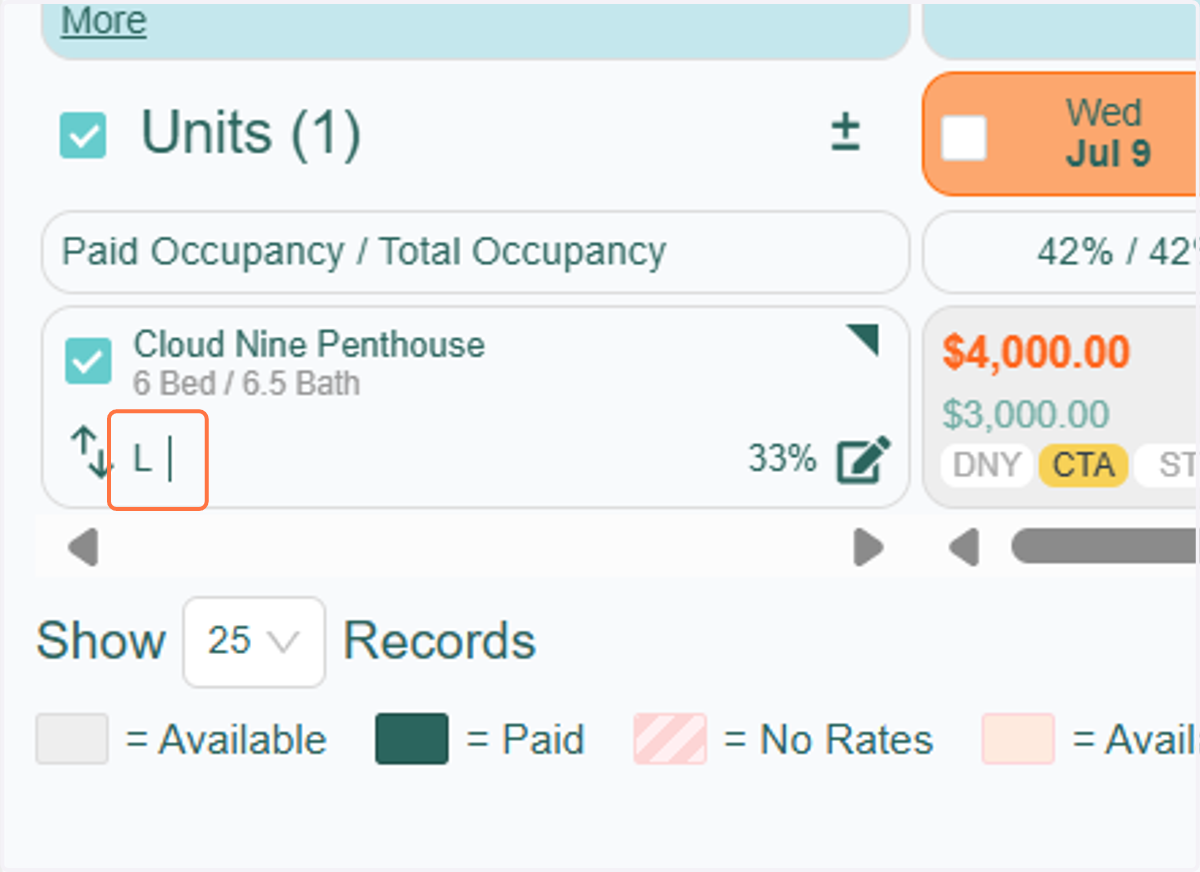
Important Note: To ensure the 'L' label appears in the RevMax Tape Chart, indicating that the unit is using Length of Stay Pricing, it is essential to set the rate type to 'Base Rate.' This step enables the automatic display of the 'L' label."
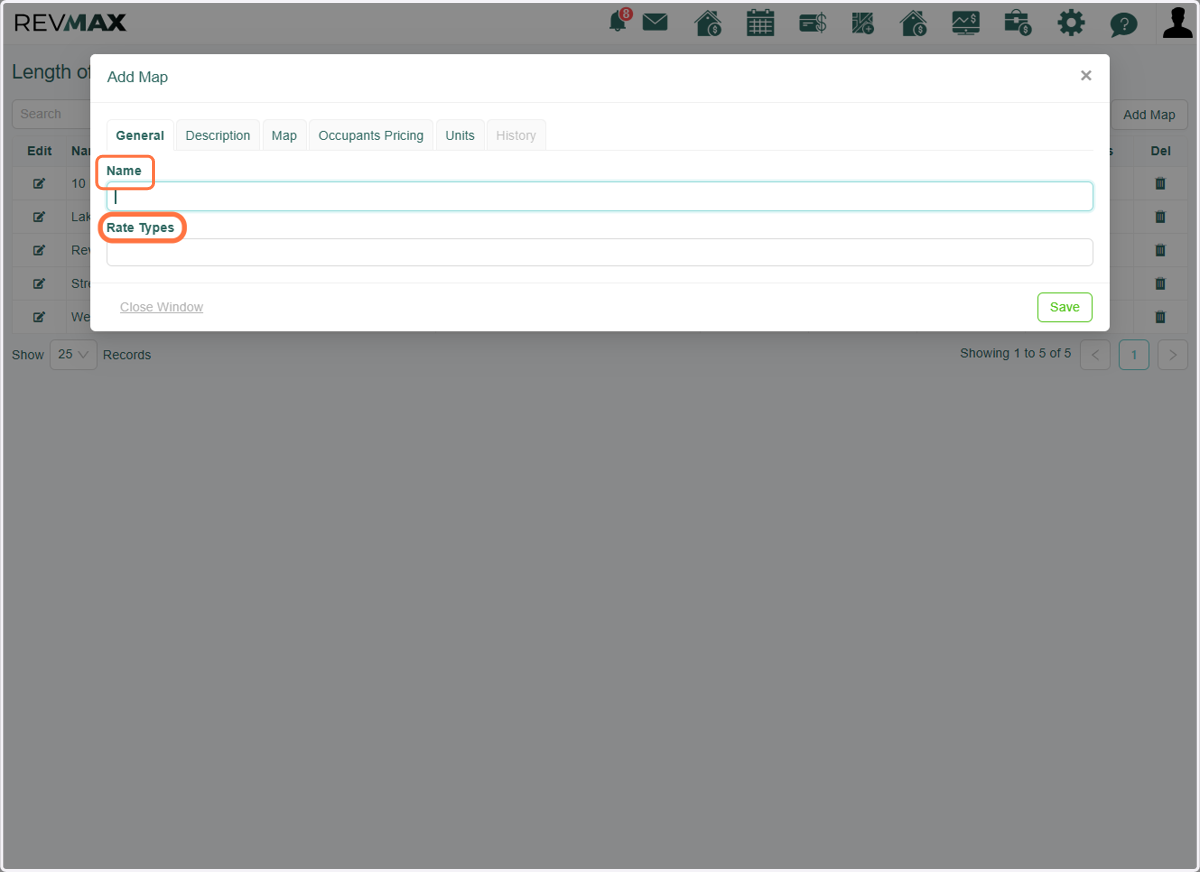
5. A Description tab is available where you can add notes or additional context for the map.
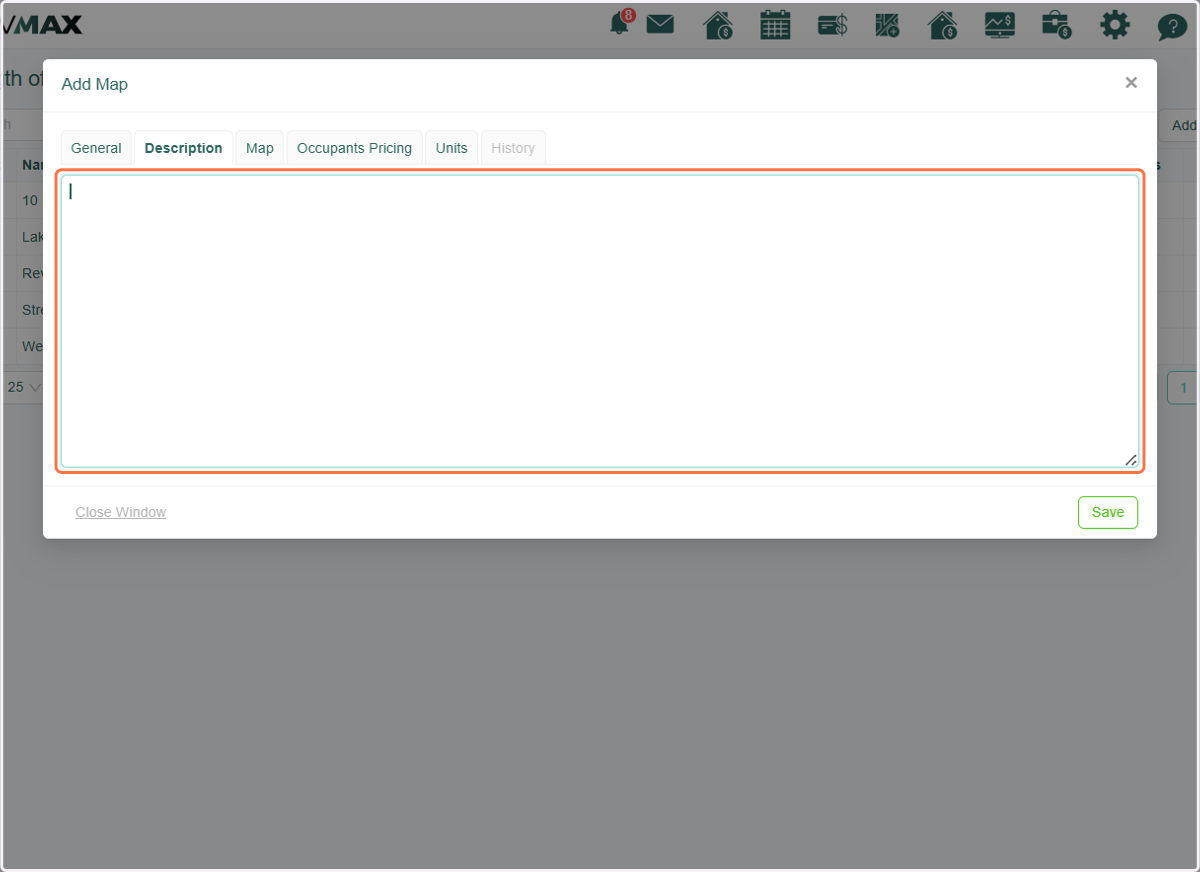
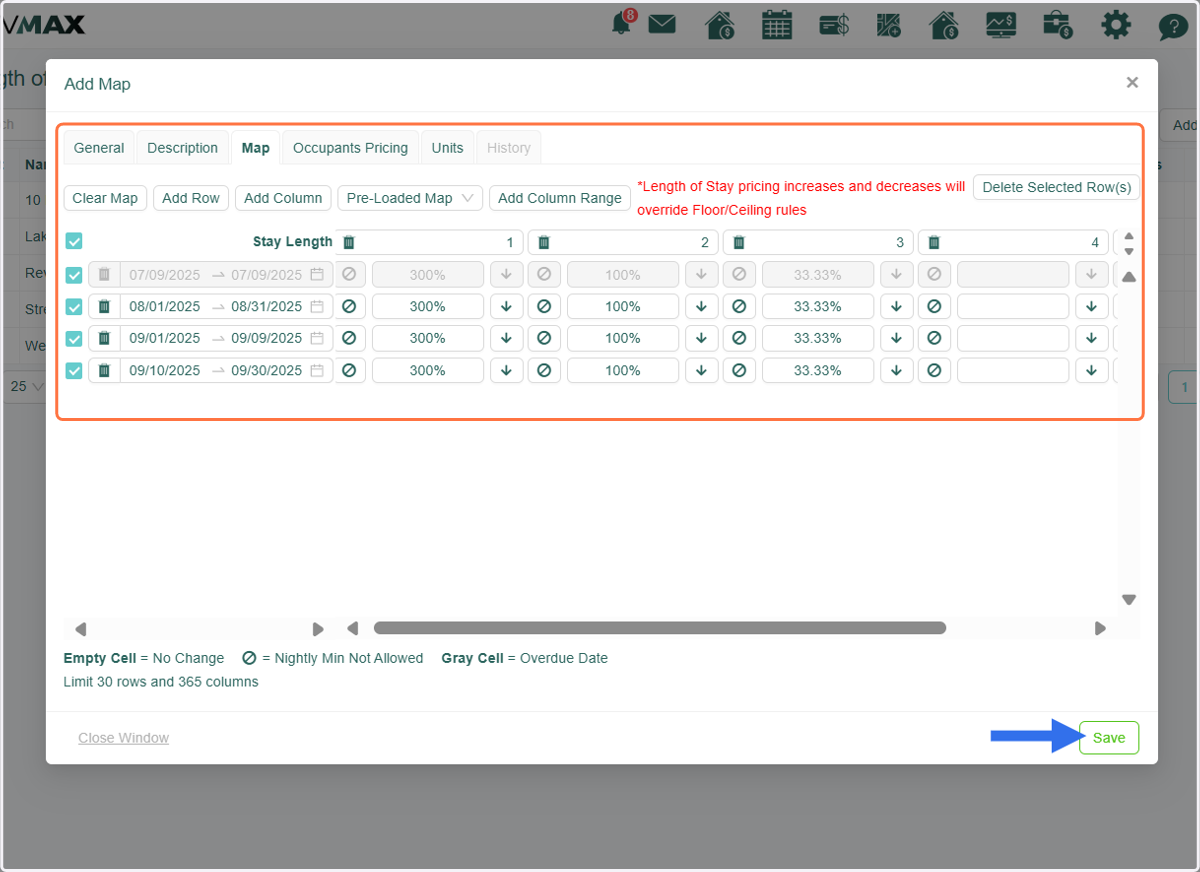
6. The Map tab is where you configure all the essential settings for your LOS (Length of Stay) pricing. We’ll go over each button and its function in the following steps.
Important Note: Any increases (upcharges) or decreases (discounts) set through LOS pricing will override the previously configured Floor and Ceiling Rates
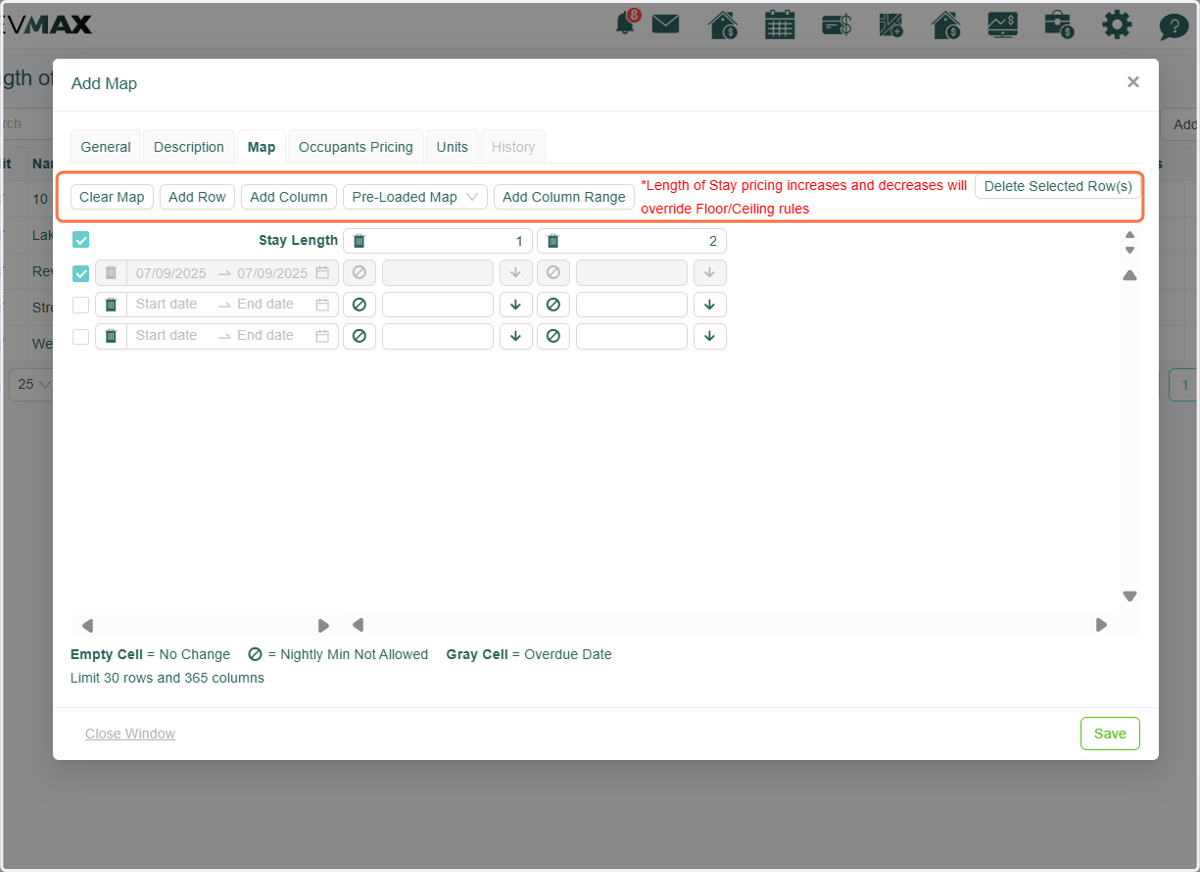
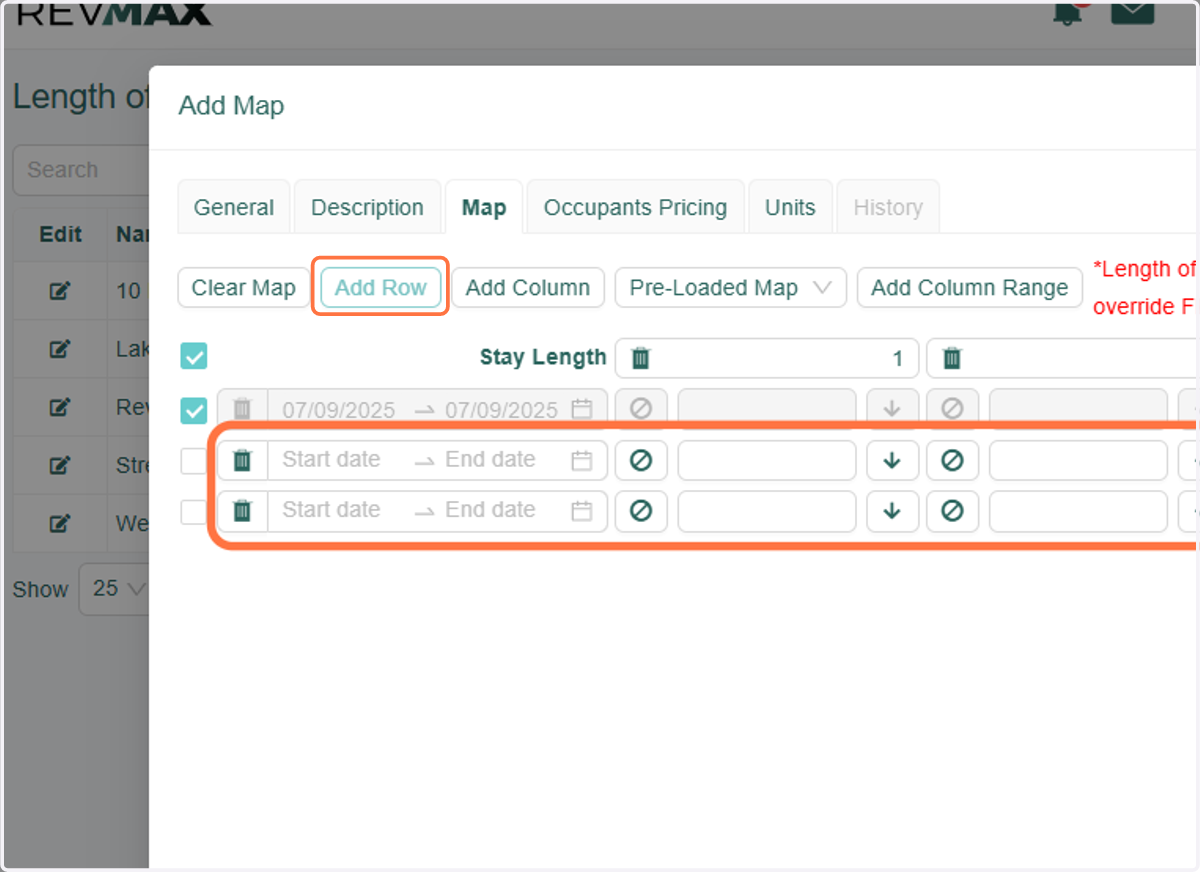
7. The "Add Row" button allows you to insert a date period along with the night minimums you've previously configured in the map.
8. The "Add Column" button allows you to insert night minimum columns that align with the date periods/rows you've previously added.
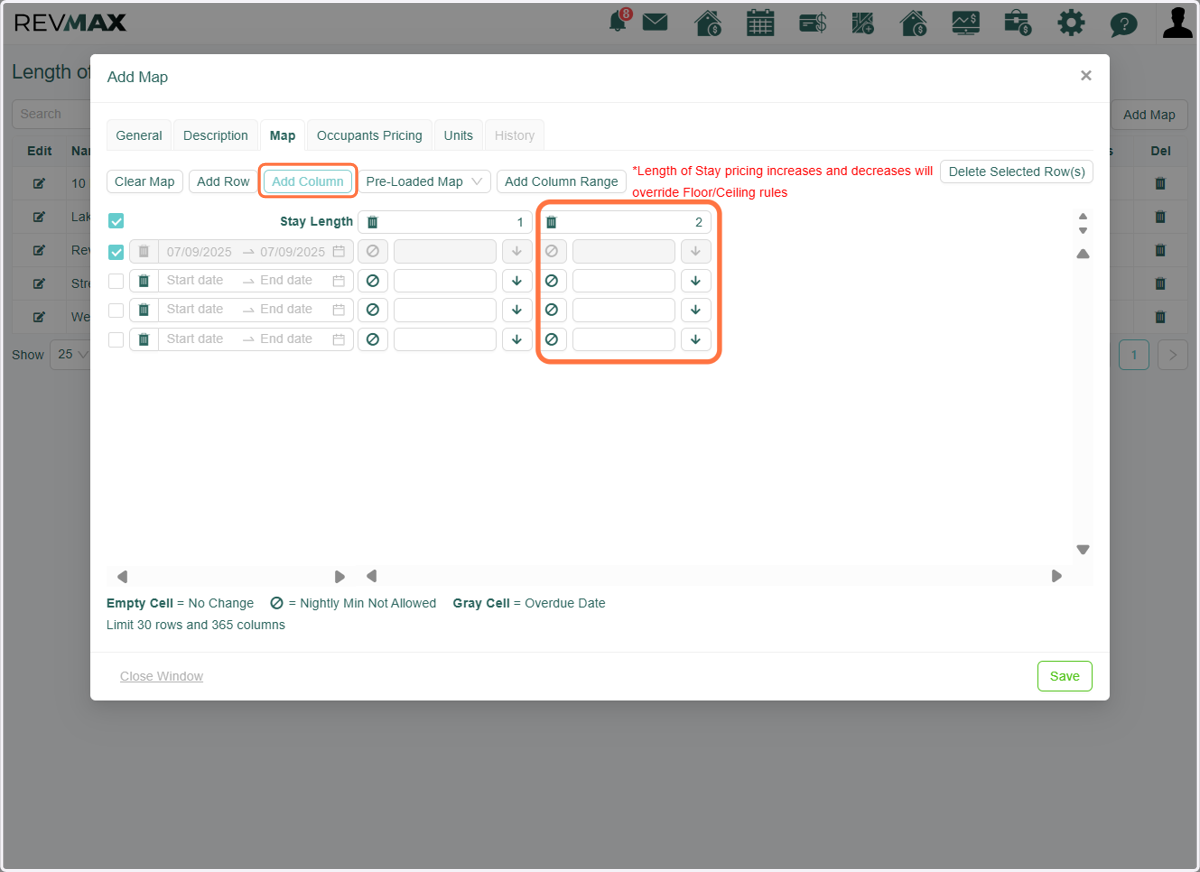
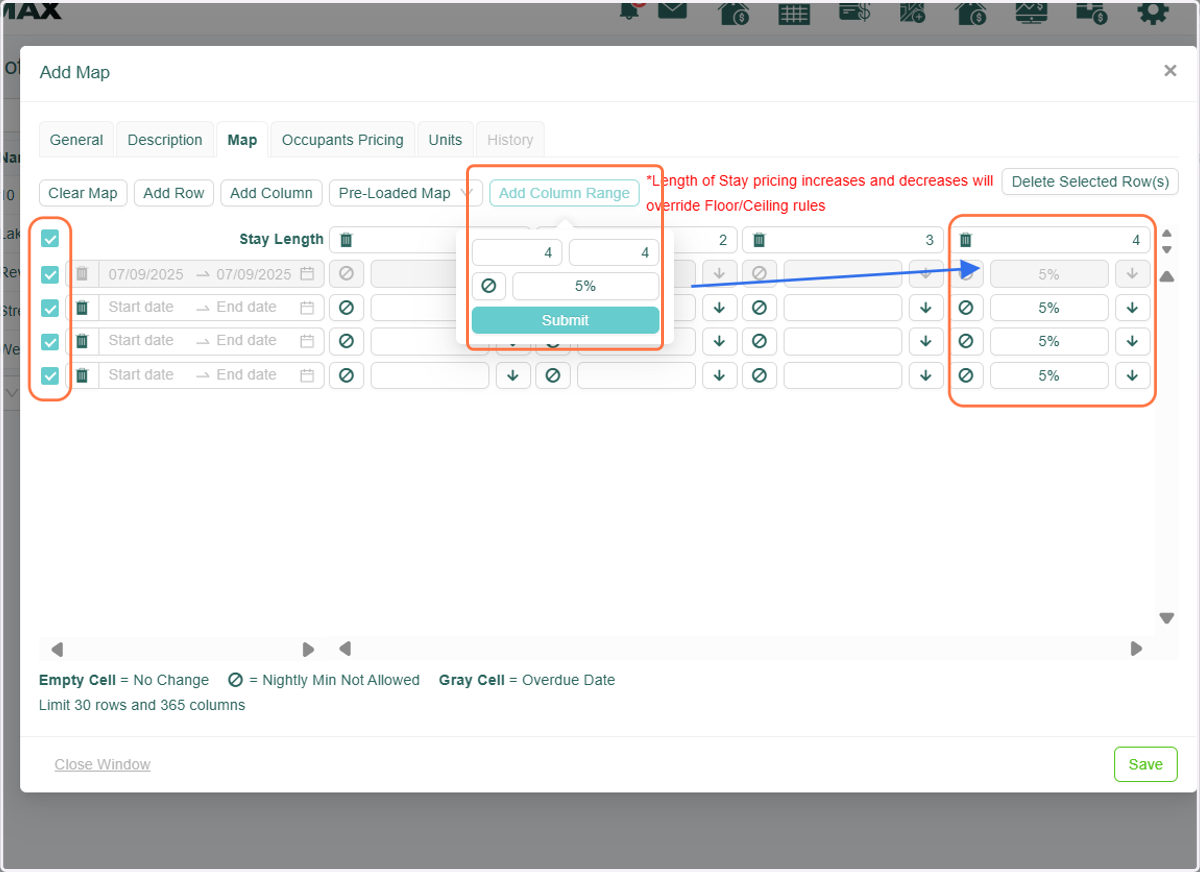
9. The "Add Column Range" button allows you to bulk add columns (night minimums) with the option to apply an increase or decrease to the rates.
The checkboxes on each row allow you to select which date periods the increase or decrease should be applied to.
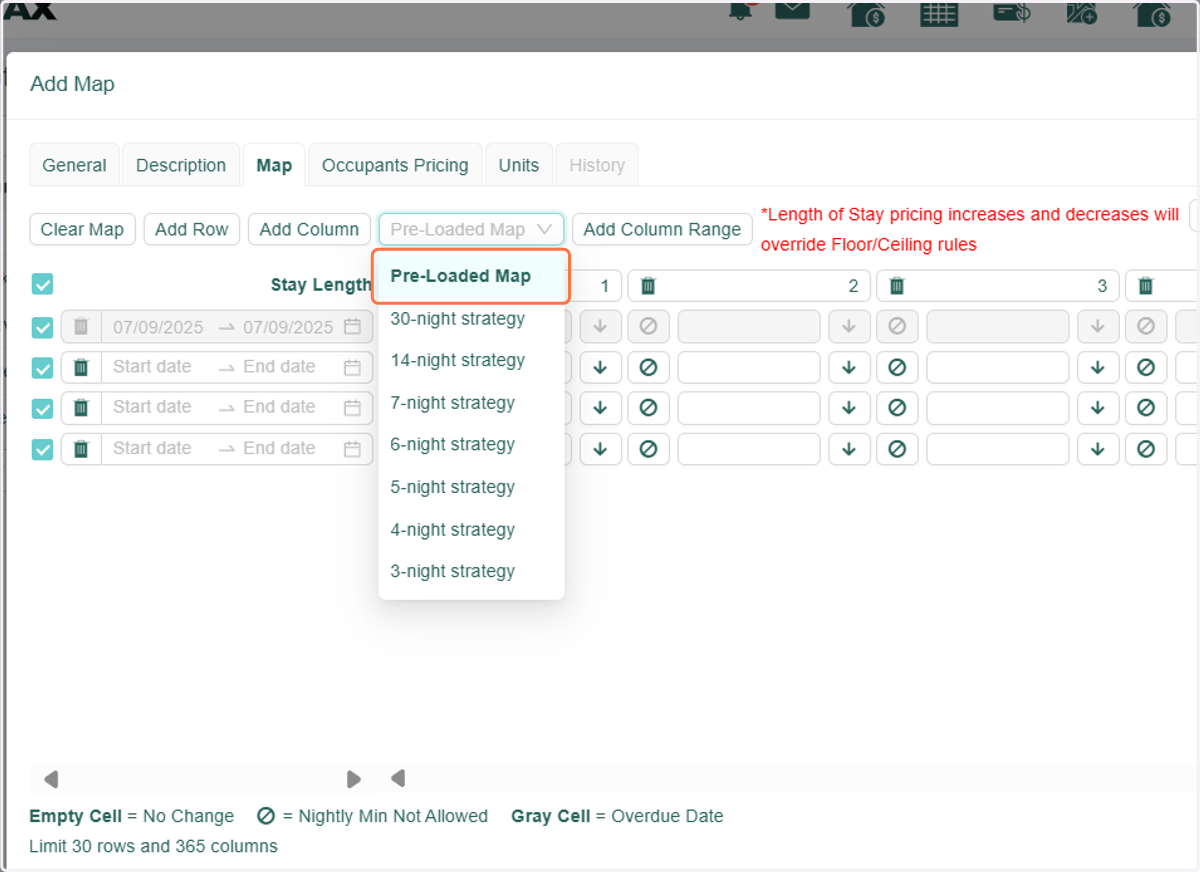
10. A "Pre-loaded Map" is also available for use. It comes with predefined increases and decreases that align with the night minimum strategy you prefer.
Pre-loaded Map Options:
You can choose from several pre-configured strategies, each designed with preset increases and decreases based on the selected night minimum. Available strategies include:30-night strategy
14-night strategy
7-night strategy
6-night strategy
5-night strategy
4-night strategy
3-night strategy
These options help organize your setup by aligning with common LOS pricing approaches.
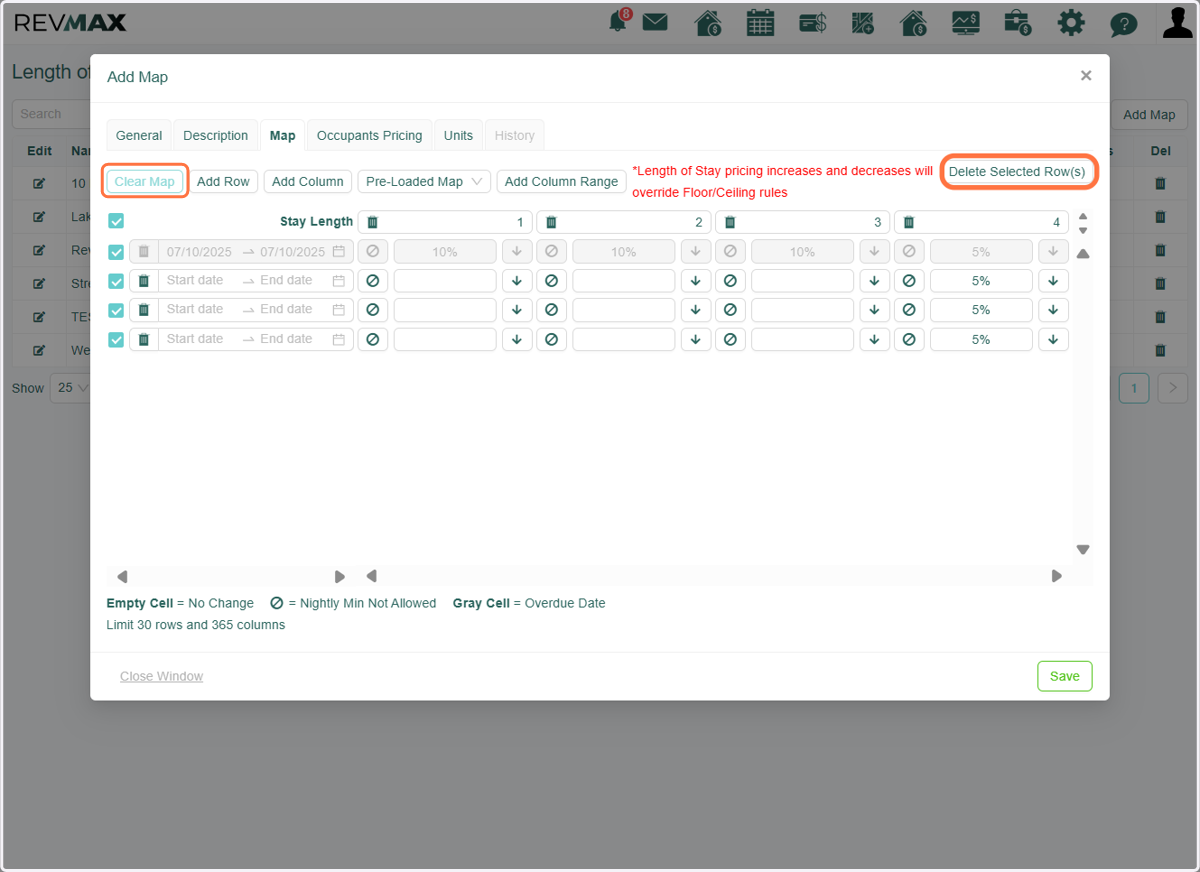
11. You can delete specific rows by selecting the corresponding checkboxes and clicking the "Delete Selected Rows" button. Alternatively, to remove all entries at once, use the "Clear Map" button to reset the entire map.
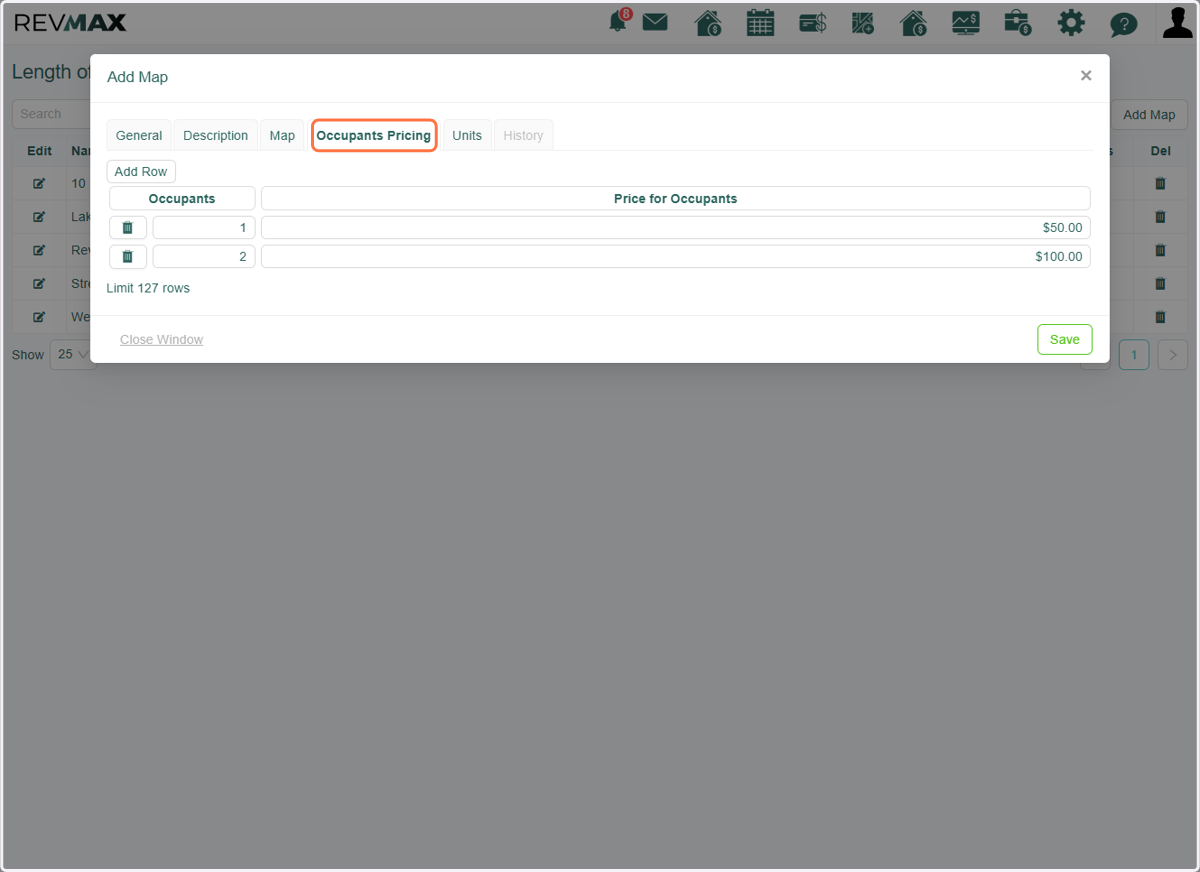
12. LOS Occupant Pricing is a feature that adjusts charges based on both the number of occupants and the length of stay. Any charges configured on this page will be added to the booked rate (see examples below). If you prefer not to use this feature, you can simply skip this page.
For example:
For 1-night reservations, the full occupant pricing is added on top of the base rate.For reservations of 2 nights or more, the occupant pricing is evenly divided across the total number
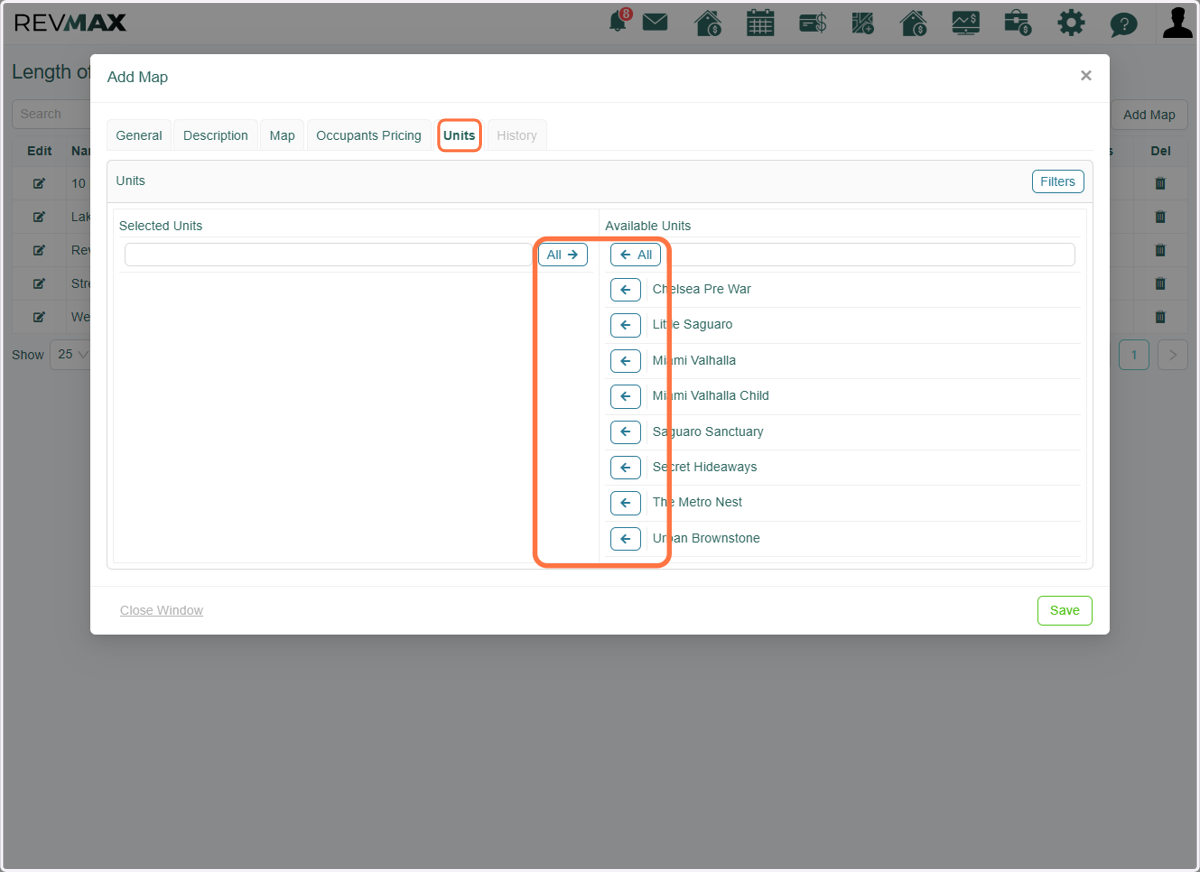
13. The Units tab allows you to select the specific units to which you want to apply the LOS strategies configured in the map. Please note that only one map can be assigned per unit.
You can use the arrow buttons to add (⬅) or remove (➡) a unit. To add or remove all units at once, simply click the 'All' button on each panel."
14. After configuring all strategies and entering the necessary data, be sure to click the Save button to save your map.
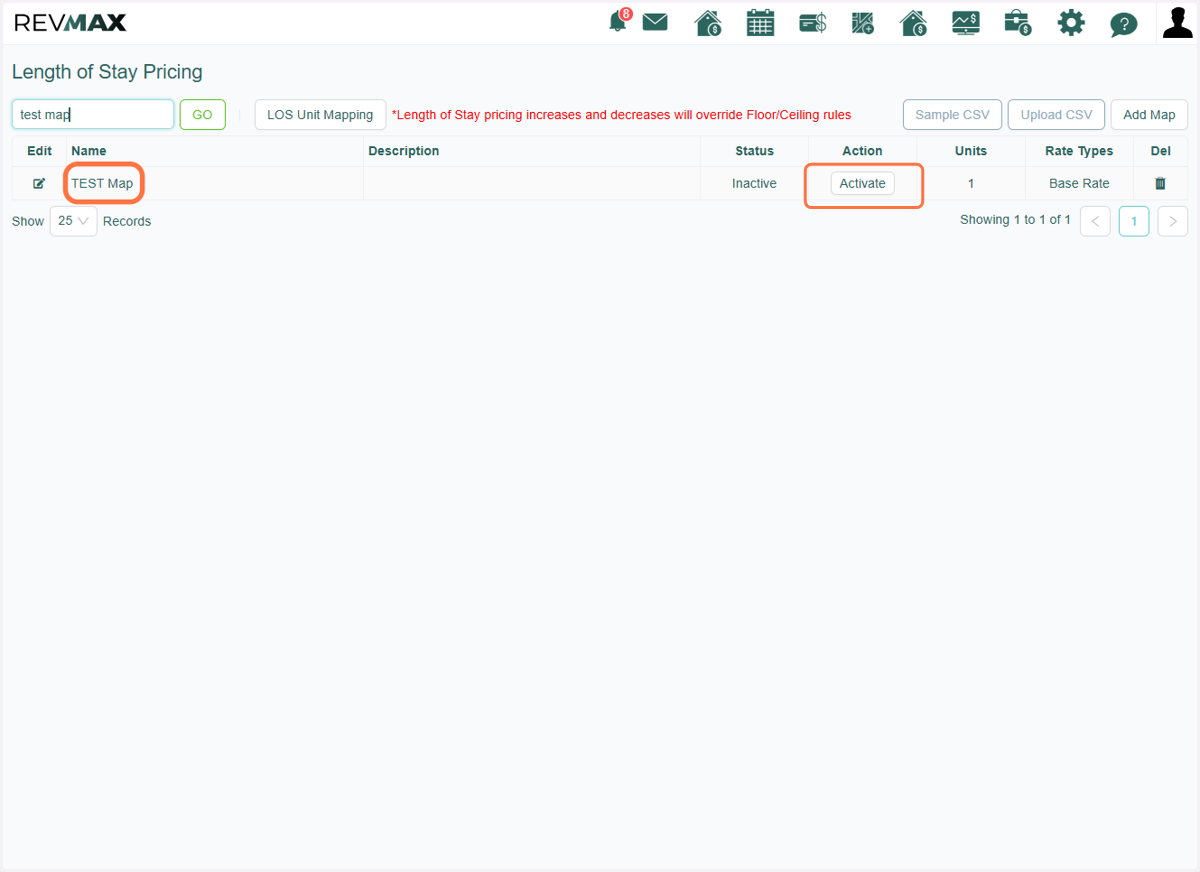
15. Once you've saved your map, it will appear on the Length of Stay Pricing page. To activate LOS pricing, make sure to click the Activate button.
16. Once LOS Pricing is activated, an 'L' icon will appear below the unit label, indicating that LOS Pricing is active for that unit.