How to add Organisation- Guernsey

Offshore Payroll

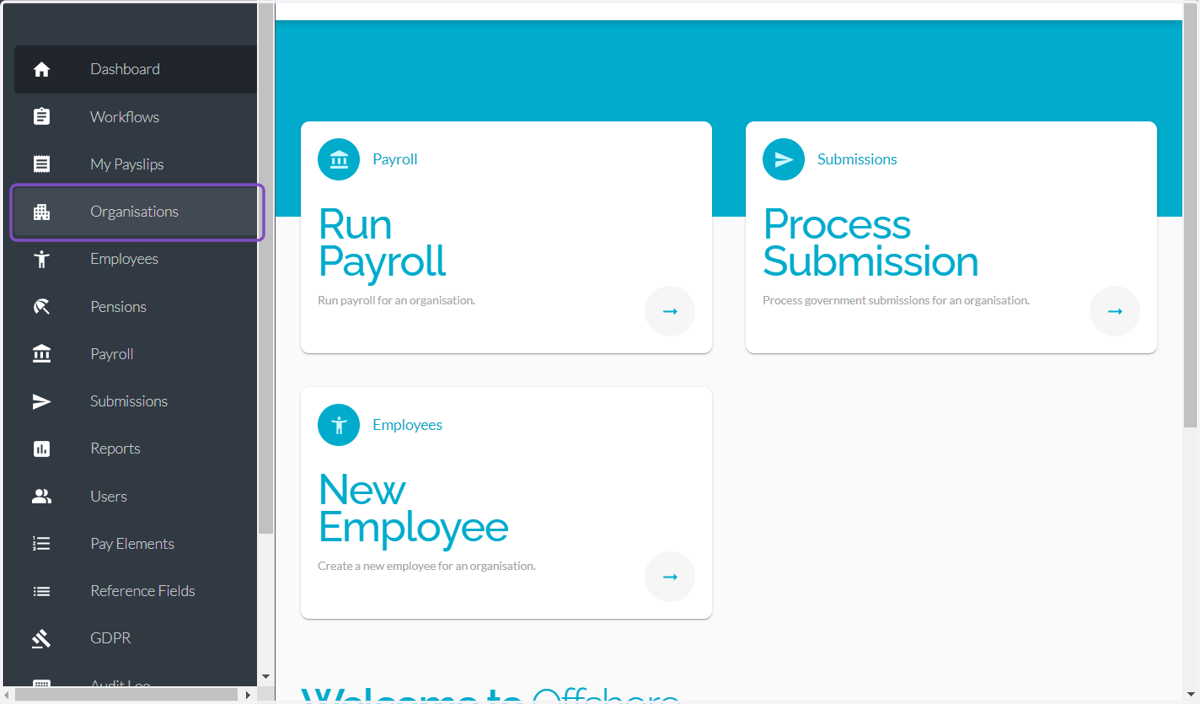
  1. 1. Click on Organisations

    Click on Organisations
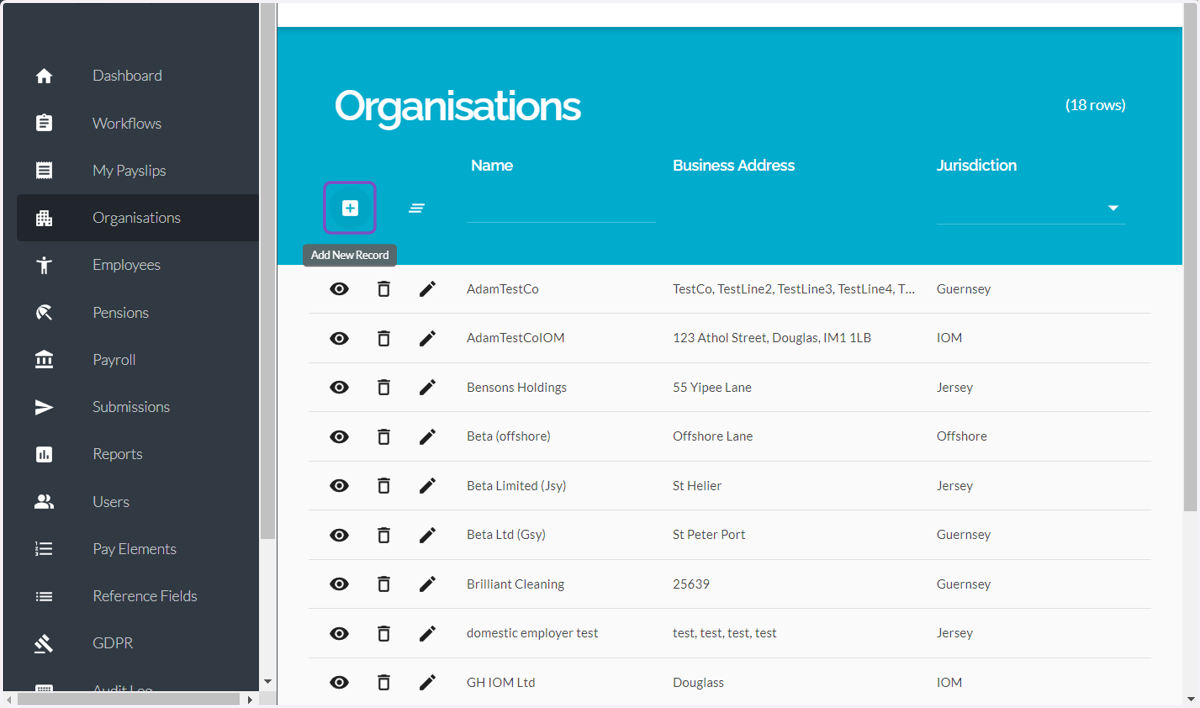
  2. 2. Click on Add New Record

    Click on Add New Record
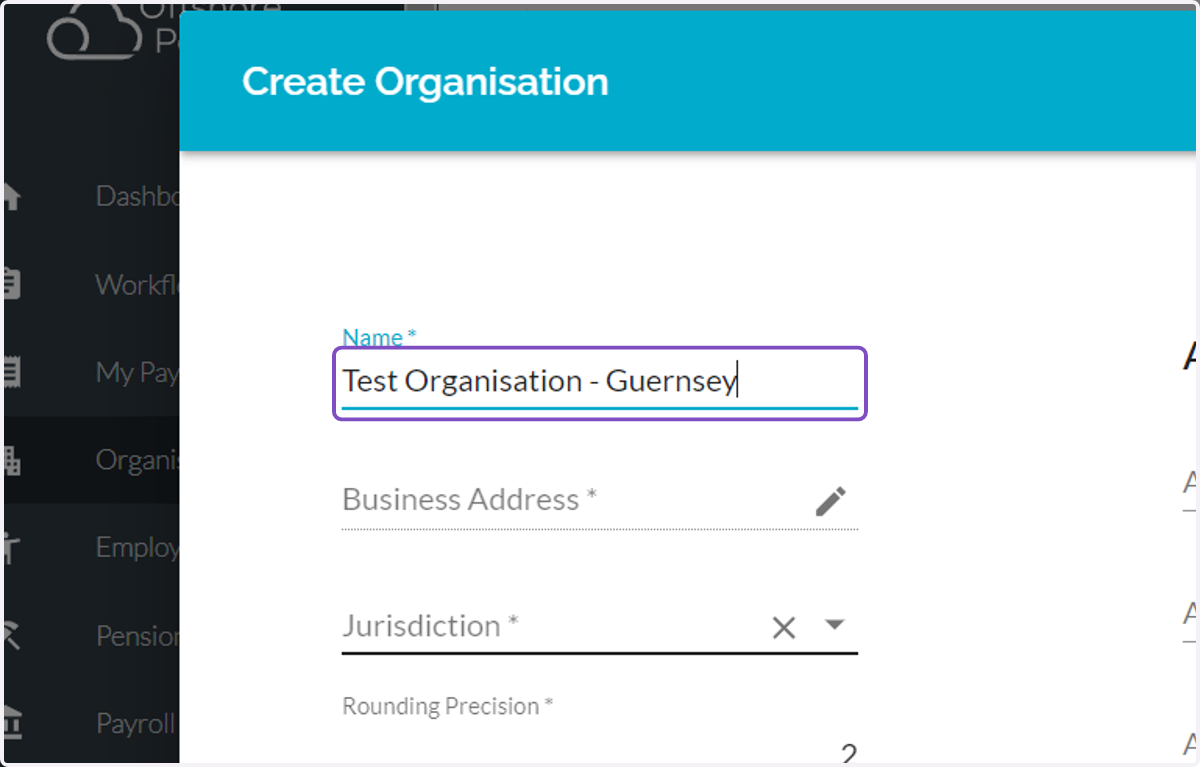
  3. 3. Type Organisation Name

    Type Organisation Name
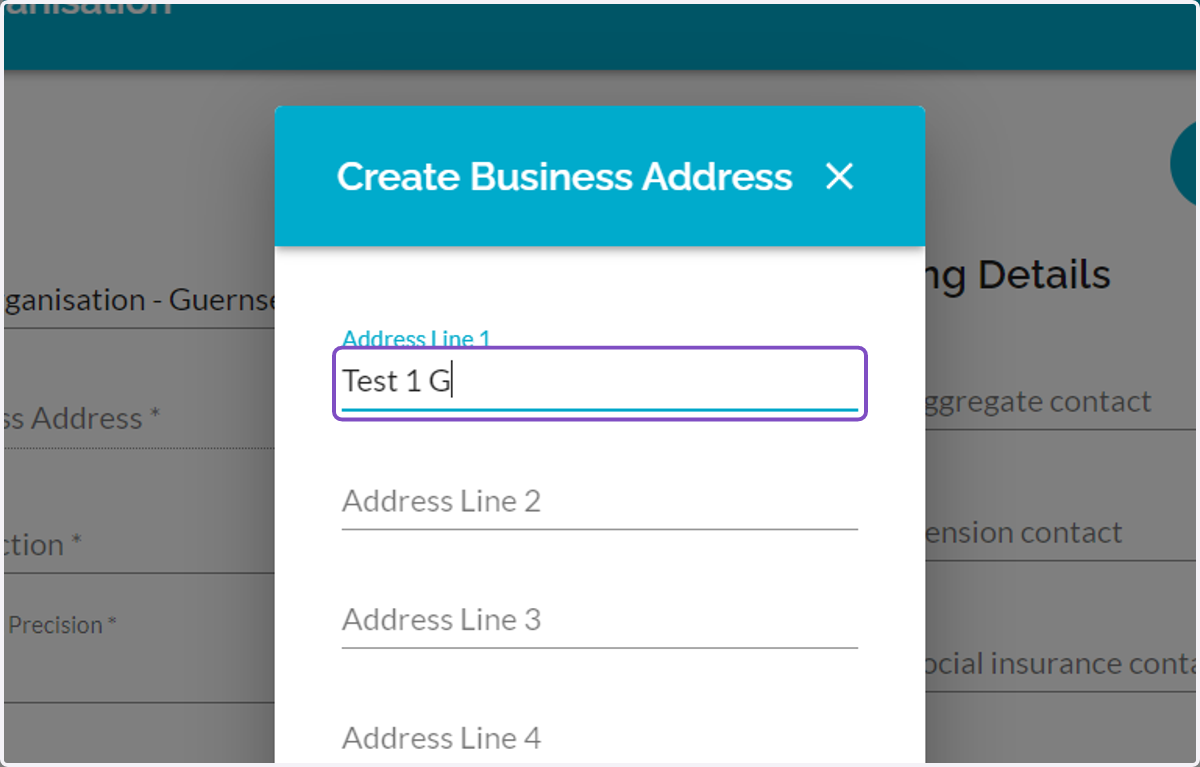
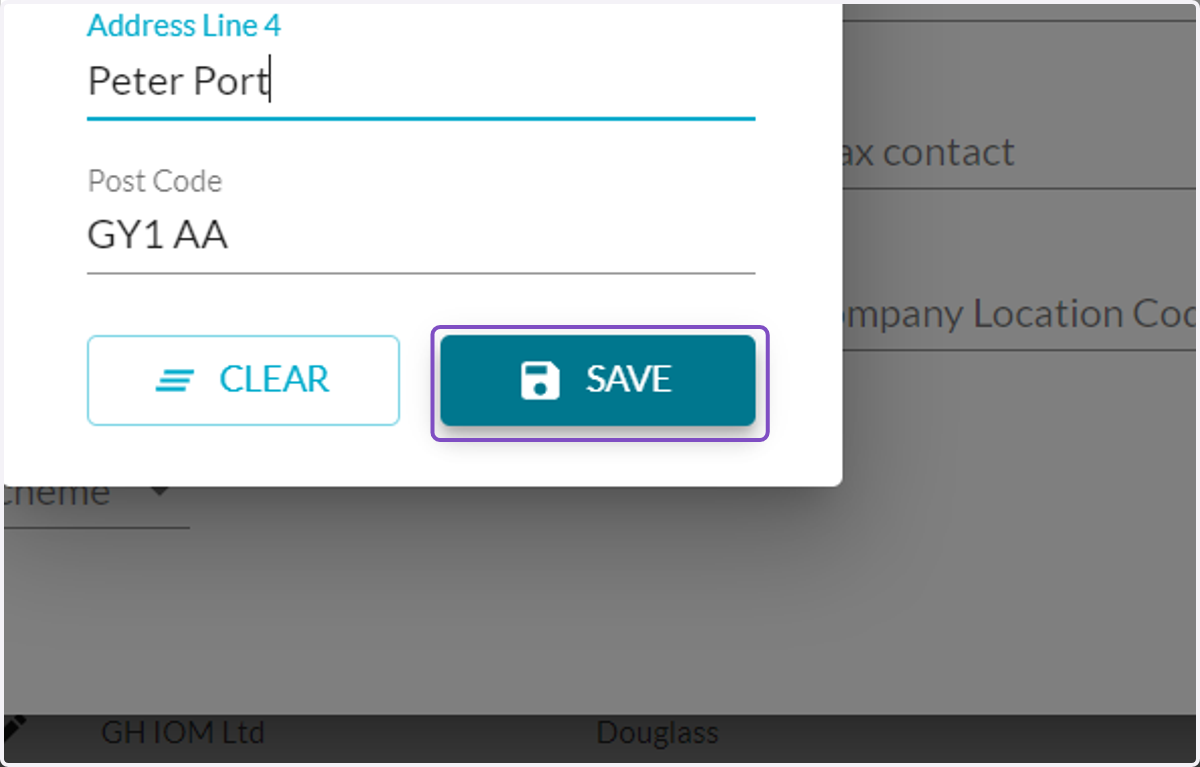
  4. 4. Type the address

    Type the address
  5. 5. Click on SAVE

    Click on SAVE
  6. 6. Click on Jurisdiction and select Guernsey
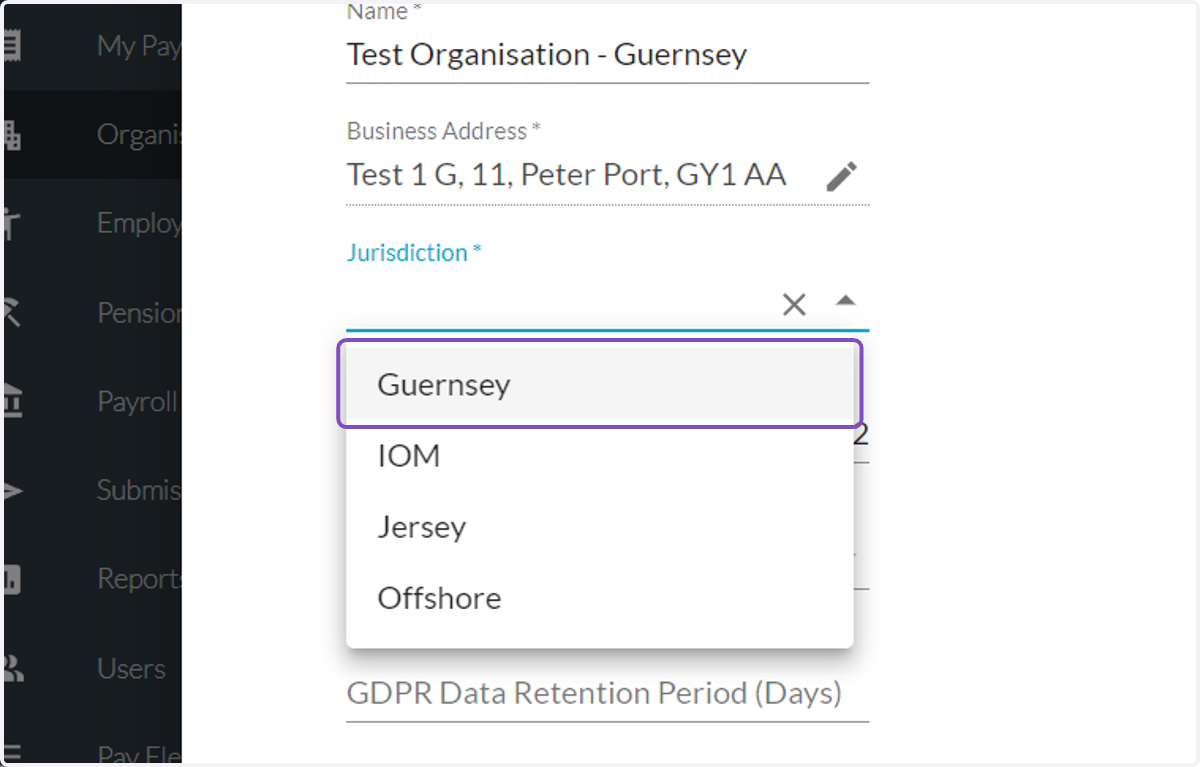
    Click on Jurisdiction and select Guernsey
  7. 7. Click on Portal Payslip Visibility and choose an option
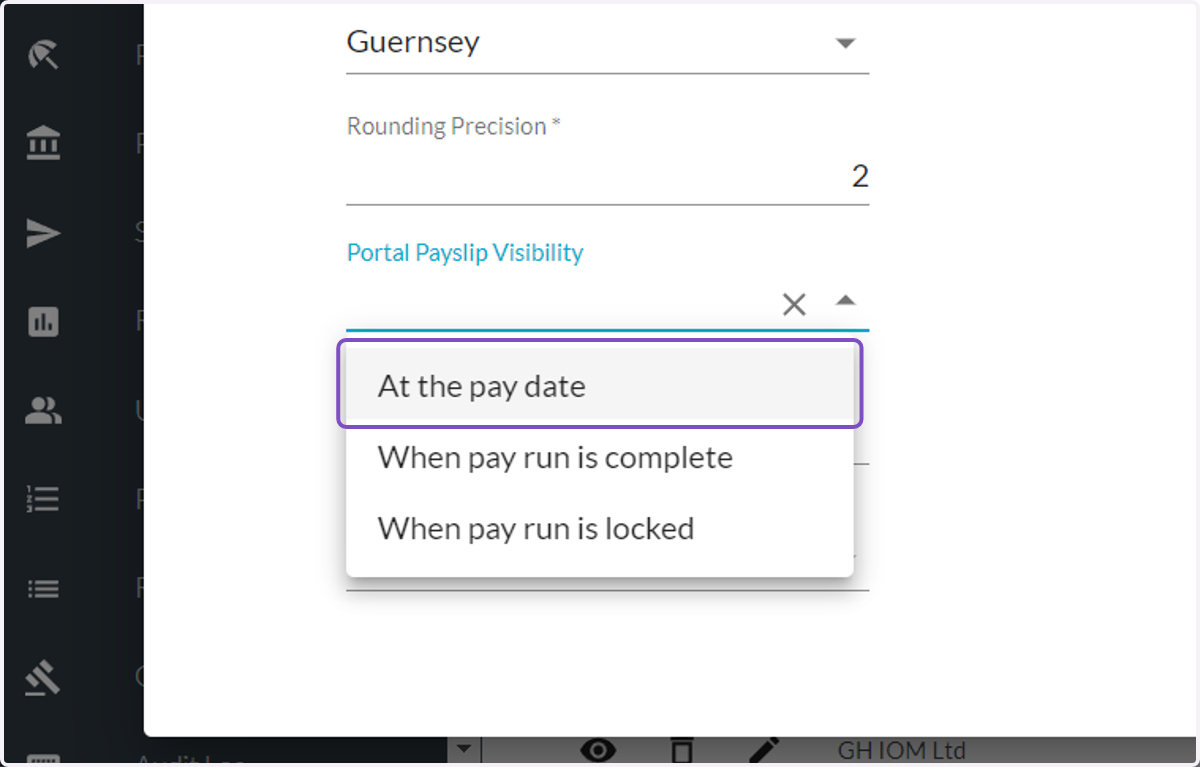
    Click on Portal Payslip Visibility and choose an option
  8. 8. Type the number of GDPR Retension day

    Please make sure to check the legislation to know the number of days
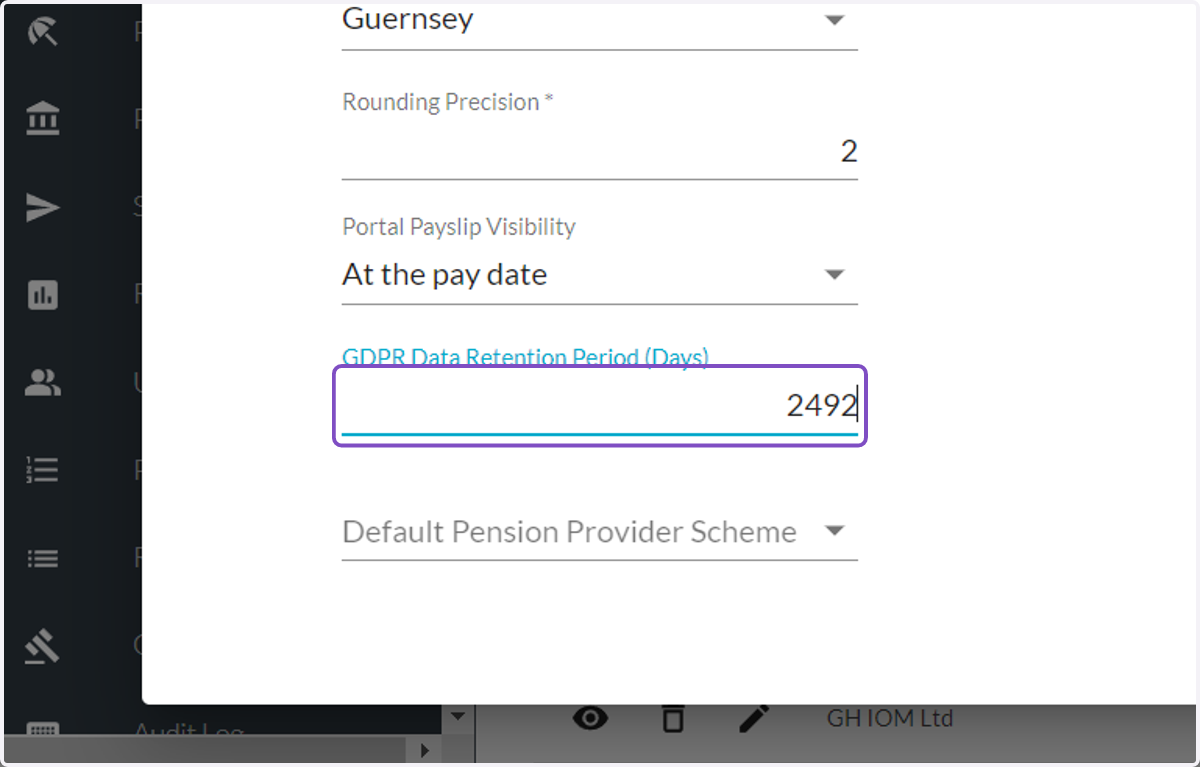
    Type the number of GDPR Retension day
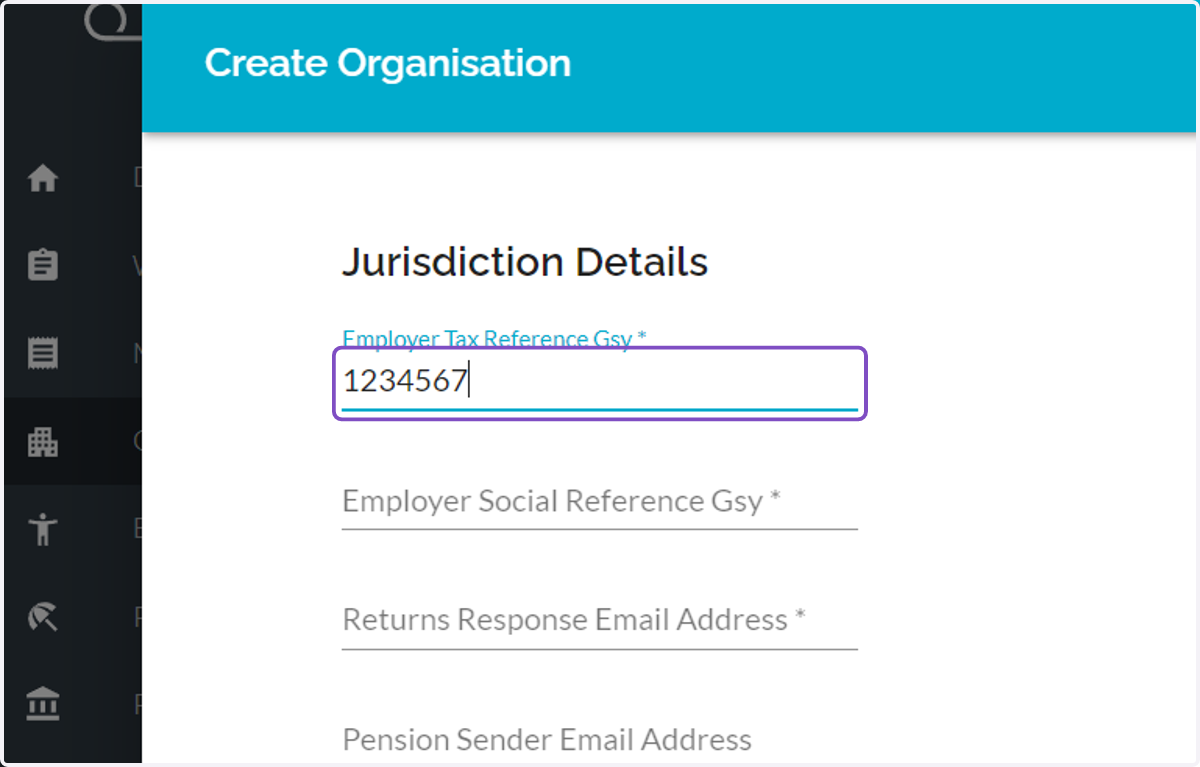
  9. 9. Type Employer Tax Reference Gsy

    Type Employer Tax Reference Gsy
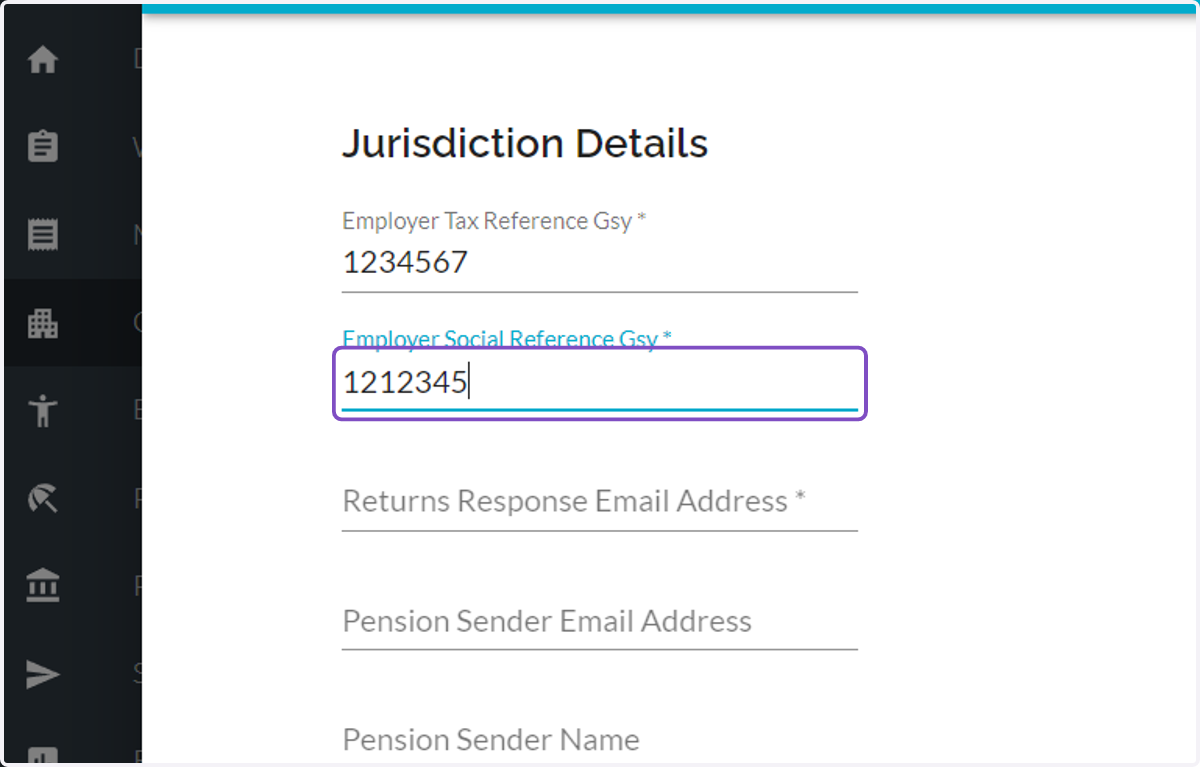
  10. 10. Type Employer Tax Reference Gsy

    Type Employer Tax Reference Gsy
  11. 11. Type the email for Returns Response
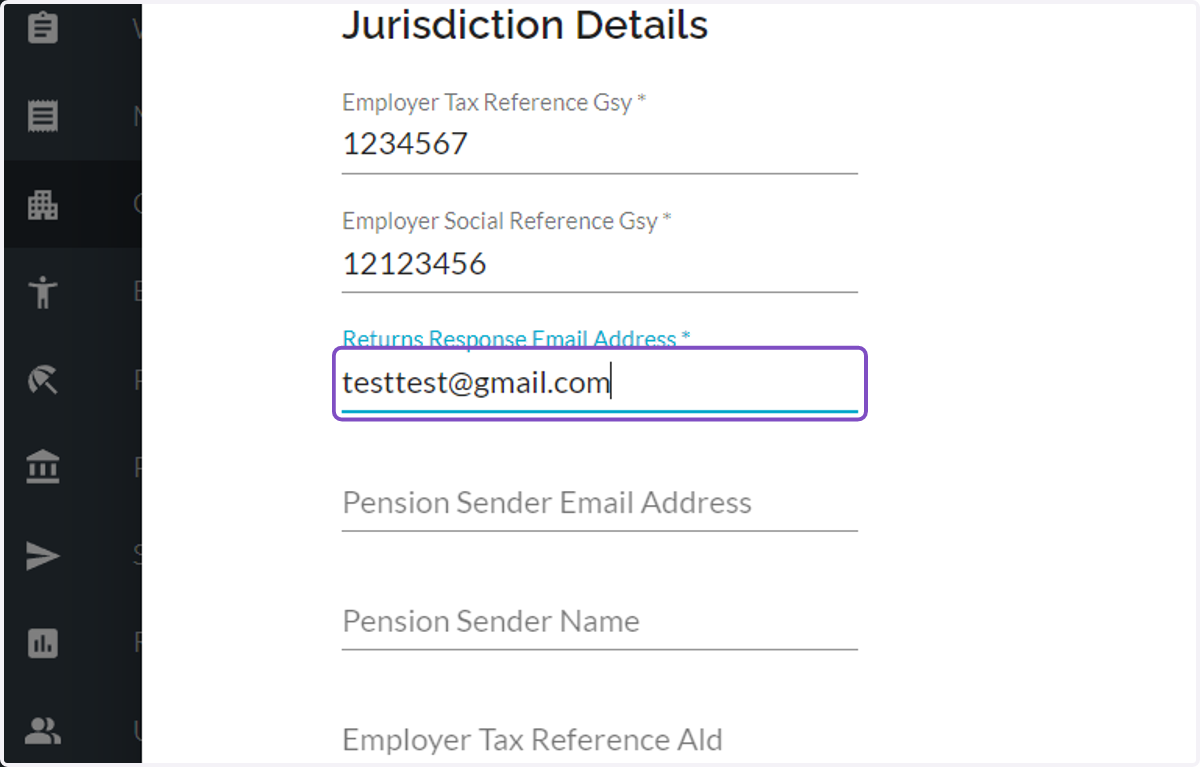
    Type the email for Returns Response
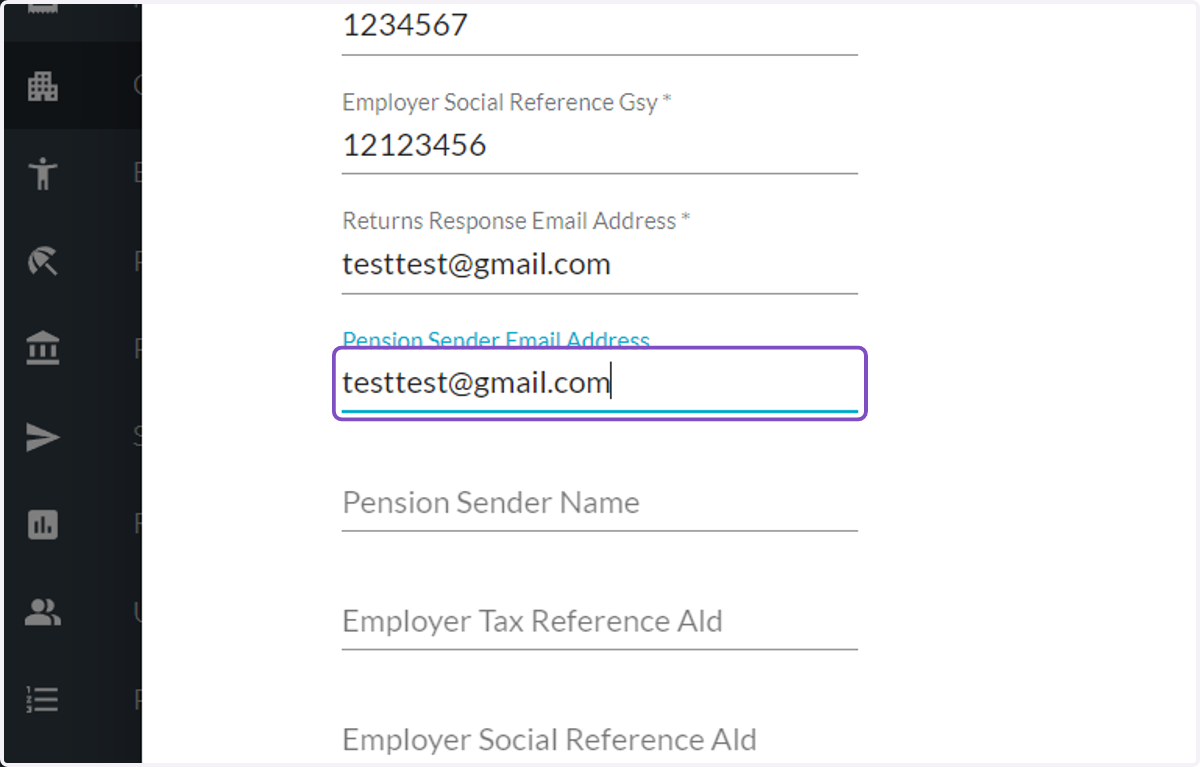
  12. 12. Paste Pension Sender Email

    Paste Pension Sender Email
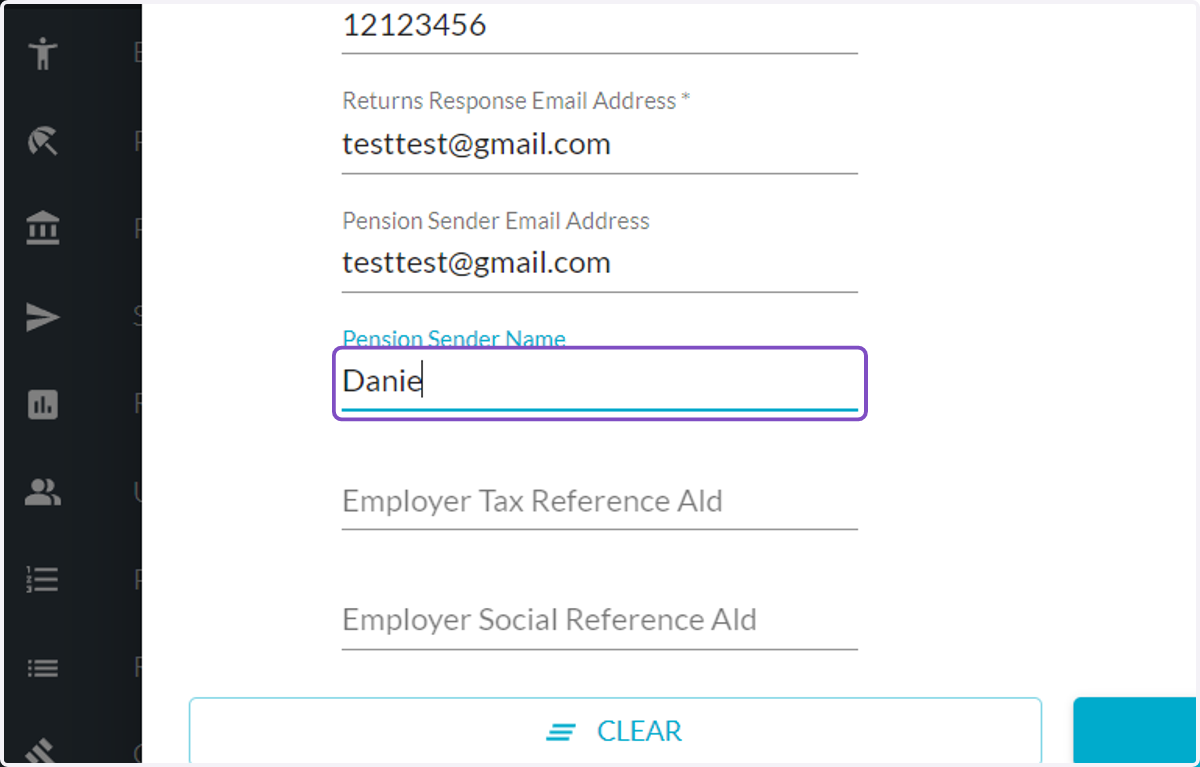
  13. 13. Type Pension Sender Name

    Type Pension Sender Name
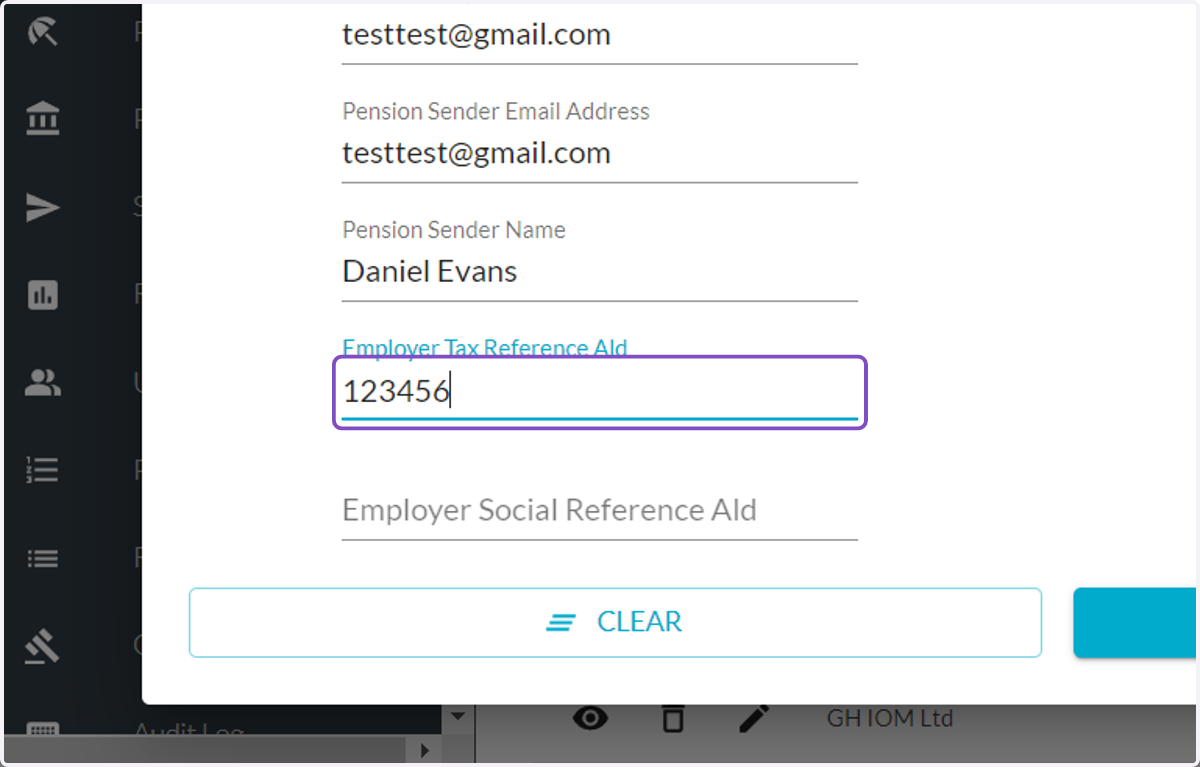
  14. 14. Type Employer Tax Reference Ald

    Type Employer Tax Reference Ald
  15. 15. Type Employer Social Reference Ald
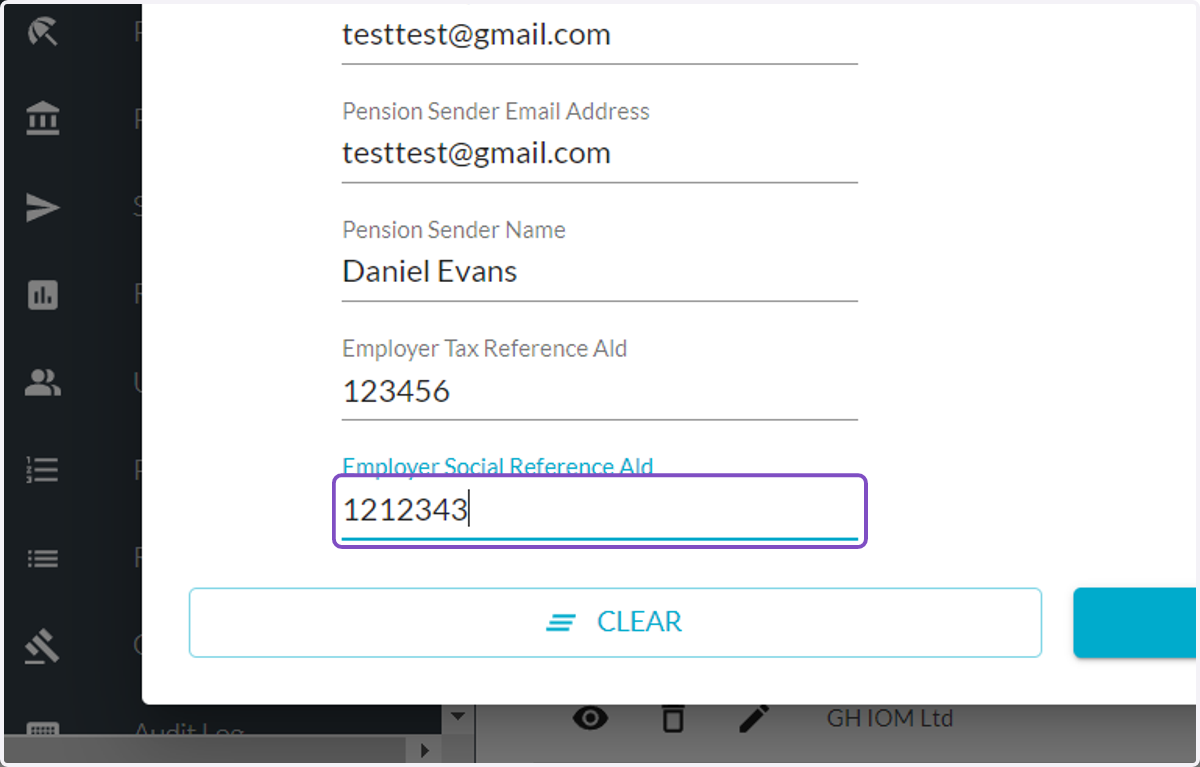
    Type Employer Social Reference Ald
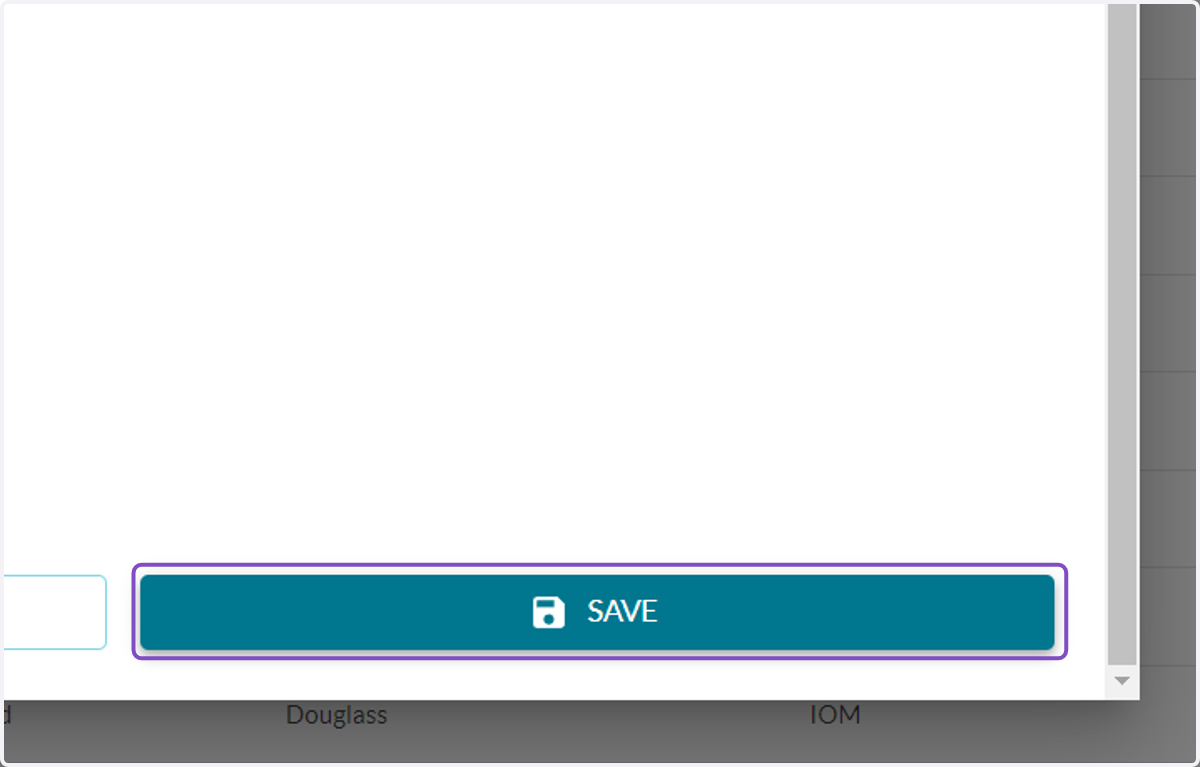
  16. 16. Click on SAVE

    Click on SAVE
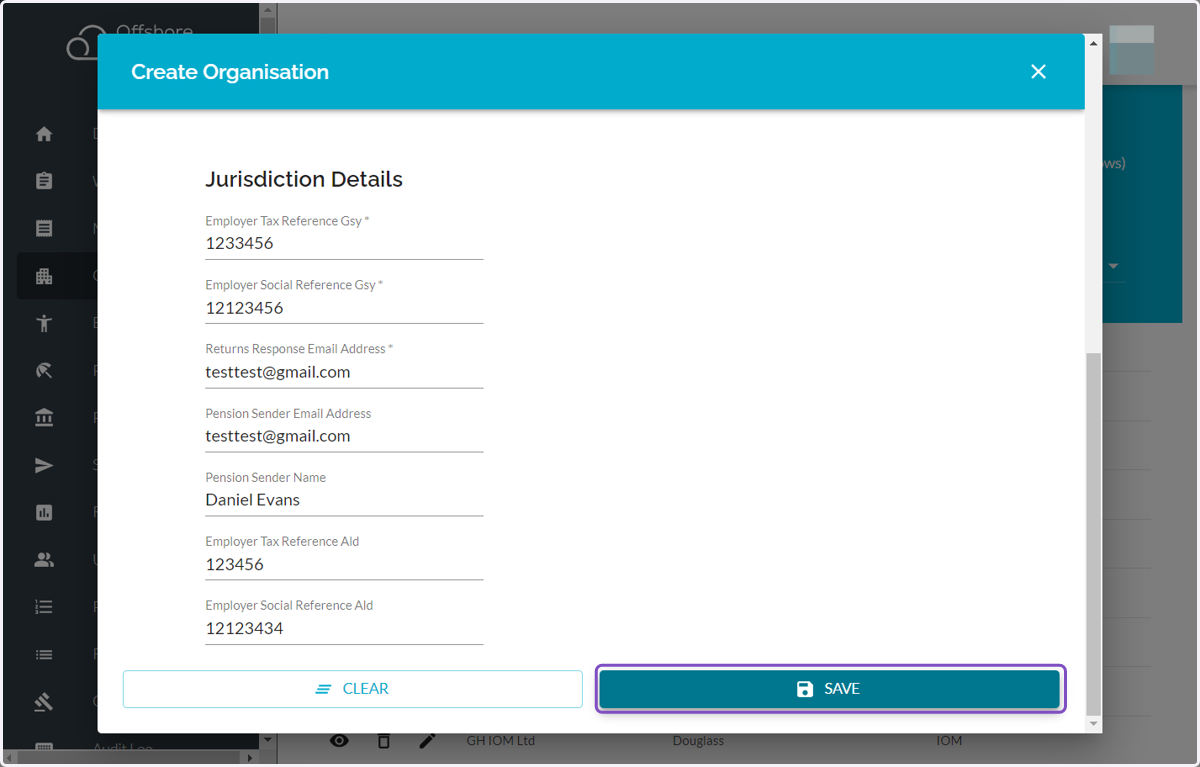
  17. 17. Click on SAVE

    Click on SAVE
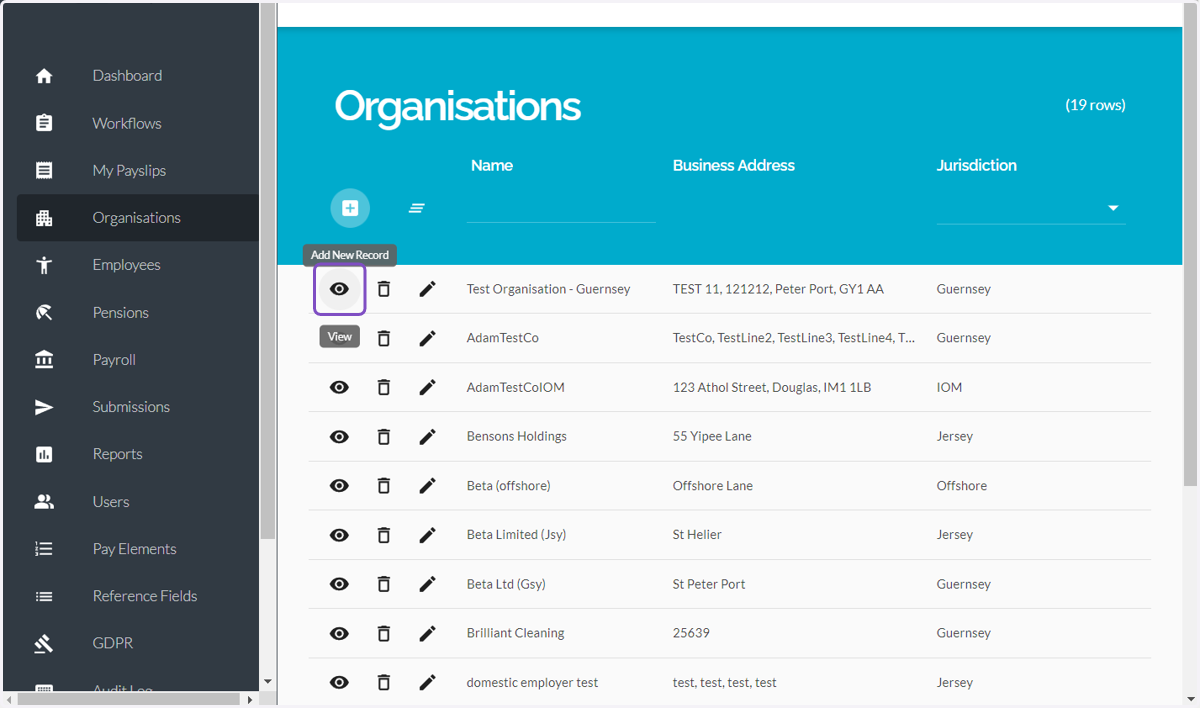
  18. 18. Click on View

    Click on View
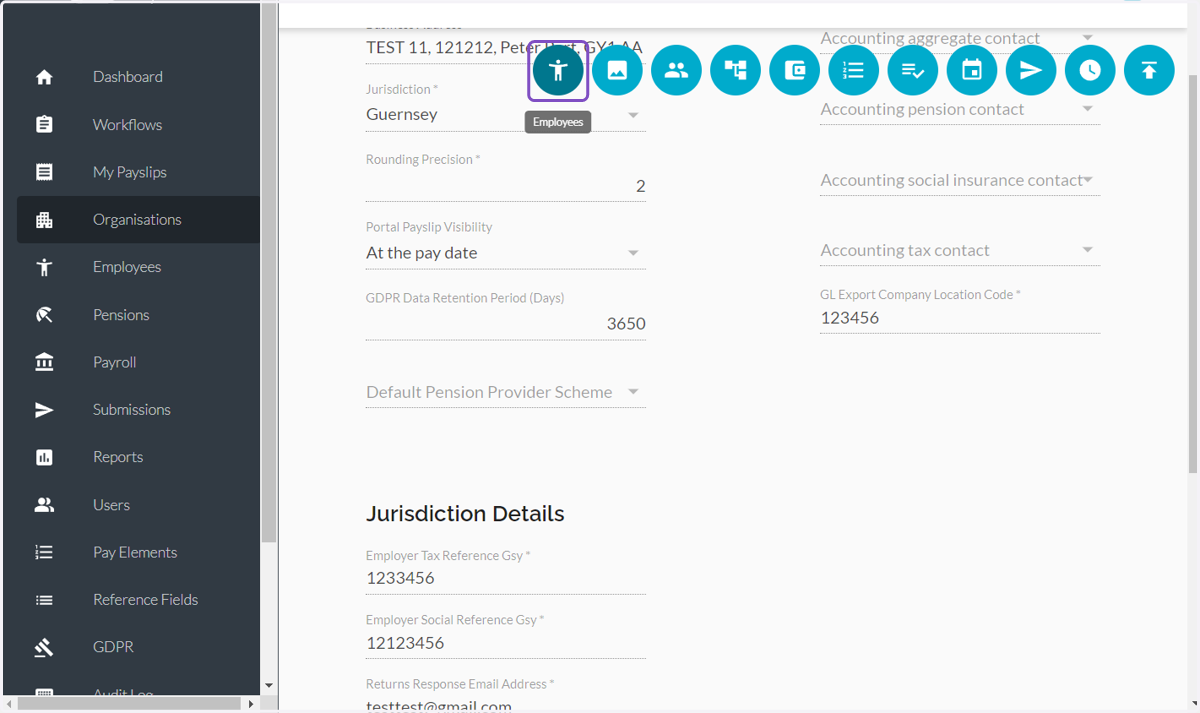
  19. 19. Click on Employees

    Click on Employees
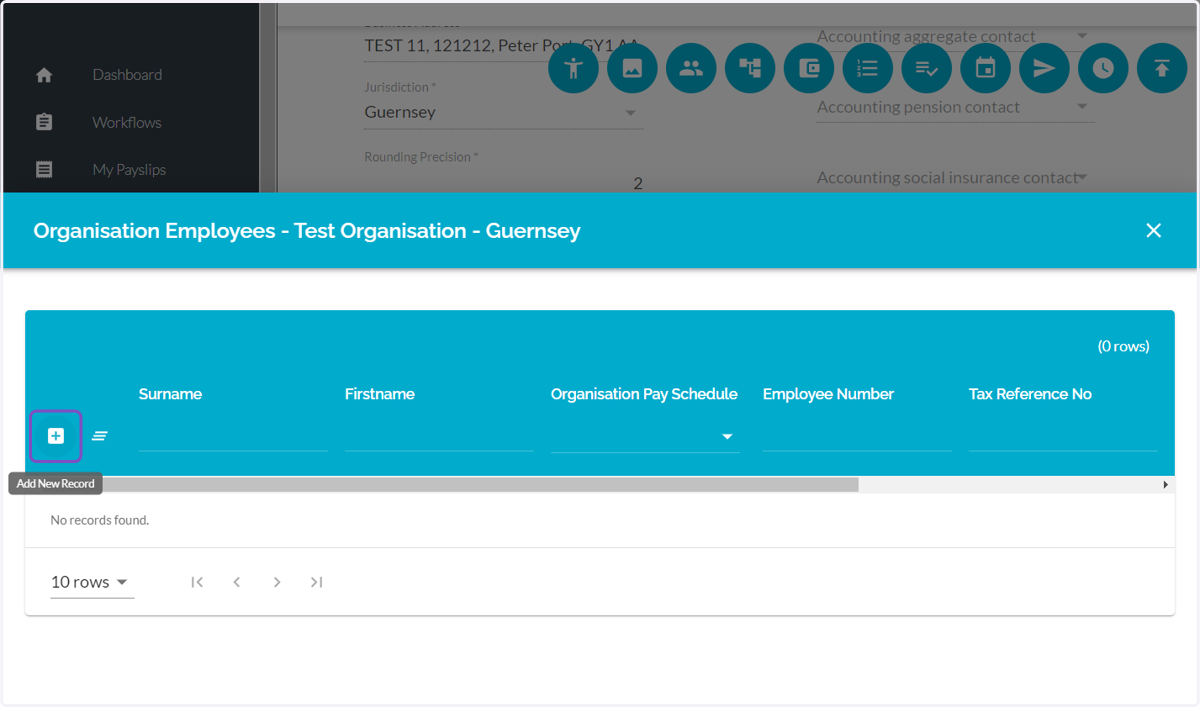
  20. 20. Click on Add New Record

    Click on Add New Record
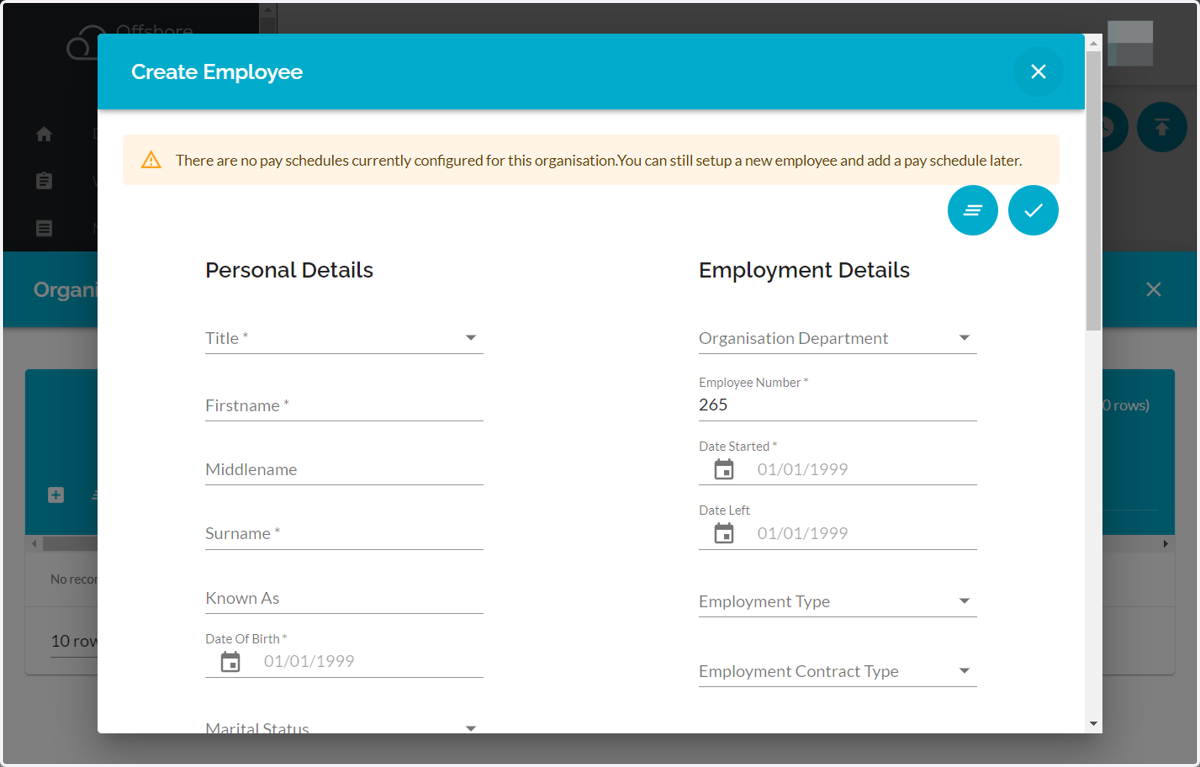
  21. 21. Click on Create Employee

    Click on Create Employee
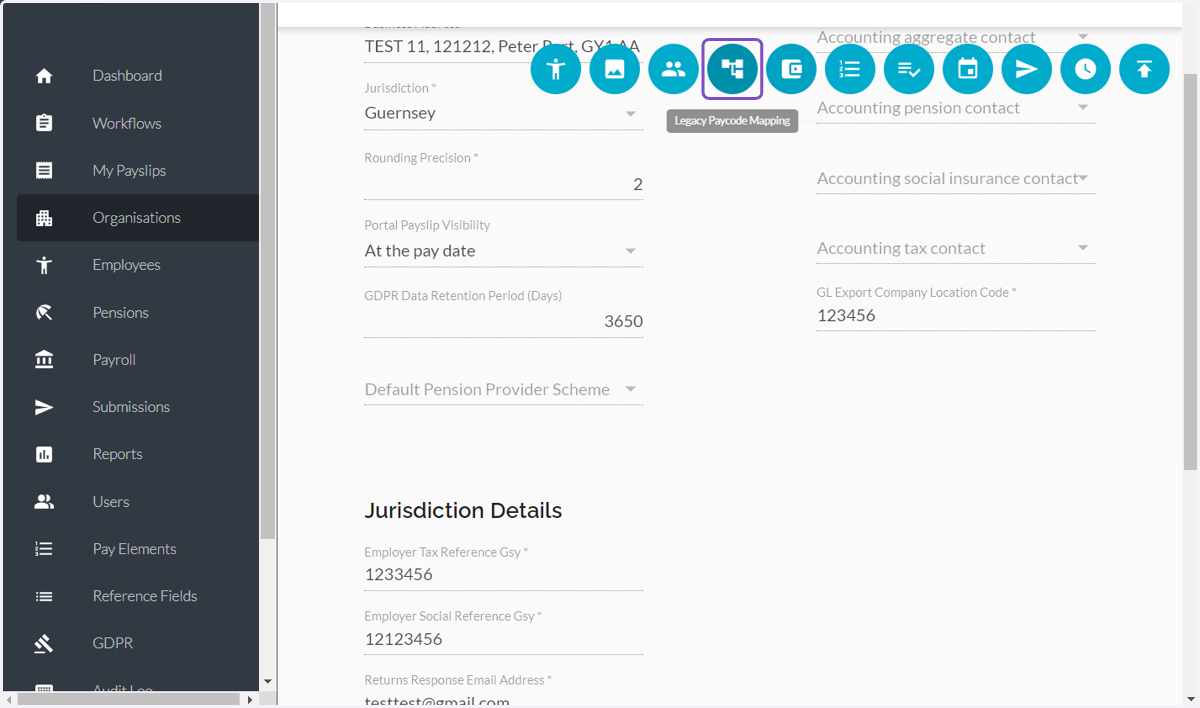
  22. 22. Click on Legacy Paycode Mapping

    Click on Legacy Paycode Mapping
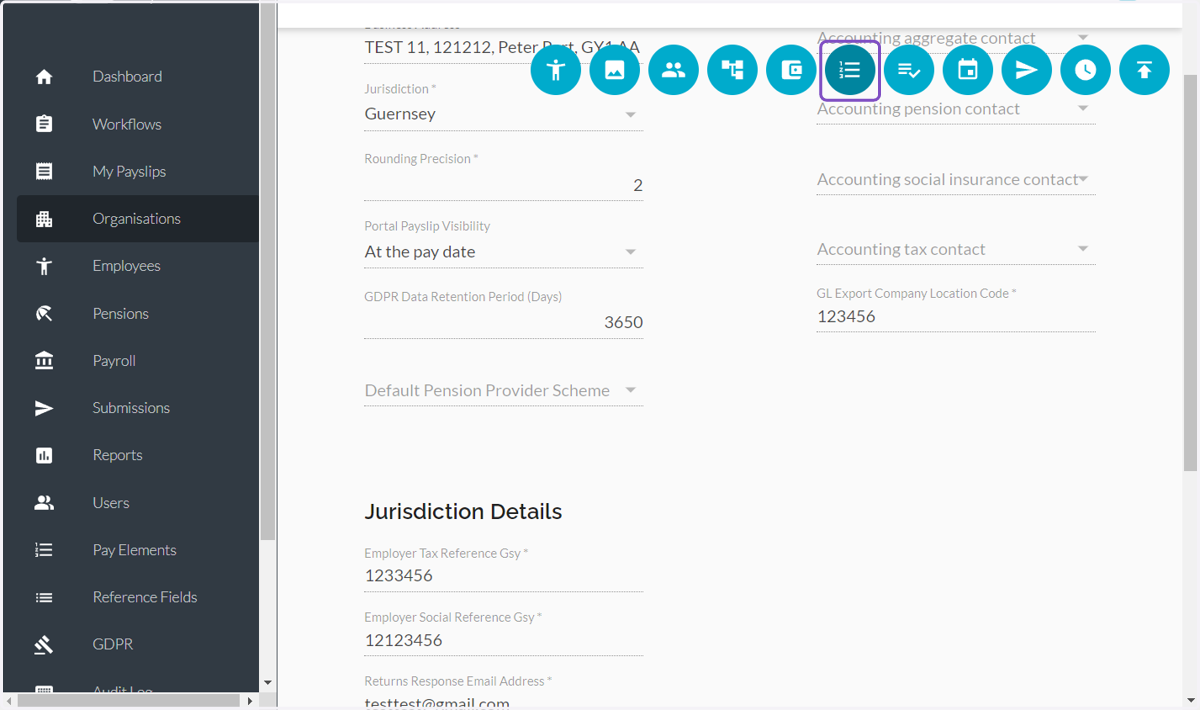
  23. 23. Click on Pay Template

    Click on Pay Template
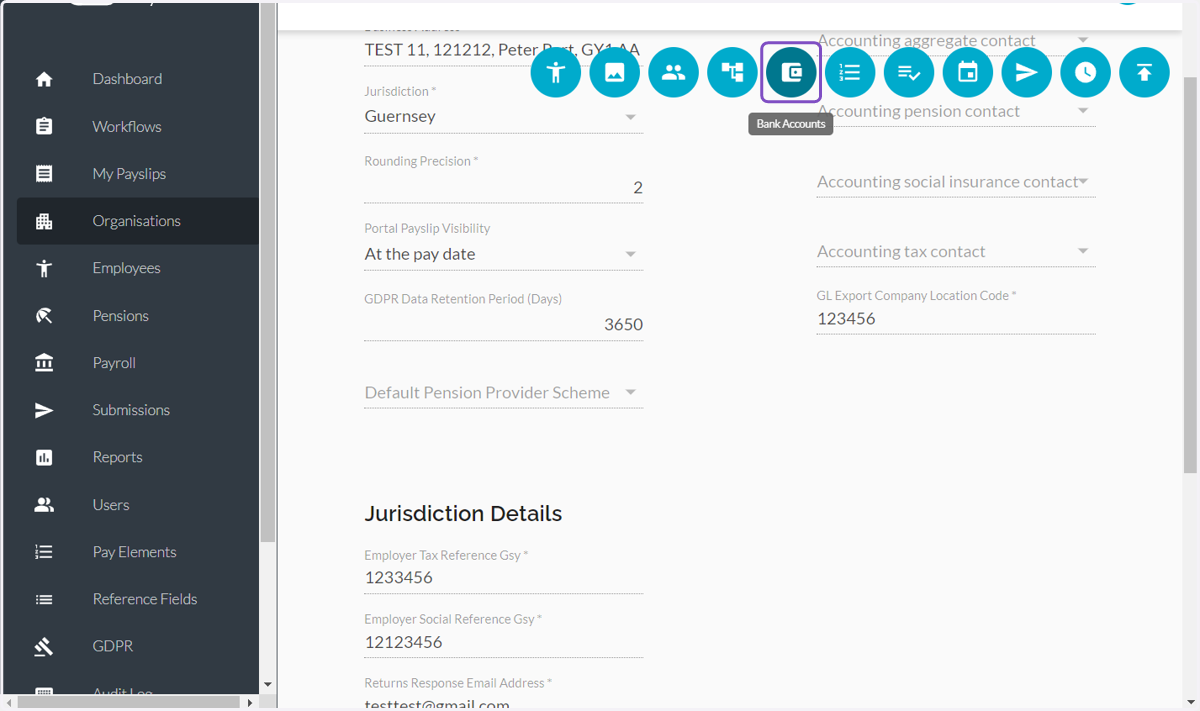
  24. 24. Click on Bank Accounts

    Click on Bank Accounts
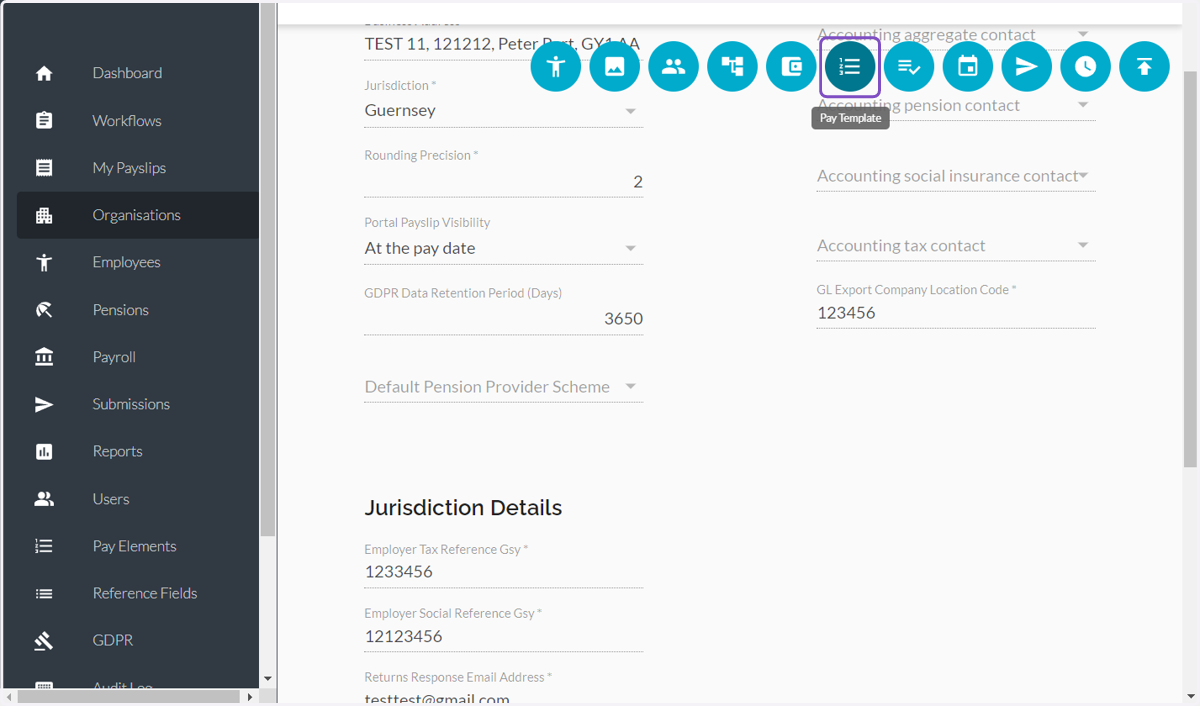
  25. 25. Click on Pay Template

    Click on Pay Template
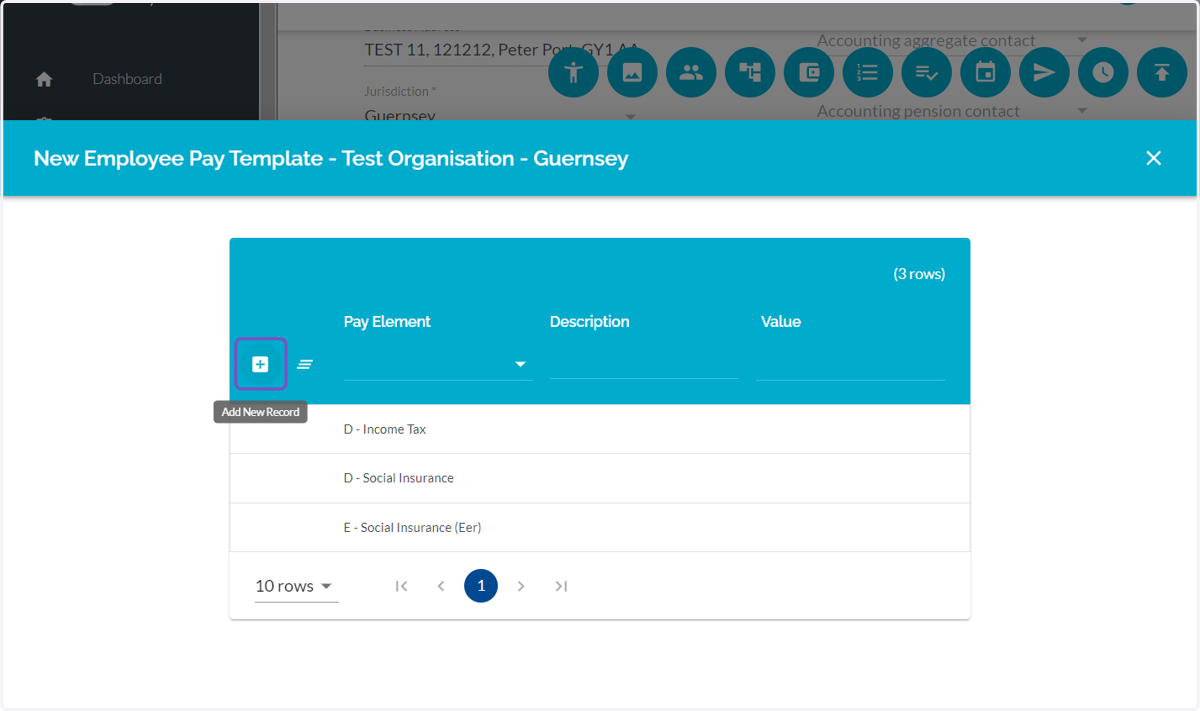
  26. 26. Click on Add New Record

    Click on Add New Record
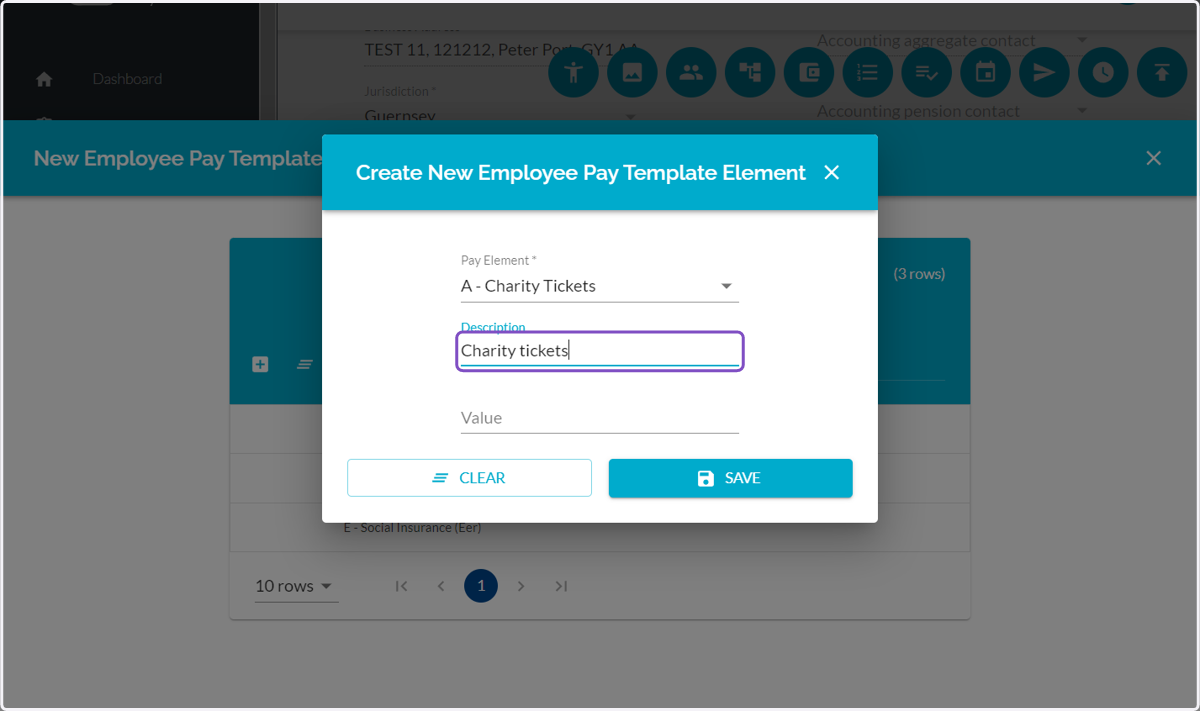
  27. 27. Click on Pay Element and select the options you need
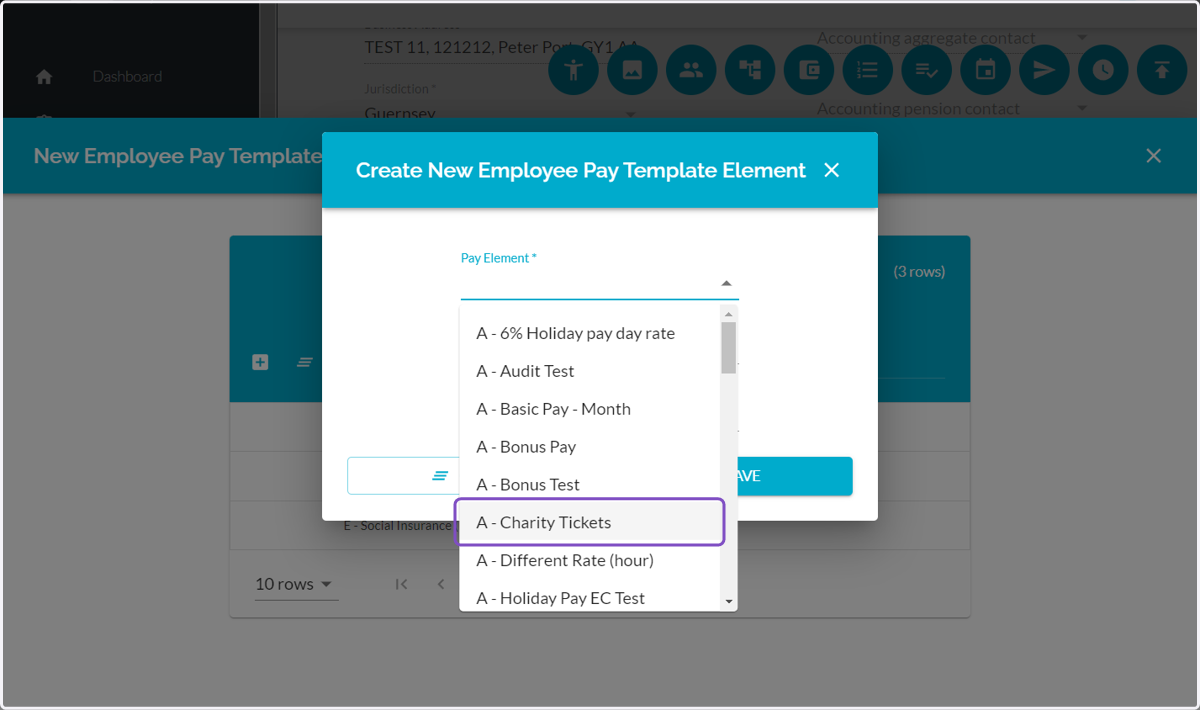
    Click on Pay Element and select the options you need
  28. 28. Type "Charity tickets"

    Type "Charity tickets"
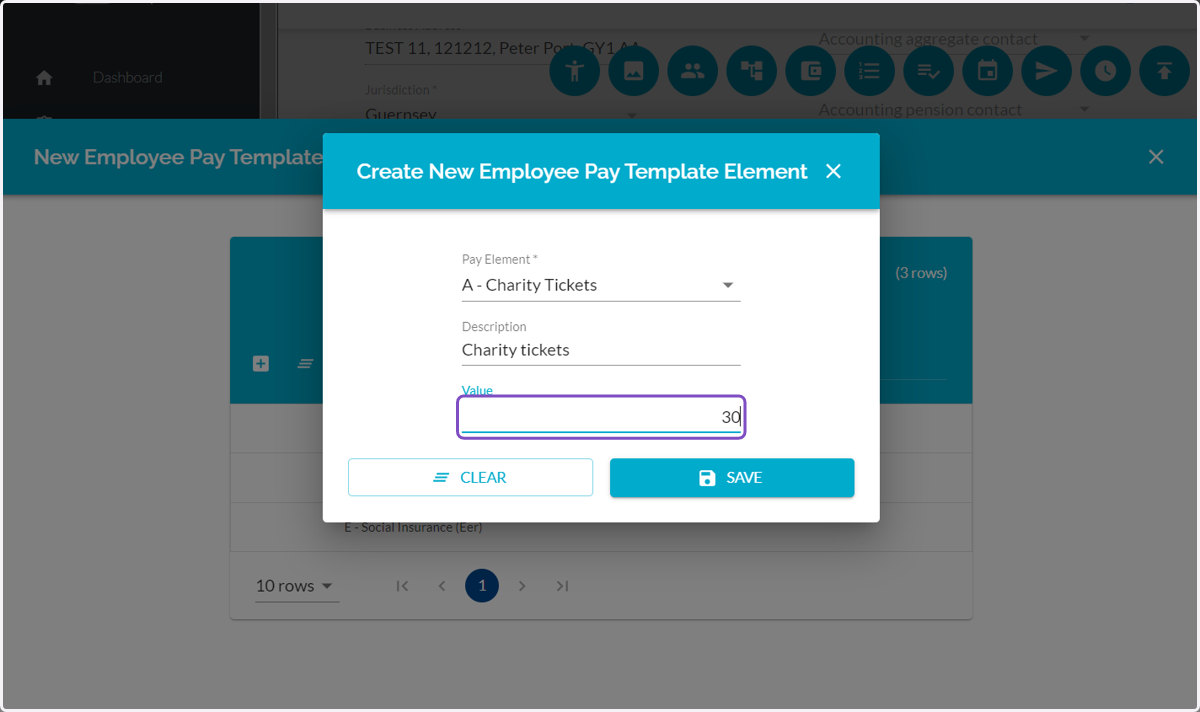
  29. 29. Type Value

    Type Value
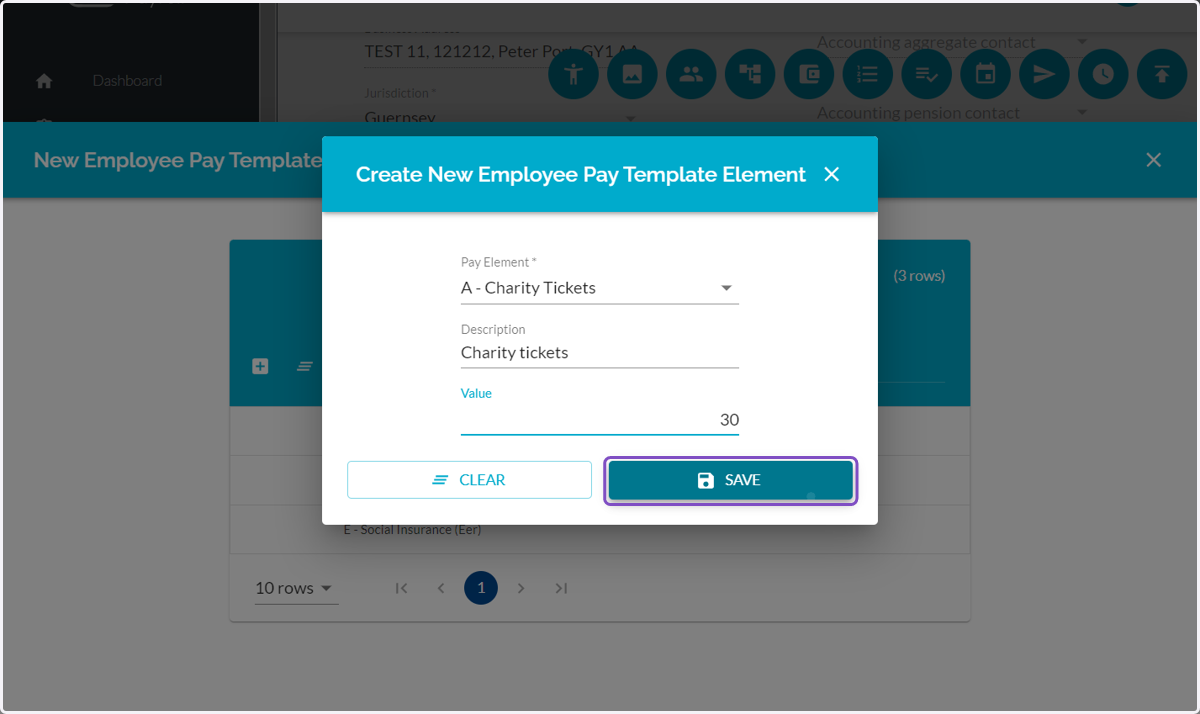
  30. 30. Click on SAVE

    Click on SAVE
  31. 31. Click on New Employee Pay Template
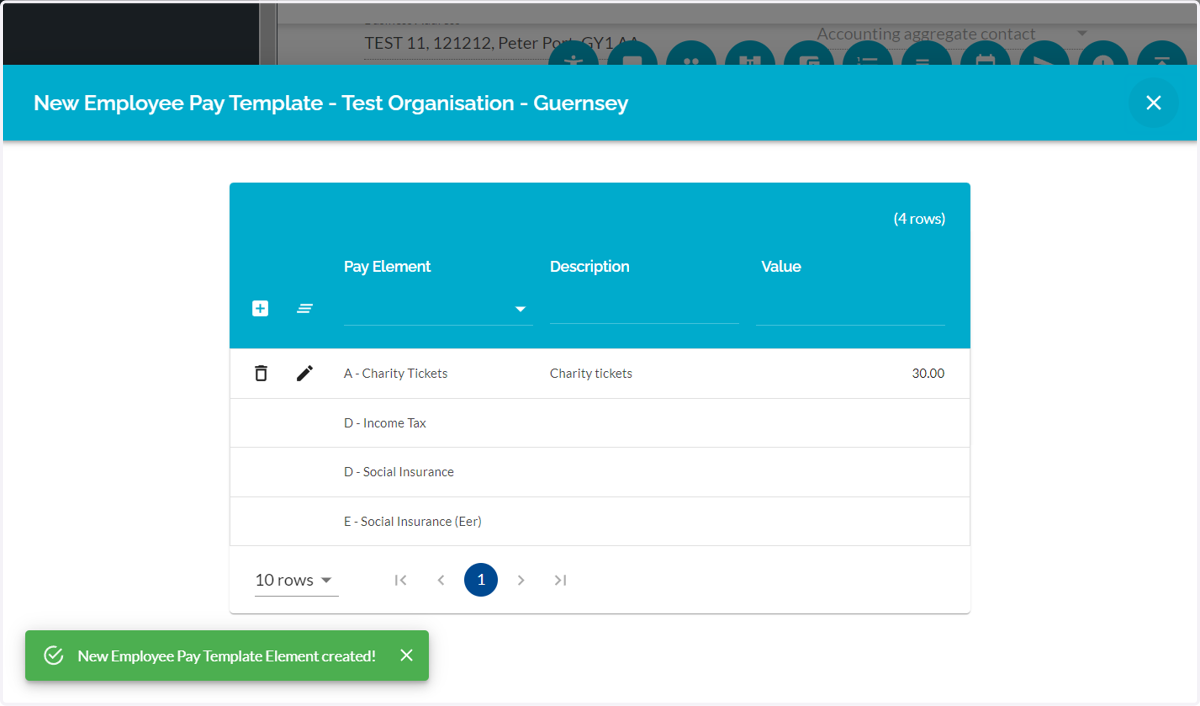
    Click on New Employee Pay Template
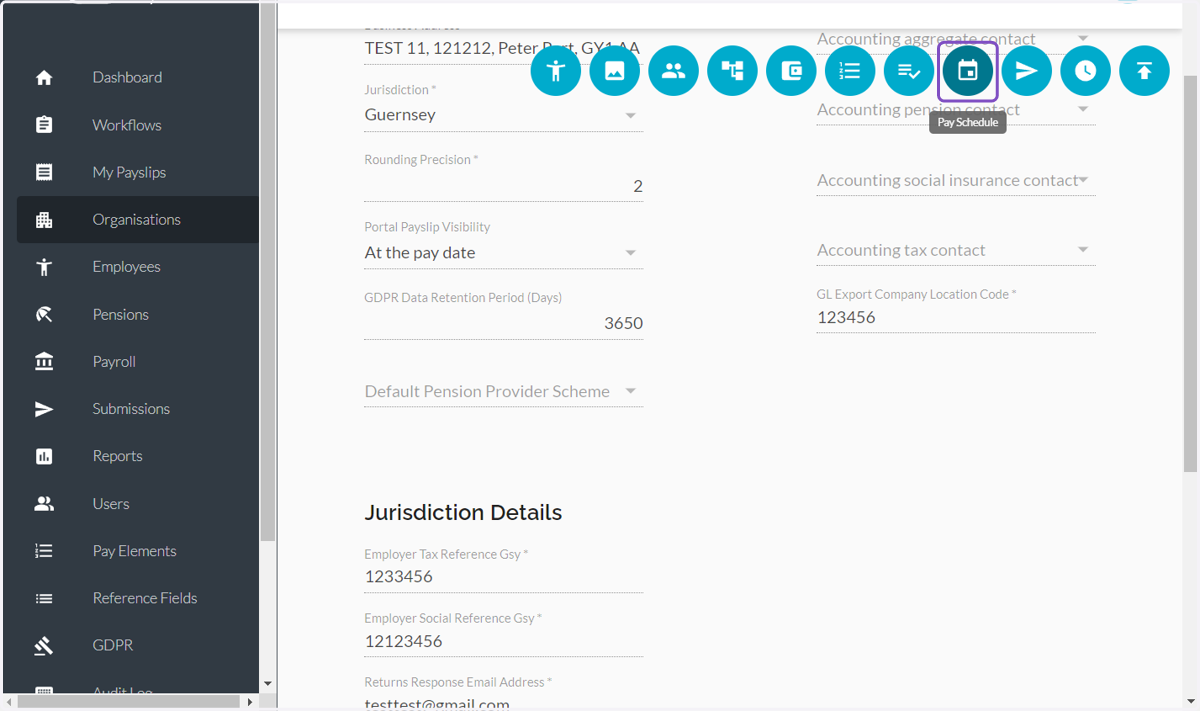
  32. 32. Click on Pay Schedule

    Click on Pay Schedule
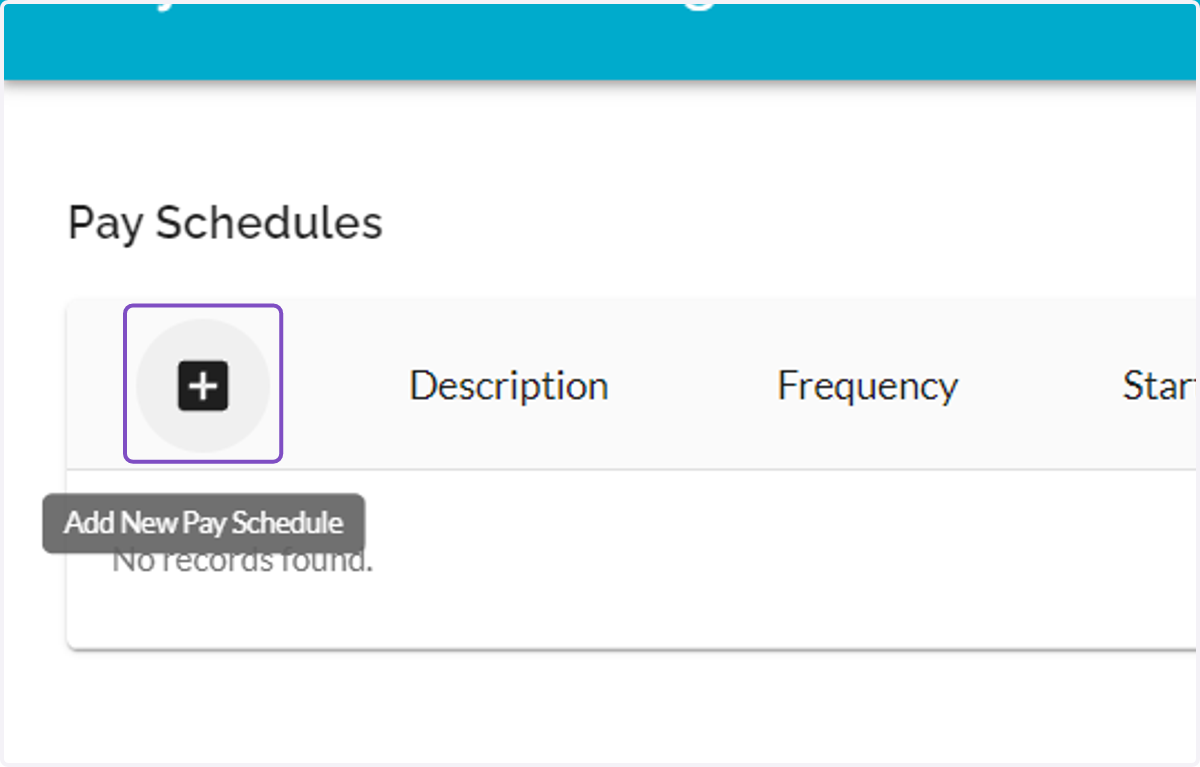
  33. 33. Click on Add New Pay Schedule

    Click on Add New Pay Schedule
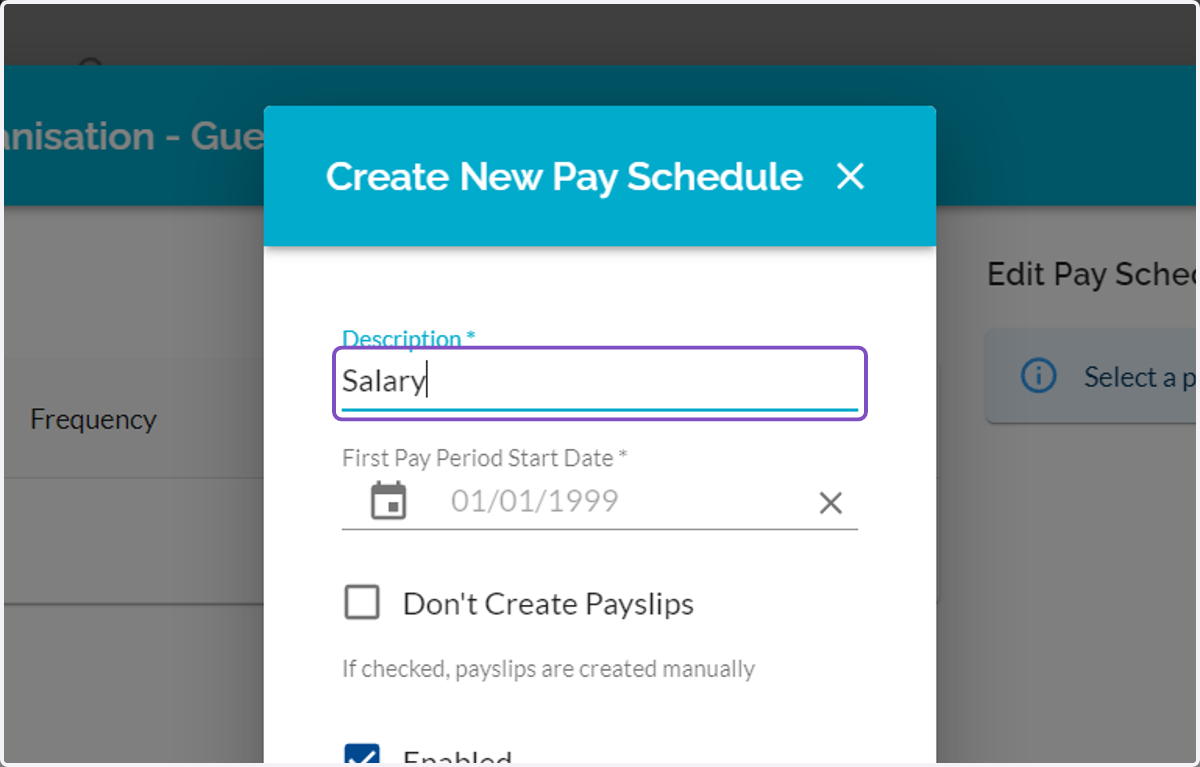
  34. 34. Type Pay Schedule Name

    Type Pay Schedule Name
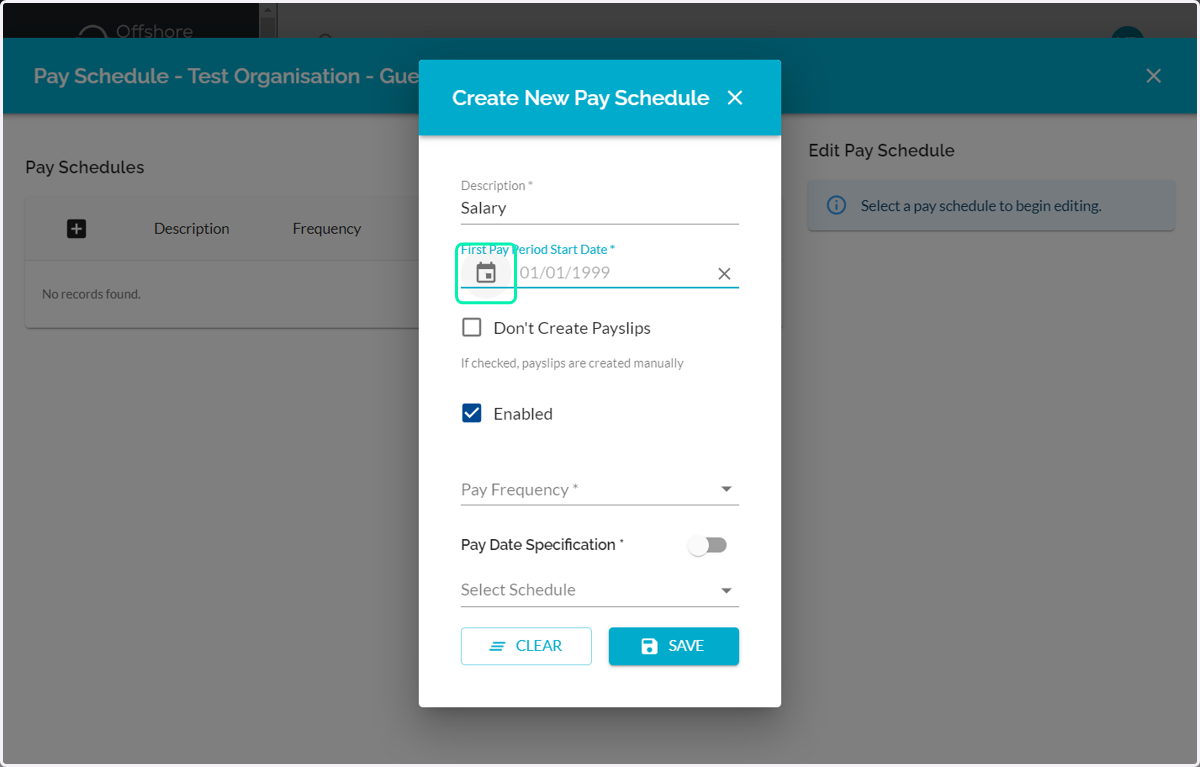
  35. 35. Click on Calendar Icon to select the First Pay Period Start Date (This is the pay date)
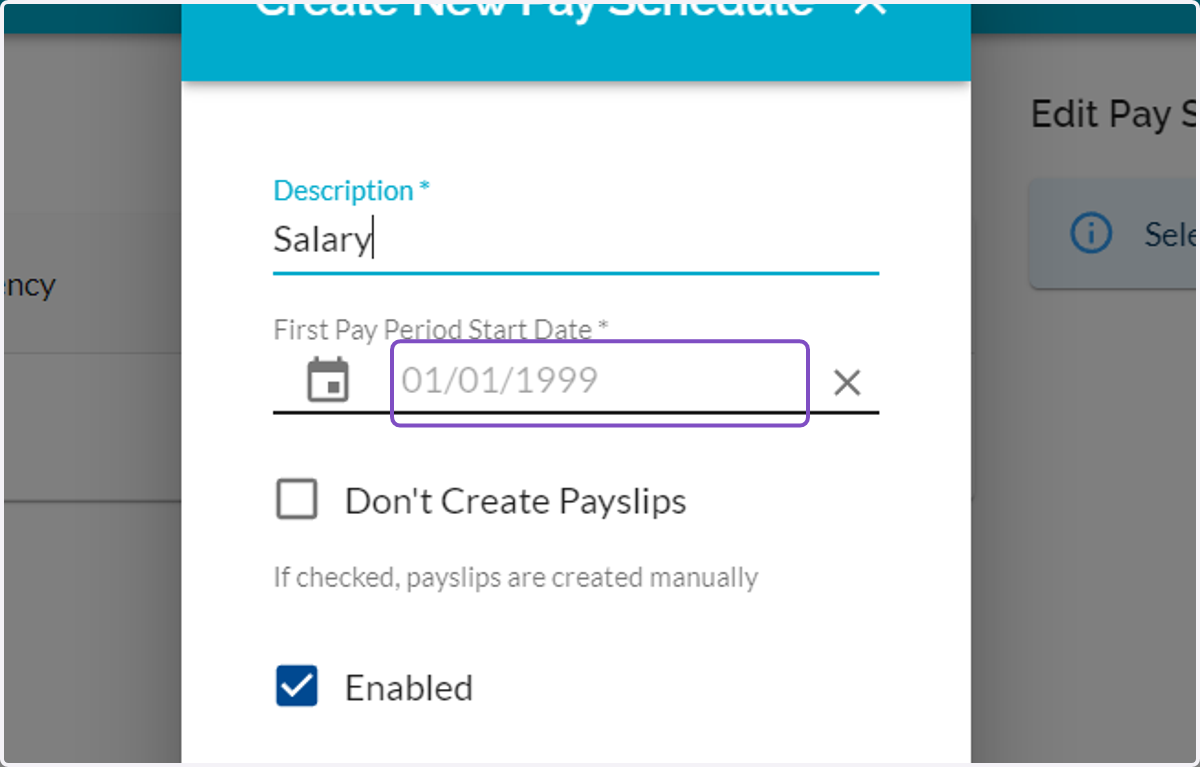
    Click on Calendar Icon to select the First Pay Period Start Date (This is the pay date)
  36. 36. Click on Create New Pay Schedule

    Click on Create New Pay Schedule
  37. 37. You can choose whether to Create Payslips or not by ticking the box
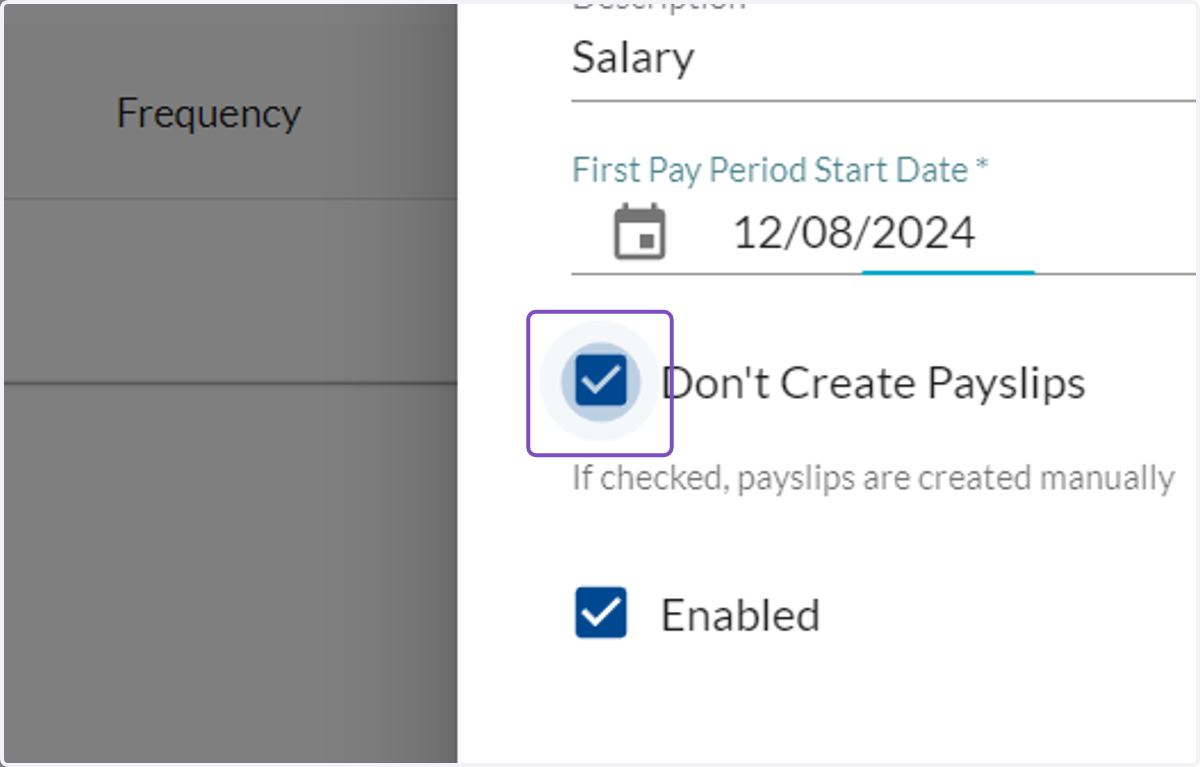
    You can choose whether to Create Payslips or not by ticking the box
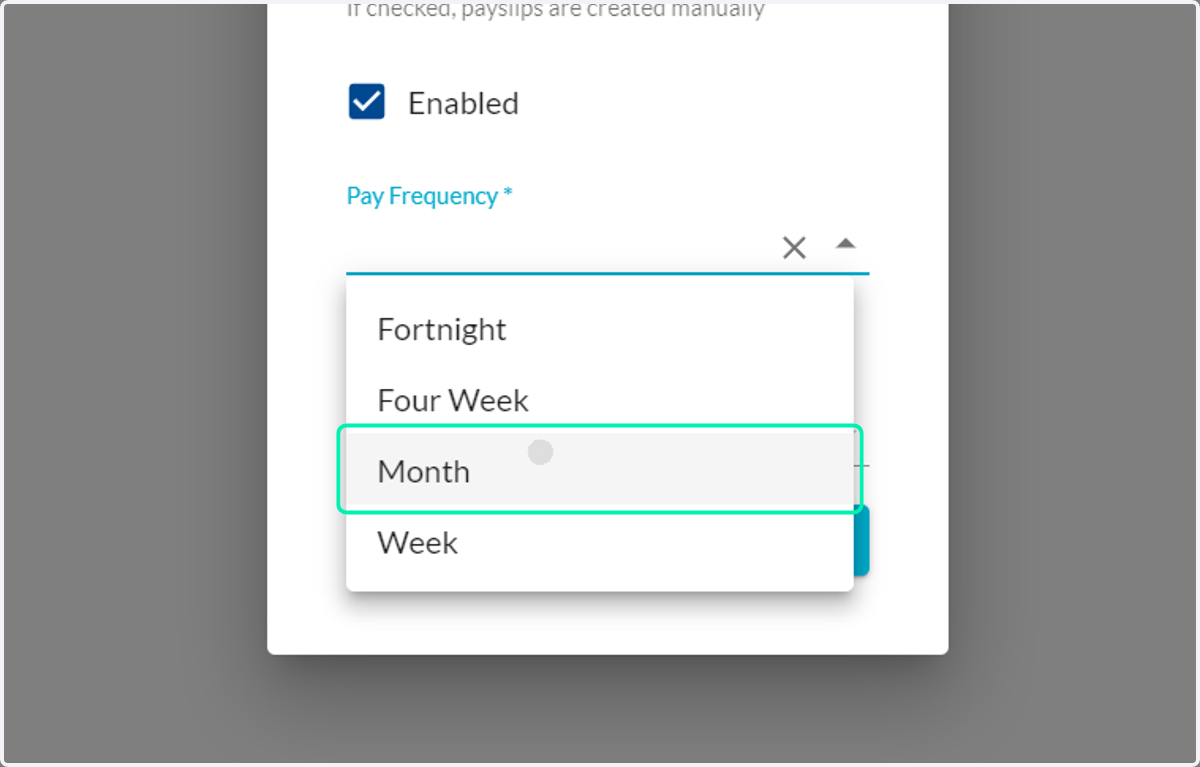
  38. 38. Select the Pay Frequency

    Select the Pay Frequency
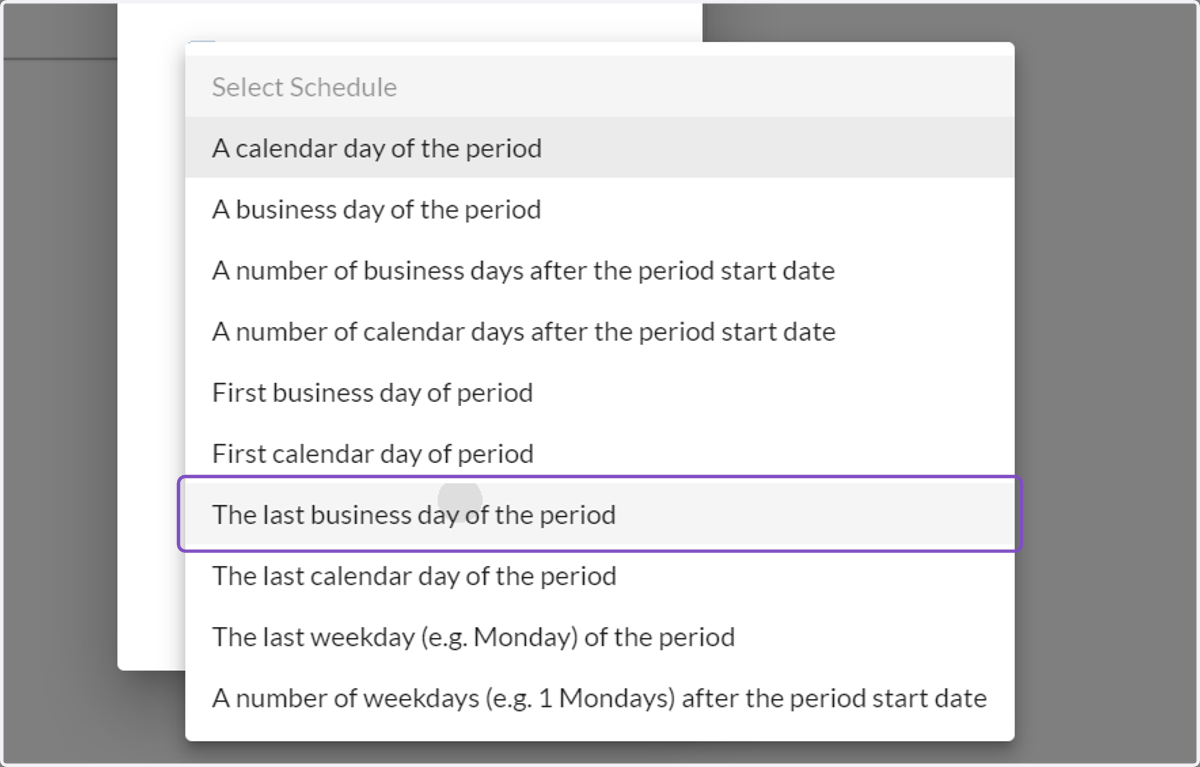
  39. 39. Click on Select Pay Schedule

    Click on Select Pay Schedule
  40. 40. Click on SAVE

    Click on SAVE
  41. 41. Check Advanced mode- This allows you to configure more rules for your pay schedule e.g. The previous business day if date is a weekend
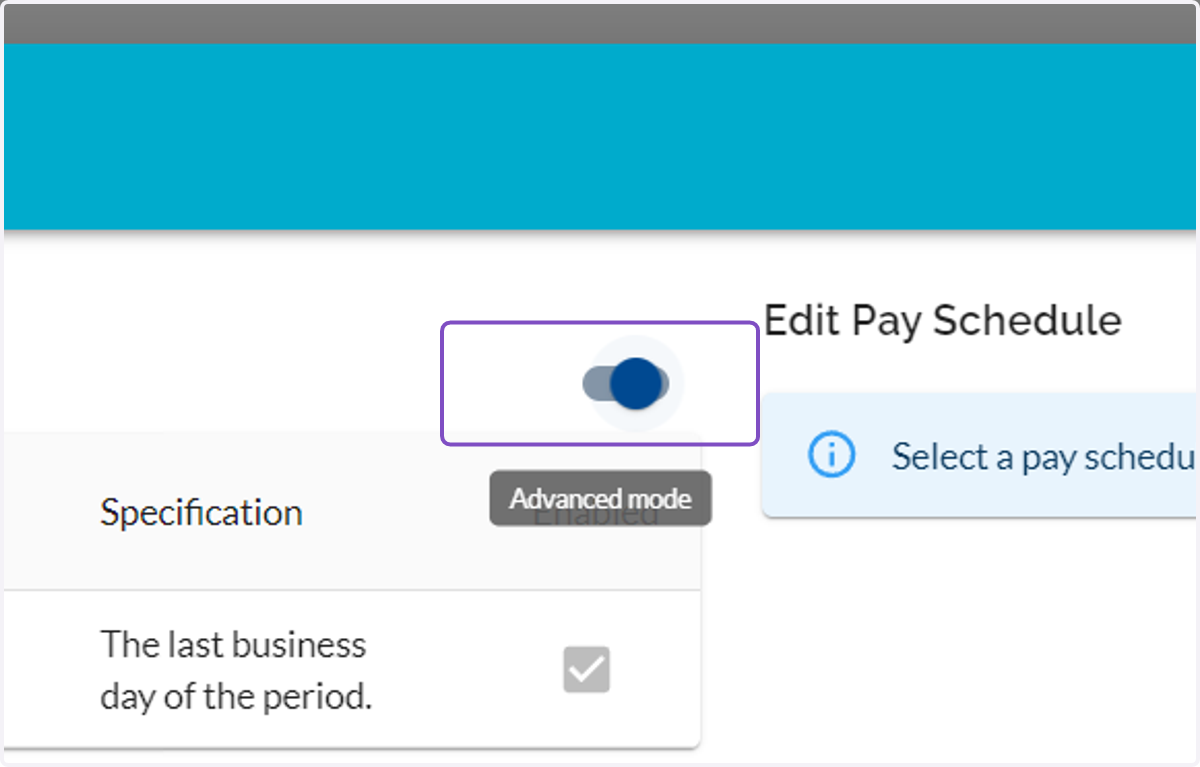
    Check Advanced mode- This allows you to configure more rules for your pay schedule e.g. The previous business day if date is a weekend
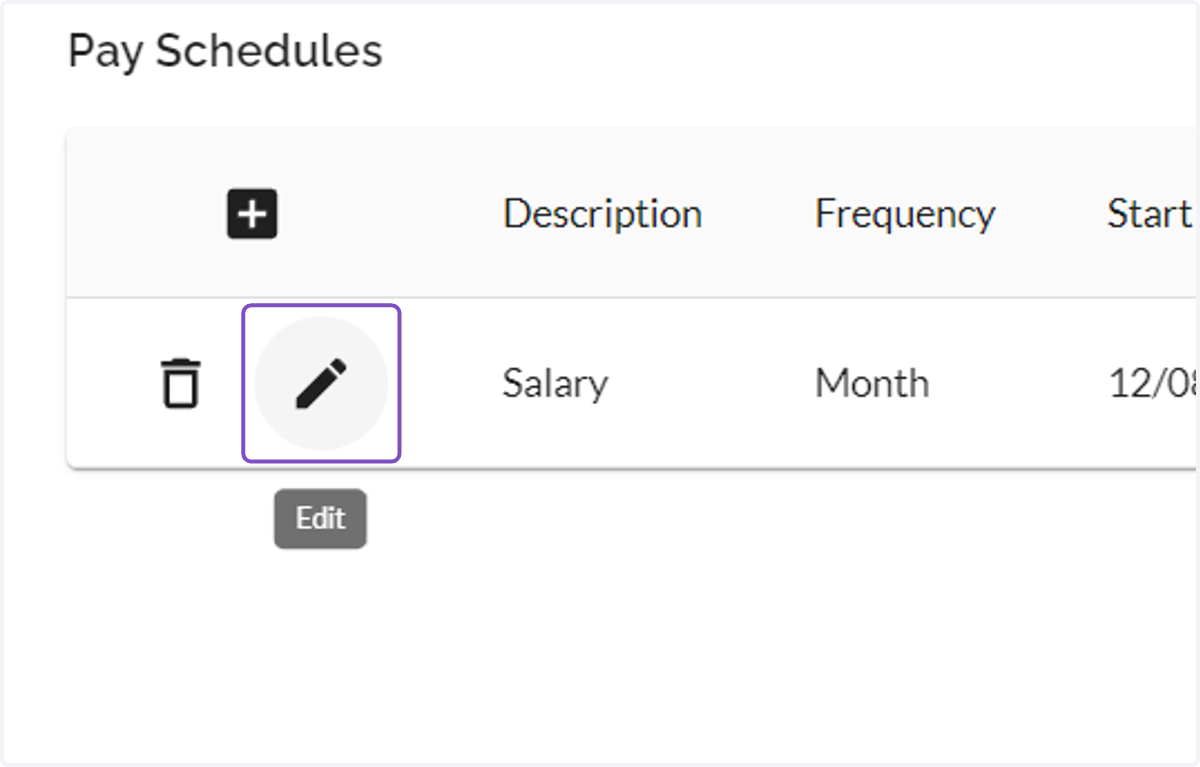
  42. 42. Click on Edit

    Click on Edit
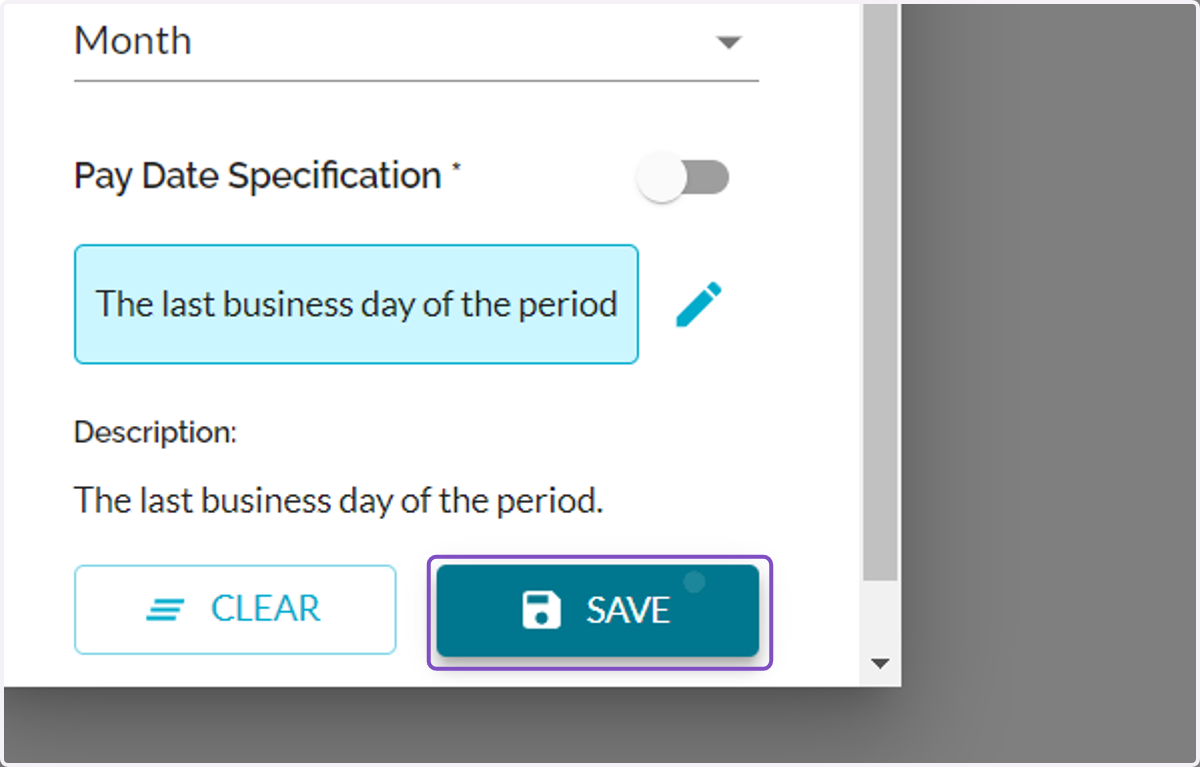
  43. 43. Click on SAVE

    Click on SAVE
  44. 44. Click on Pay Schedule

    Click on Pay Schedule
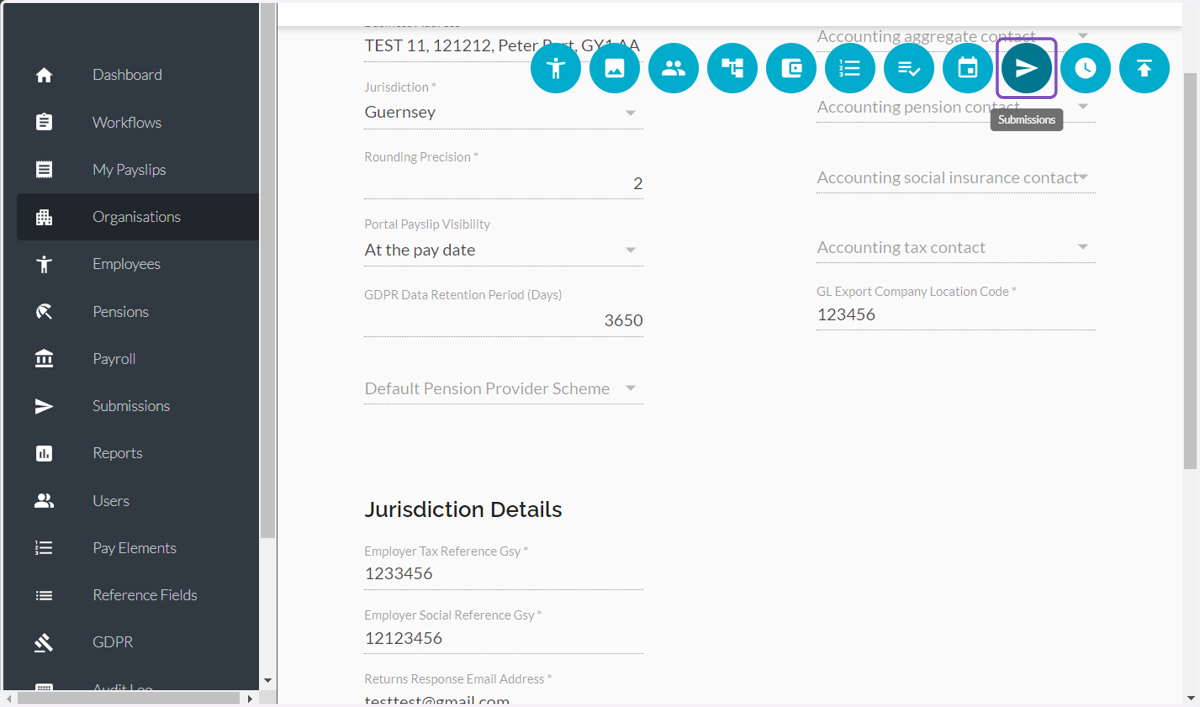
  45. 45. Click on Submissions

    Click on Submissions
  46. 46. Click on Submissions

    Click on Submissions
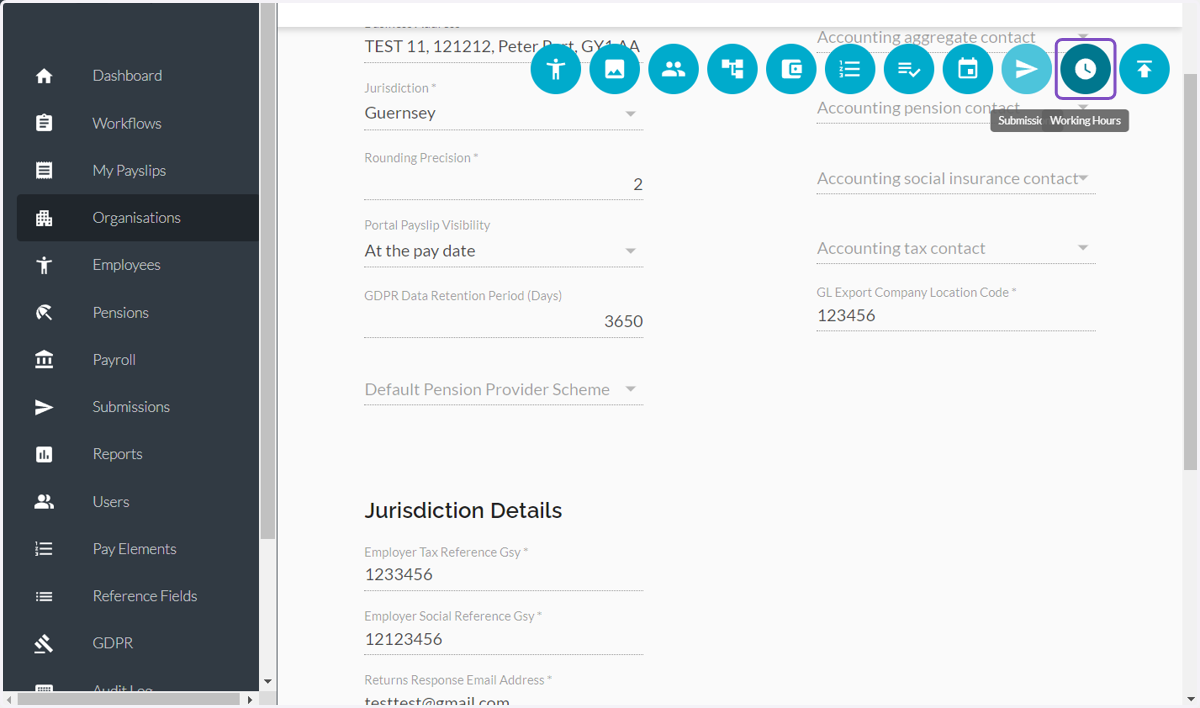
  47. 47. Click on Working Hours

    Click on Working Hours
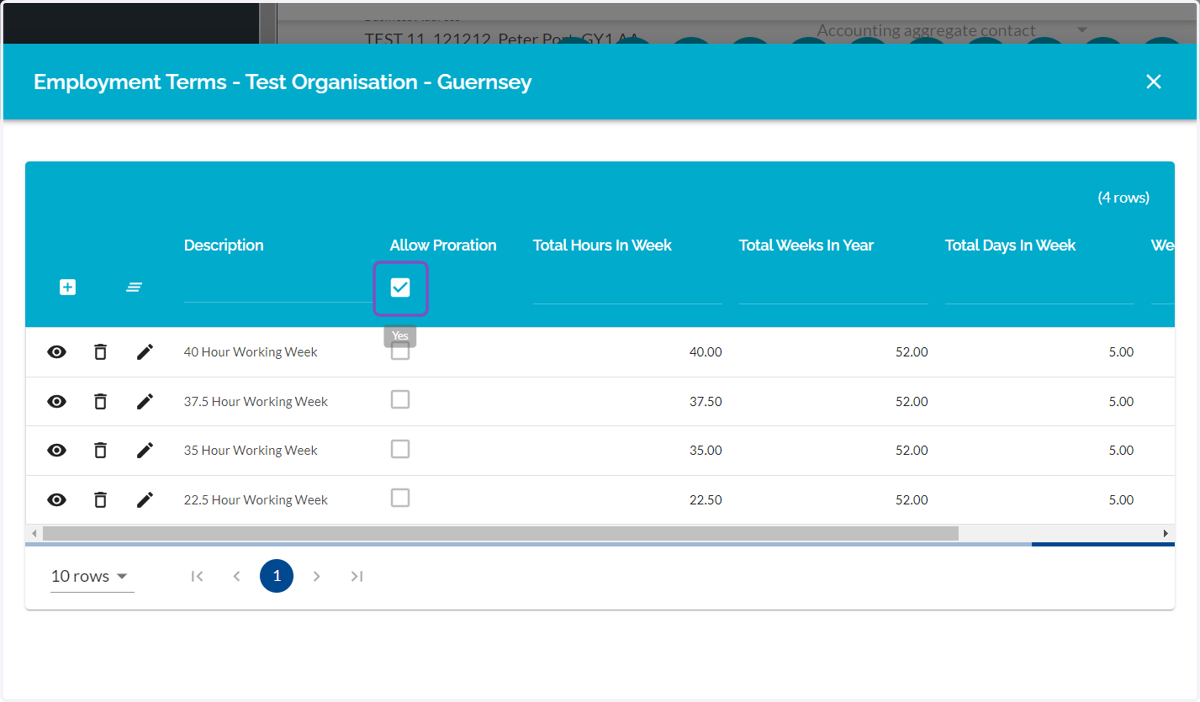
  48. 48. Check Employment Terms

    Check Employment Terms
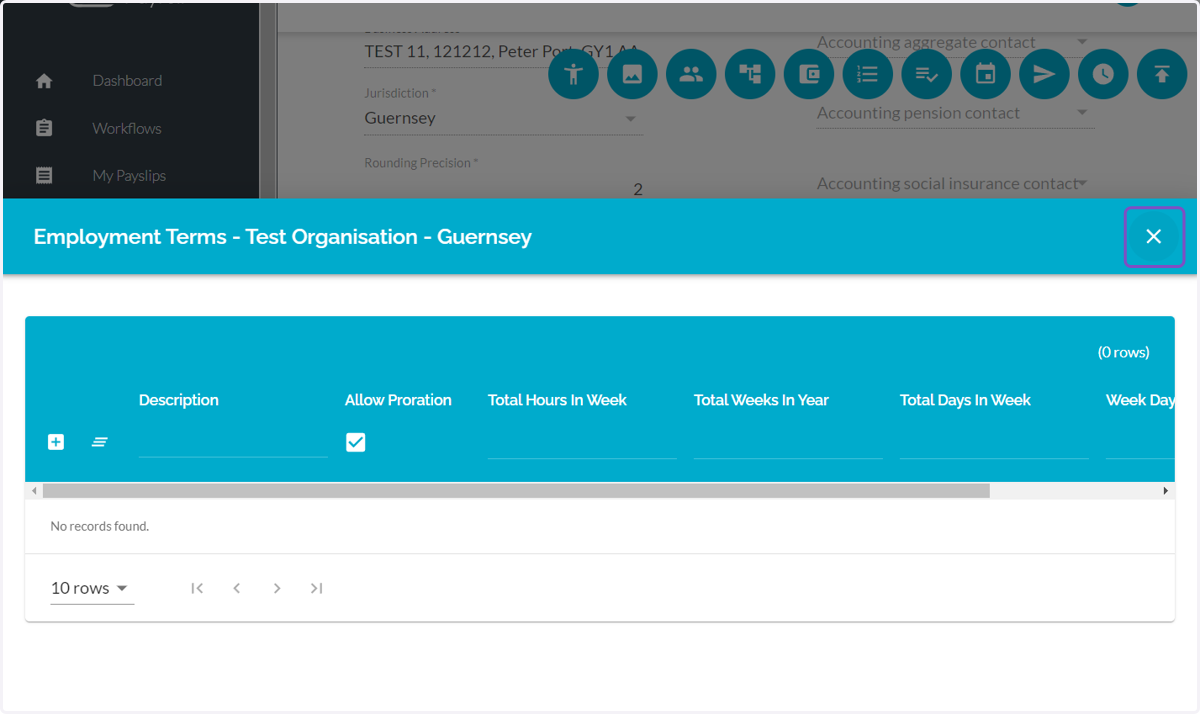
  49. 49. Click on Employment Terms

    Click on Employment Terms
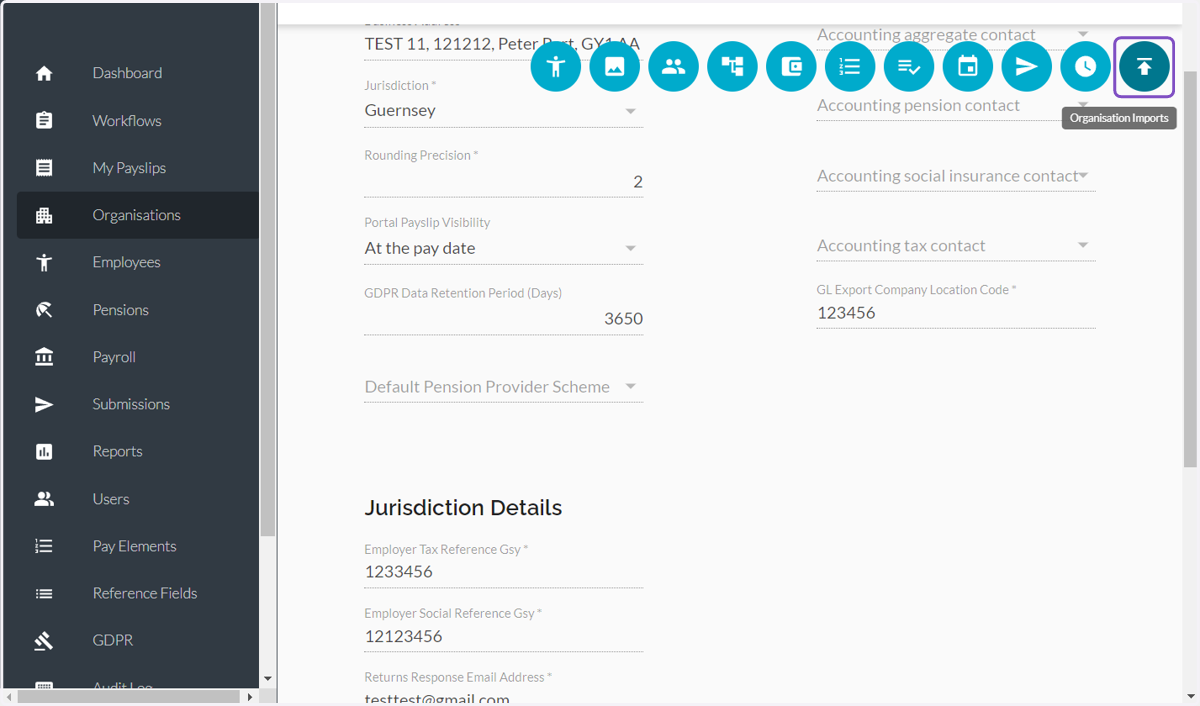
  50. 50. Click on Organisation Imports

    Click on Organisation Imports
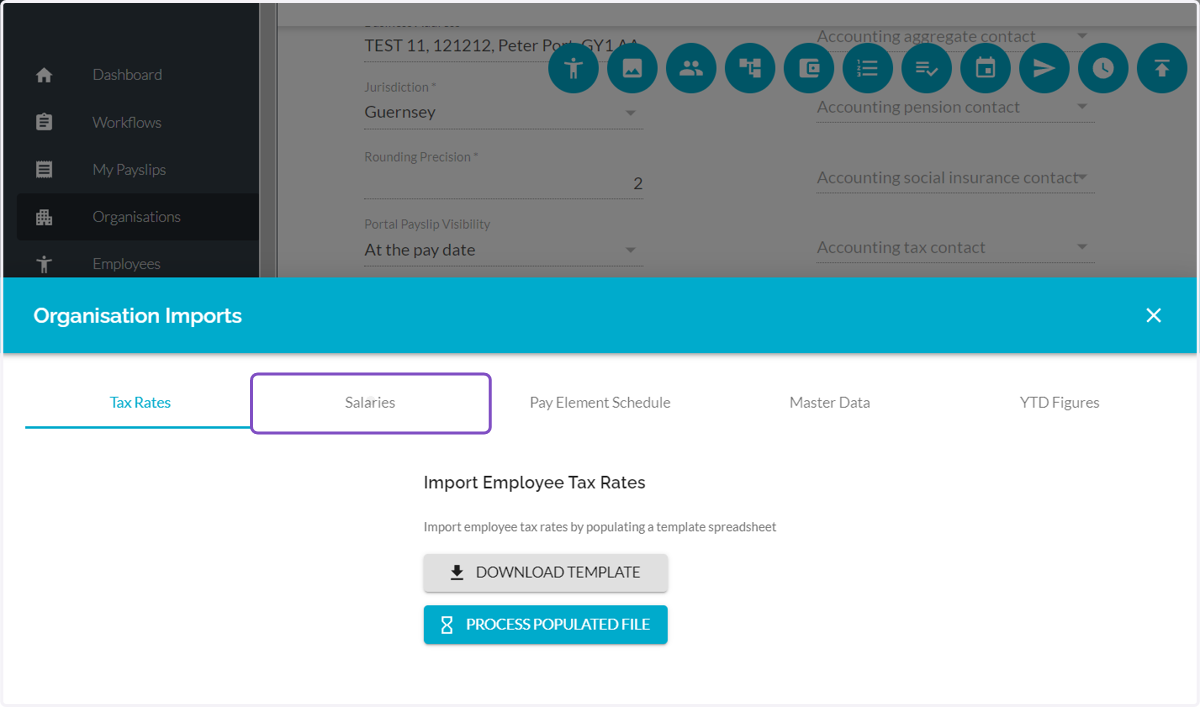
  51. 51. Click on Salaries

    Click on Salaries
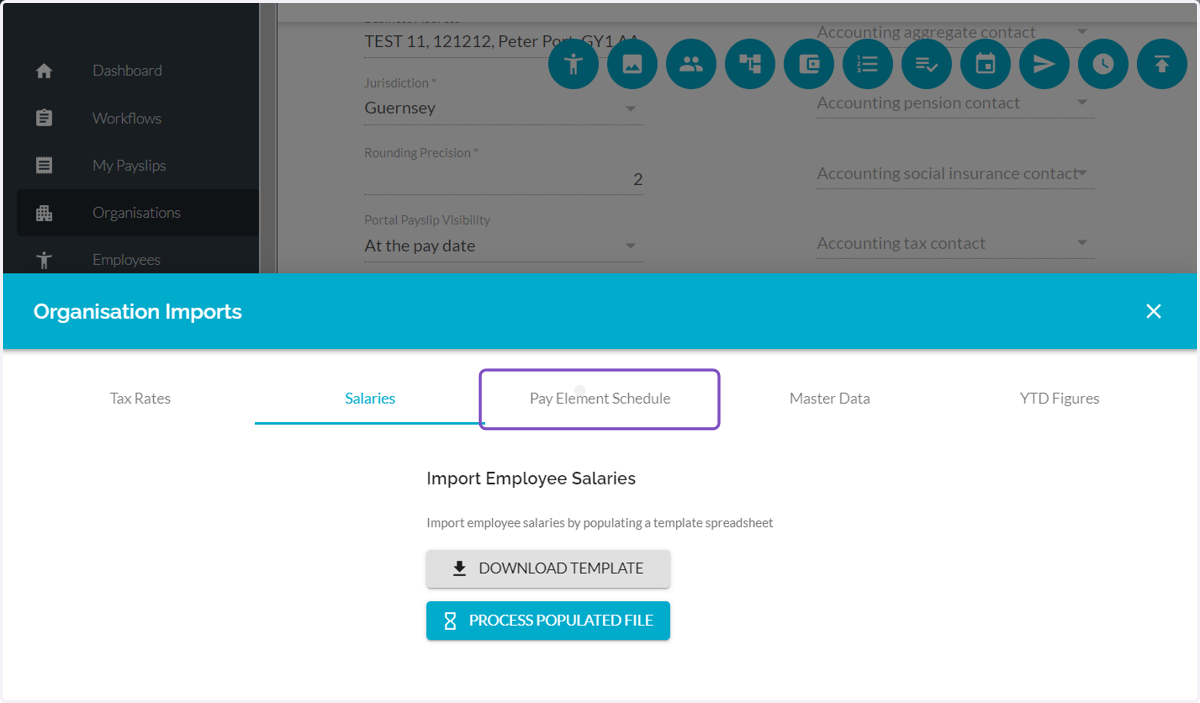
  52. 52. Click on Pay Element Schedule

    Click on Pay Element Schedule
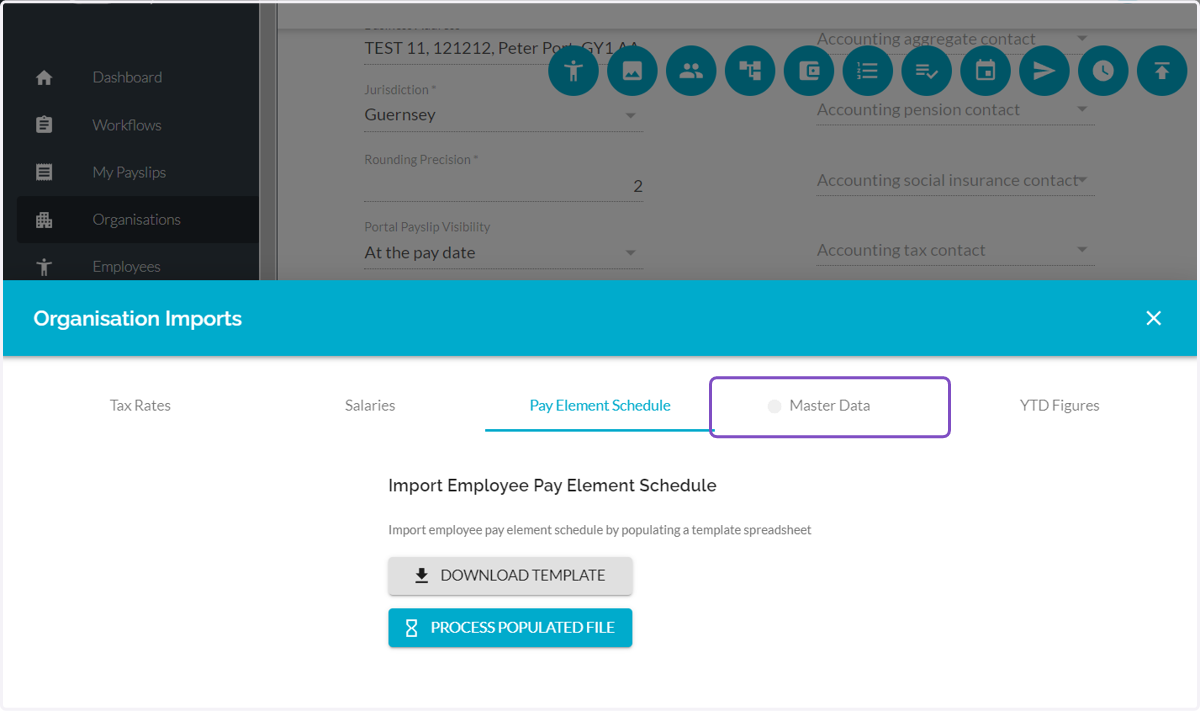
  53. 53. Click on Master Data

    Click on Master Data
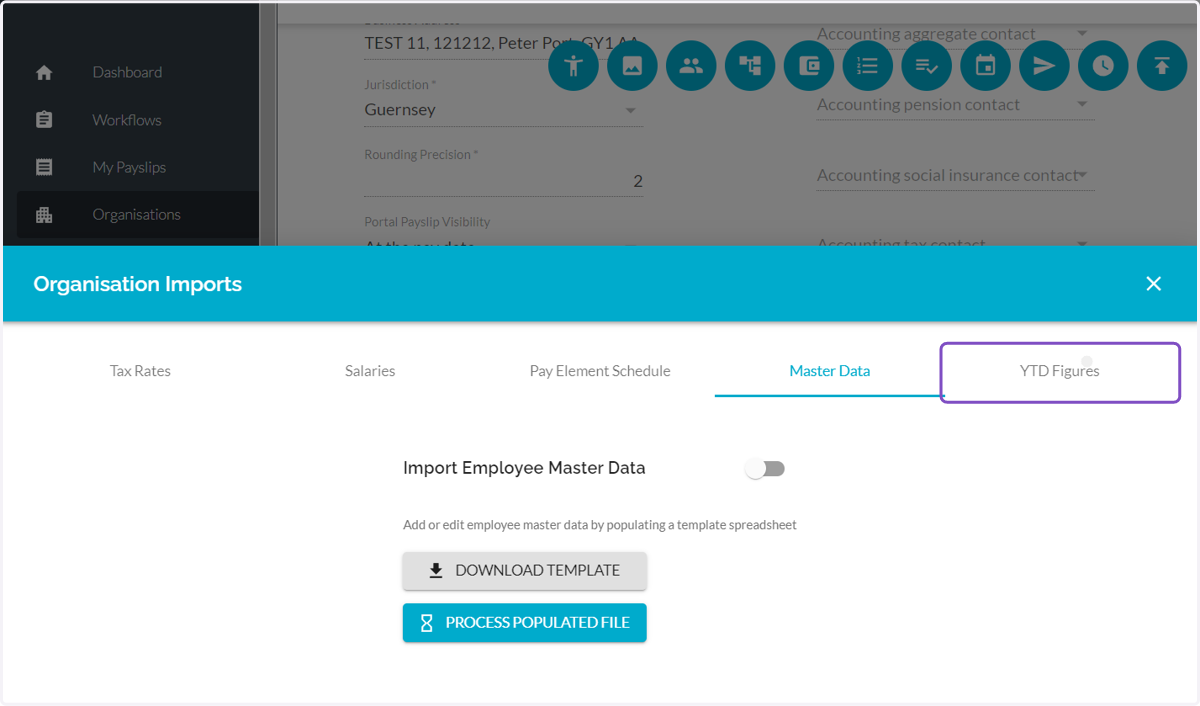
  54. 54. Click on YTD Figures

    Click on YTD Figures