EventPass: Event Creation

JustPark Suite

  1. 1. In Suite, click on the Passes widget
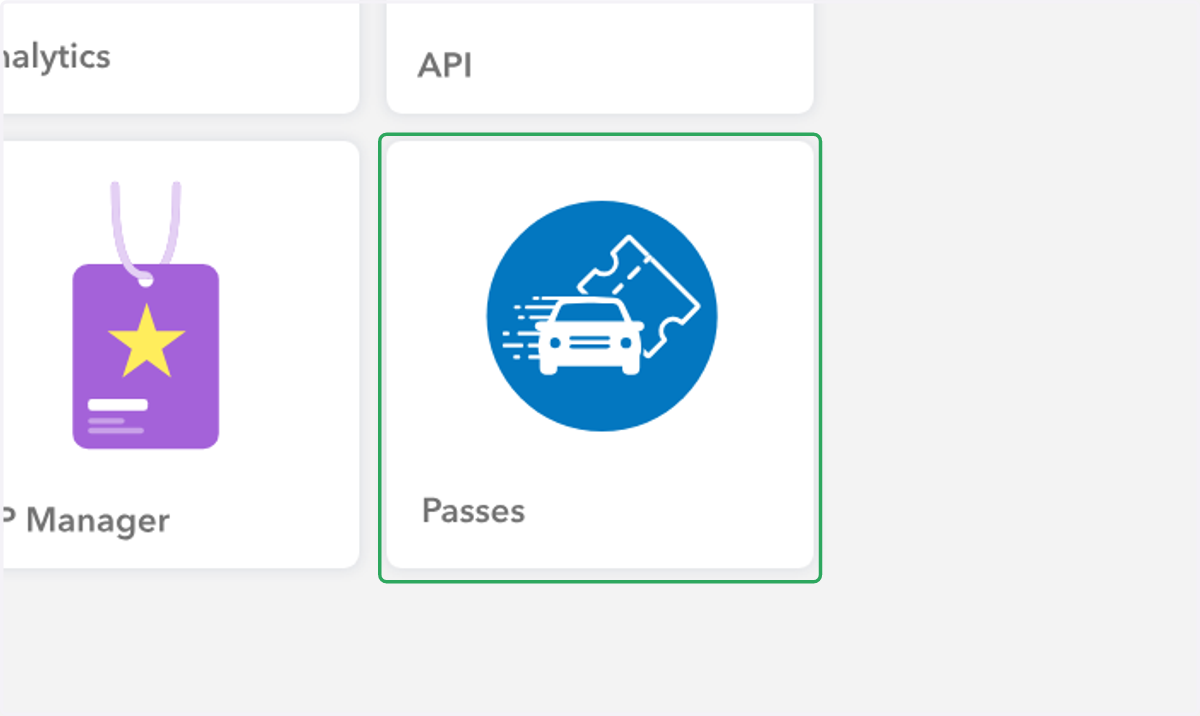
    In Suite, click on the Passes widget
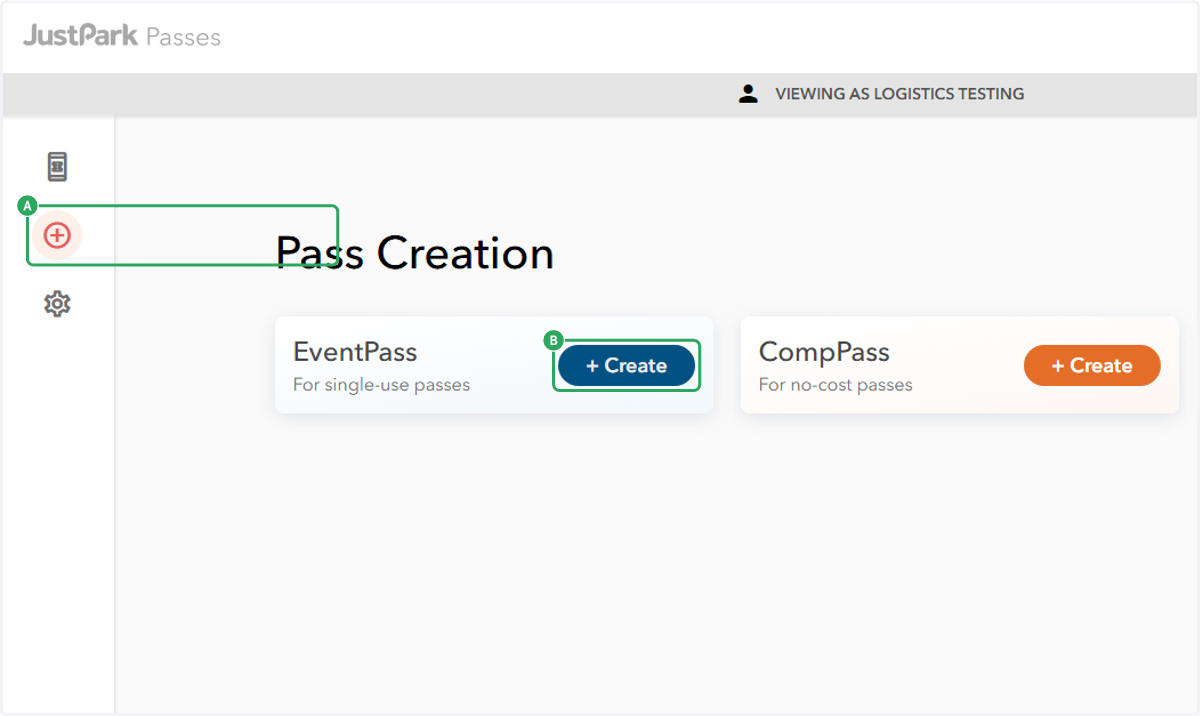
    1. 2. A. Click the plus sign on the left to enter Pass Creation

    2. 2. B. Click on "+ Create"

    A. Click the plus sign on the left to enter Pass Creation B. Click on "+ Create"
  2. 3. Click the arrow to the right of the event you'd like to create Passes for
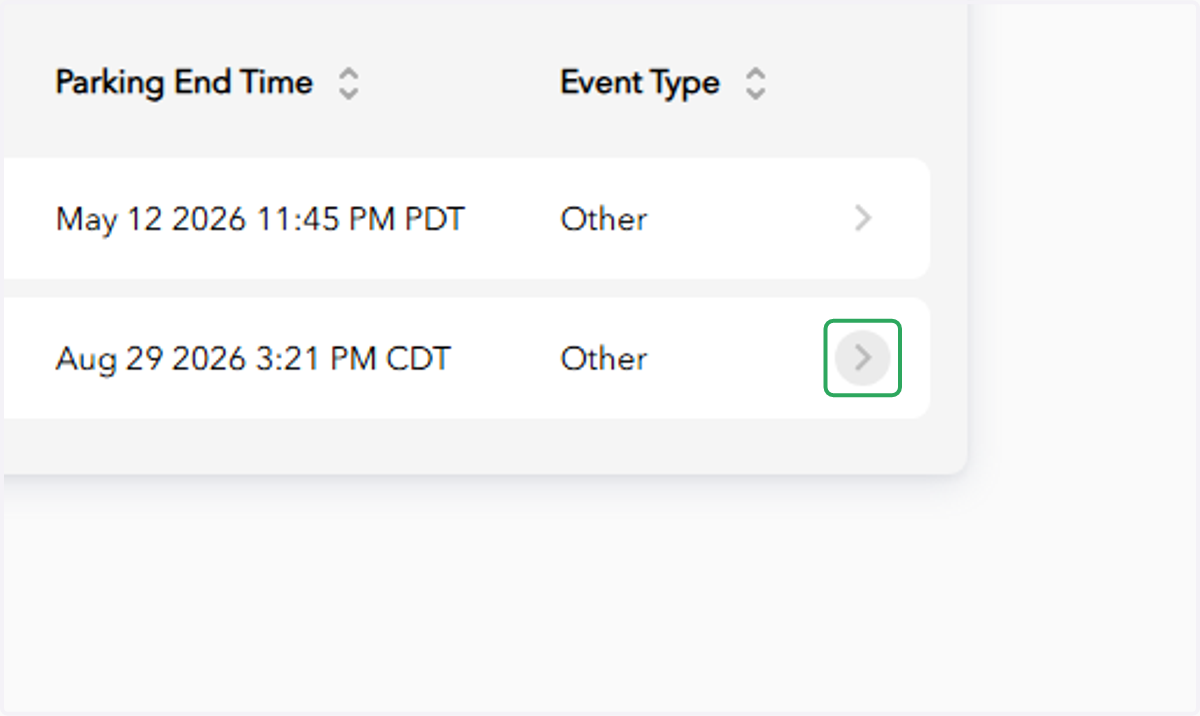
    Click the arrow to the right of the event you'd like to create Passes for
  3. 4. Set the time window in which you'd like to presell passes
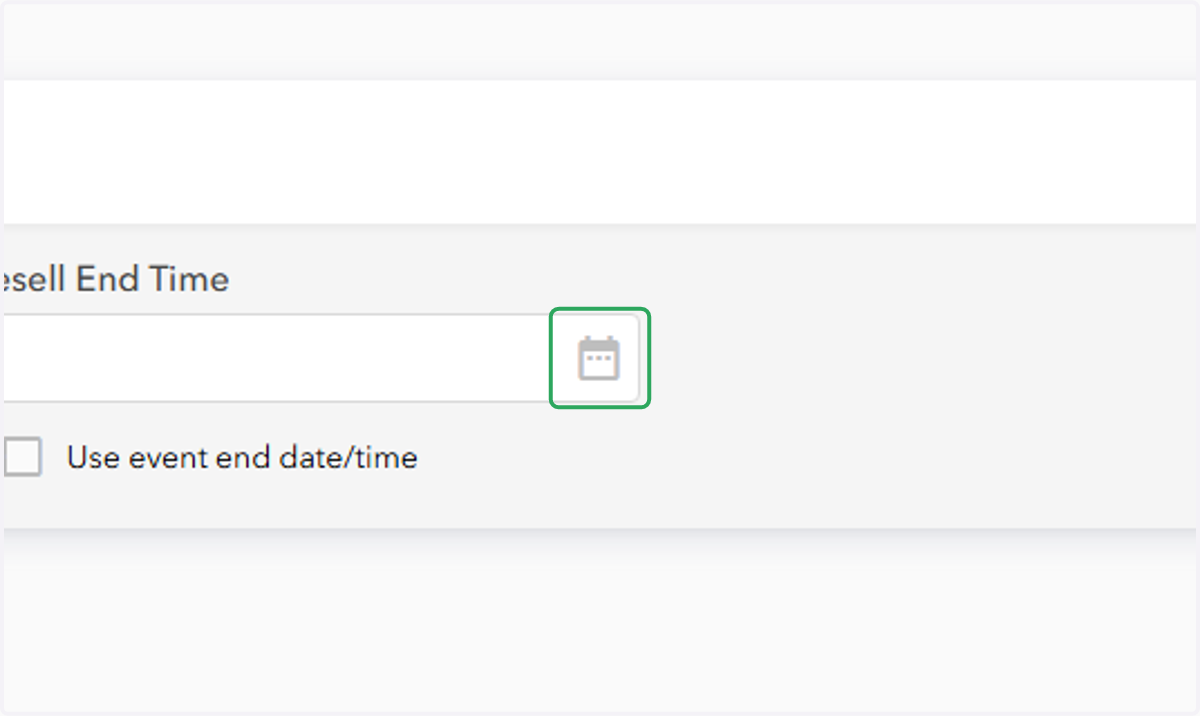
    Set the time window in which you'd like to presell passes
  4. 5. You can also tick "Use event end date/time" to have the presell close when the event starts.
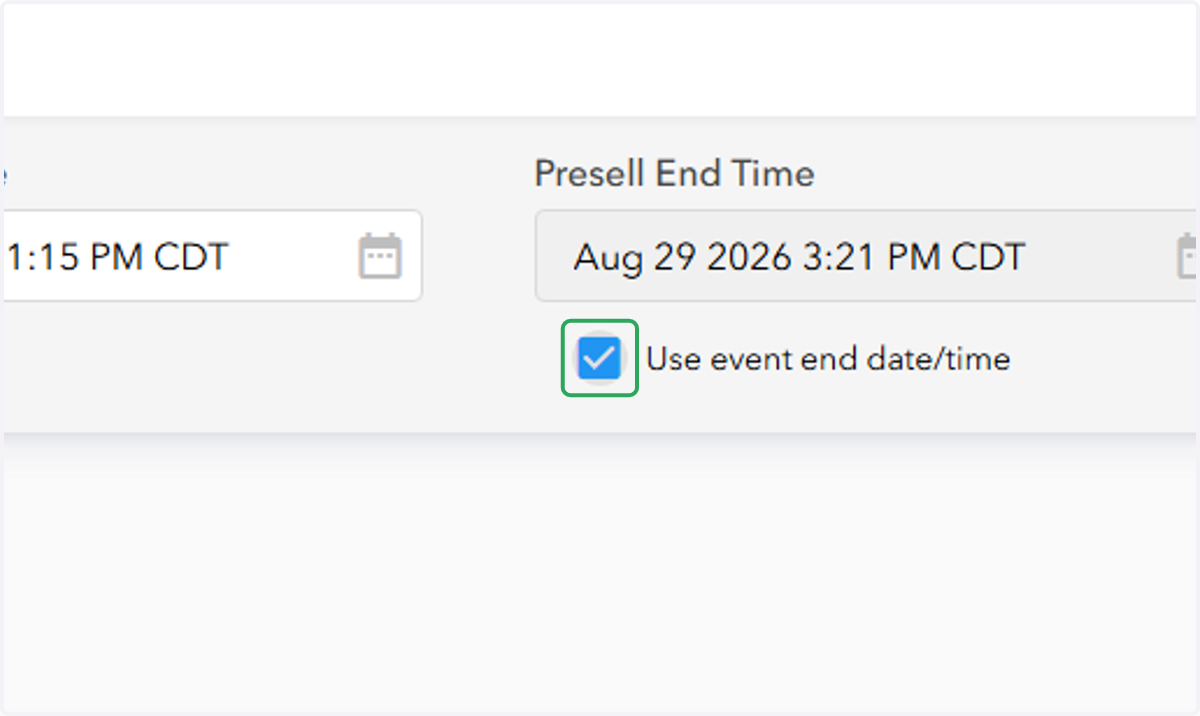
    You can also tick "Use event end date/time" to have the presell close when the event starts.
  5. 6. Click on "Pricings"

    Click on "Pricings"
  6. 7. Click "+ Add Pricing" under the lots you'd like to utilize for your event
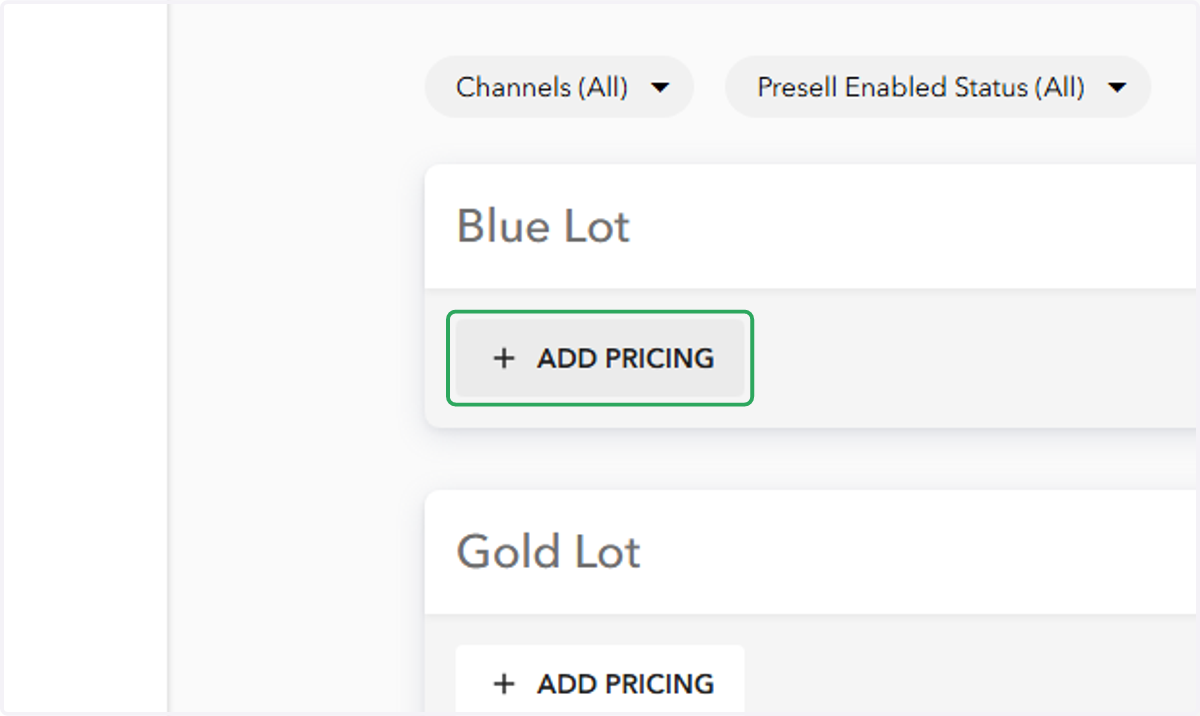
    Click "+ Add Pricing" under the lots you'd like to utilize for your event
  7. 8. Set your Pricing Name/Pricing Charge/Inventory
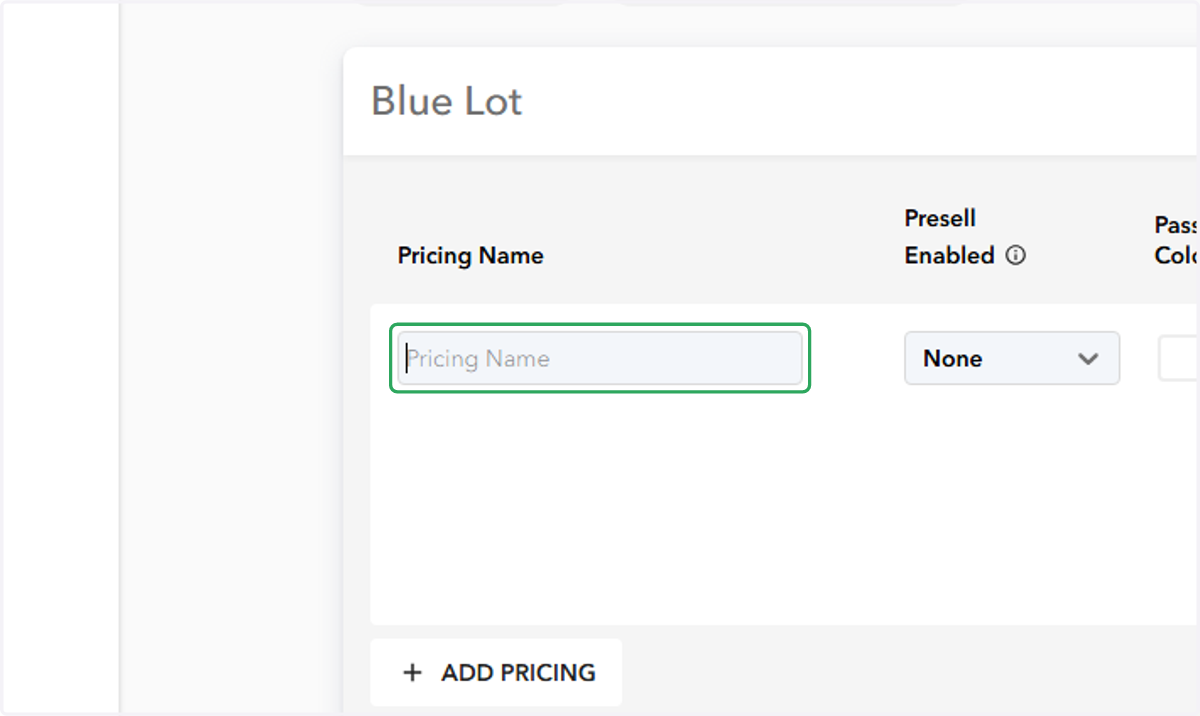
    Set your Pricing Name/Pricing Charge/Inventory
  8. 9. Click on "Create EventPass"

    Click on "Create EventPass"
  9. 10. You will be taken to the EventPass page, where your events will be listed for presell
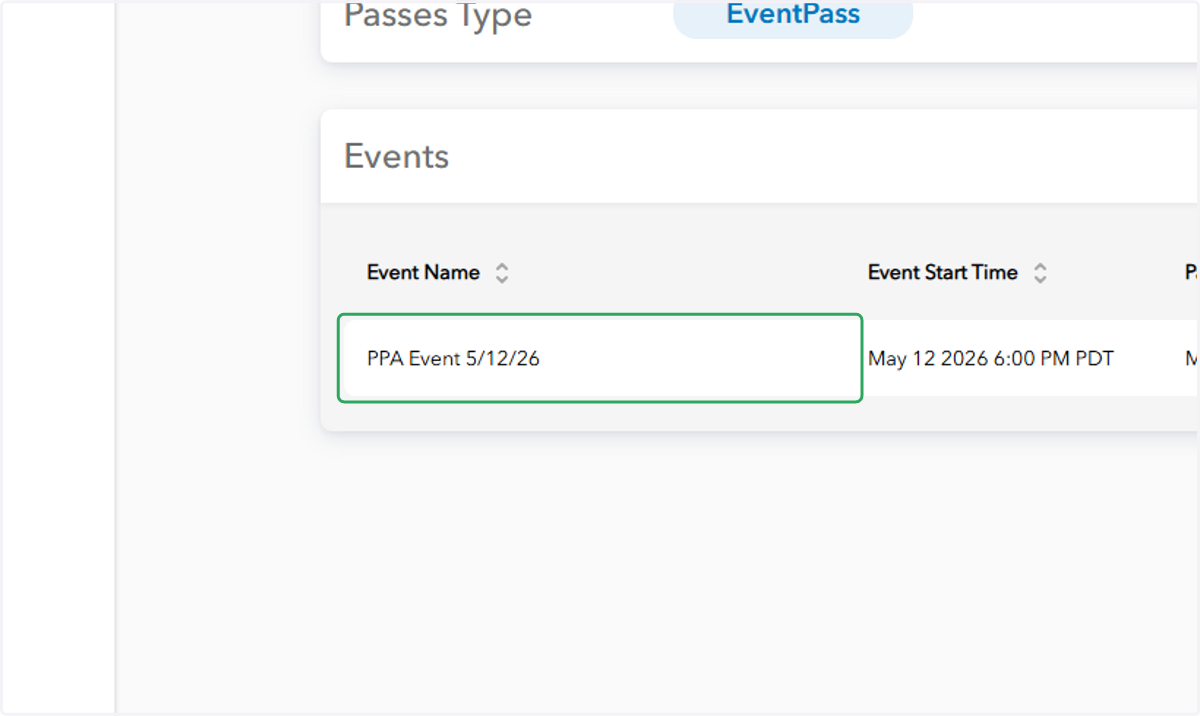
    You will be taken to the EventPass page, where your events will be listed for presell