Using Your Study Pack
Make the most of your Study Pack
Study Pack Home Screen
Understanding what is on the home page of your Study Pack
1. Start on Study Pack
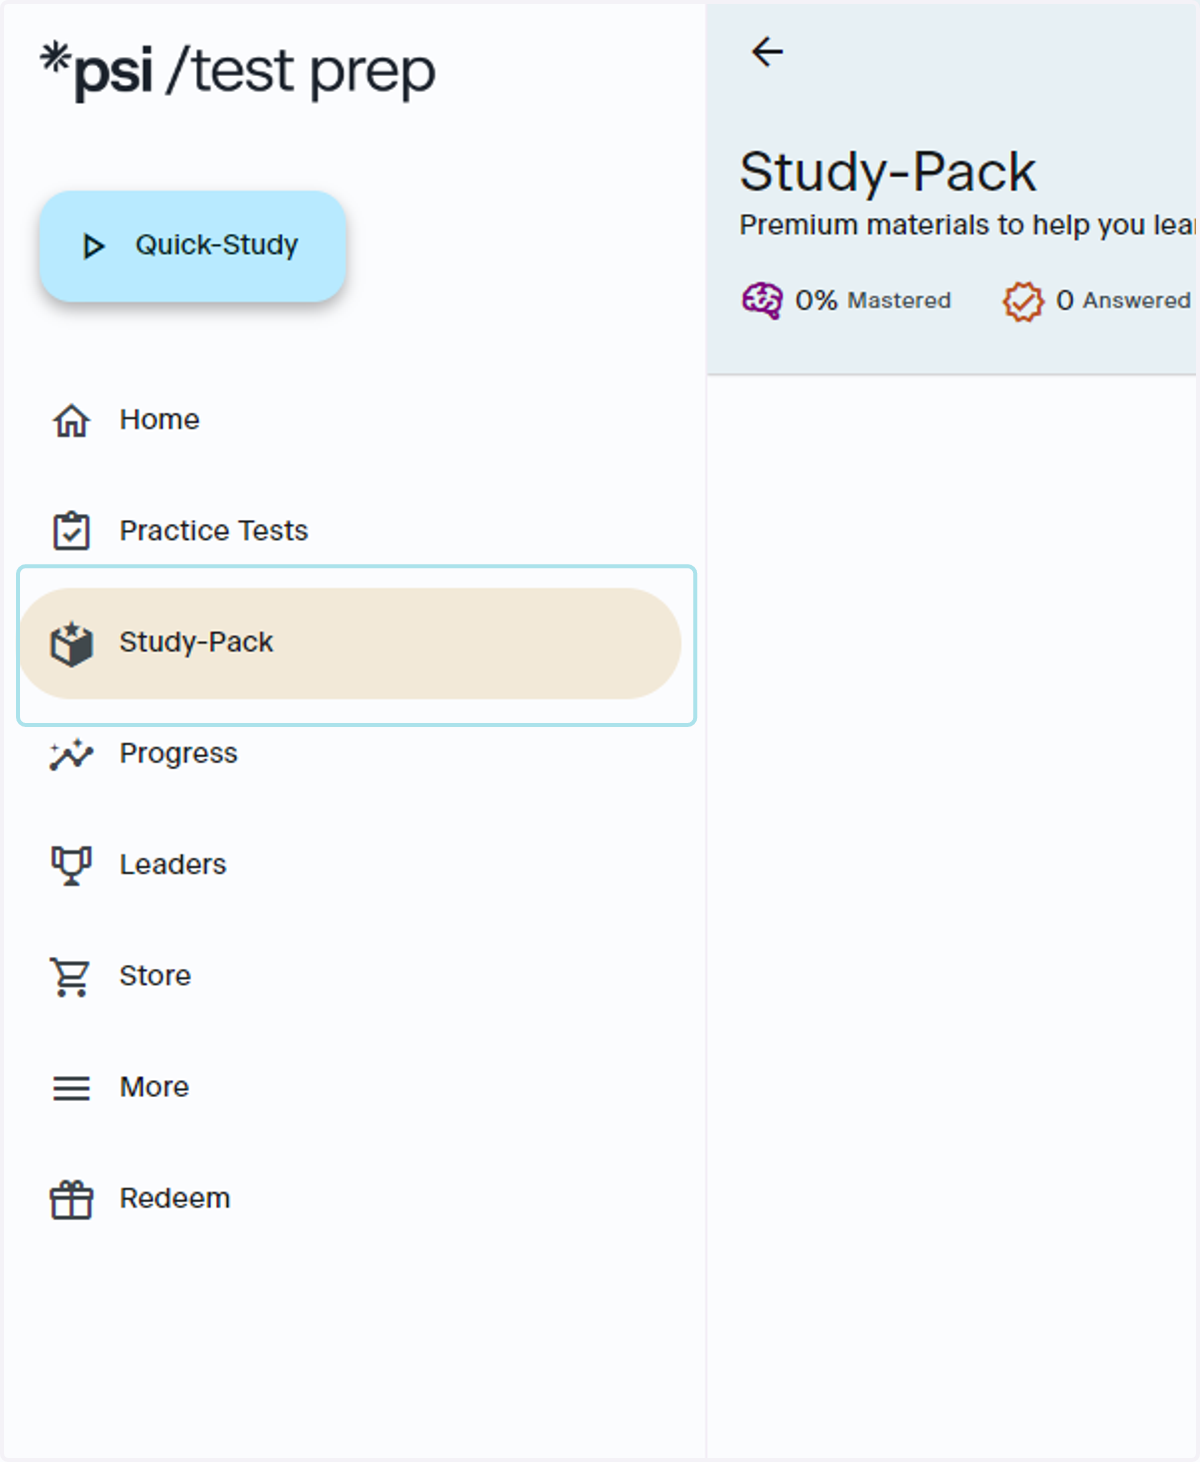
Start by clicking the Study Pack button in the lefthand navigation
2. Study Pack Overview
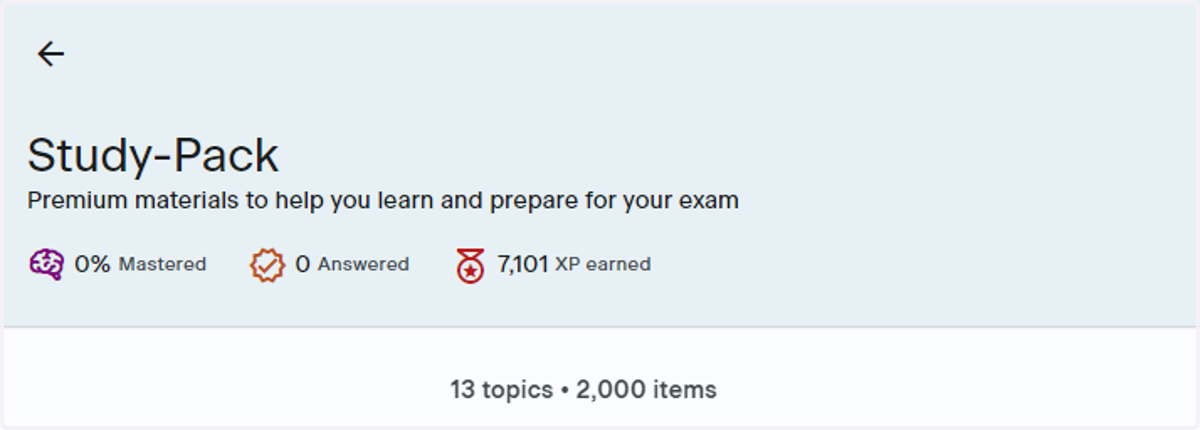
This shows the amount of questions you have answered correctly, how many questions you have answered in total, and points you've earned by answering questions. The points system is a fun way to gamify your learning. You can check your standings at any time by visiting the leaderboard button in the lefthand navigation
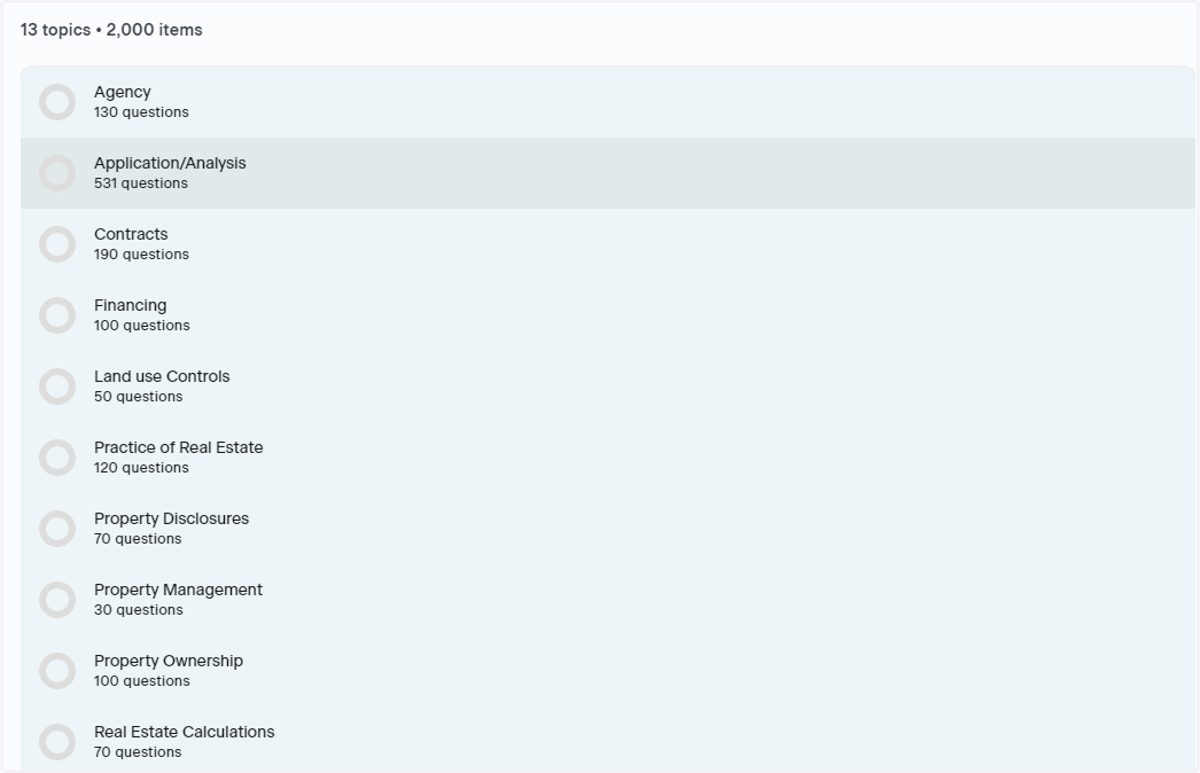
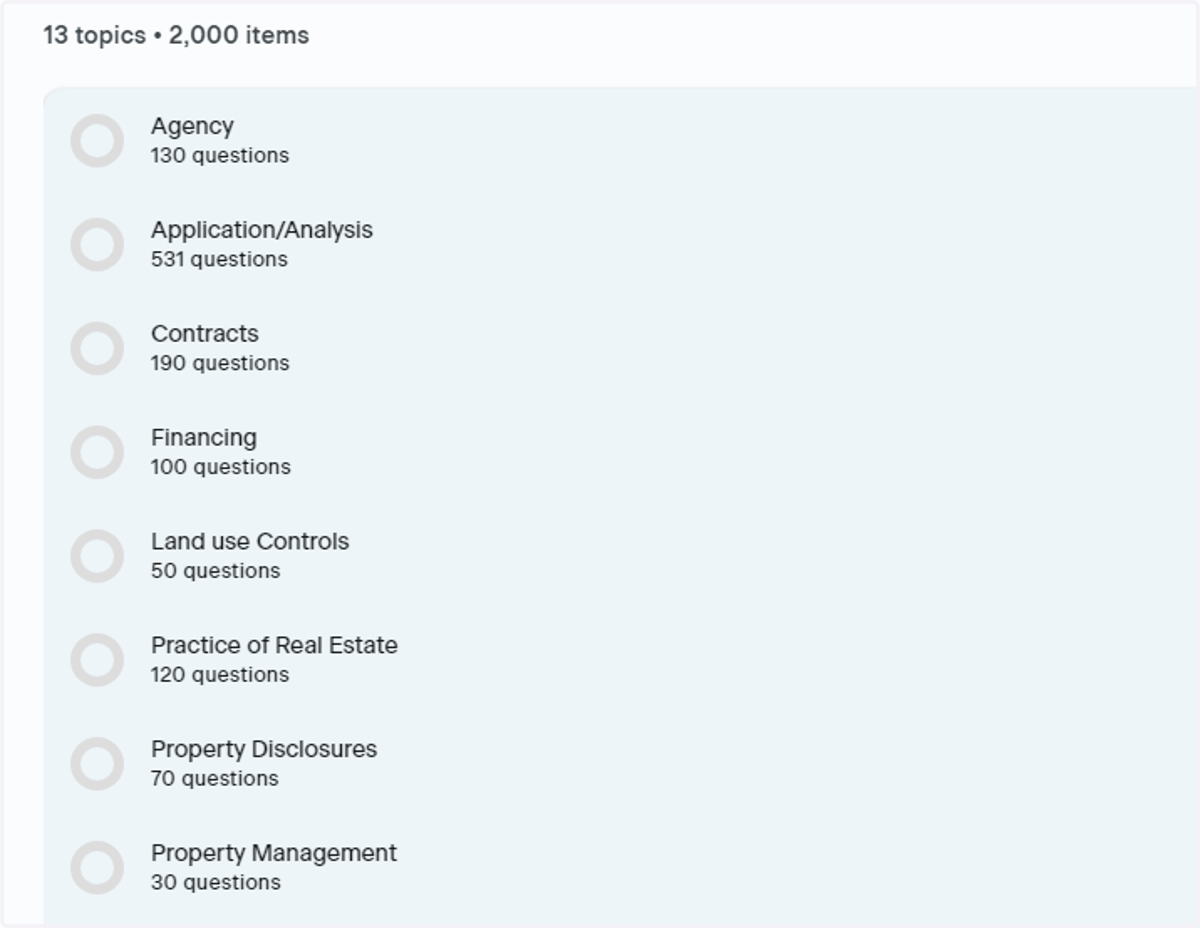
3. Topics and Item Count
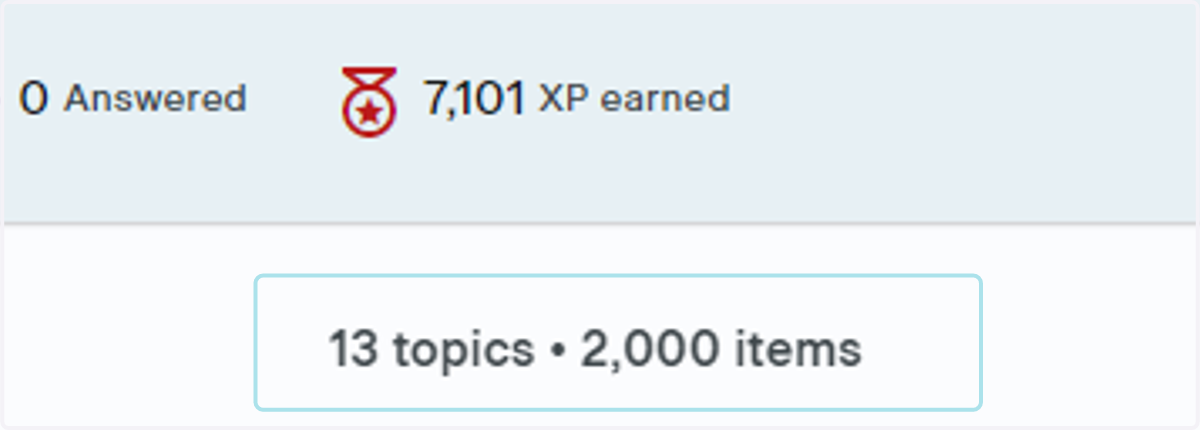
This area shows how many topics are available for the subject you've selected, and the amount of items available in your Study Pack. The amount of items shows how many questions are available for you to answer
4. View Topics
Scroll through to view the titles of the topics available for you to work with
Get Started on Your Study Session
Starting your study session and how to use features of your Study Pack
5. Using Quick Start
Click the Quick Start button to automatically launch a custom study session
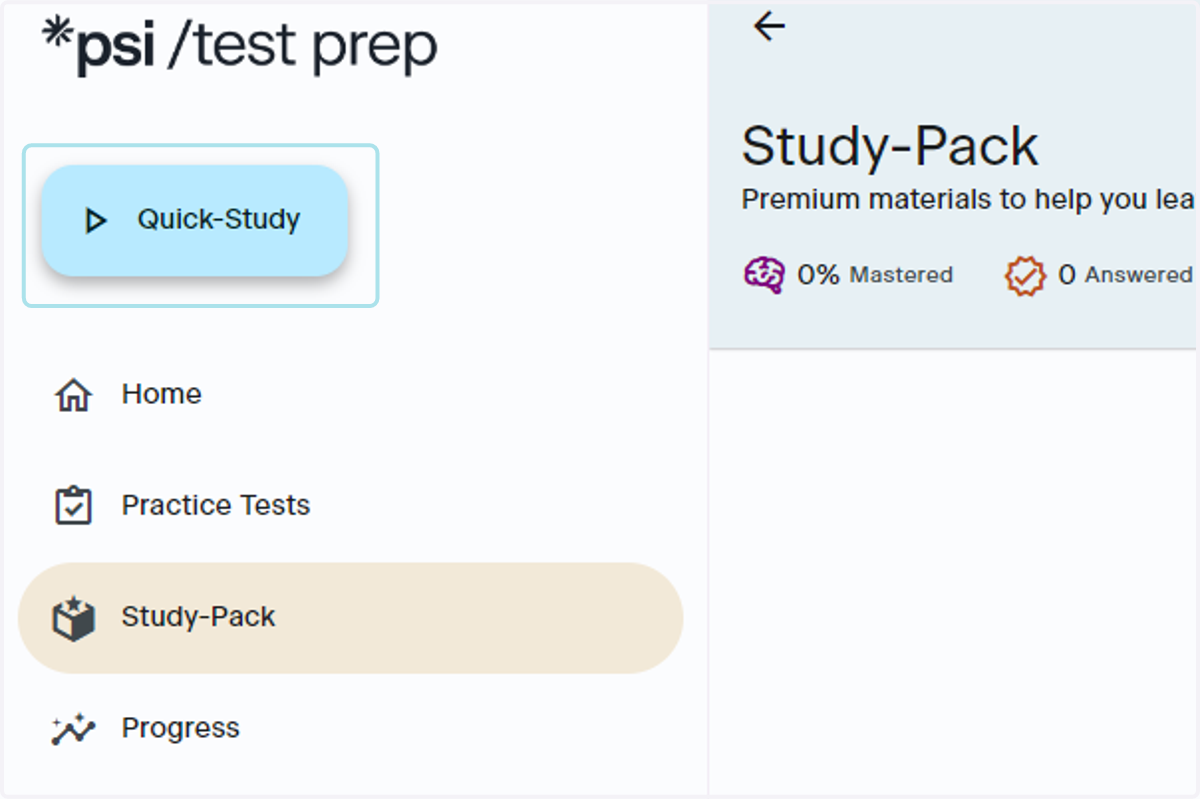
6. Click Any Topic to Begin
If you would like you can also click the title of any one of the topics listed in your topics section to launch your study session
7. Customize Your Session Length
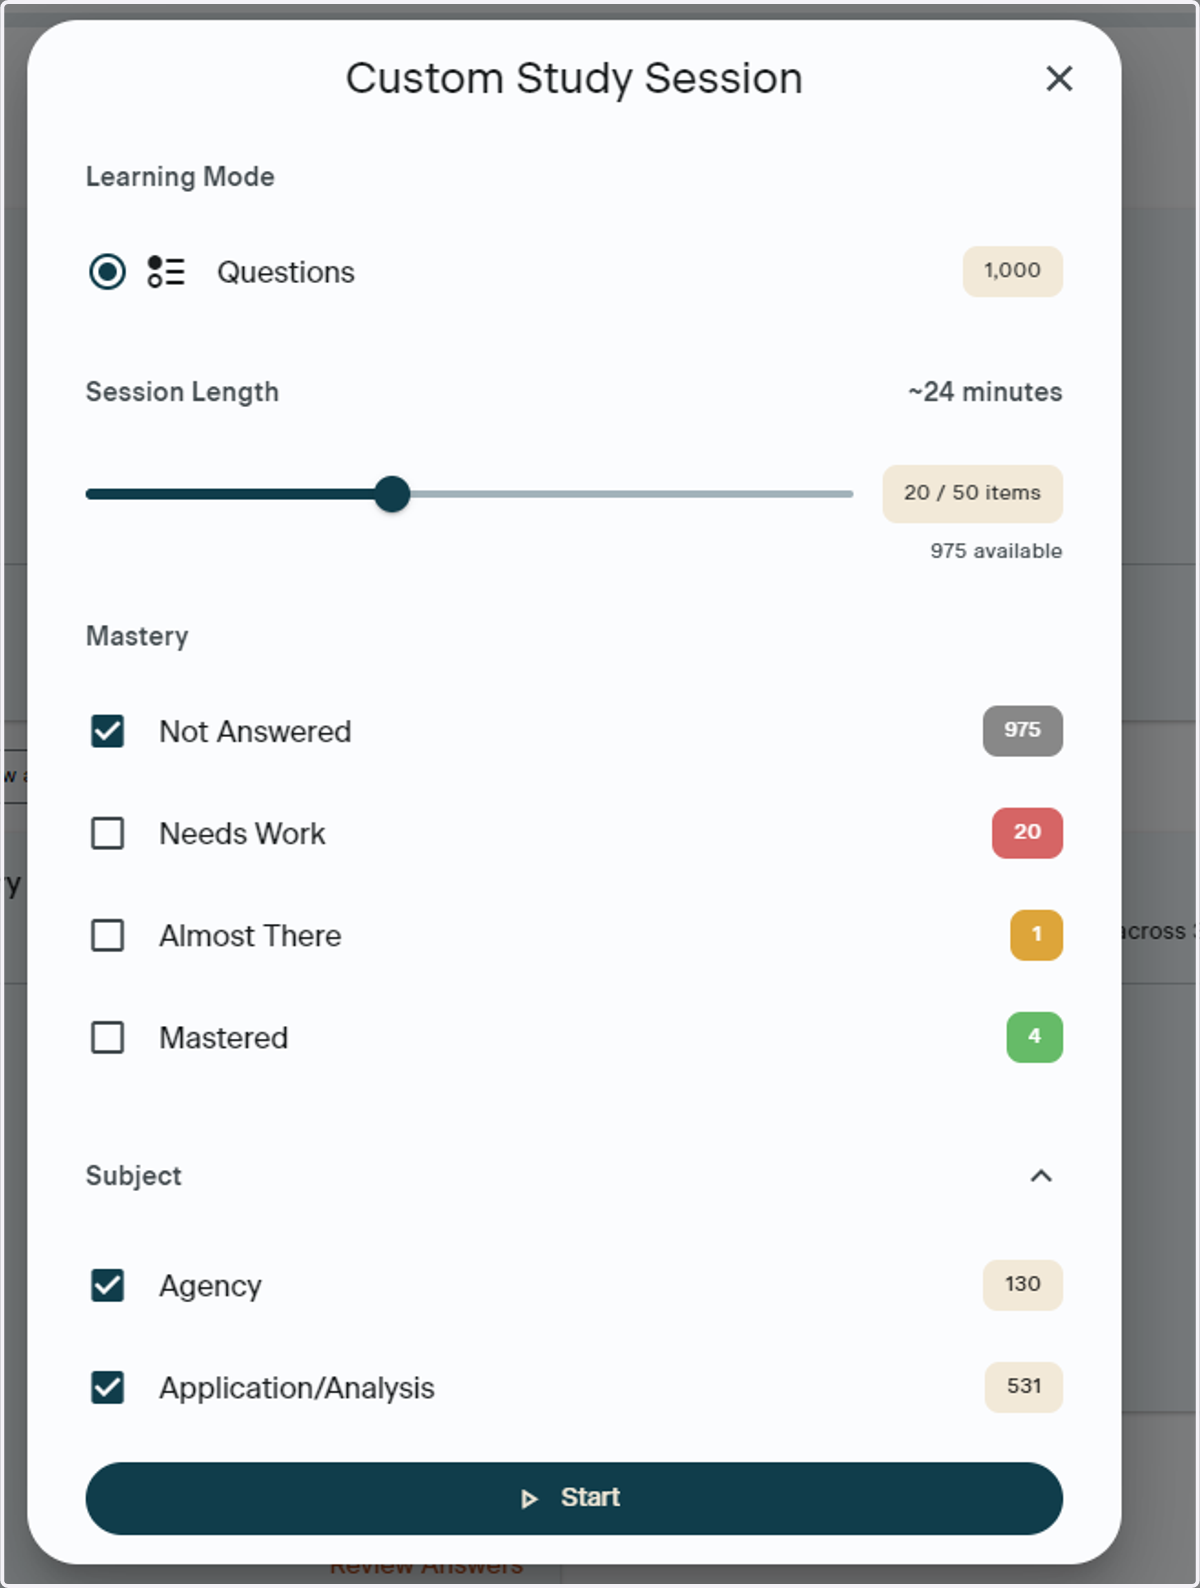
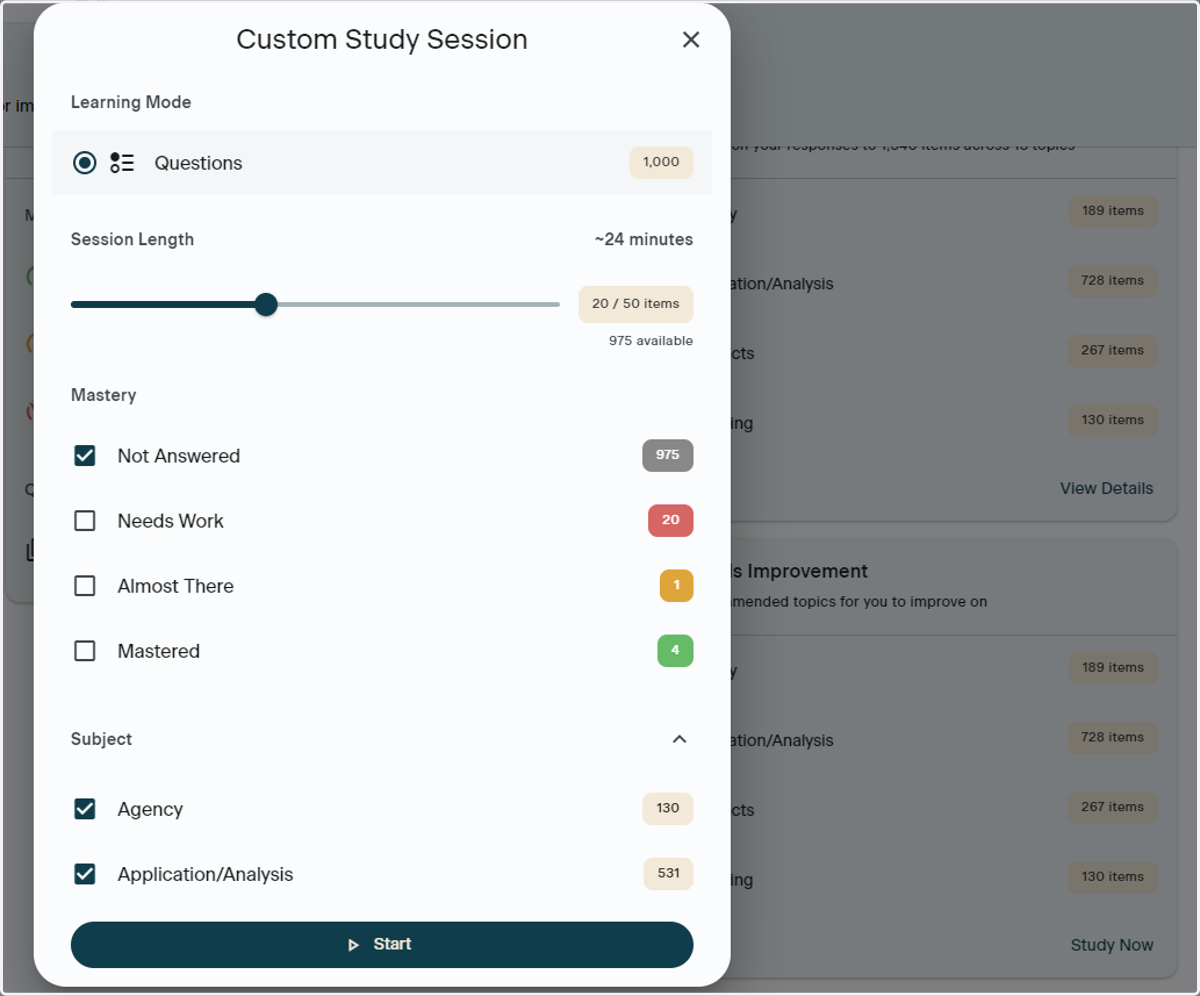
Use the slider bar to adjust your Study Pack based on time. Once you make your selection, you will see how many items you have to answer based on time frame
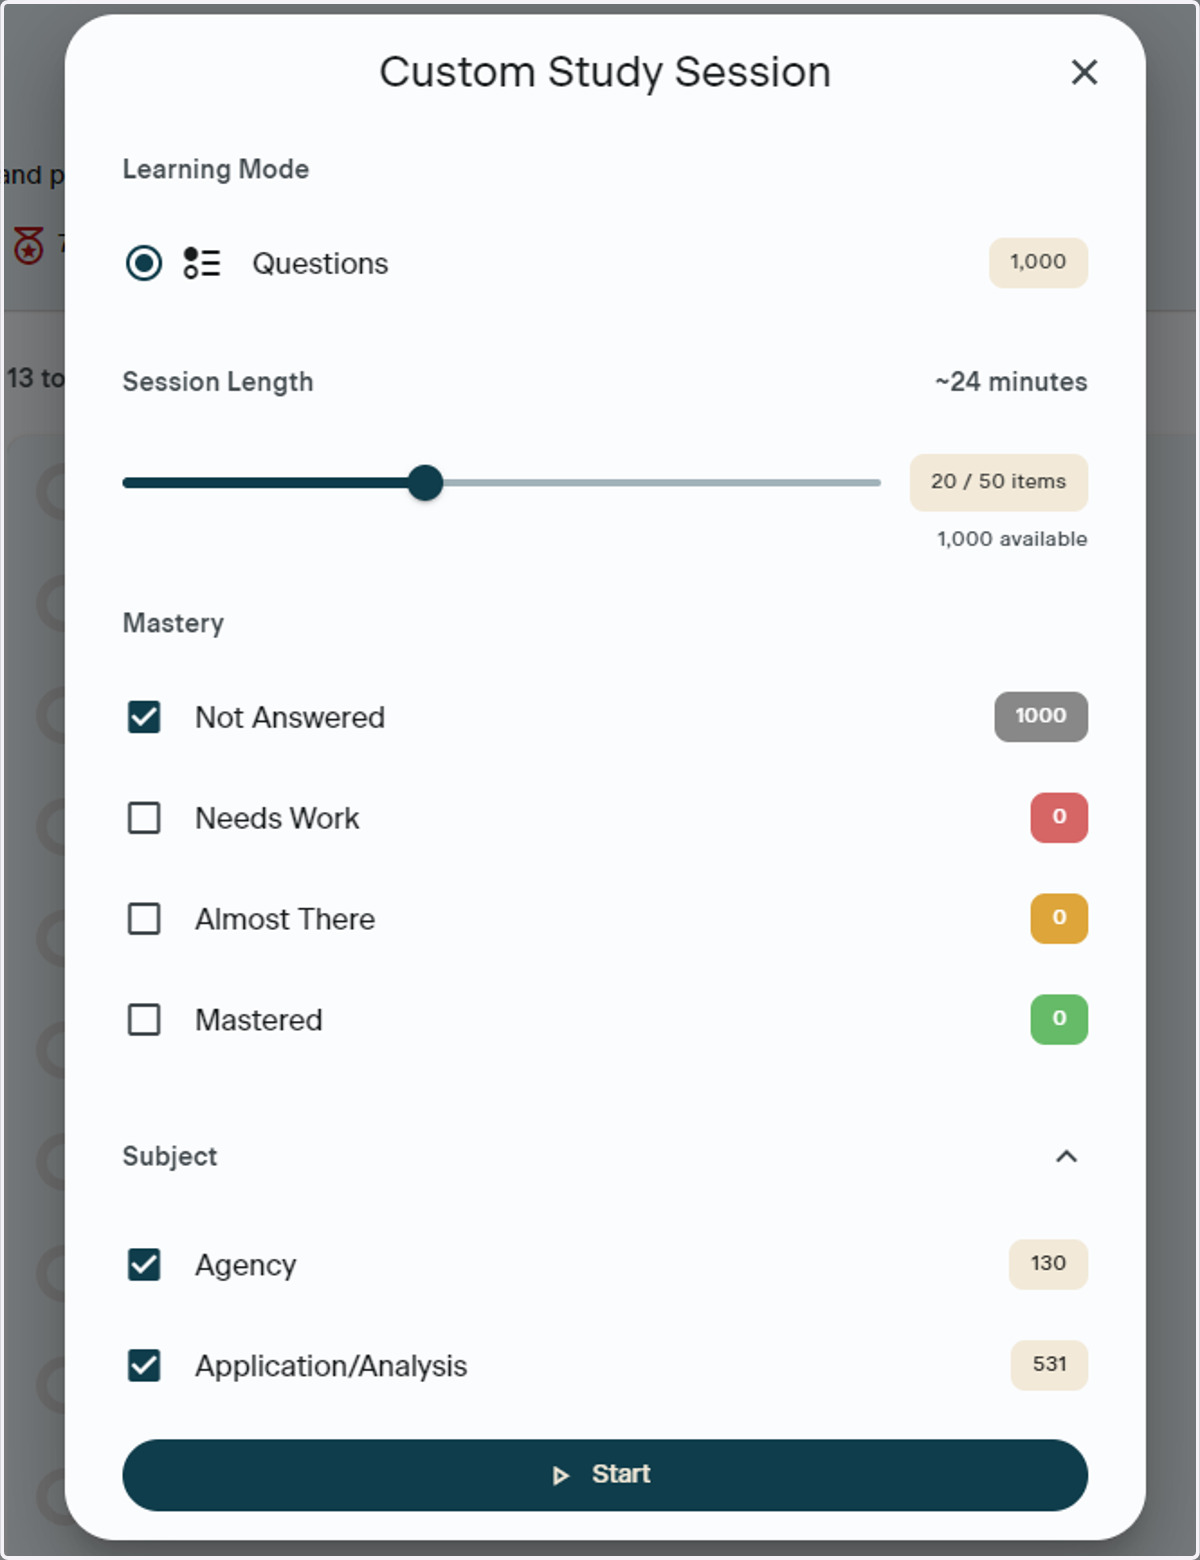
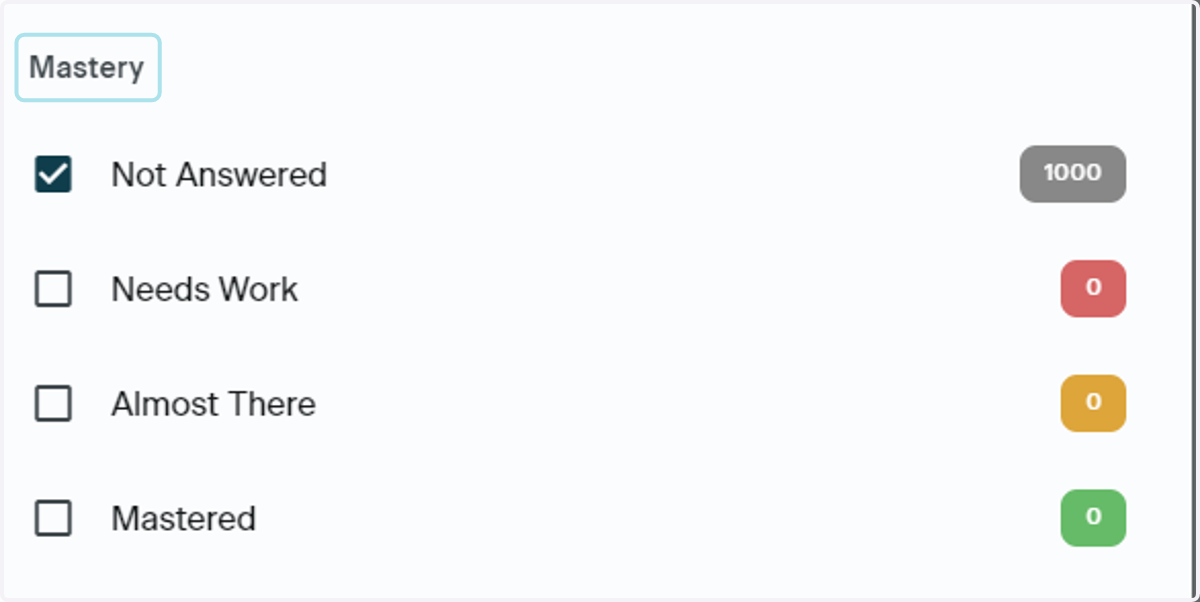
8. Customize Based on Mastery
Under the Mastery section, you can customize your Study Session based on the questions you want to work on most. The more questions you answer, the more questions will become available in the Needs Work, Almost There and Mastered sections
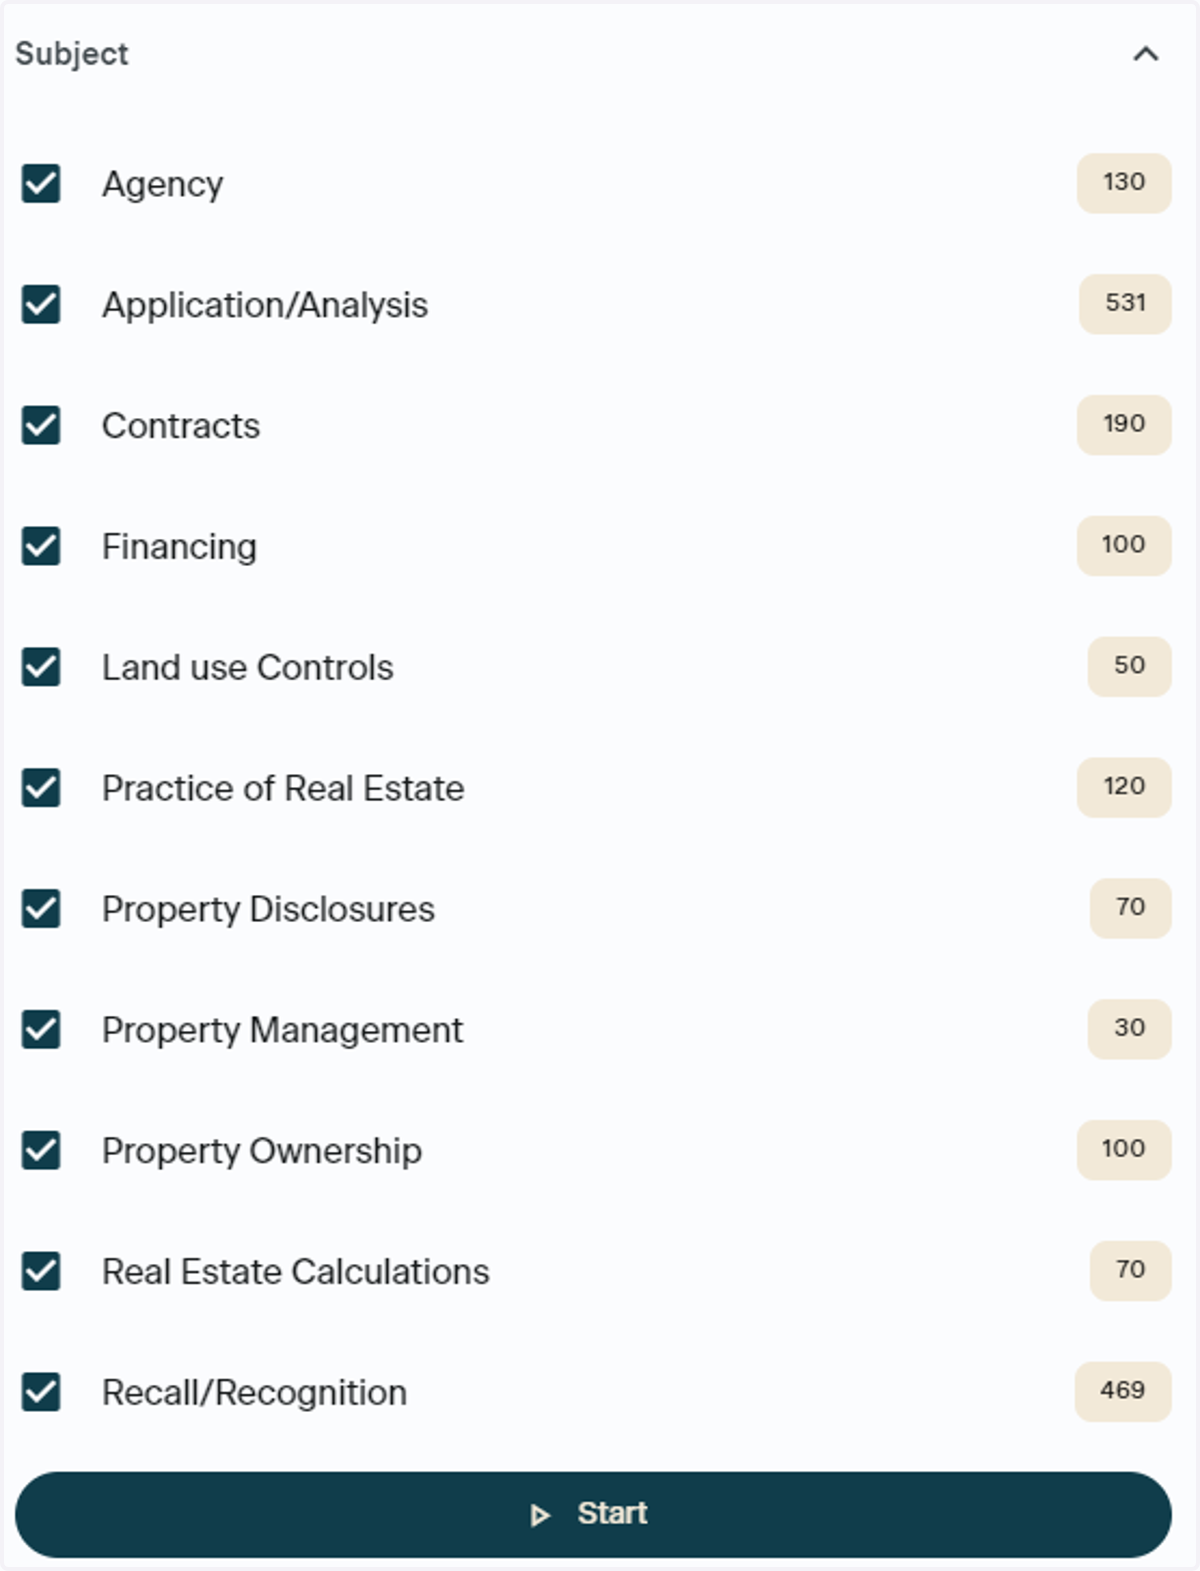
9. Customize Based on Subject
You can also select specific topics you would like to focus on by checking them off in the Subject section
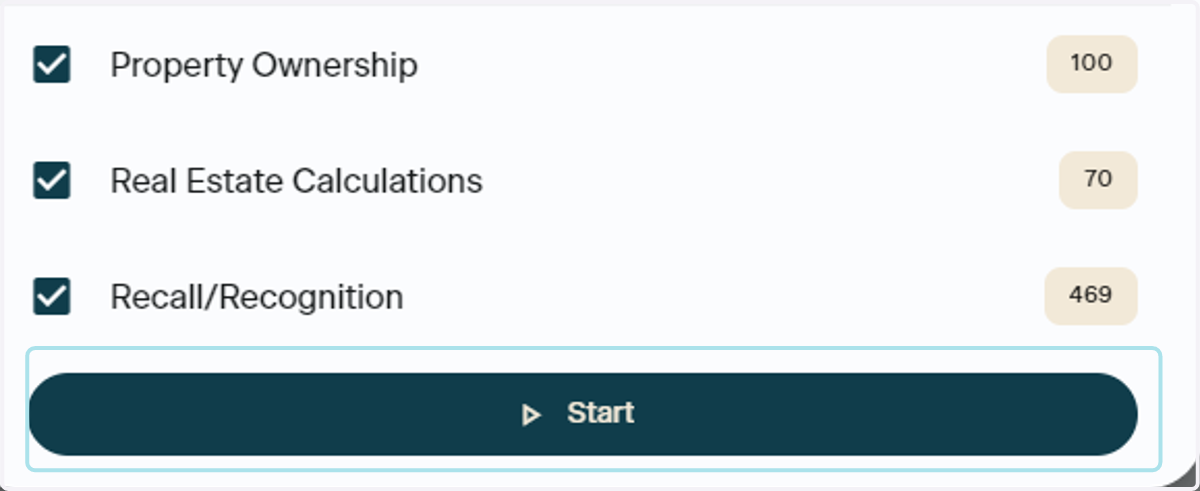
10. Start Your Study Session
Once you are happy with your customizations, click the Start button to begin your Study Session
Inside Your Study Session
11. Progress Bar
The progress bar shows how far along in your session you are
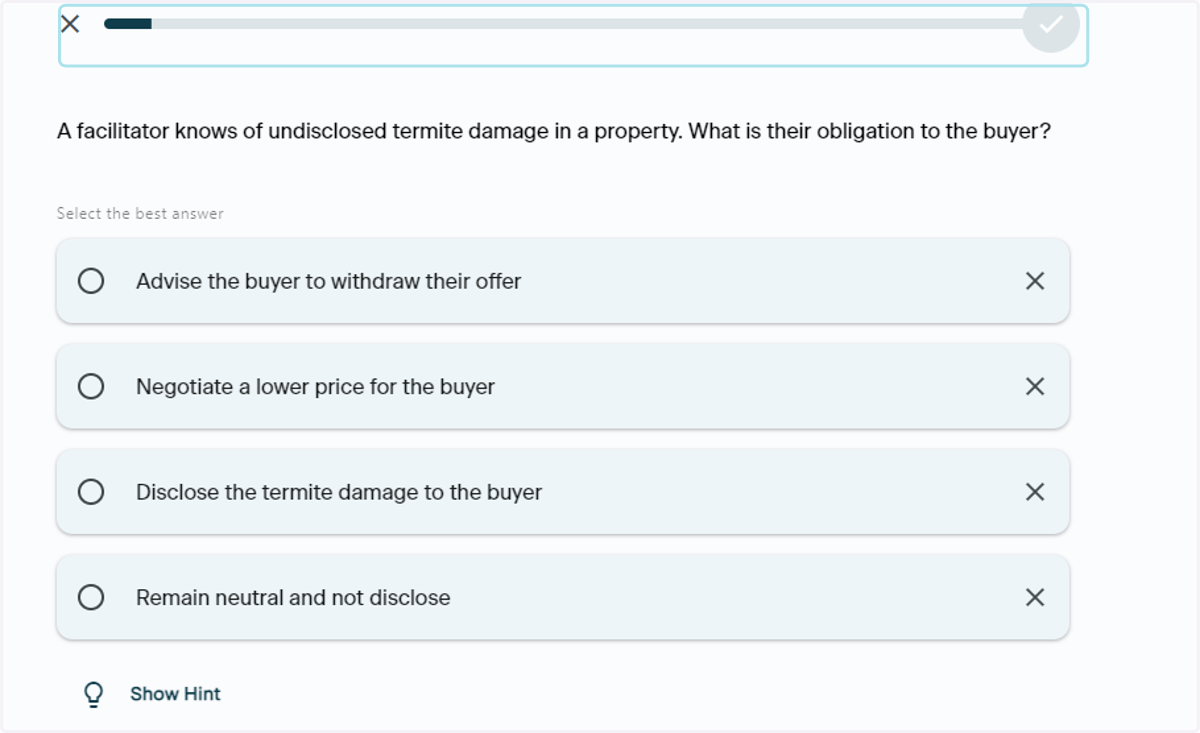
12. Select Your Response
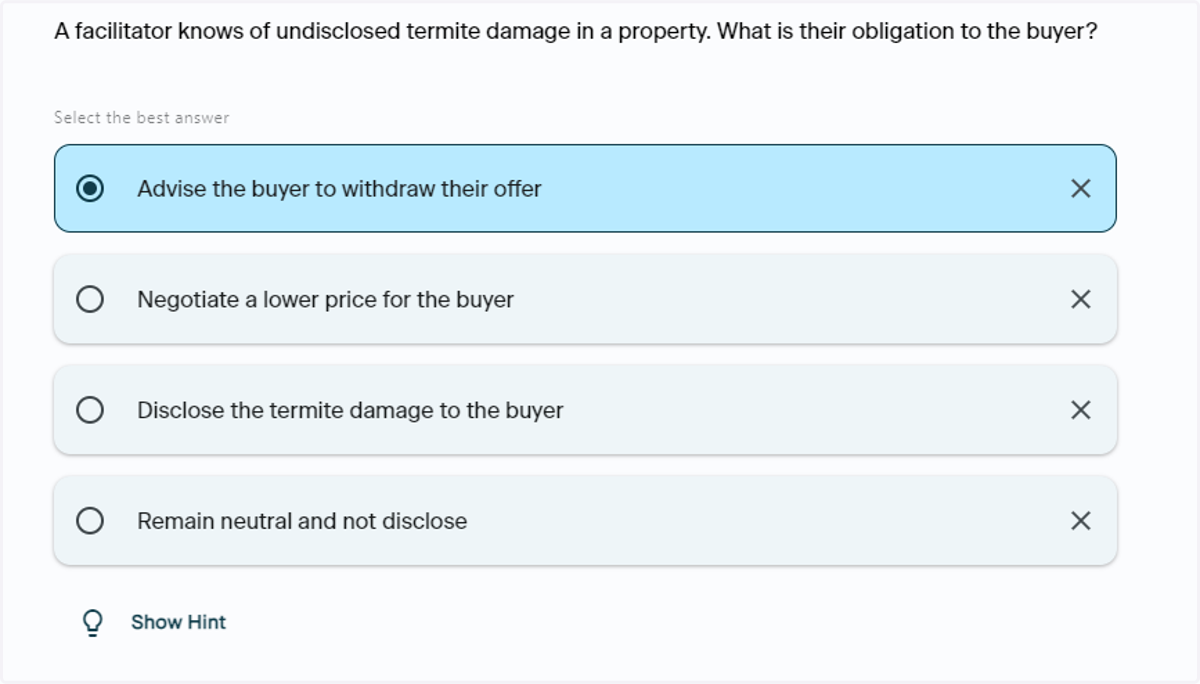
Read through the question and choose from one of the multiple choice options
13. Using the Confidence Interval
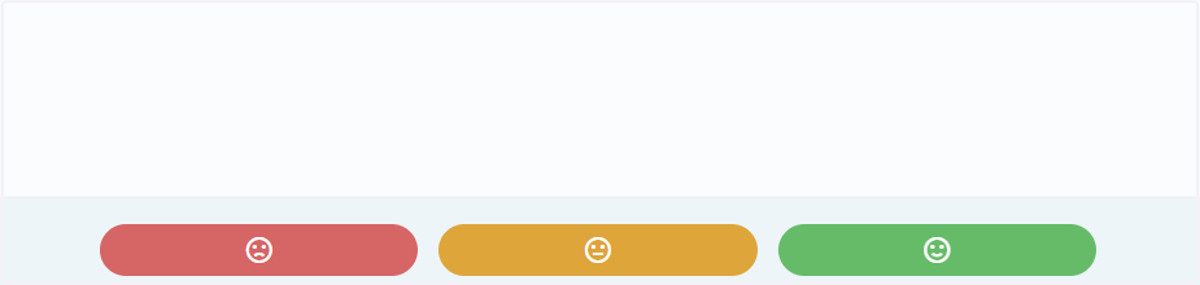
Once you have made your selection, the Confidence Interval will populate. Select the interval that best matches how you feel about the response to the question. Choose Red for least confident, Yellow for moderately confidence and Green for most confident
14. Read the Explanation
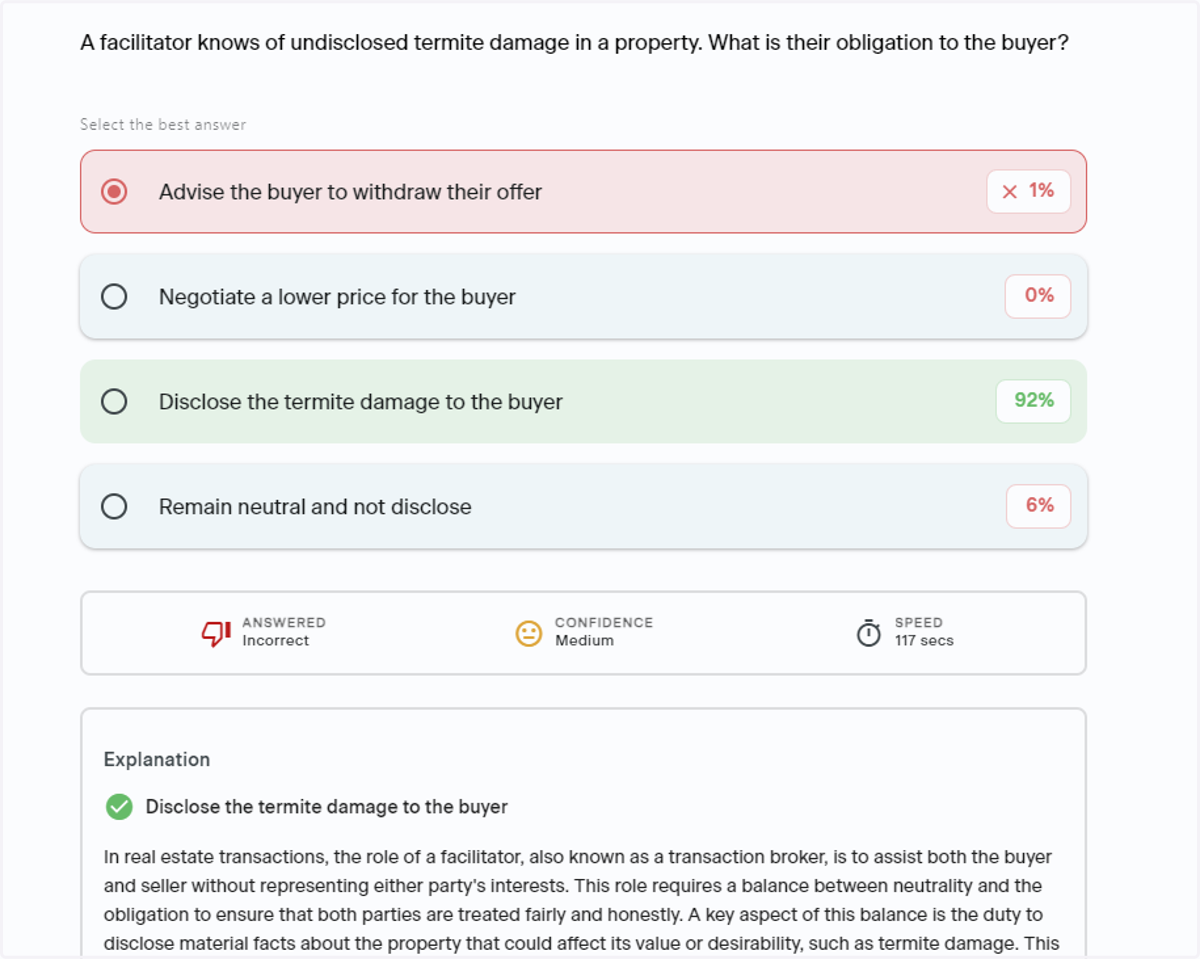
Once you have fully answered the question, you will see the percent of test takers that selected each response. The reasoning behind the correct answer will also populate. The full explanation breaks down how the correct answer is achieved
15. Read the Key Takeaway
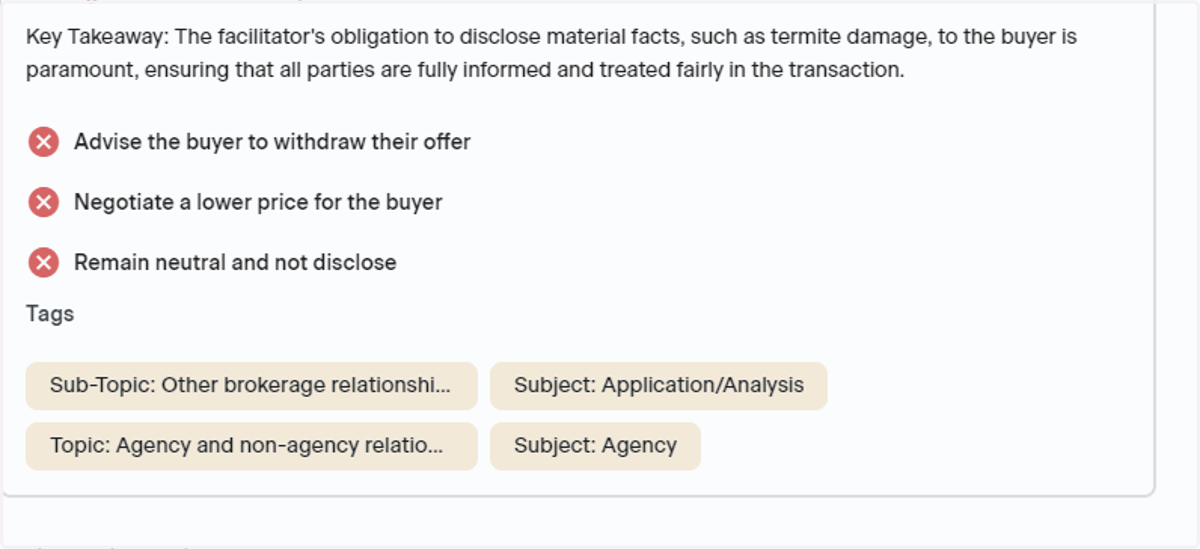
For a briefer explanation of the correct response, use the Key Takeaway section of the Explanation
Using the AI Learning Assistant (AiLA)
16. Click Ask AiLA
You can use the AiLA button on the side of your screen to ask questions. When you complete a question, AiLA will populate questions related to the topic. You can also ask your own question.
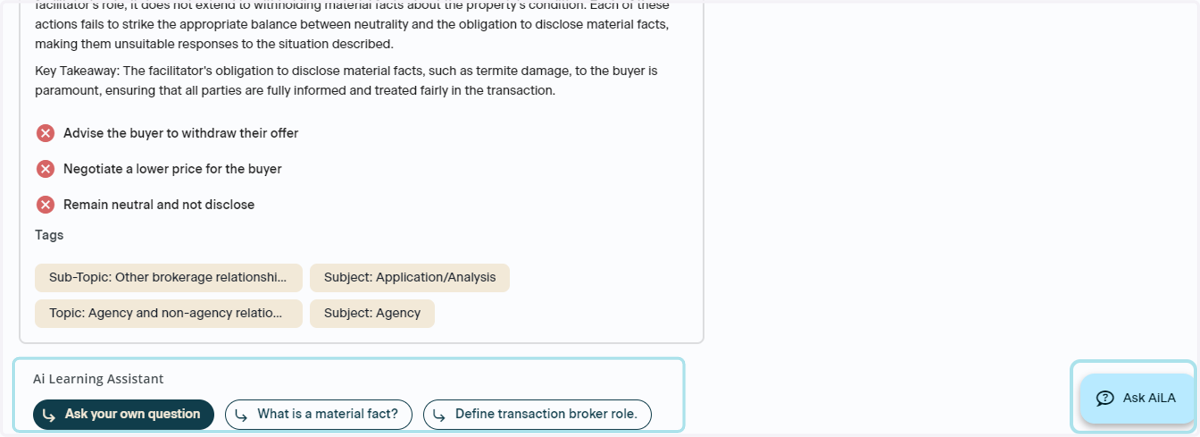
17. AiLA Overview
After clicking AiLA, a window will populate and you will see a brief overview of the question you are working on
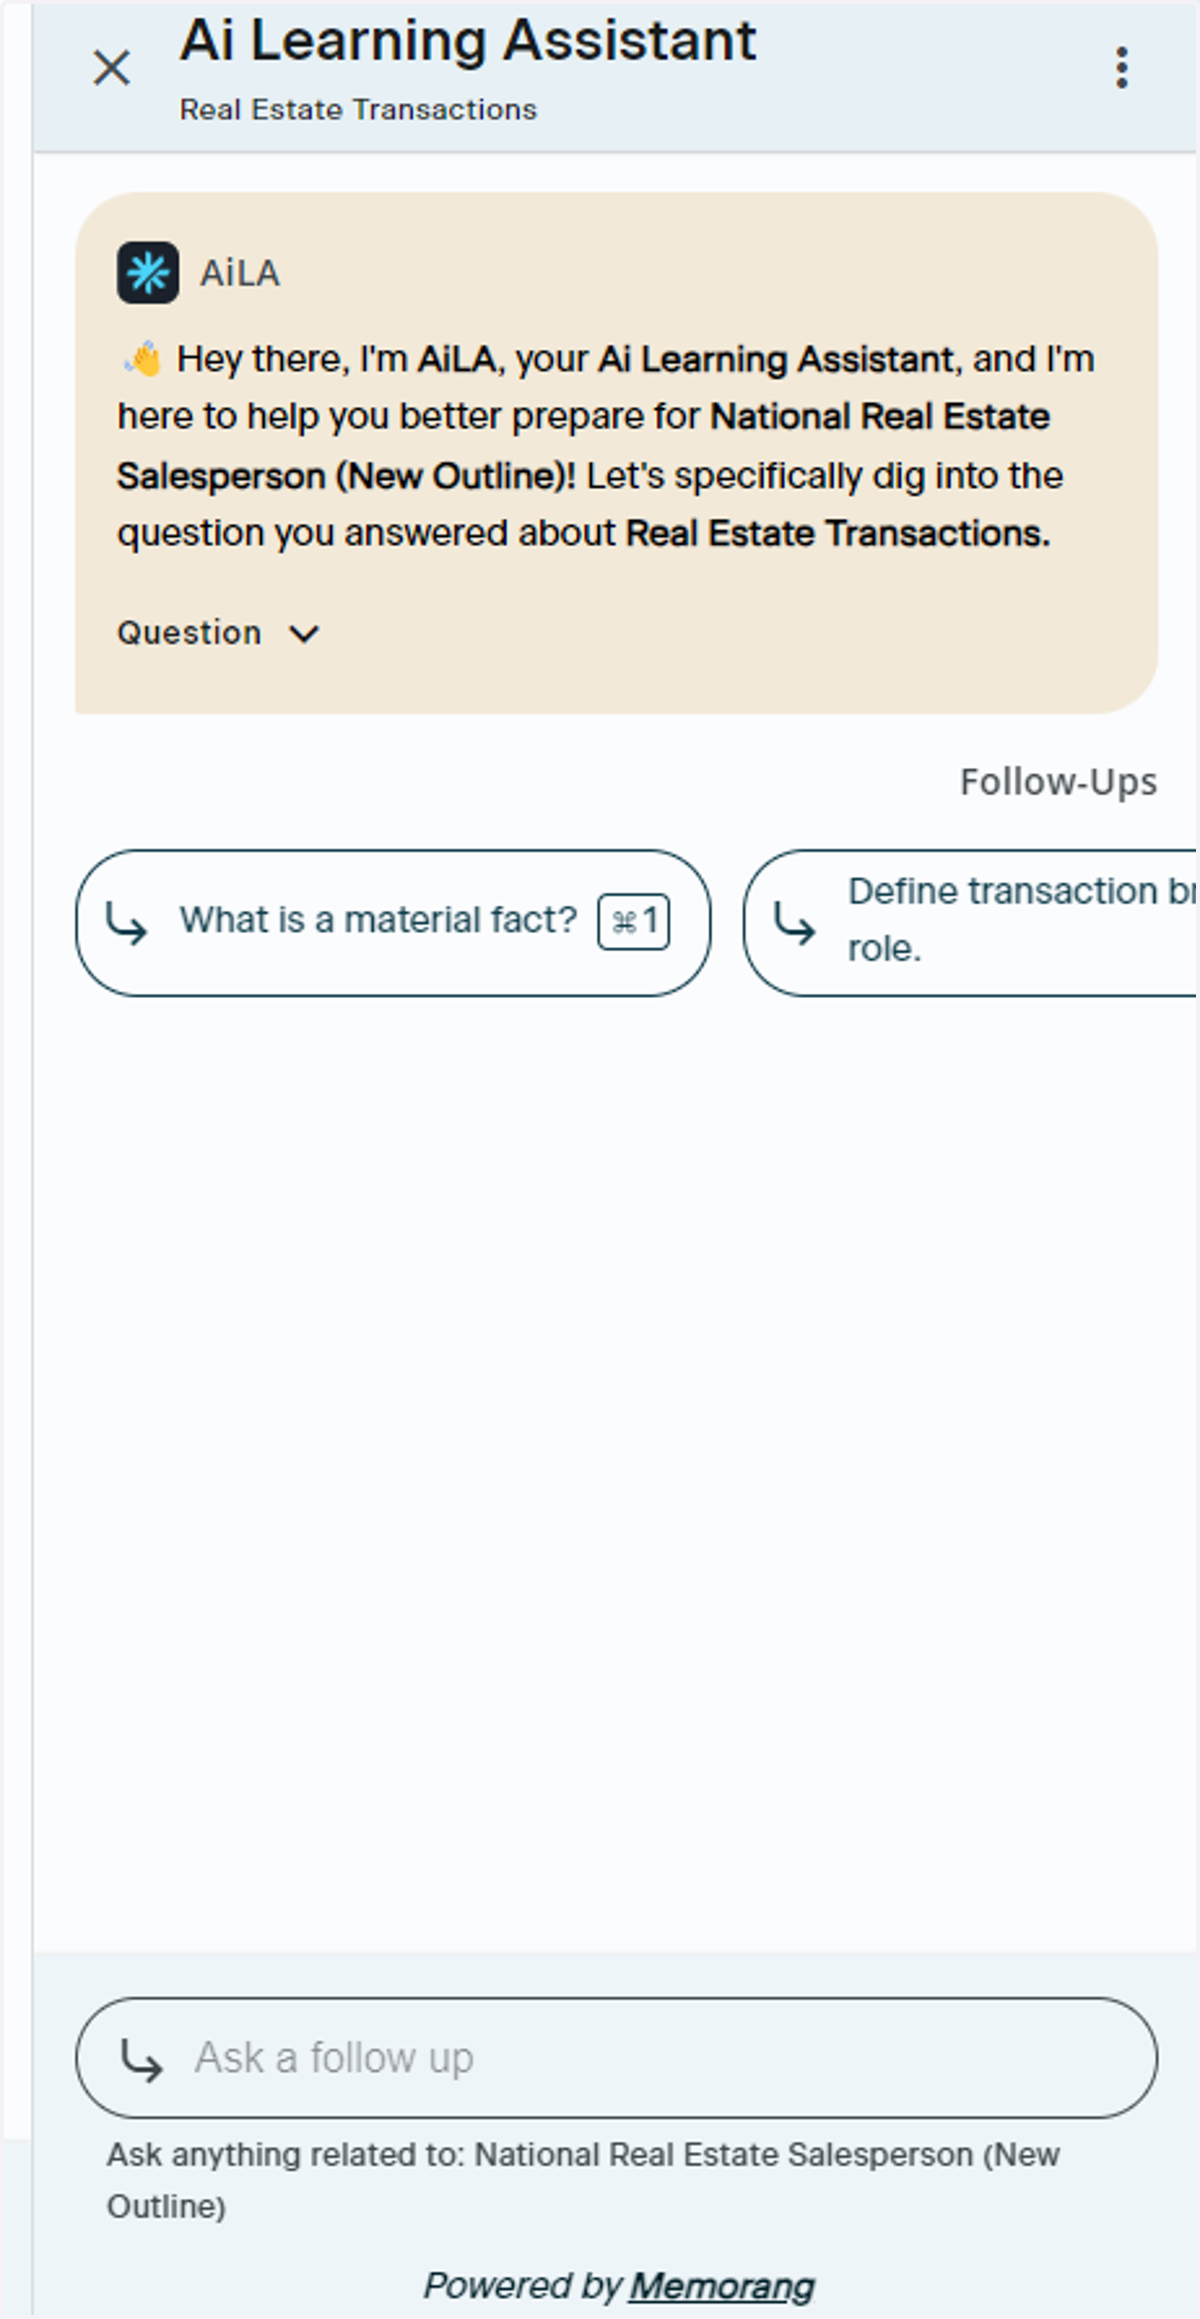
18. Ask Your Own Question
You can type in any question related to the question you are working on
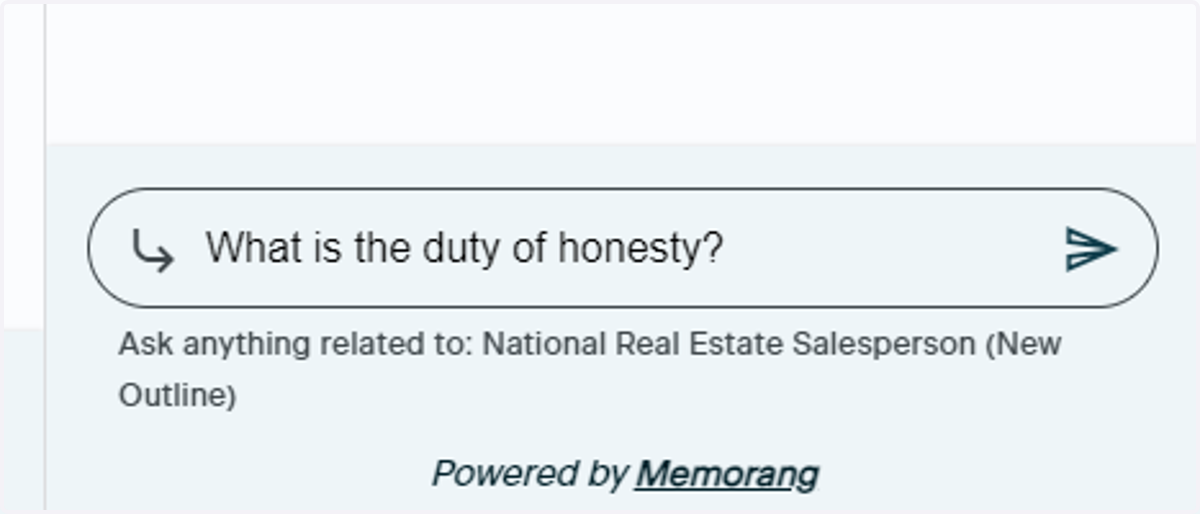
19. Click Send
Once you are finished typing your question, click the Send button to ask AiLA
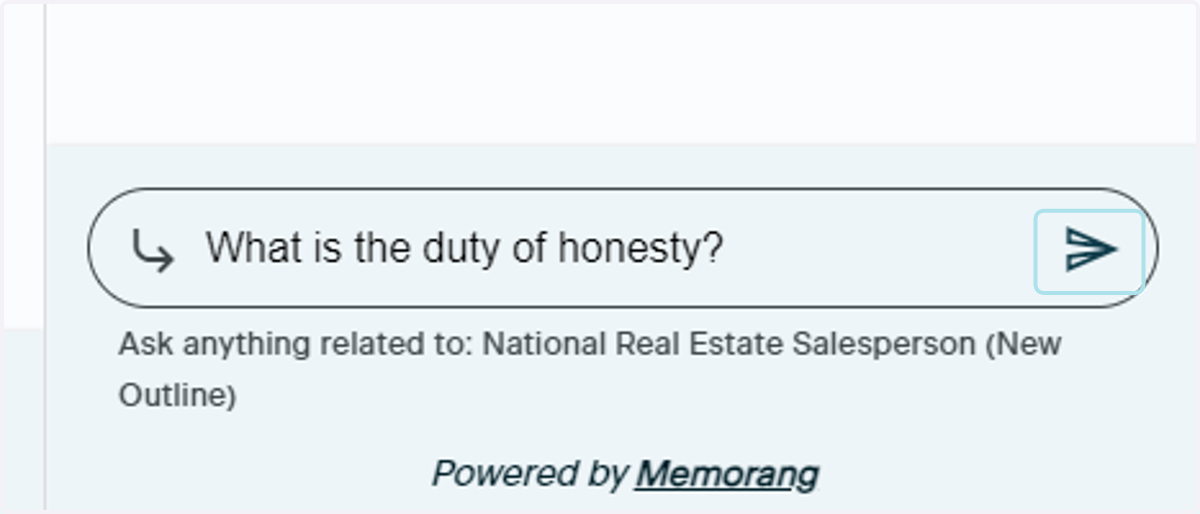
20. Read the Response
AiLA will then generate a reply based on what you have asked
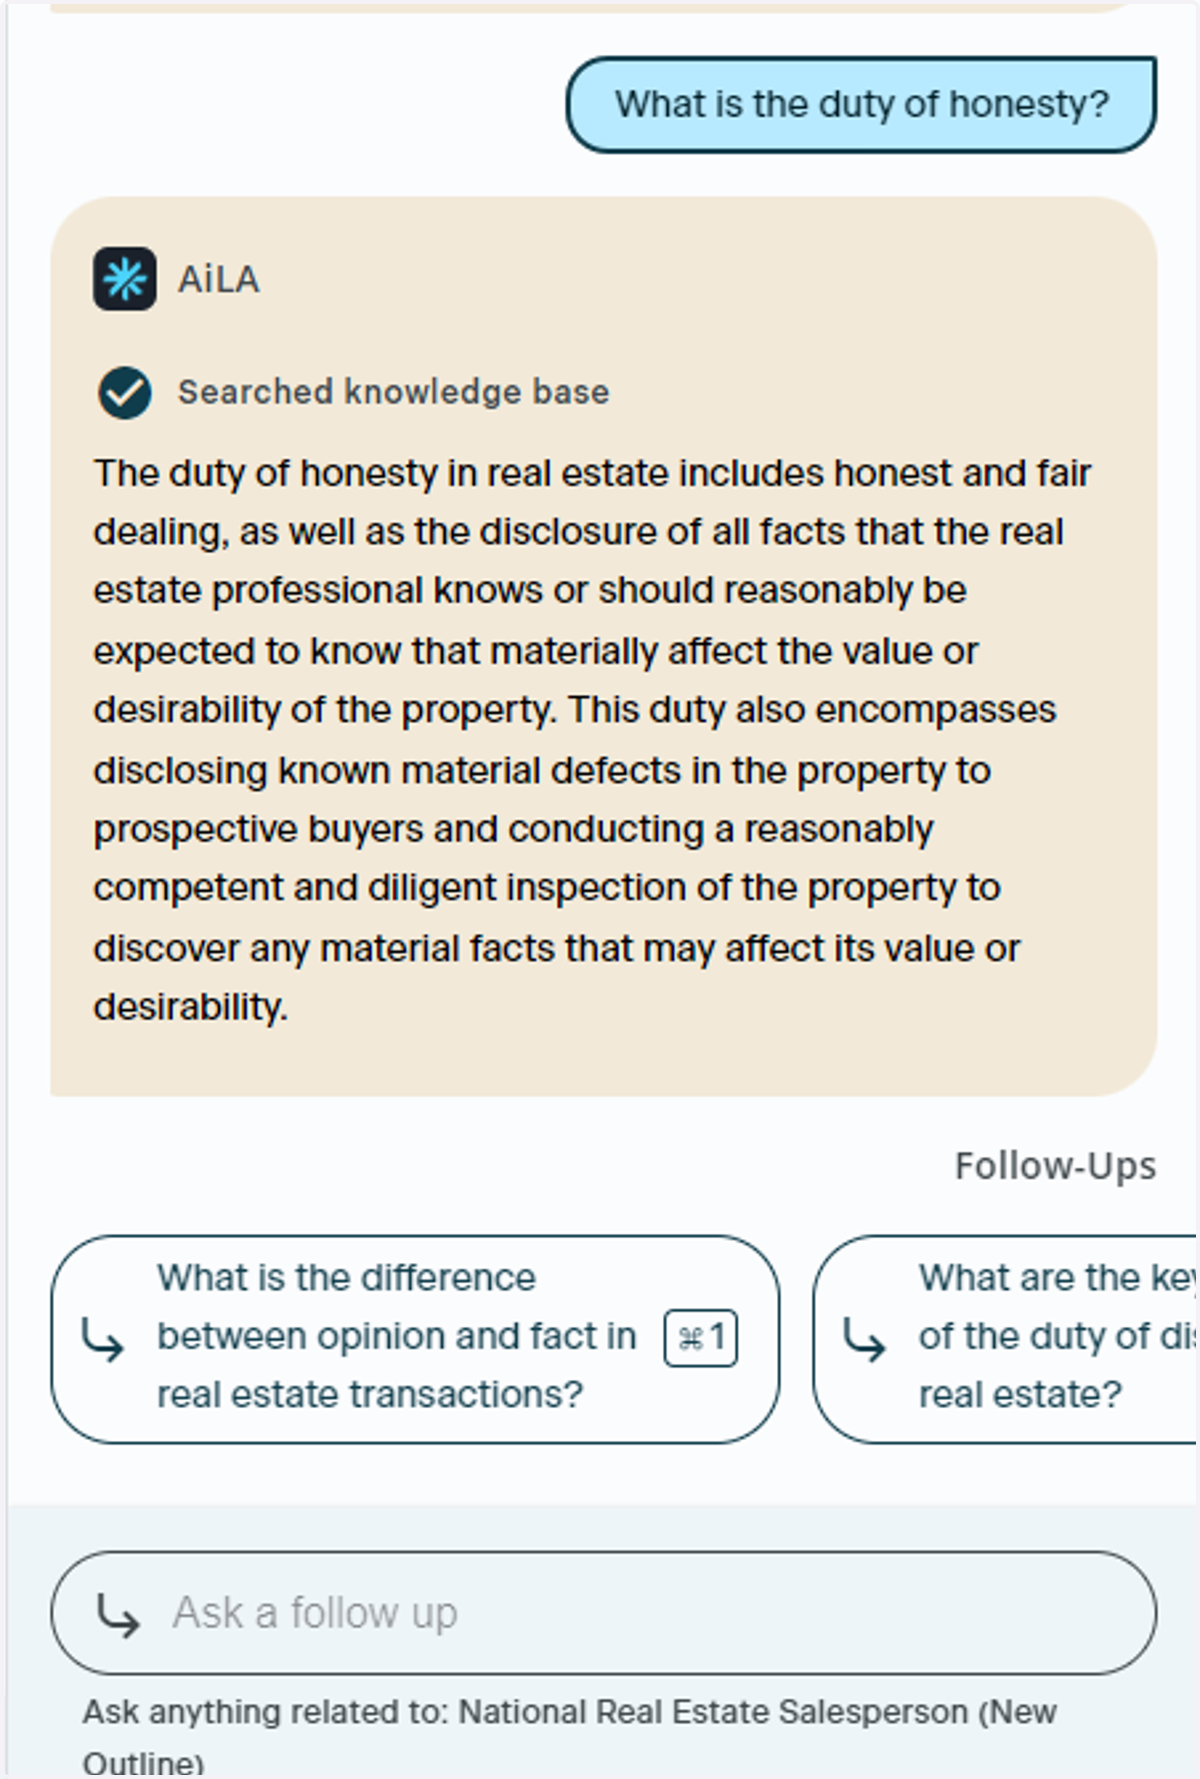
21. Use Pre Generated Questions
Check out the pre generated questions to ask AiLA. Scroll through using the arrow button to view the pre generated questions
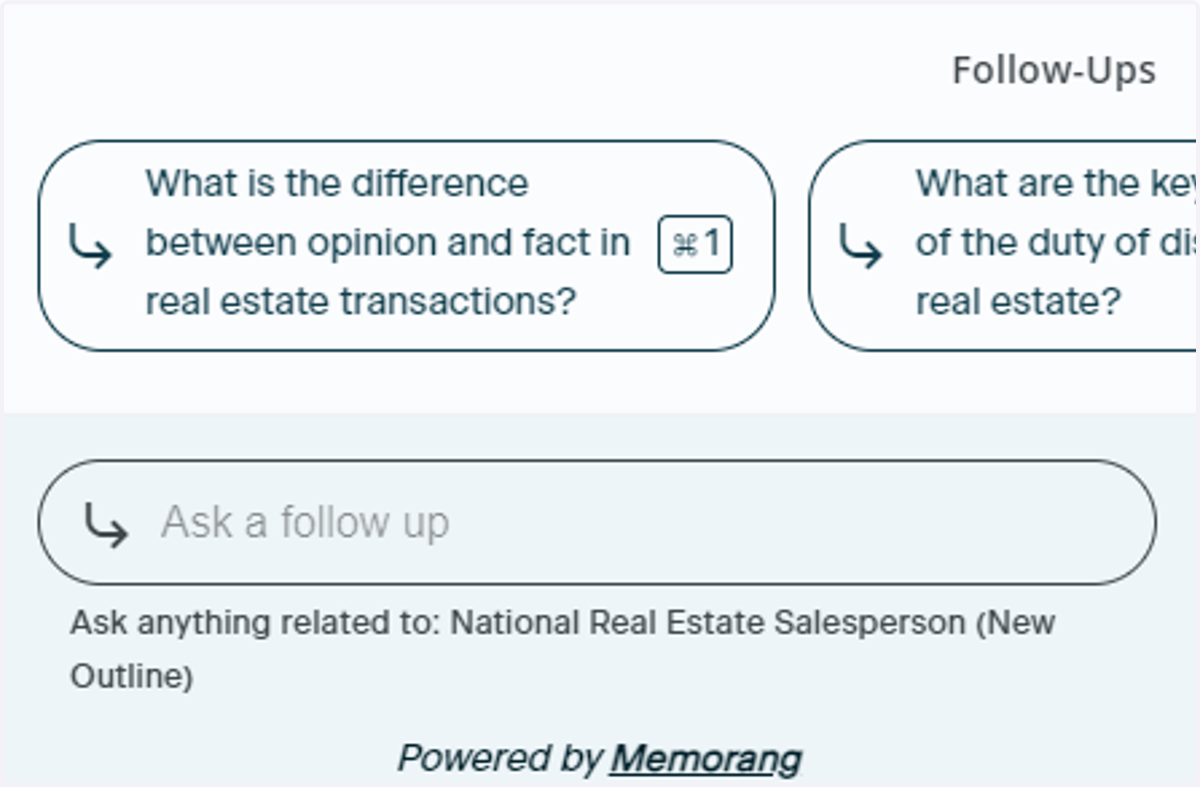
22. Select the Pre Generated Question
Once you have found a pre generated question you'd like to ask, click it to ask AiLA
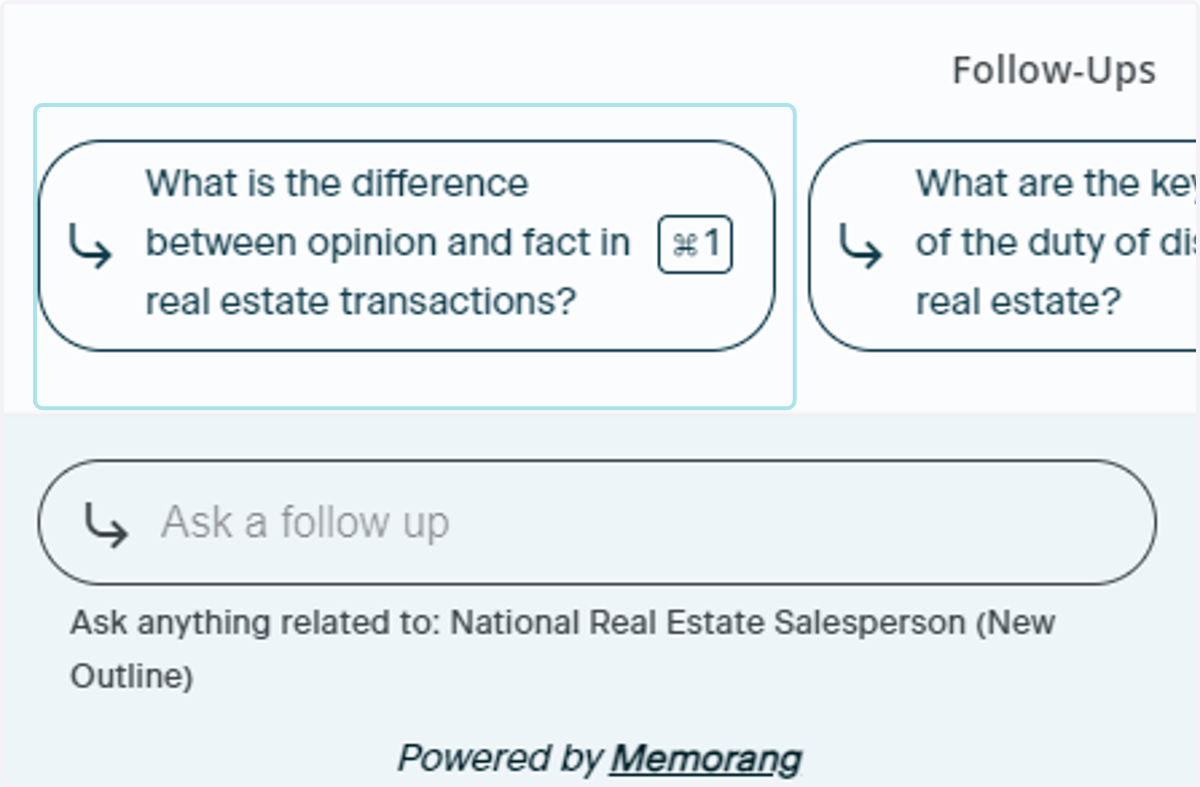
23. Read the Response
AiLA will then generate a reply based on the question you selected
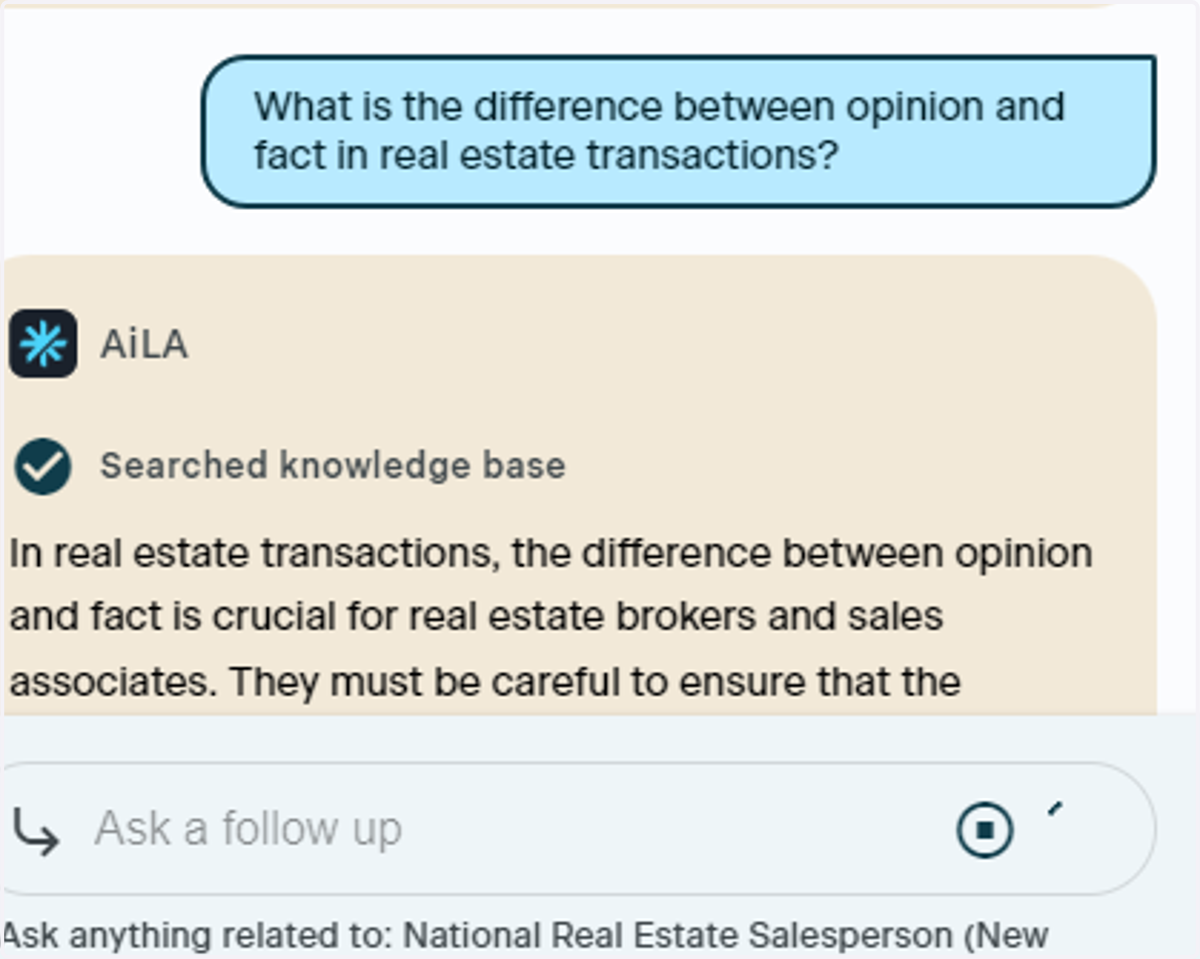
24. Copy AiLA Responses
If you would like a copy of the response from AiLA, click the double rectangles to copy it over

25. Mark AiLA Response as Helpful
Click the thumbs up button if you like the response provided. Using this button helps AiLA learn the types of responses that are acceptable

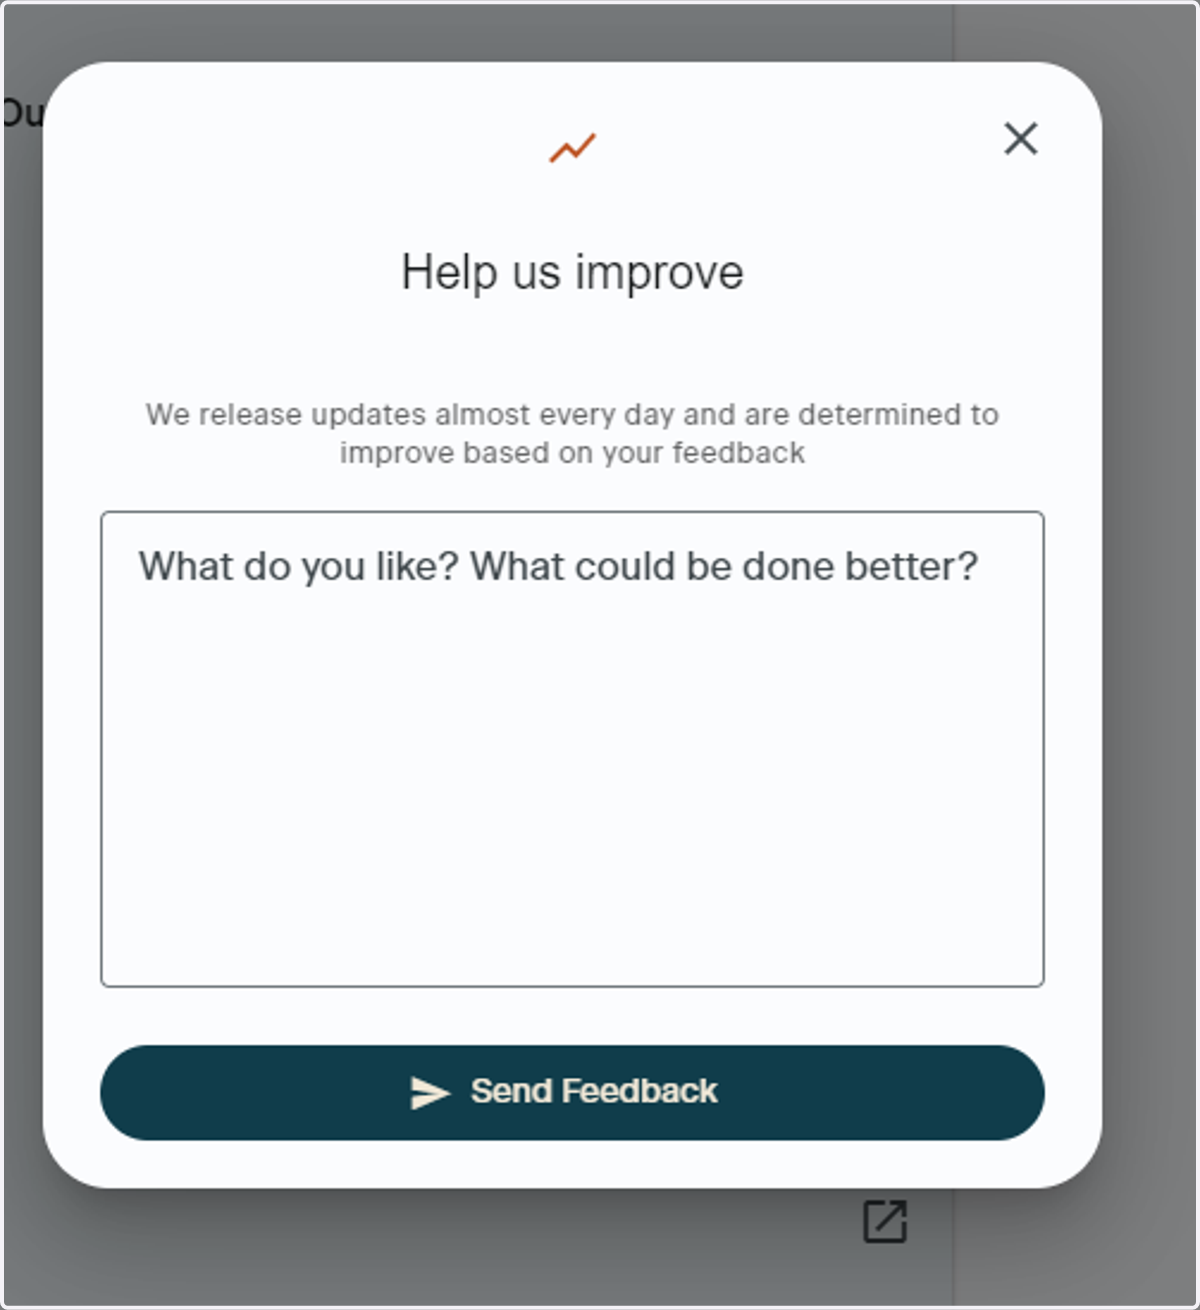
26. Use the Feedback Window
Once you click thumbs up, a window will populate for you to leave feedback. If you prefer not to, just click the X in the upper righthand corner of the populated window
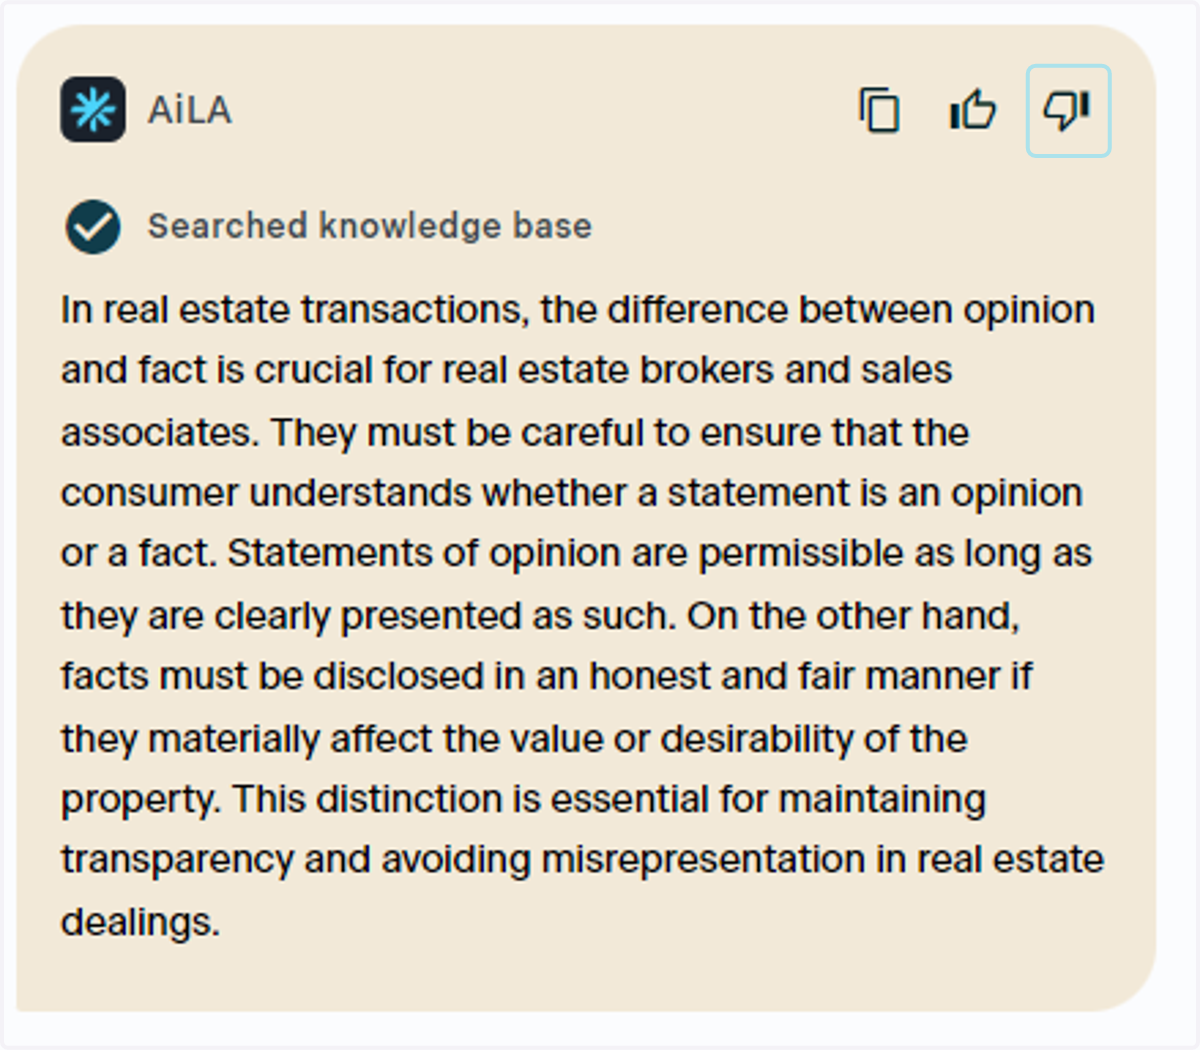
27. Mark a Response as Not Helpful
If you were dissatisfied with a response, use the thumbs down button
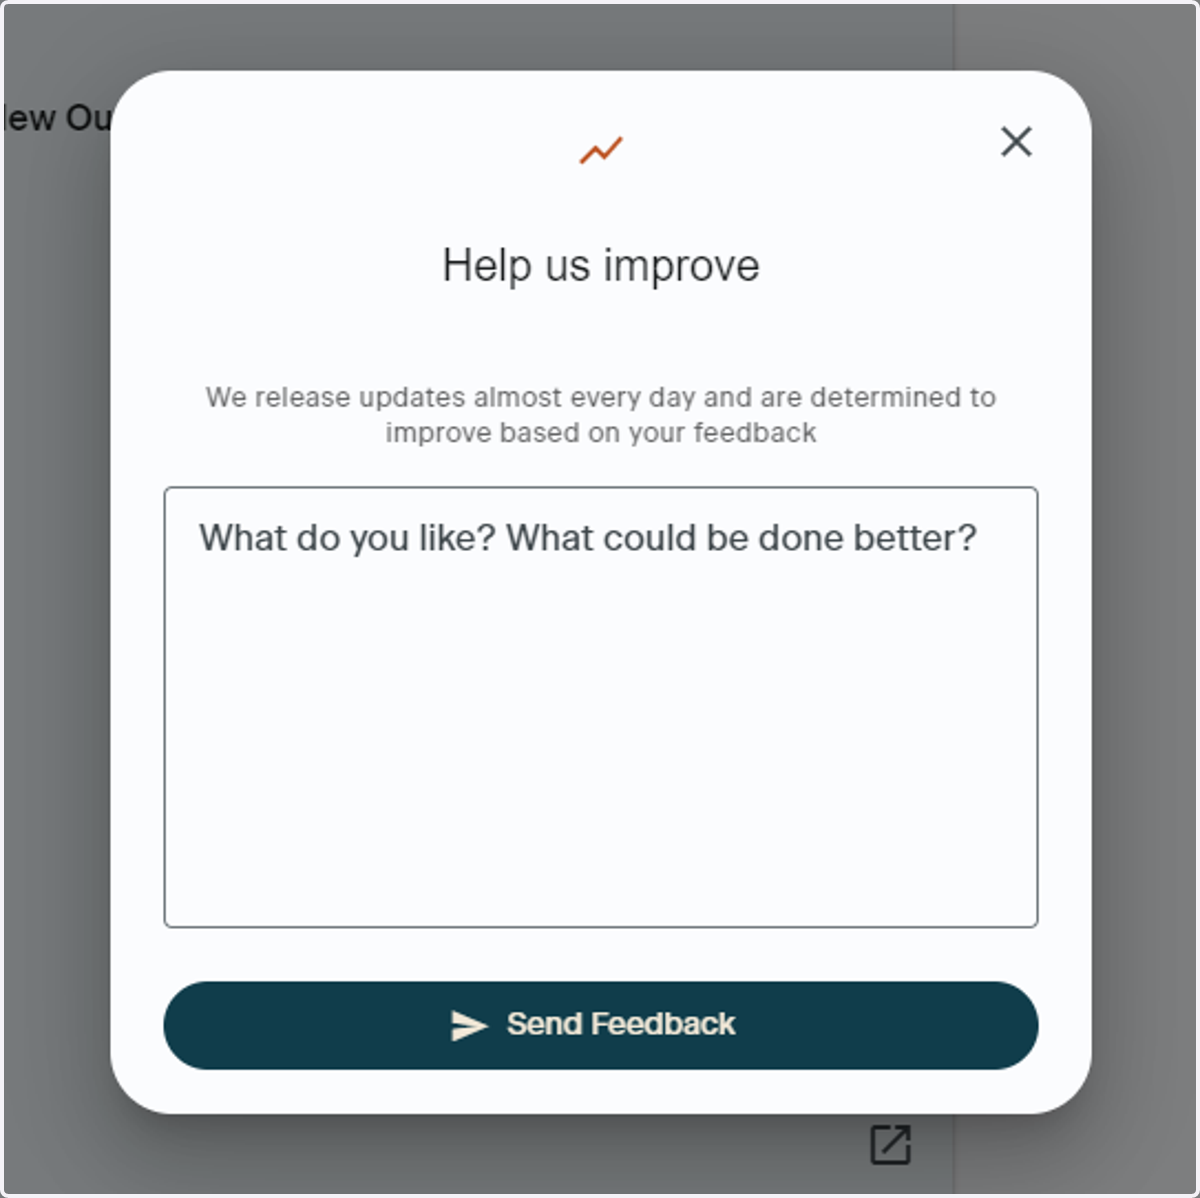
28. Send Feedback
If you felt the AiLA generated response was not helpful, please use the feedback window to let Memorang know why. The more feedback that is provided, the better AiLA can become
Post Study Session
Exploring the Study Pack after you have finished your study session
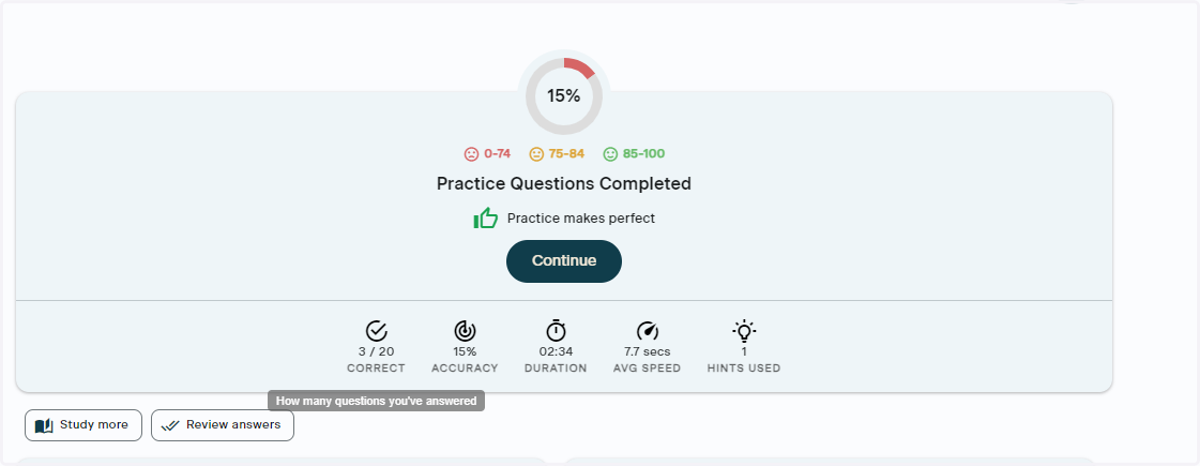
29. Completing Your Study Session
Once you have finished working on your study session, the Practice Test Questions Completed window will appear on your screen. This screen will populate any time you end a session
30. Using Subject
The topic session reviews the subjects you have worked through.
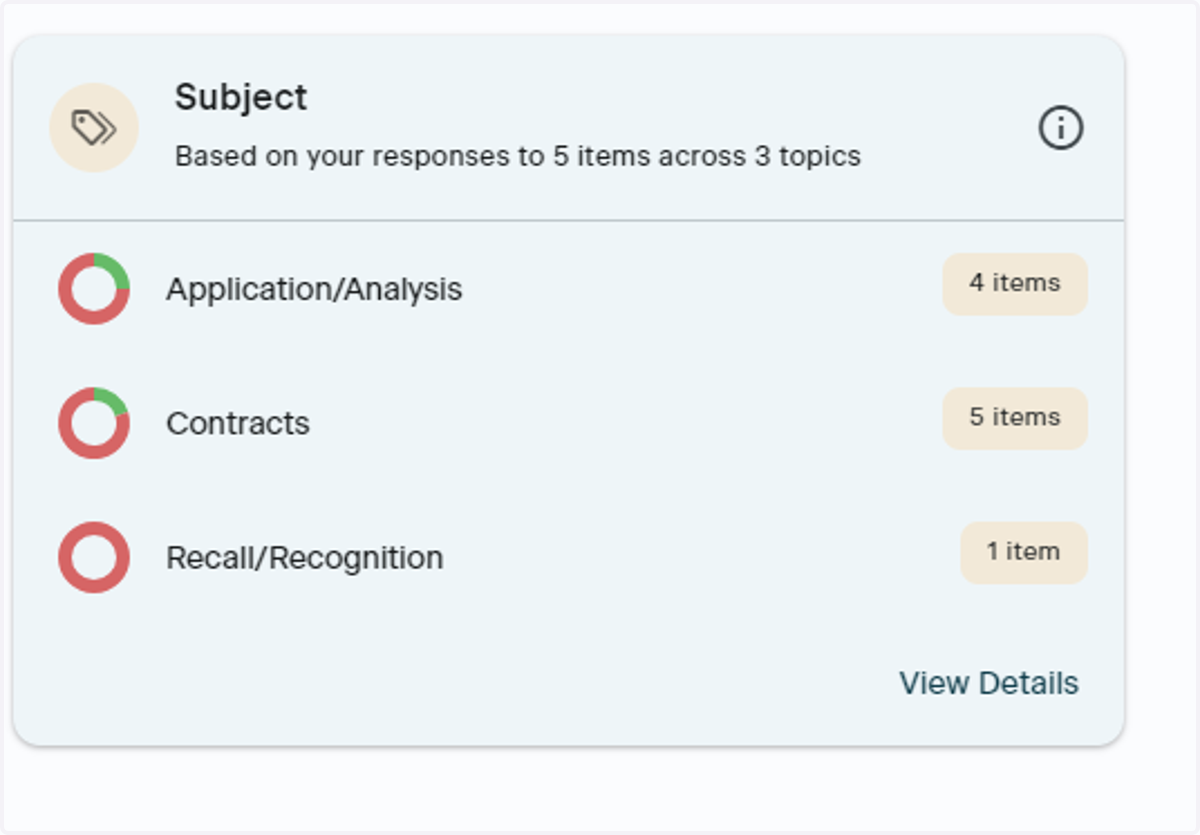
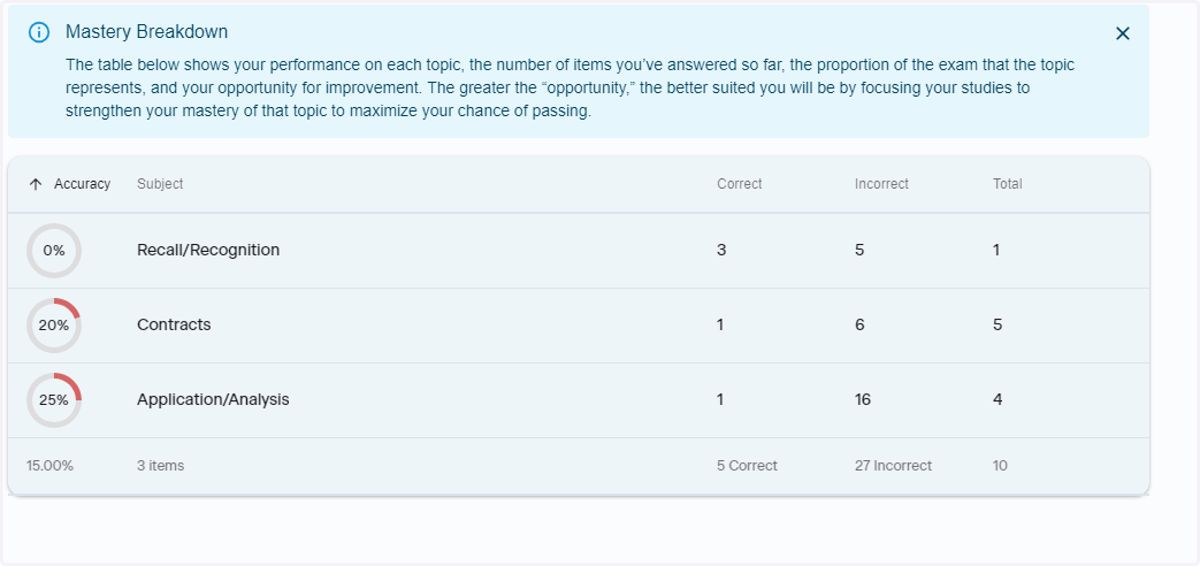
31. Mastery Breakdown
If you click View Details in the bottom righthand corner of the Subject box, it will show you mastery breakdown based on the topics you've answered
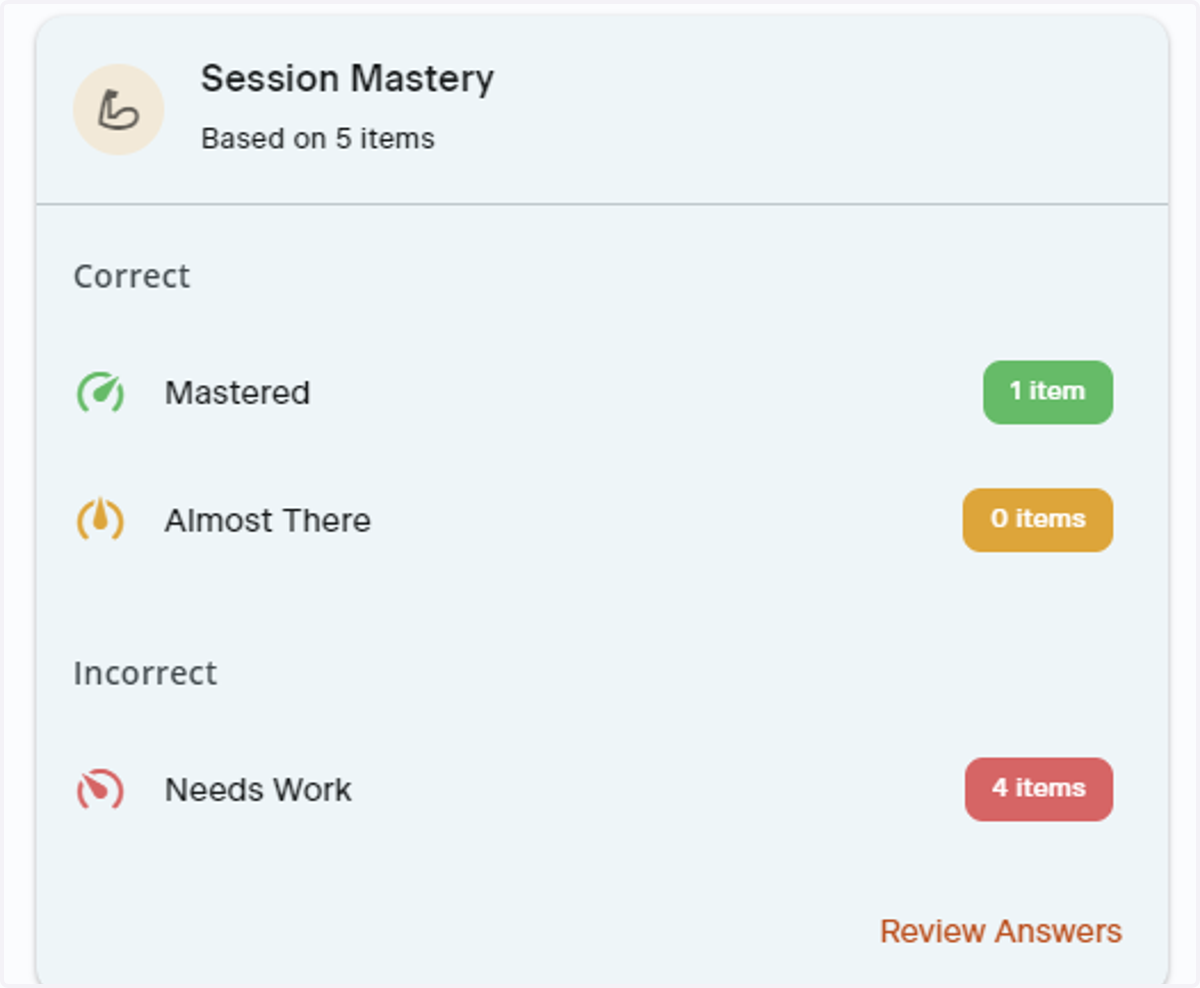
32. Session Mastery
Session Mastery provides an overview of your performance in the Study Pack and the session you just completed
33. Study More
If you would like to continue your Study Session, click Study More
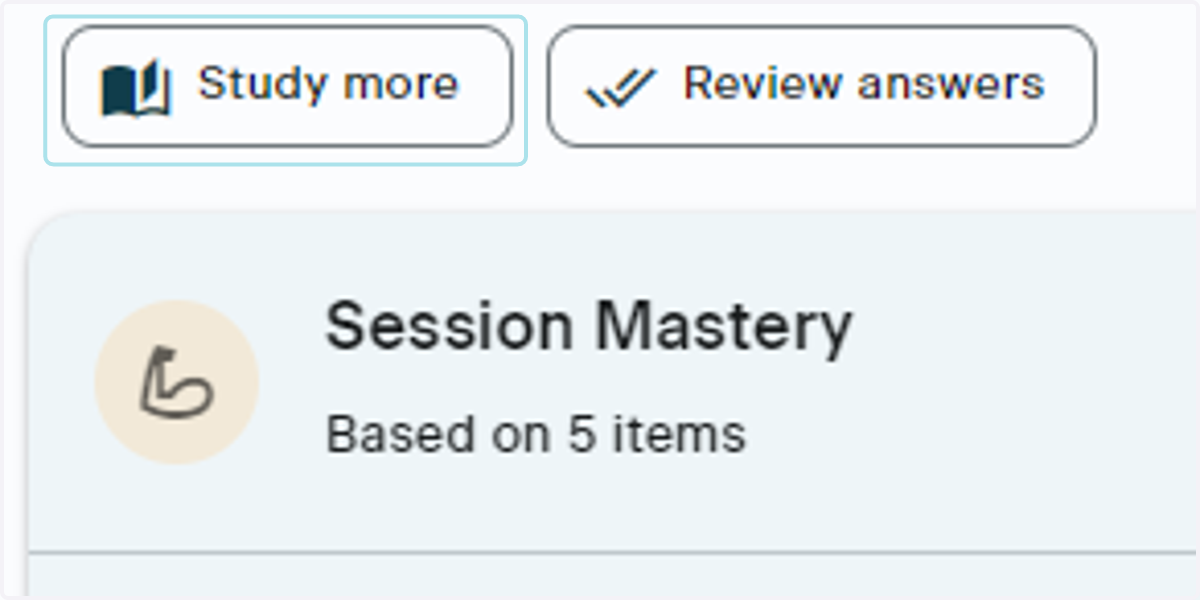
34. Launch Study Session
Once you've clicked Study More, the Custom Study Session window will populate
35. Review Answers
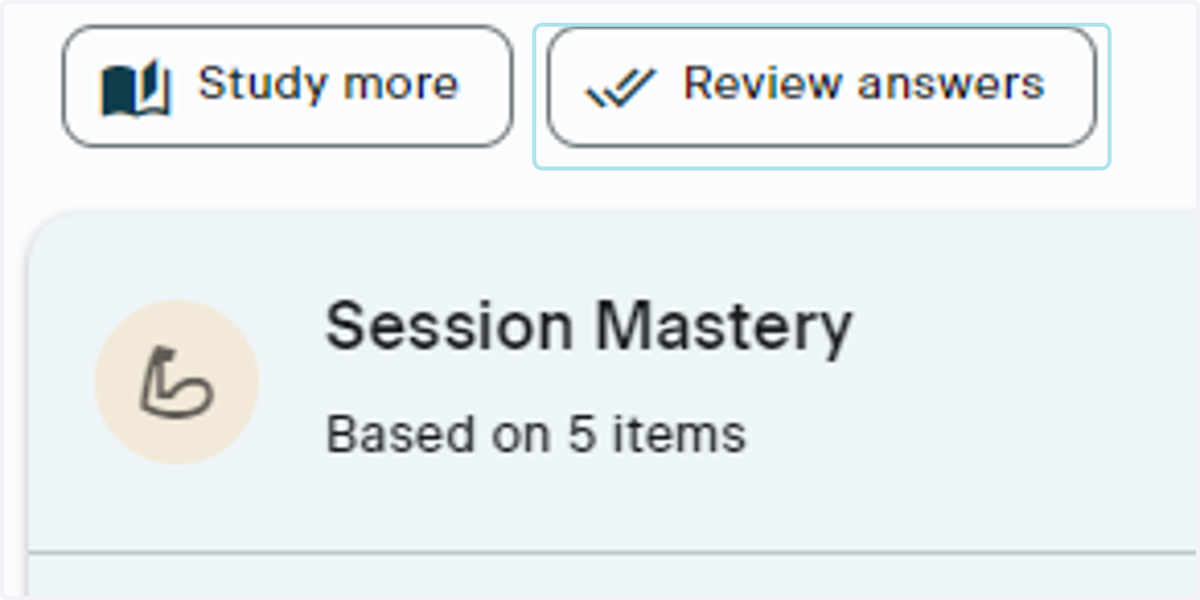
Click Review Answers to look at the responses you chose to the questions you have answered
36. Select the Questions to Review
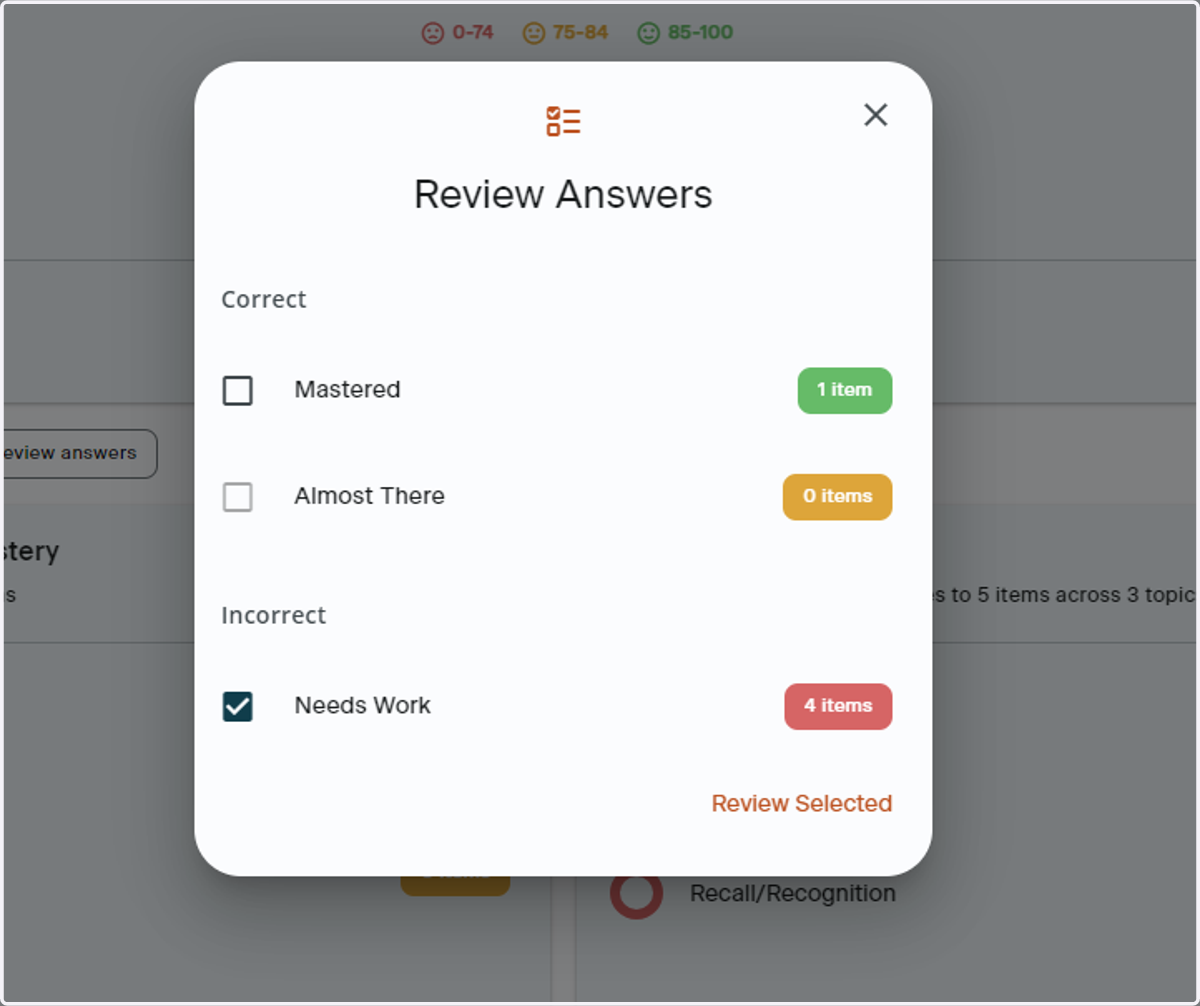
Choose the types of questions you want to view the responses to. For example, if you only want to view your answers to questions marked Needs Work, check off that box. When you're ready, click Review Selected
Progress Board
Using the progress board
37. Click Progress
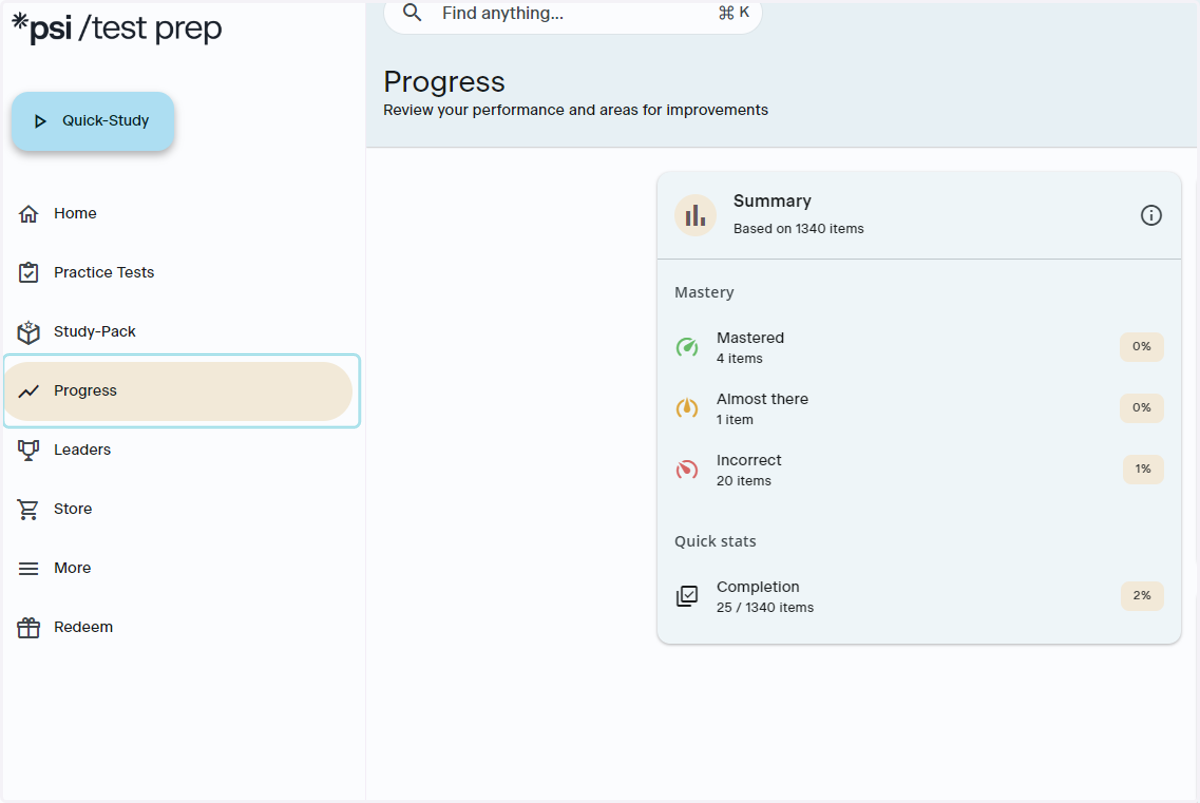
In the lefthand navigation bar, click the Progress button
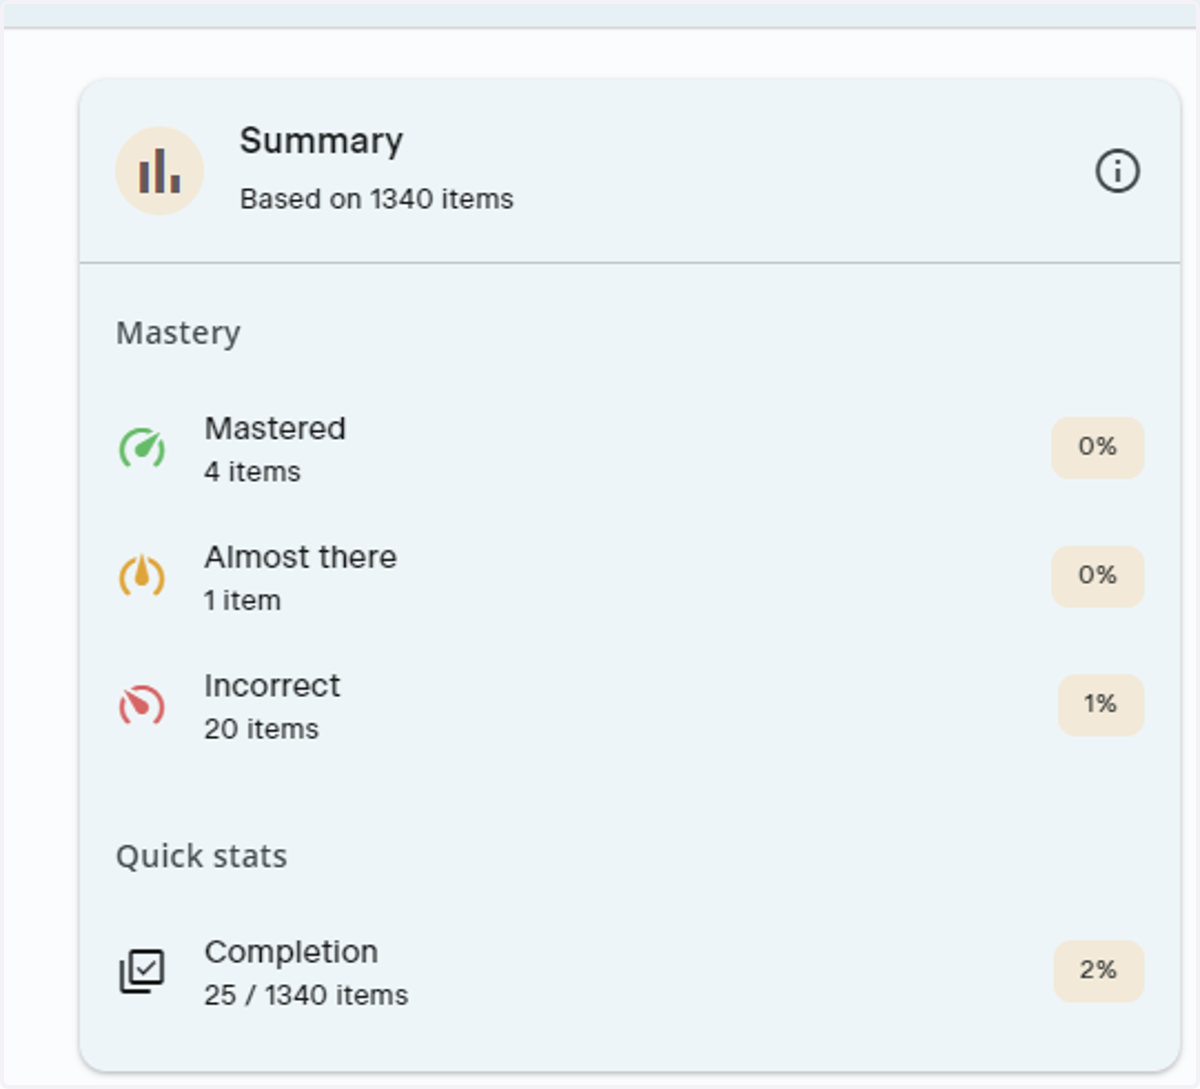
38. Summary Section
Use the Summary section to view how you've progressed through your Study Pack
39. Needs Improvement
The Needs Improvement section highlights all the items that you may need to spend more time with
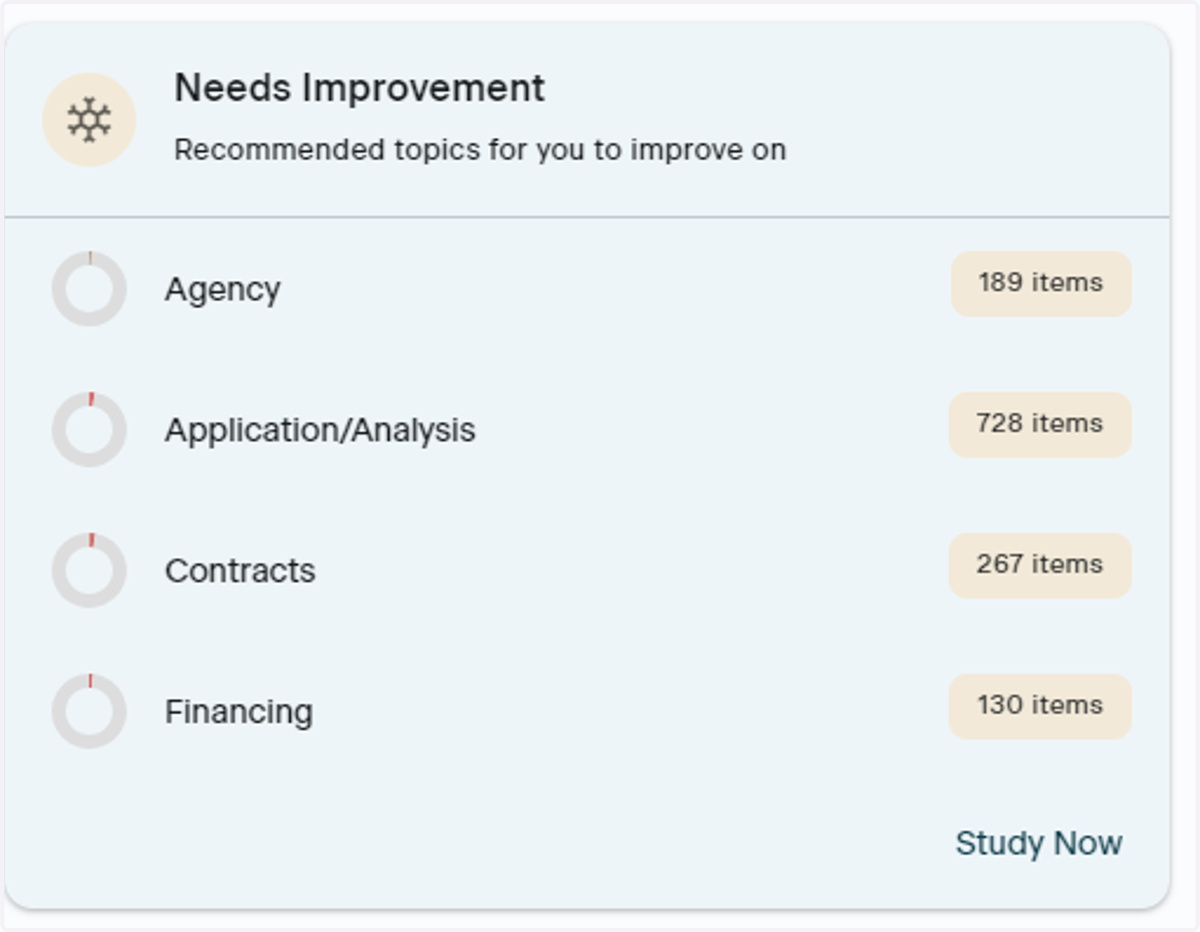
40. Launch Needs Improvement Study Session
If you click Study Now in the bottom righthand corner of the Needs Improvement window, a Custom Study Session will populate based on the items in Needs Improvement
41. Subject
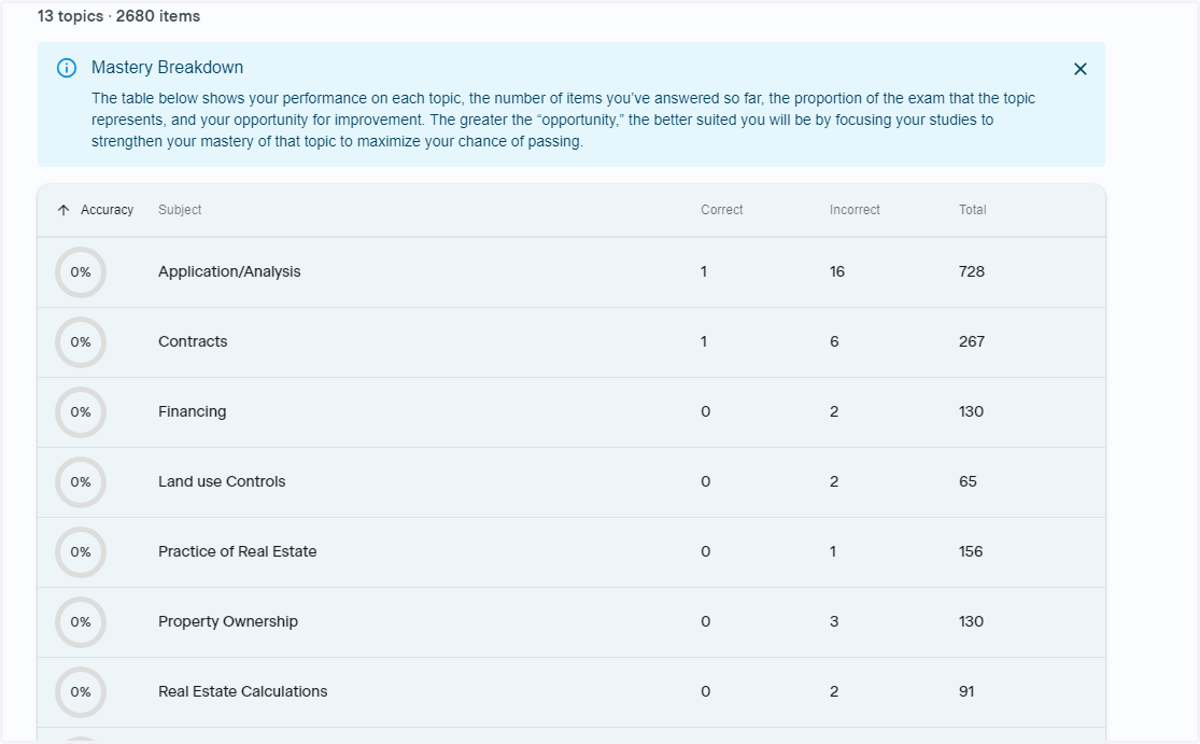
Use the Subject section to see a breakdown of your performance in each topic. For a full breakdown, click View Details
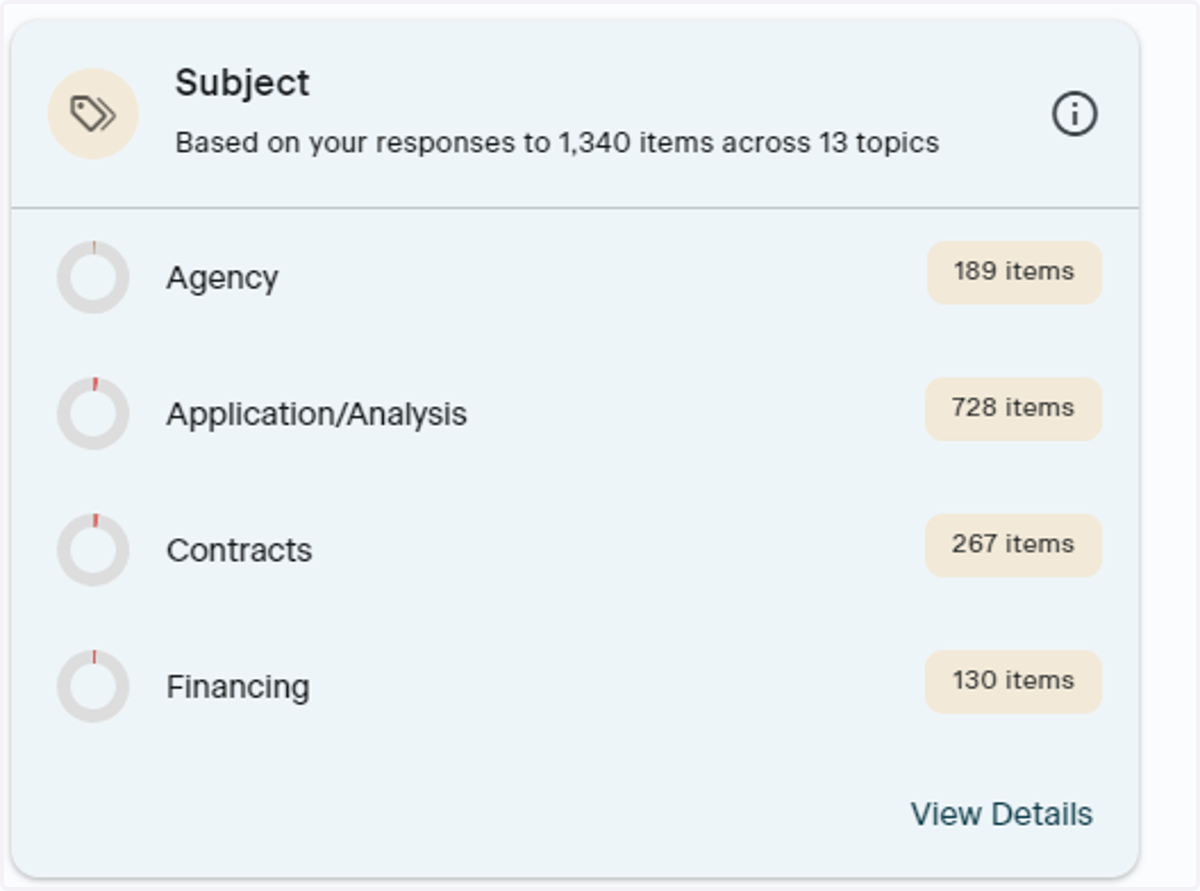
42. Mastery Breakdown
Read through your Mastery Breakdown of each topic to gain a deeper understanding of your topic knowledge
Purchase a Practice Test
Get a practice test pack to test your knowledge
43. Practice Your Skills
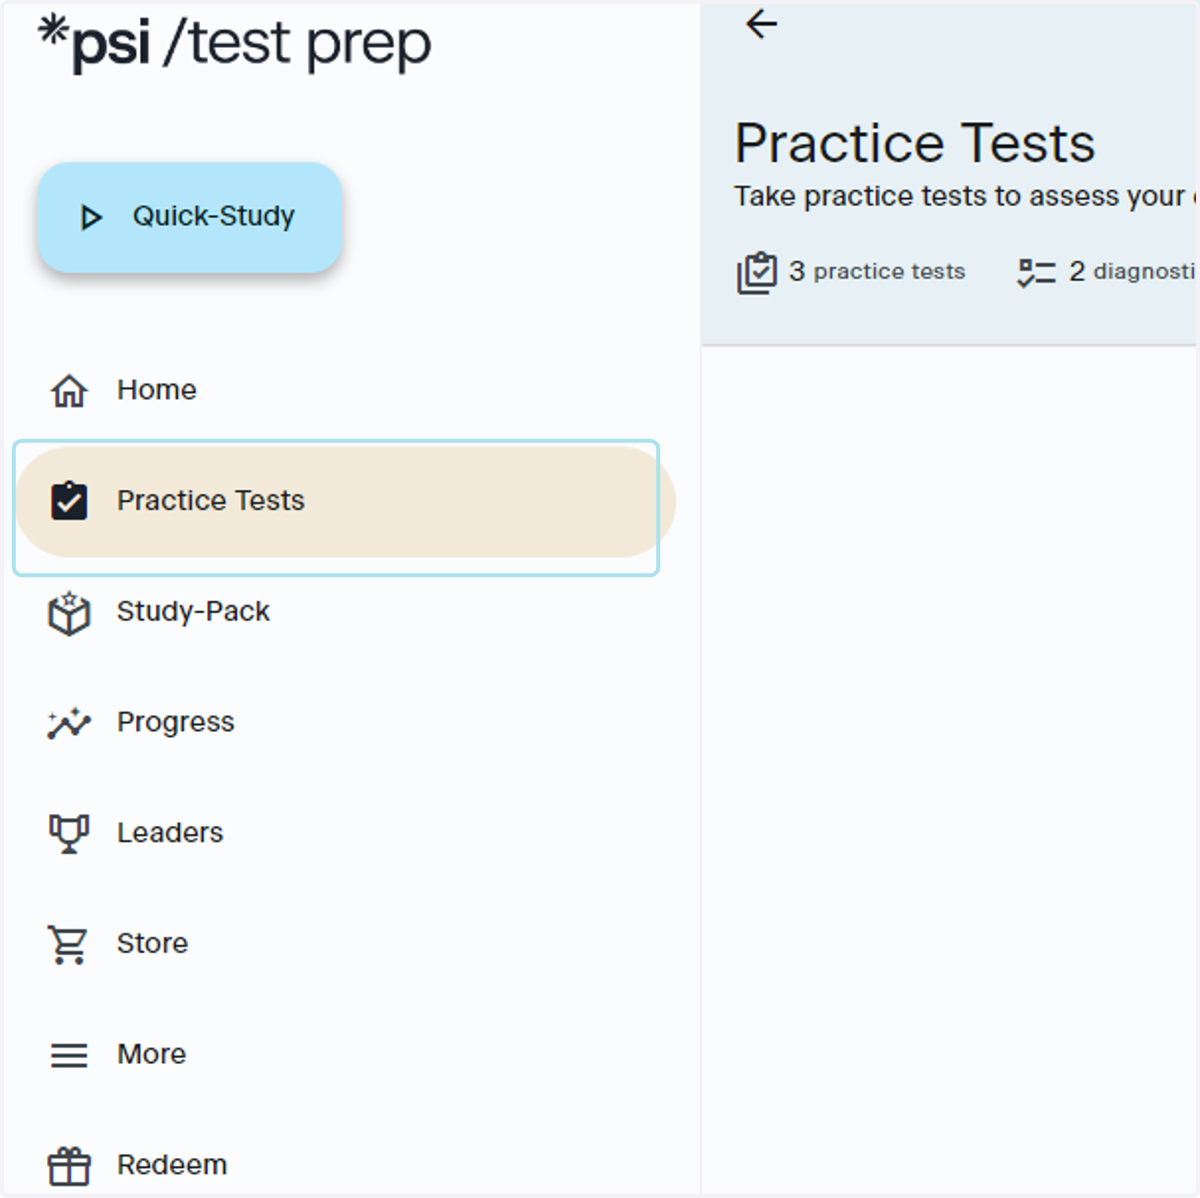
If you would like to test your skills and have not purchased a Test Prep Bundle, click the Practice Tests button to get a practice test pack. Practice test packs are available in one or three packs
Untitled Heading
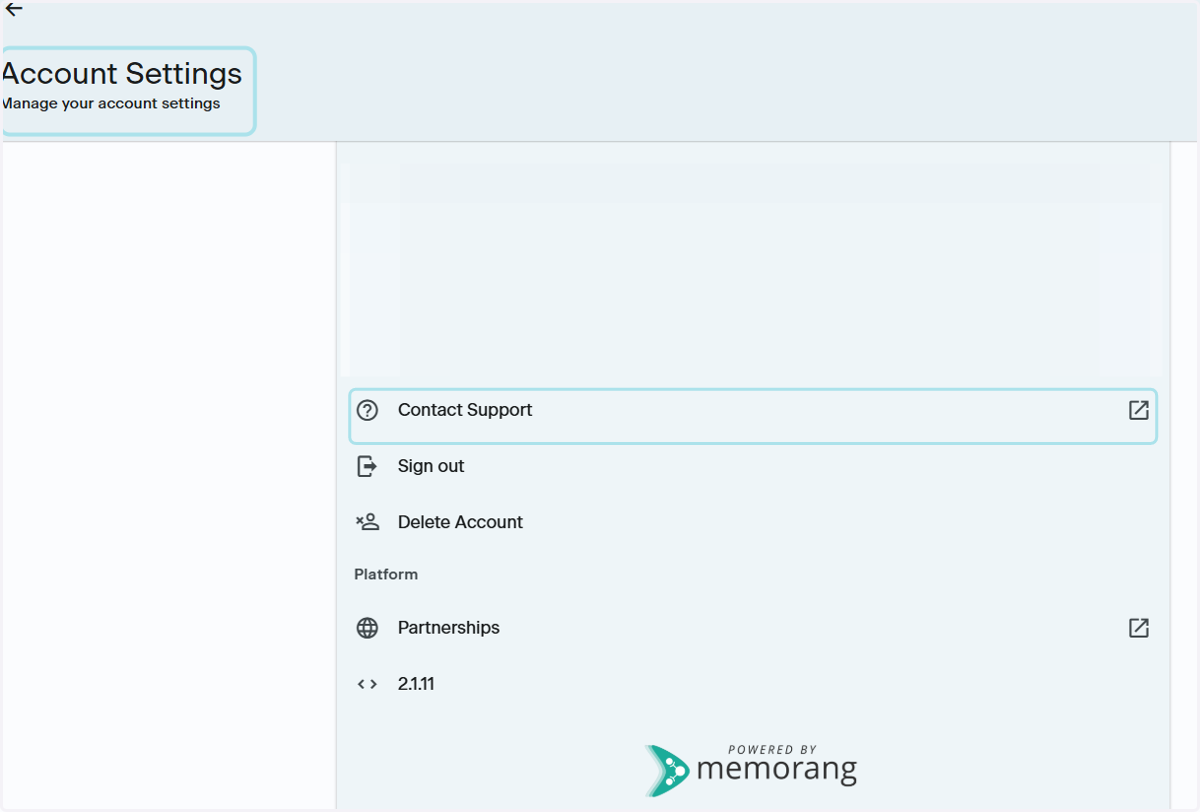
44. Where to Contact Support
Go to your Account Settings by clicking the Gear icon in the upper righthand corner of the App and click Support. This will launch an email to the PSI Support Team, ptsupport@psionline.com
For help with:
Profile details
Order related issues
Access code assistance
Change username
Errors
Please be sure to take screenshots of any errors
Please include the following in your email:
First name
Last name
Email associated with your order
Order Number
Order Confirmation
Note: If you have made a purchase in-app, or through the App Store or Google Play Store, the PSI team will not be able to assist you with order related issues such as:
Copy of order confirmation
Refunds of purchases made through the App Store, Play Store or in-app