Creating a Grant Subaward in NEVADAePro

Apps | Microsoft 365

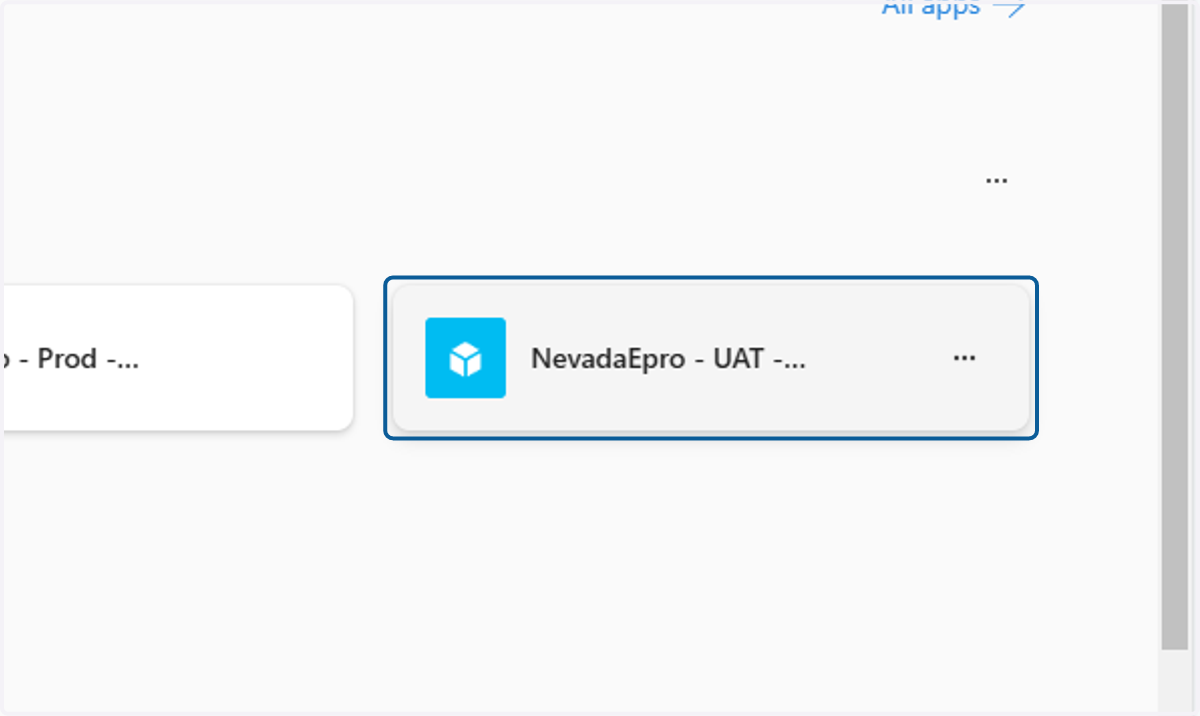
  1. 1. Click on NEVADAePro

    Click on NEVADAePro
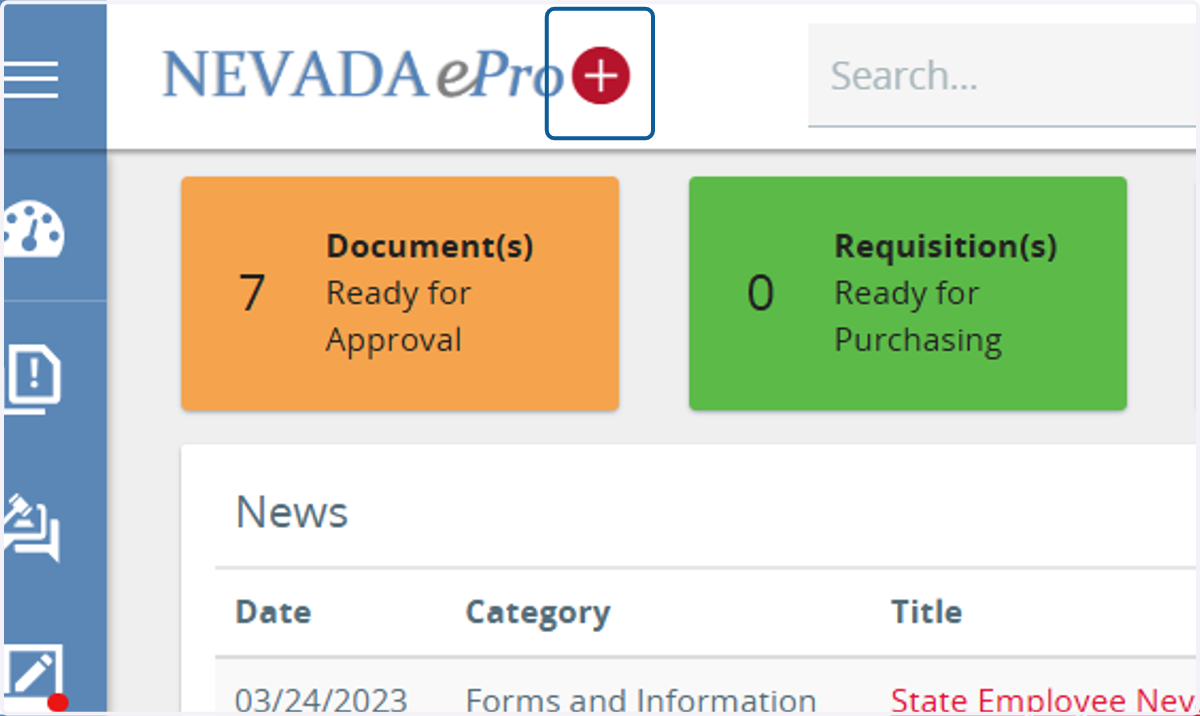
  2. 2. Click on plus sign button

    Click on plus sign button
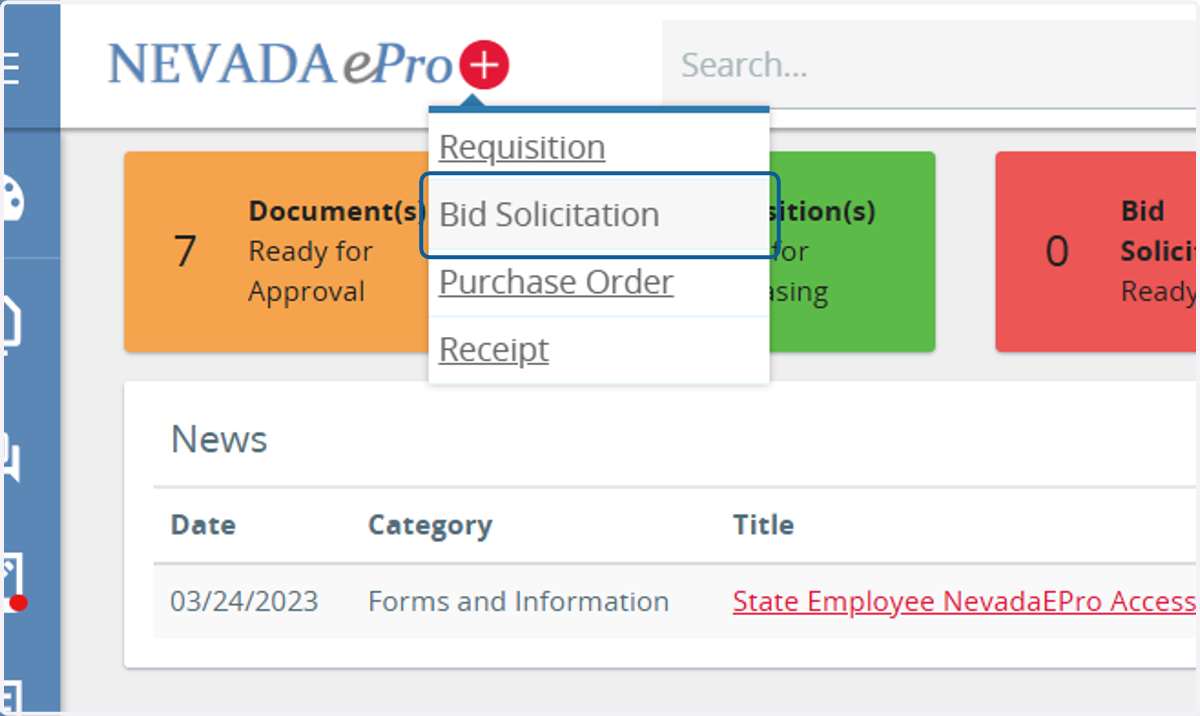
  3. 3. Click on bid solicitation

    Click on bid solicitation
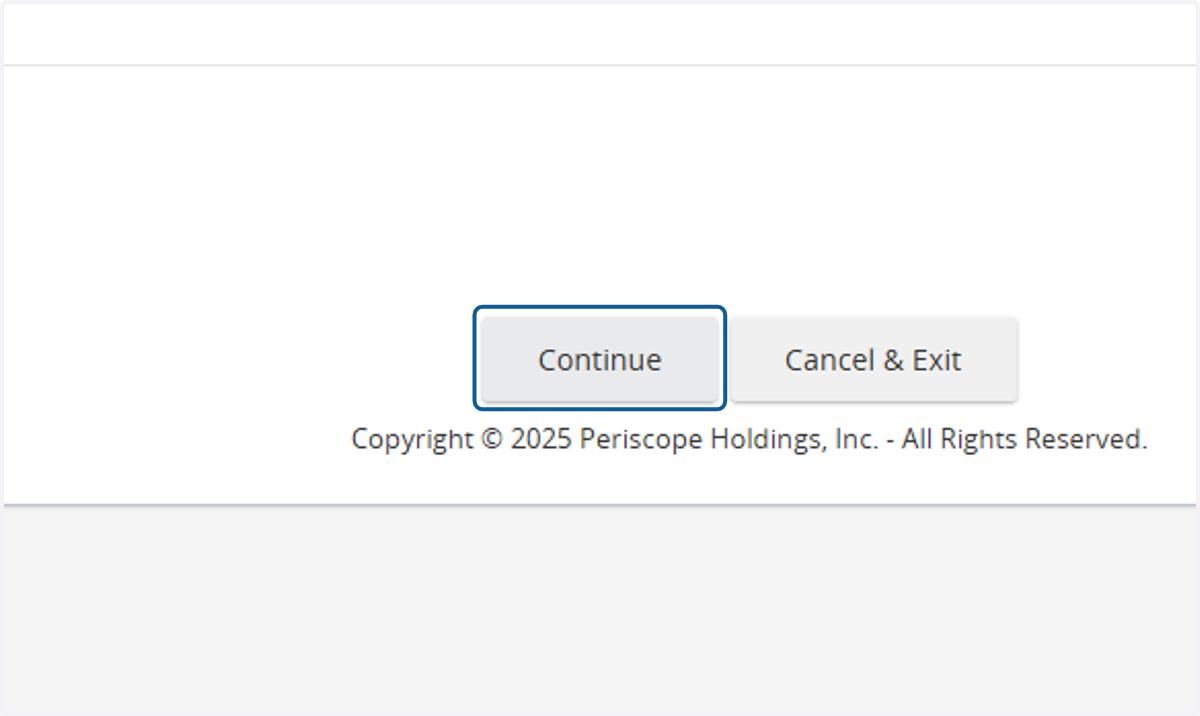
  4. 4. Click on Continue

    Click on Continue
  5. 5. Type a short description or title for the project
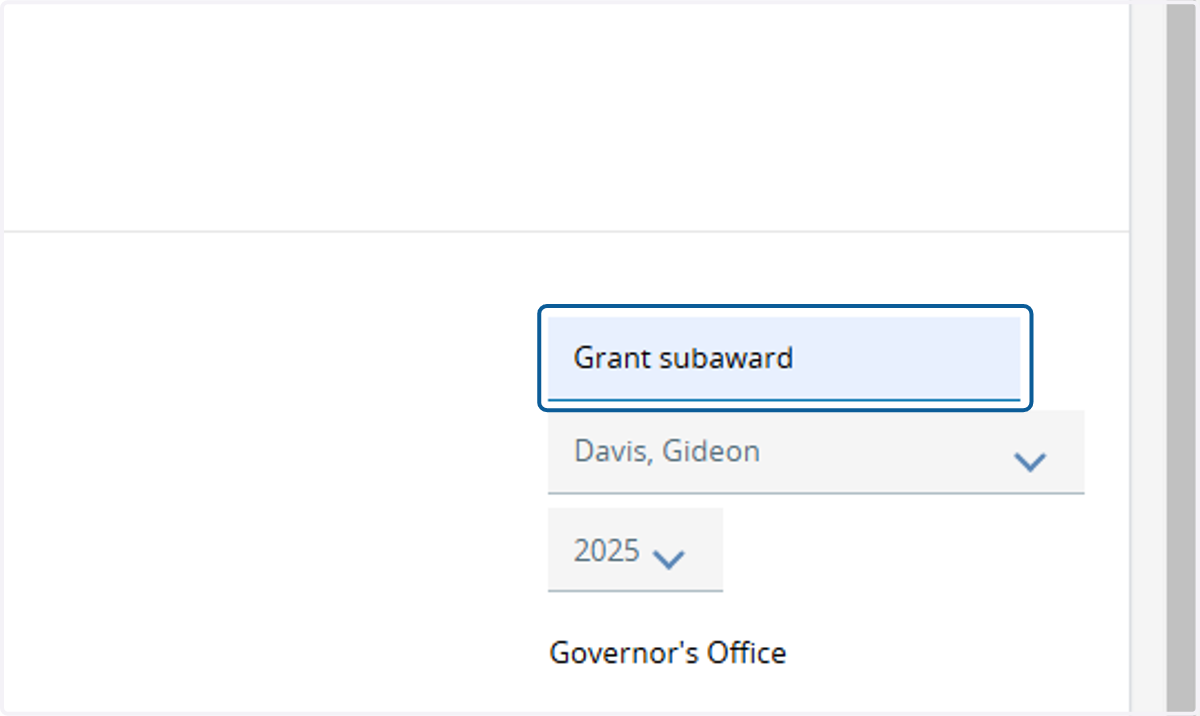
    Type a short description or title for the project
  6. 6. Add dates and times to the bid opening (deadline) and bid available (release) date boxes
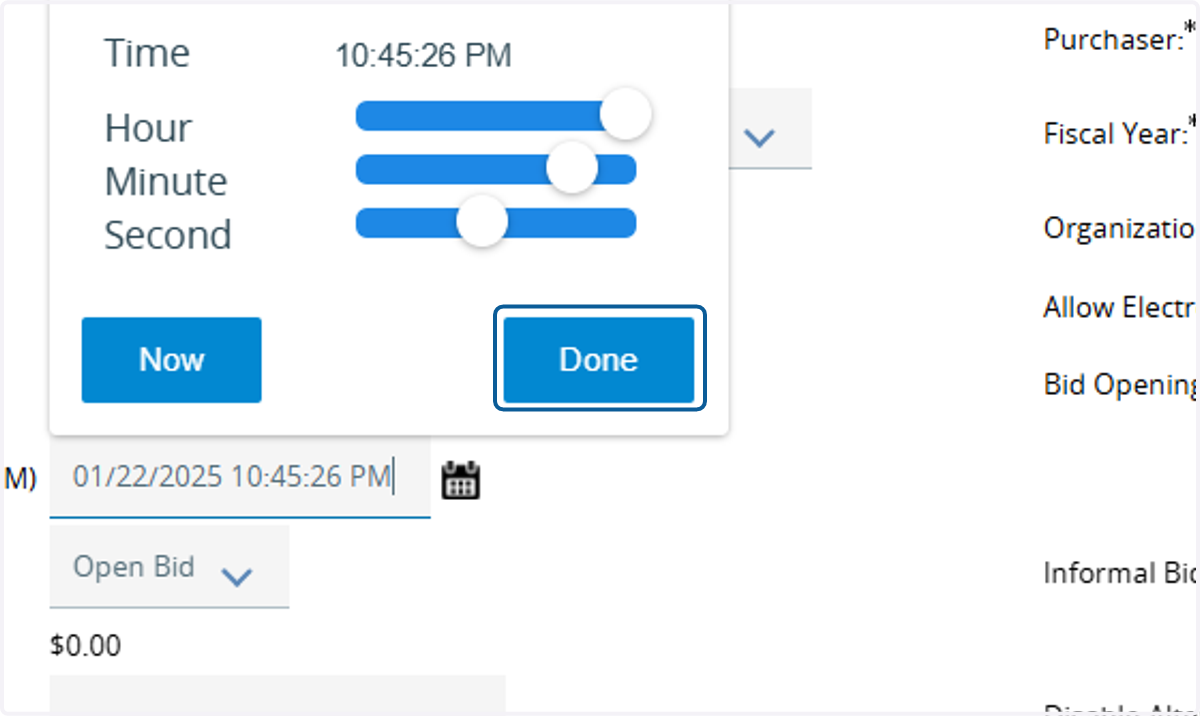
    Add dates and times to the bid opening (deadline) and bid available (release) date boxes
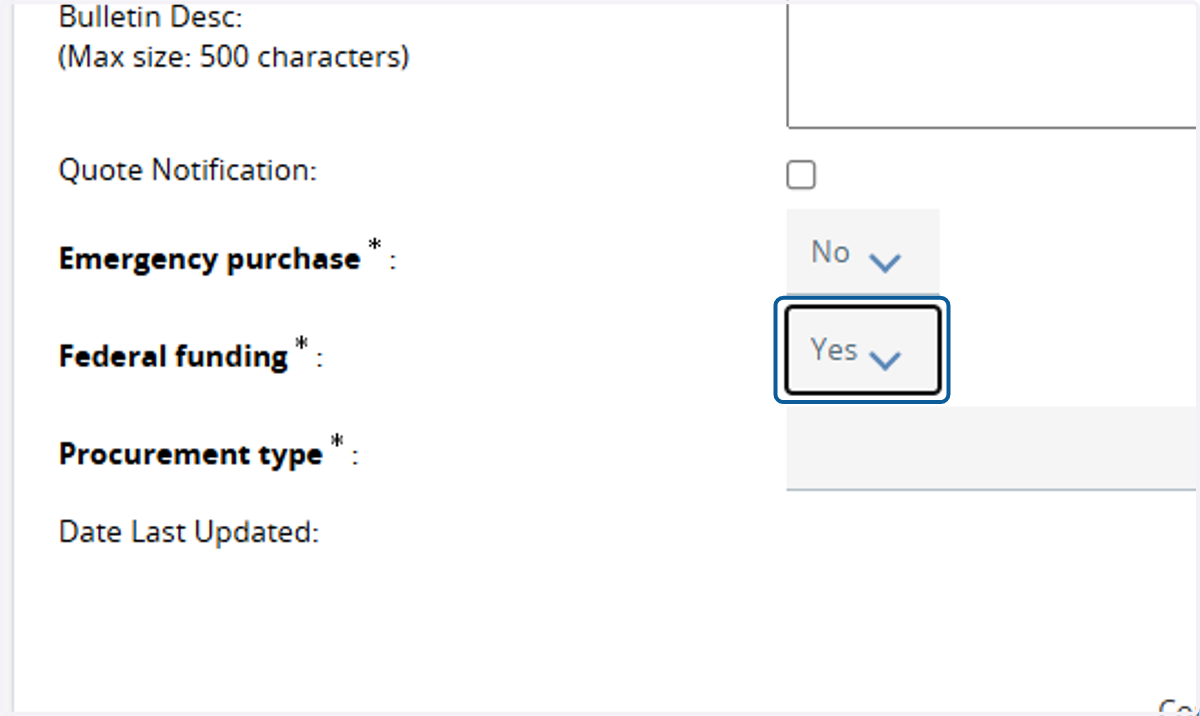
  7. 7. Select Yes from Federal funding

    Select Yes from Federal funding
  8. 8. Select Grant subaward per 2 CFR 200 from Procurement type
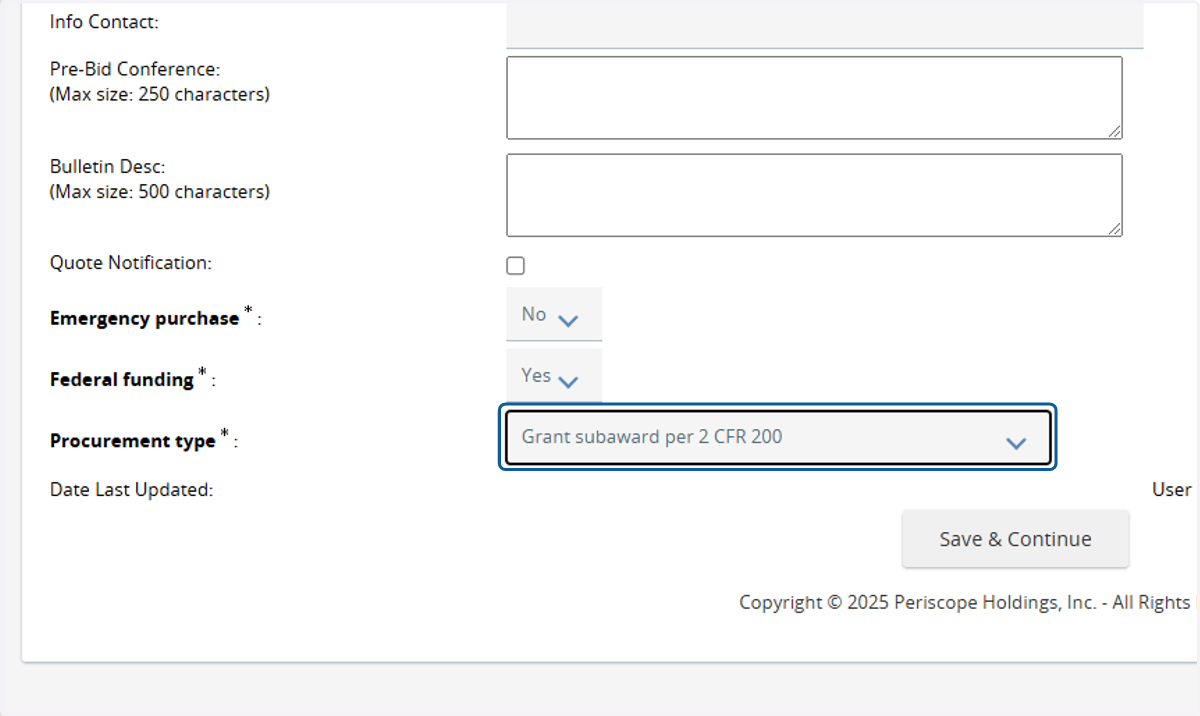
    Select Grant subaward per 2 CFR 200 from Procurement type
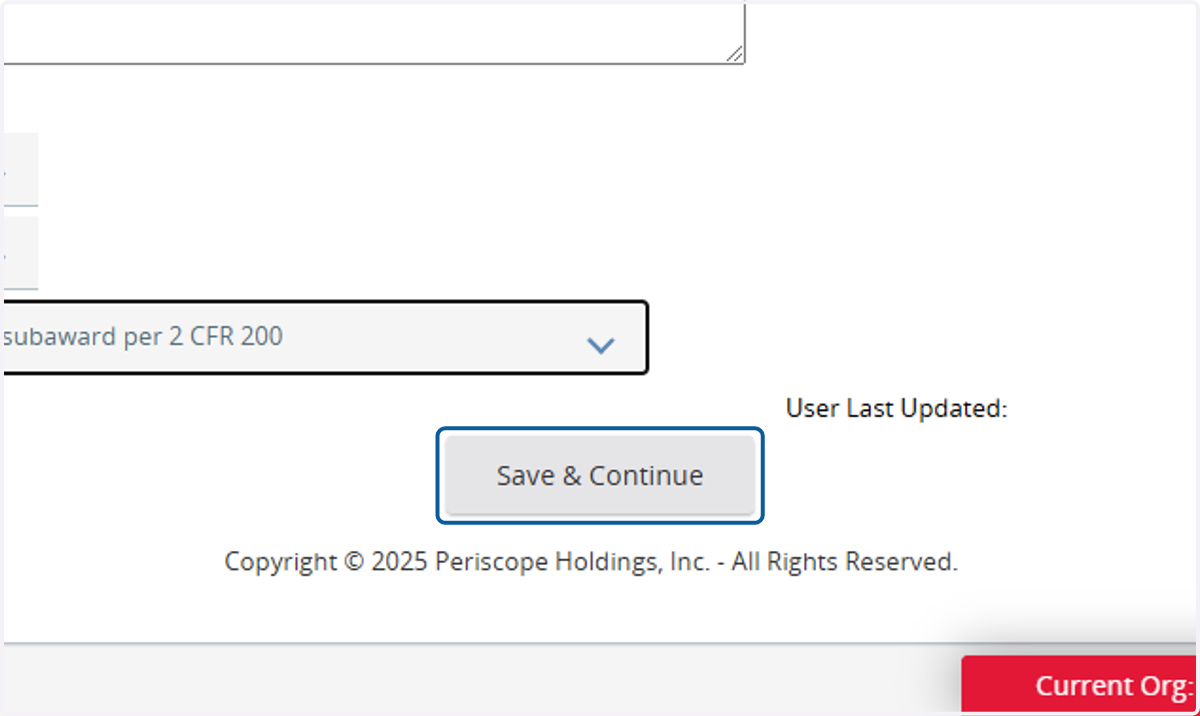
  9. 9. Click on Save & Continue

    Click on Save & Continue
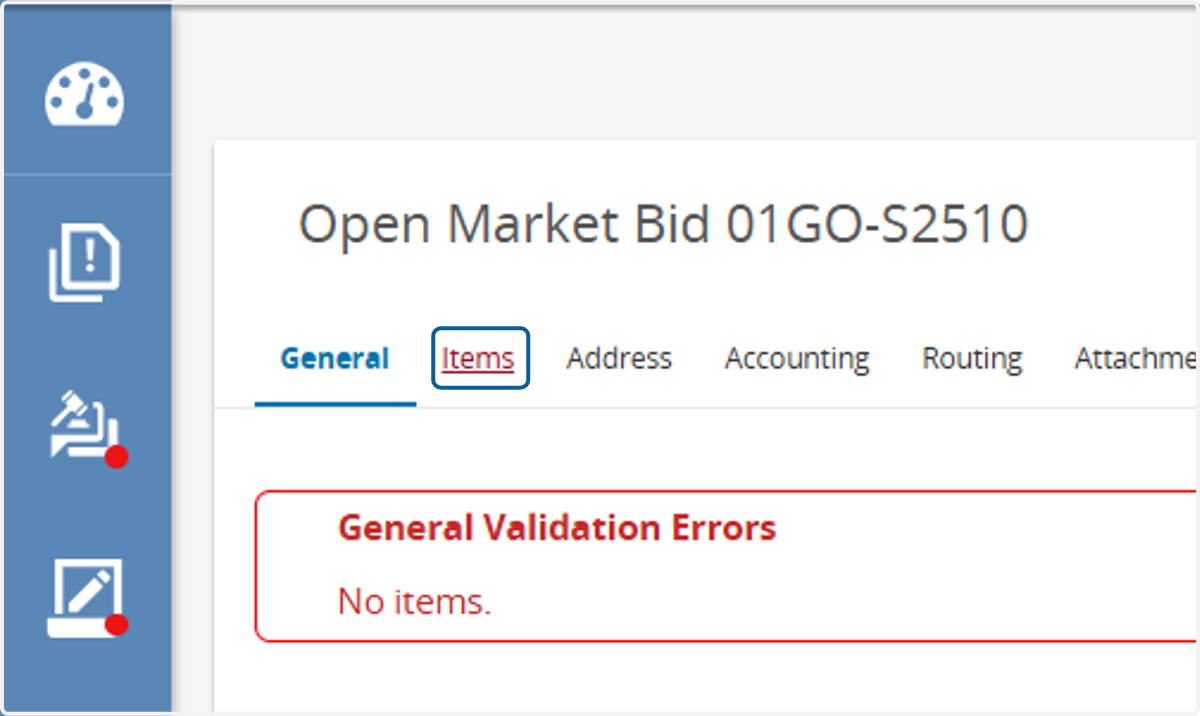
  10. 10. Click on Items tab

    Click on Items tab
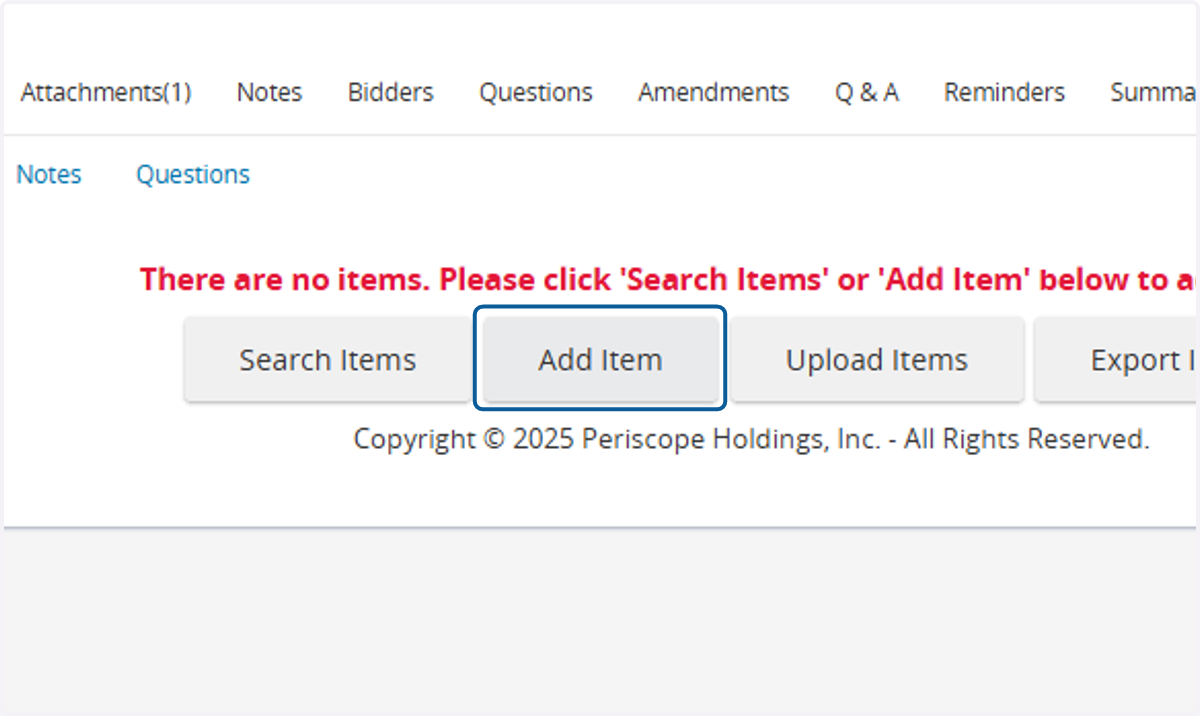
  11. 11. Click on Add Item

    Click on Add Item
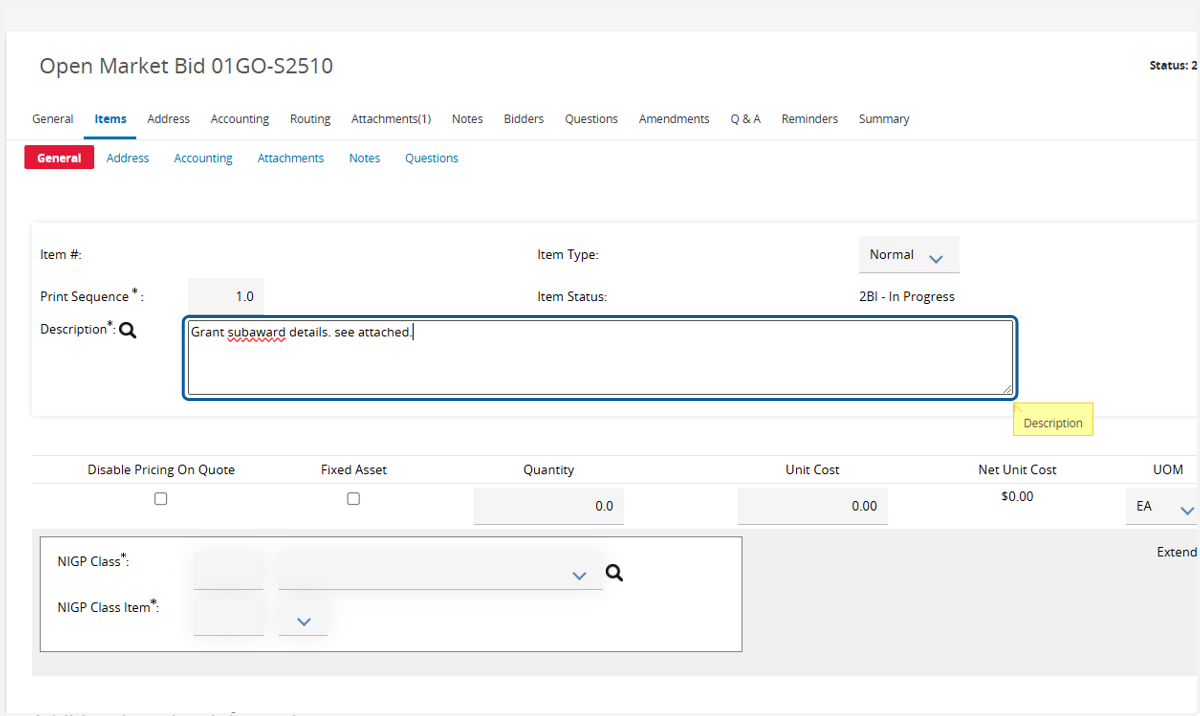
  12. 12. Type a description

    Type a description
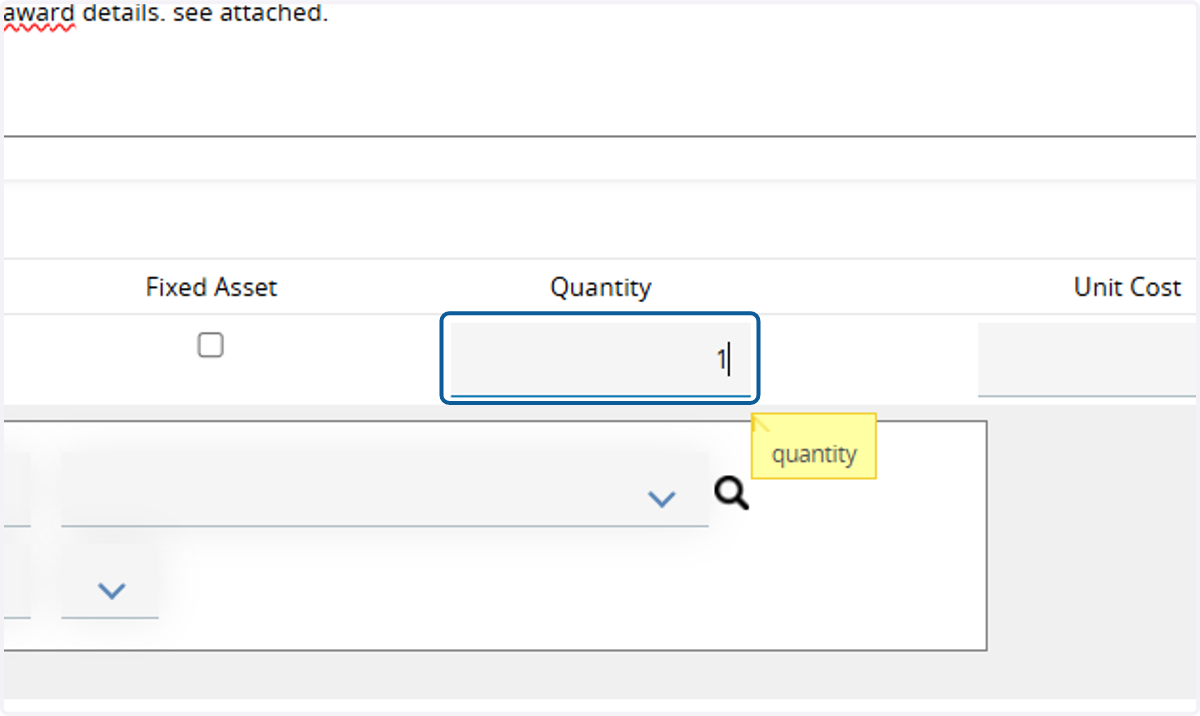
  13. 13. Add a quantity of at least 1

    Add a quantity of at least 1
  14. 14. Add the unit cost to create the correct estimated project value
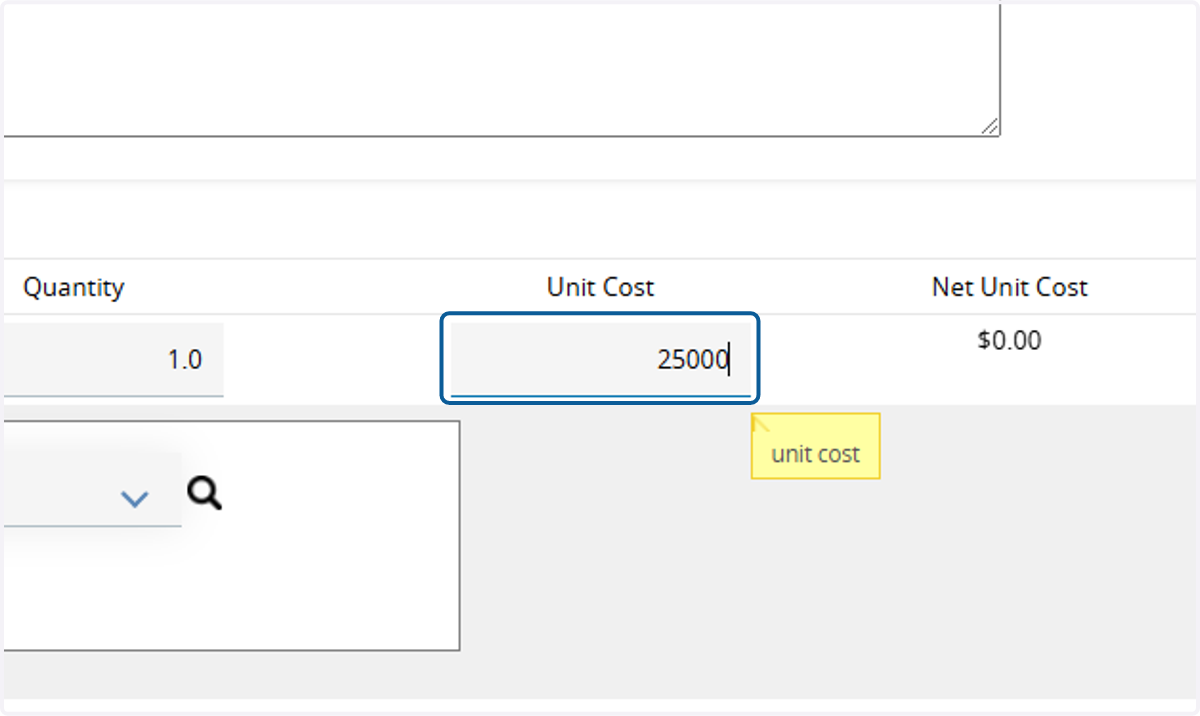
    Add the unit cost to create the correct estimated project value
  15. 15. Use the dropdowns or the magnifying glass to search for an NIGP code
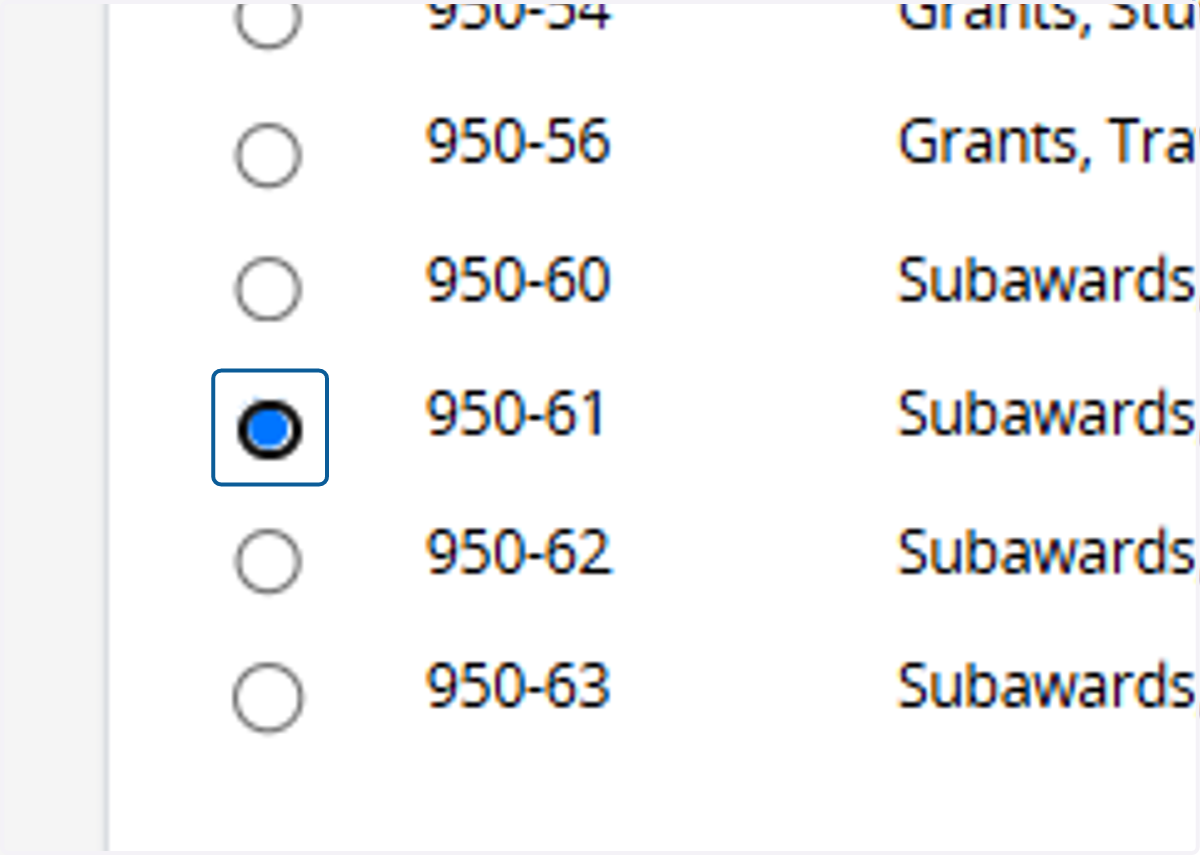
    Use the dropdowns or the magnifying glass to search for an NIGP code
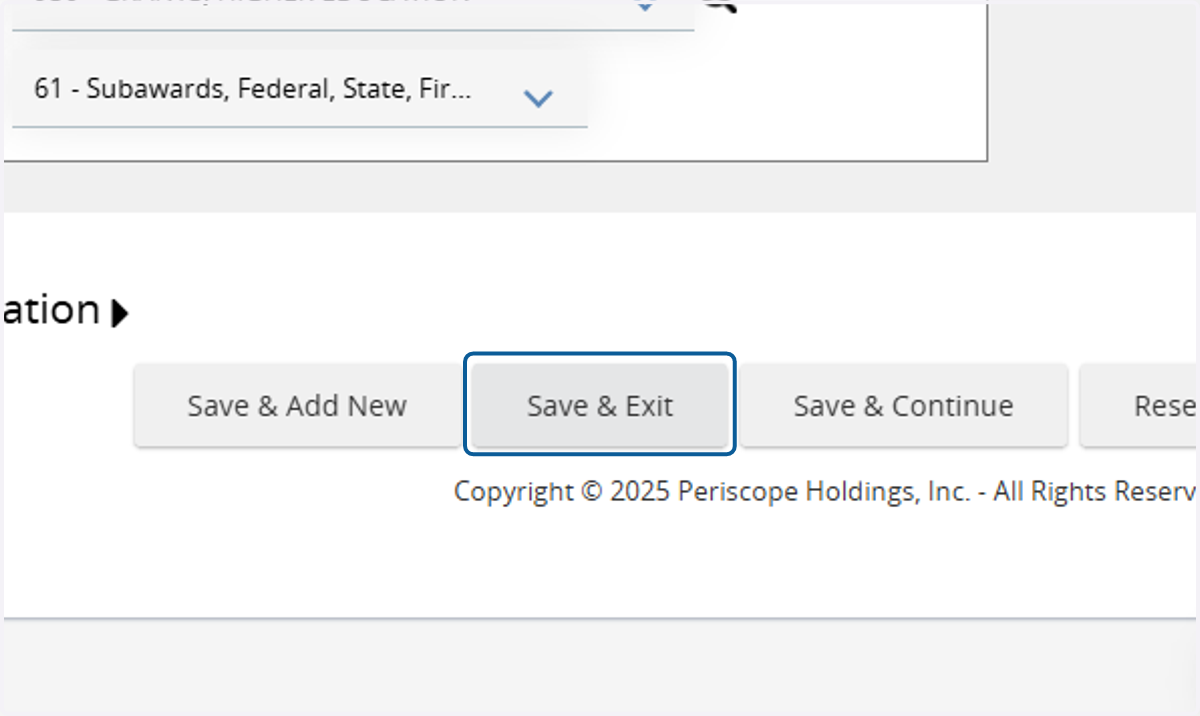
  16. 16. Click on Save & Exit

    Click on Save & Exit
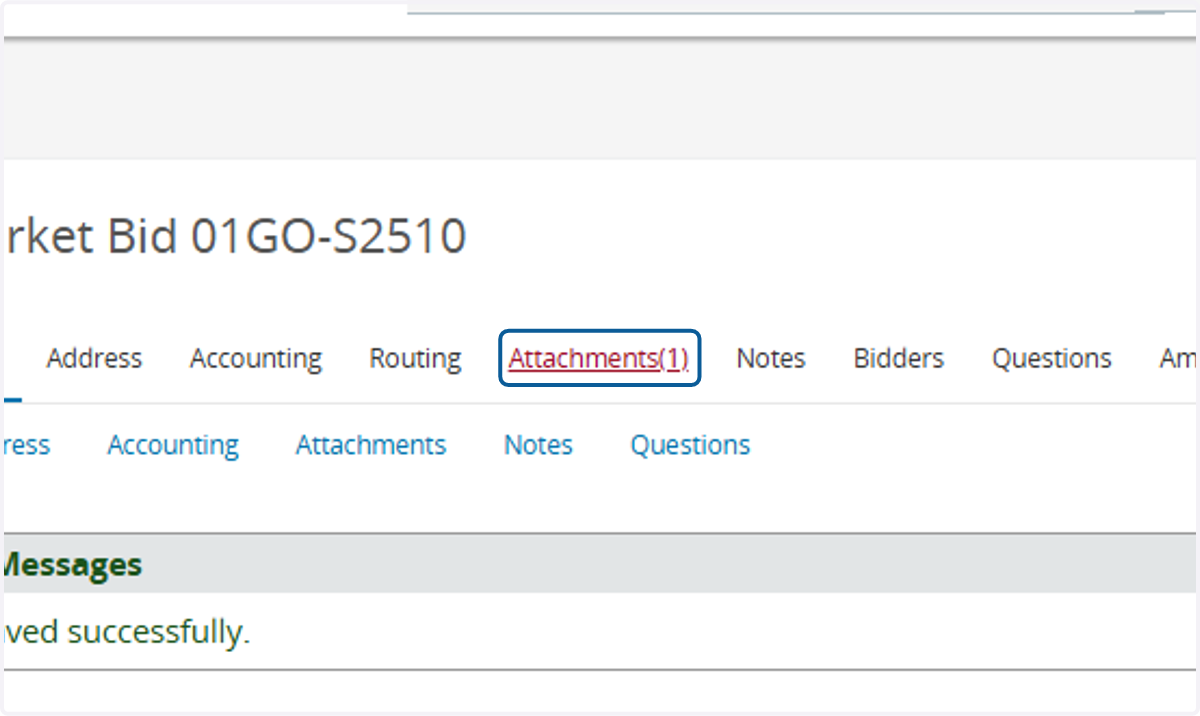
  17. 17. Click on Attachments tab

    Click on Attachments tab
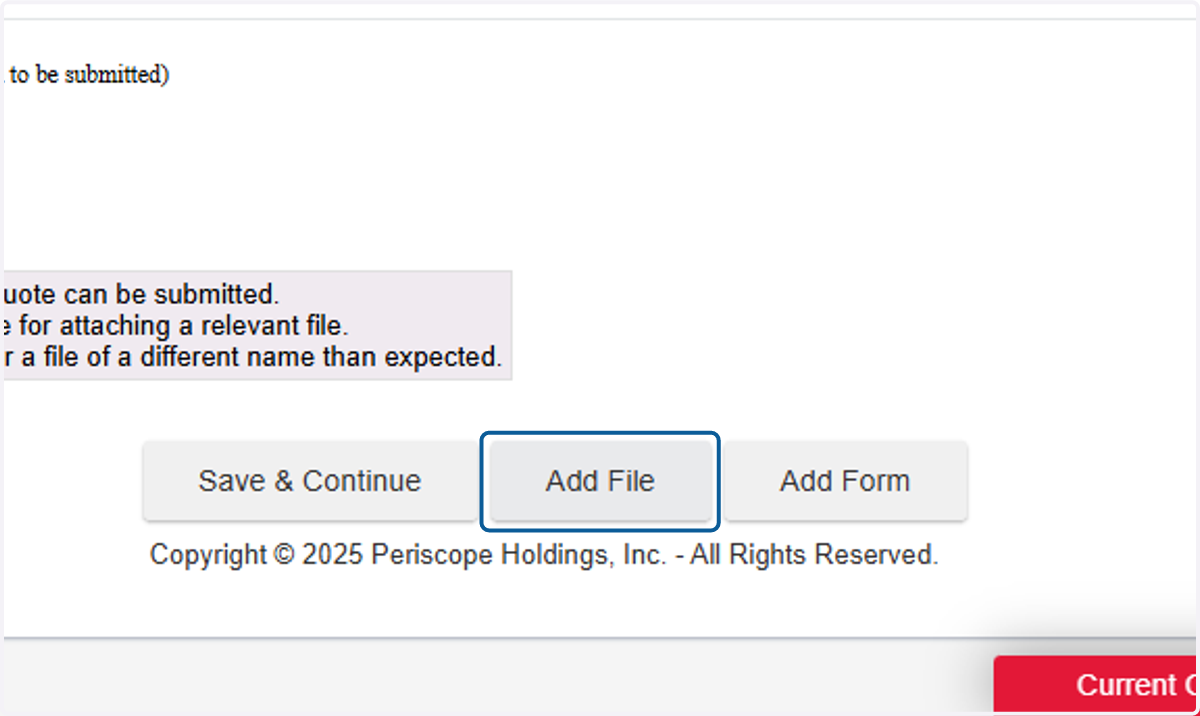
  18. 18. Click on Add File

    Click on Add File
  19. 19. Select a file from your computer to attach
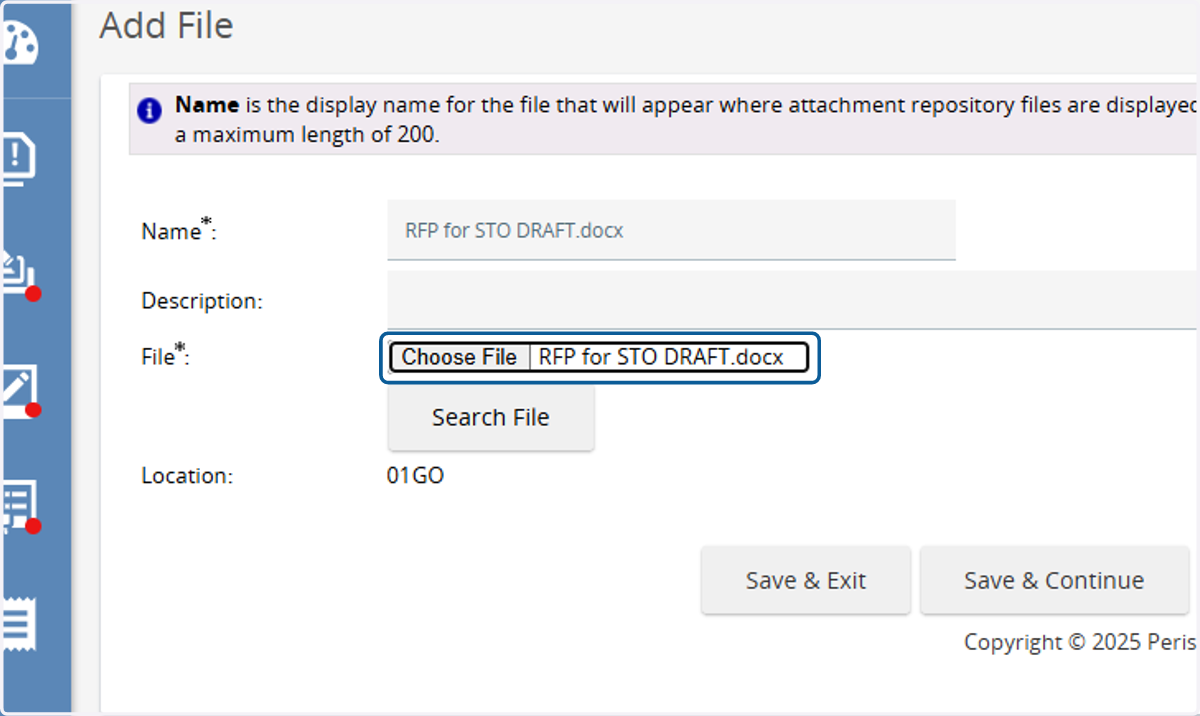
    Select a file from your computer to attach
  20. 20. Click on Save & Exit, repeat as needed
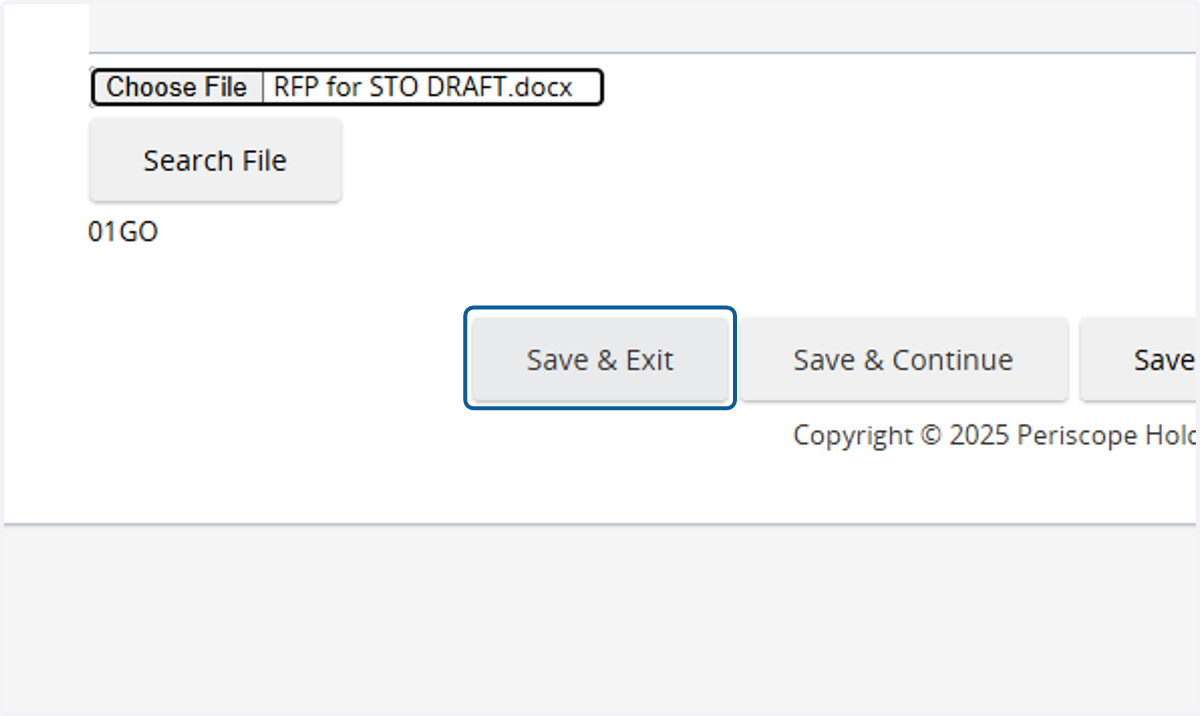
    Click on Save & Exit, repeat as needed
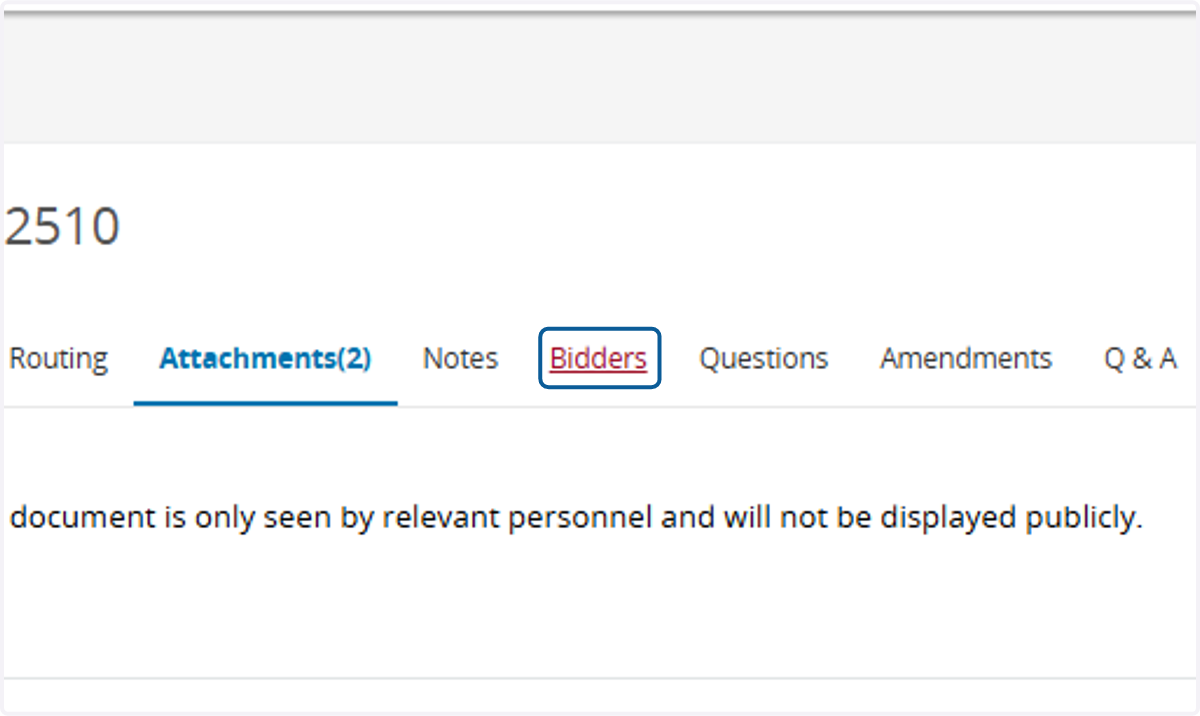
  21. 21. Click on Bidders

    Click on Bidders
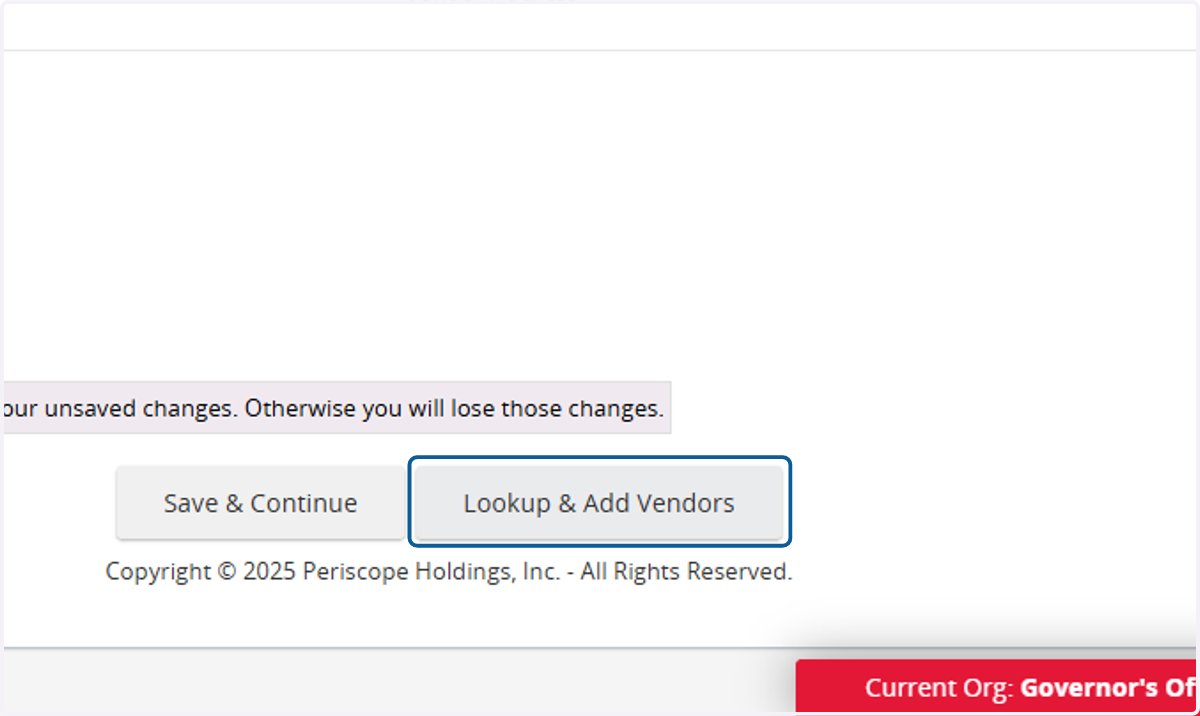
  22. 22. Click on Lookup & Add Vendors

    Click on Lookup & Add Vendors
  23. 23. Click on Find Vendors for All Commodity Codes on the Bid
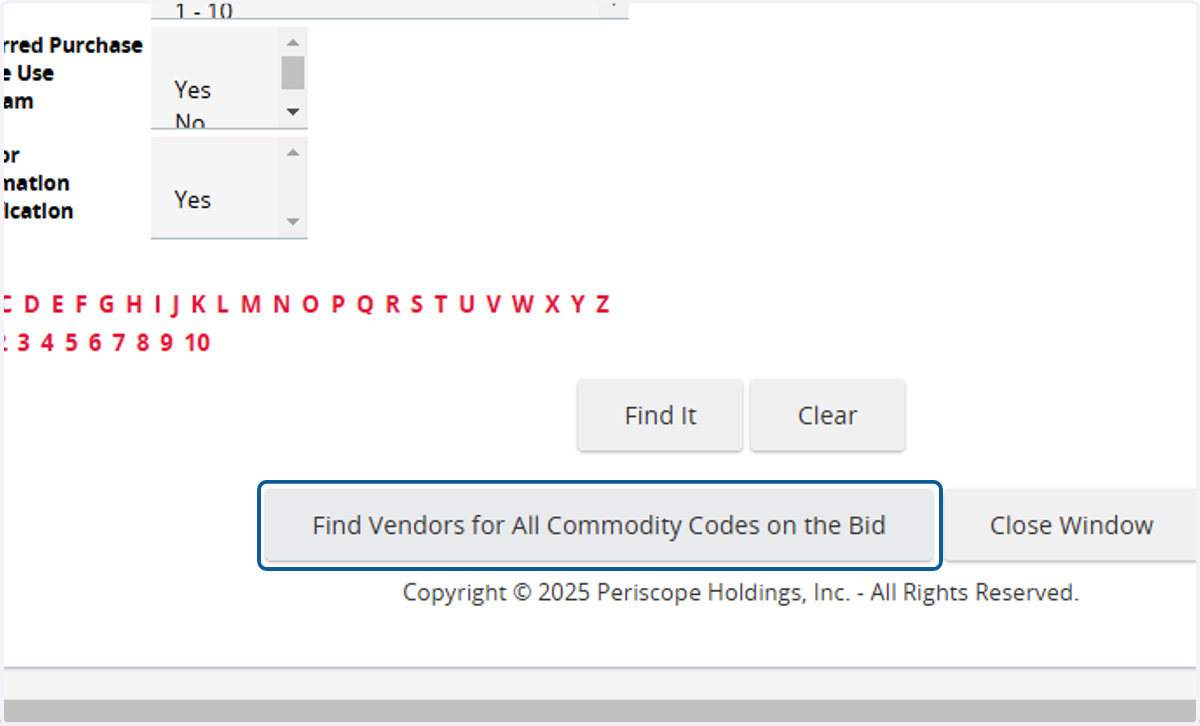
    Click on Find Vendors for All Commodity Codes on the Bid
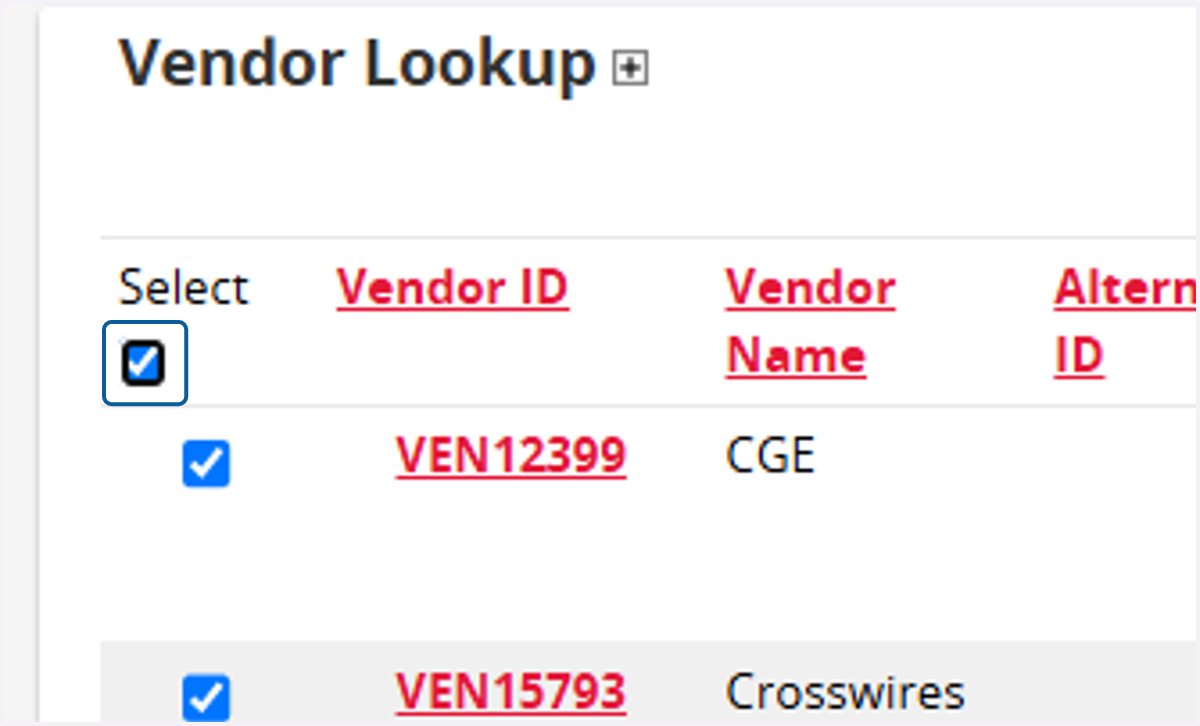
  24. 24. Select all

    Select all
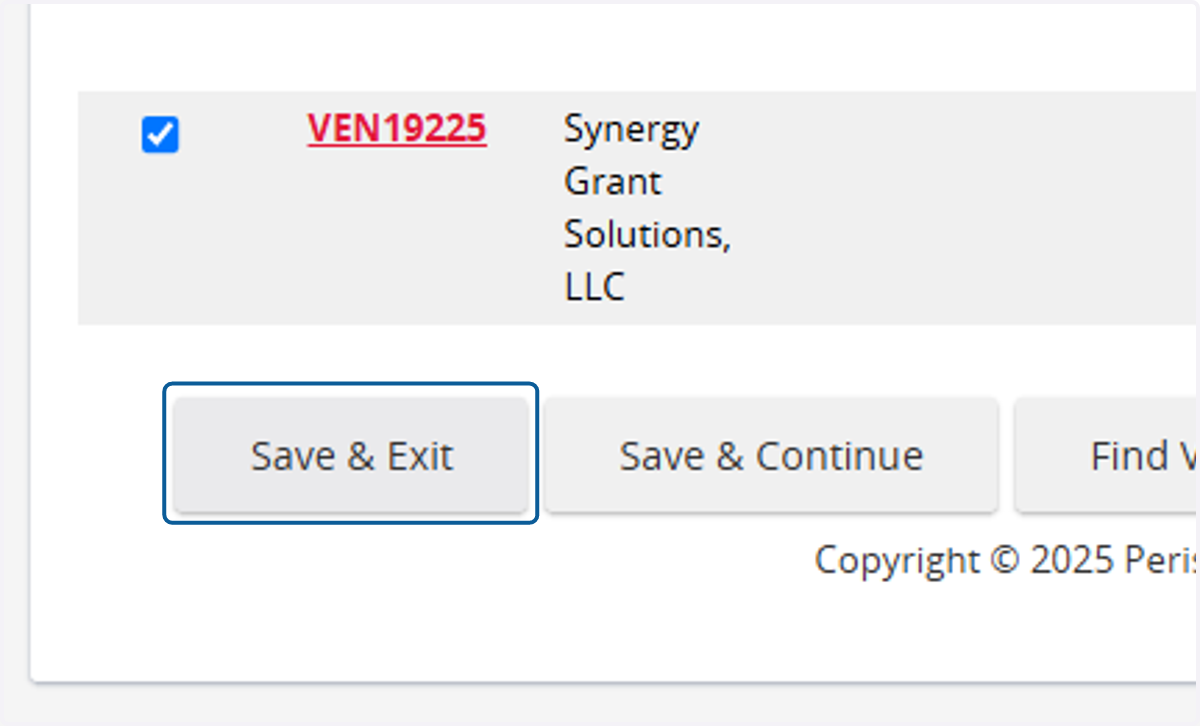
  25. 25. Click on Save & Exit

    Click on Save & Exit
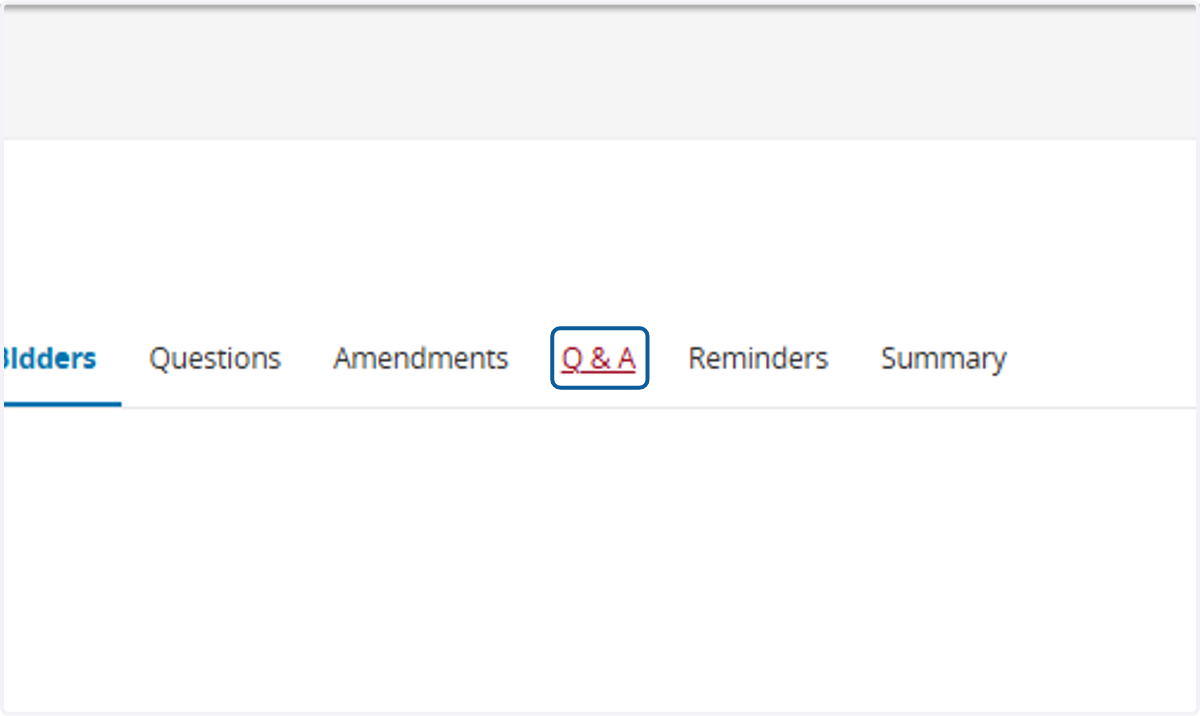
  26. 26. Click on Q & A

    Click on Q & A
  27. 27. Check Allow vendor to submit questions
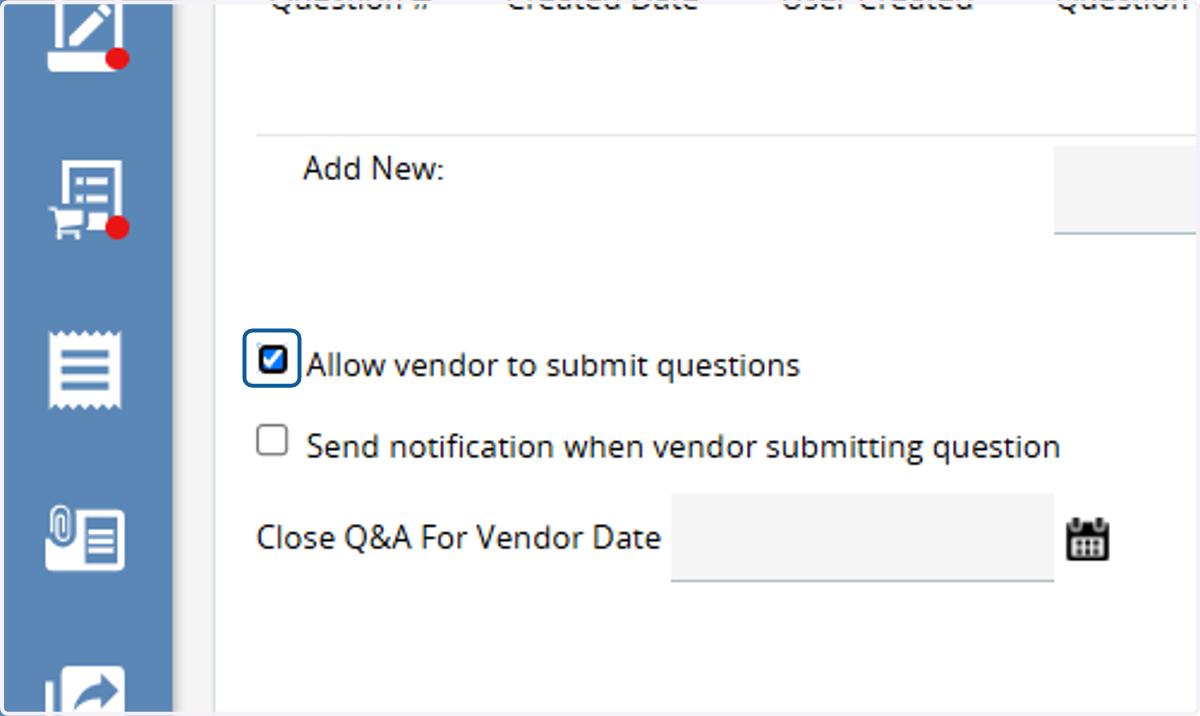
    Check Allow vendor to submit questions
  28. 28. Select a date and time to end Q&A
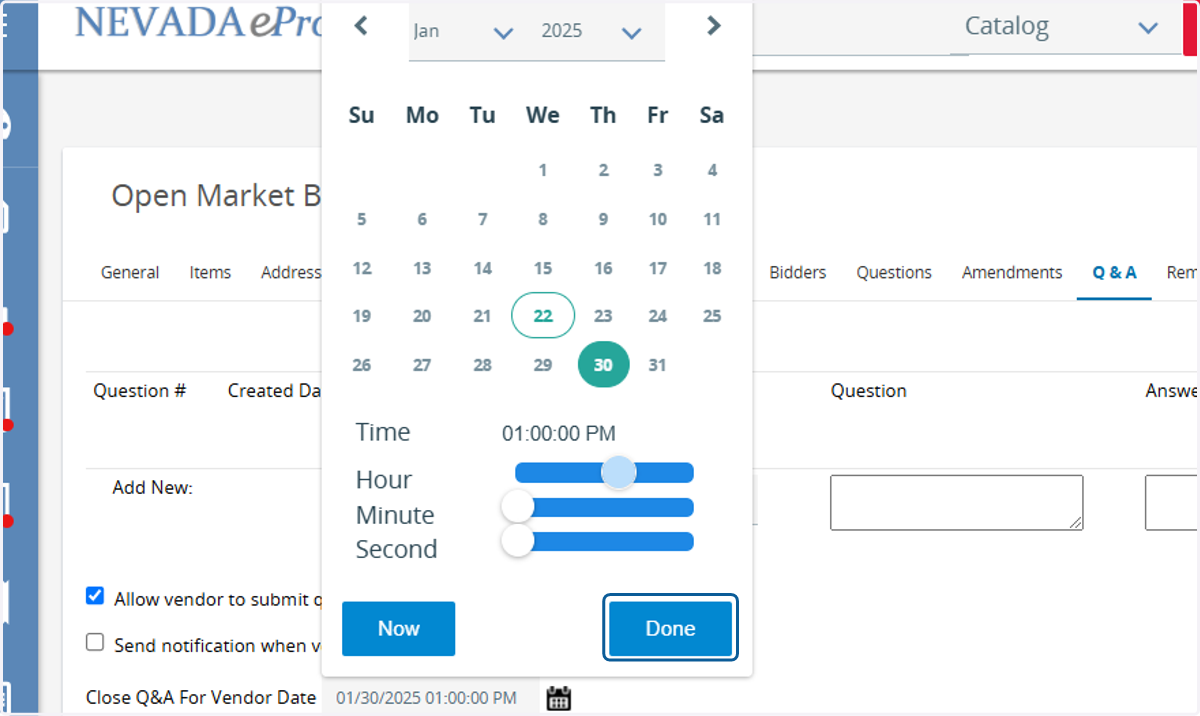
    Select a date and time to end Q&A
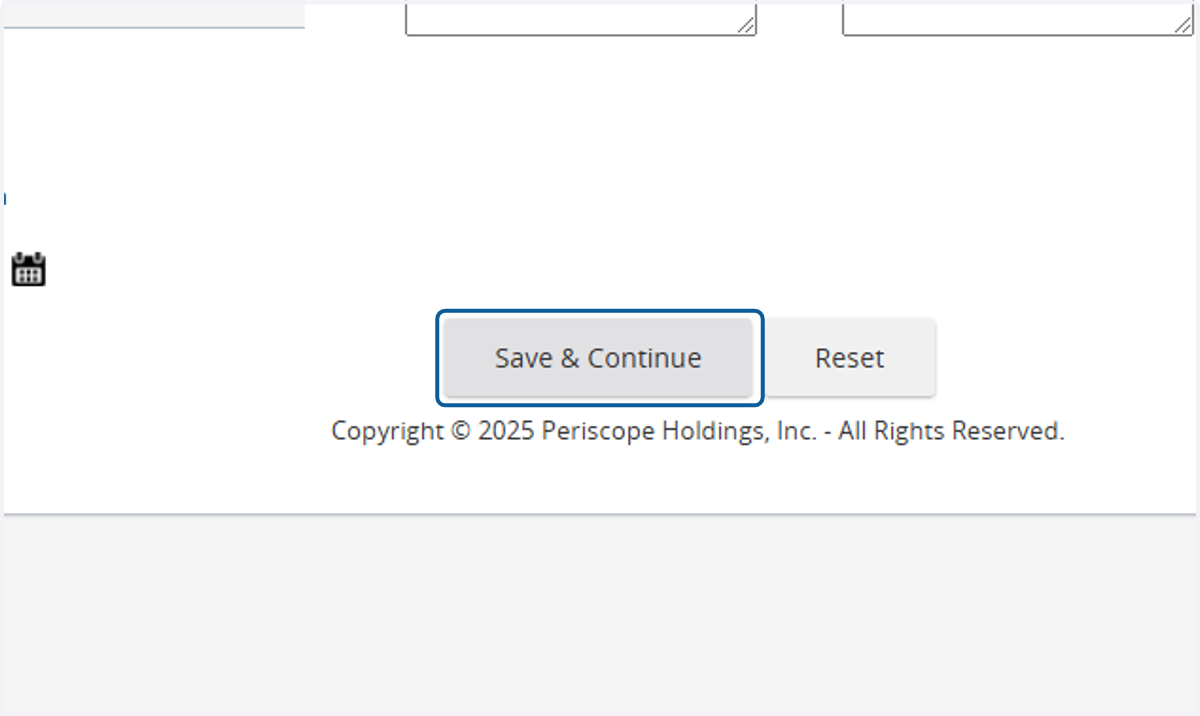
  29. 29. Click on Save & Continue

    Click on Save & Continue
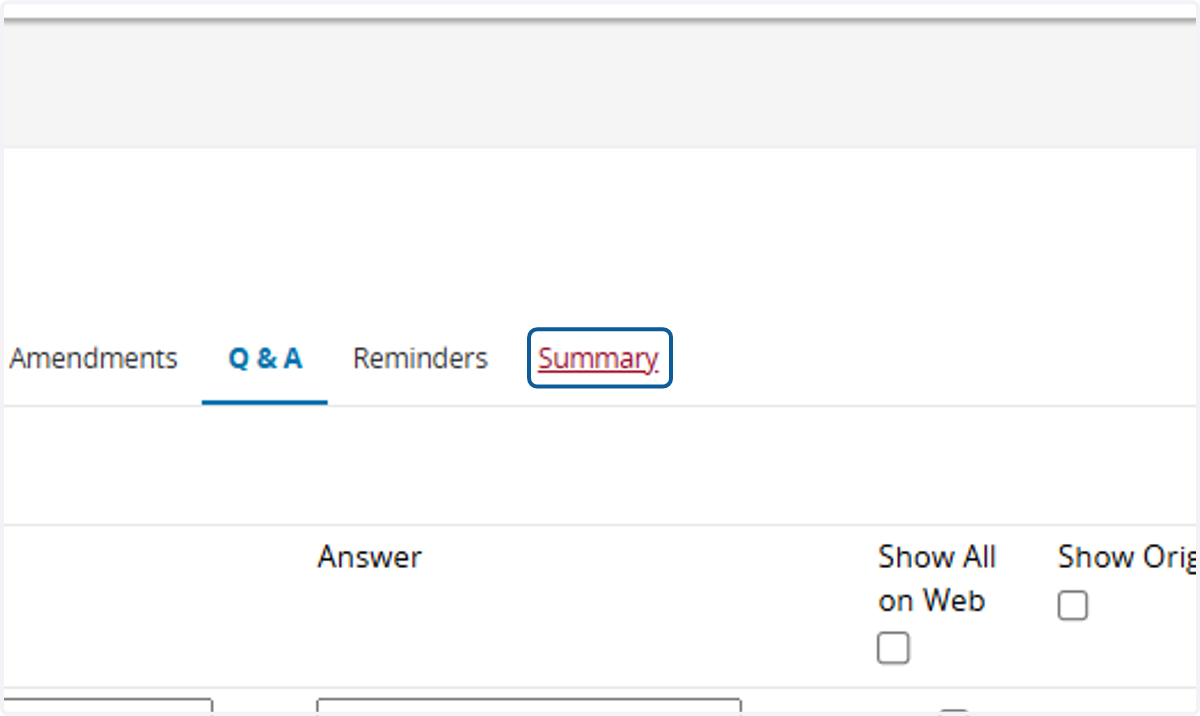
  30. 30. Click on Summary tab

    Click on Summary tab
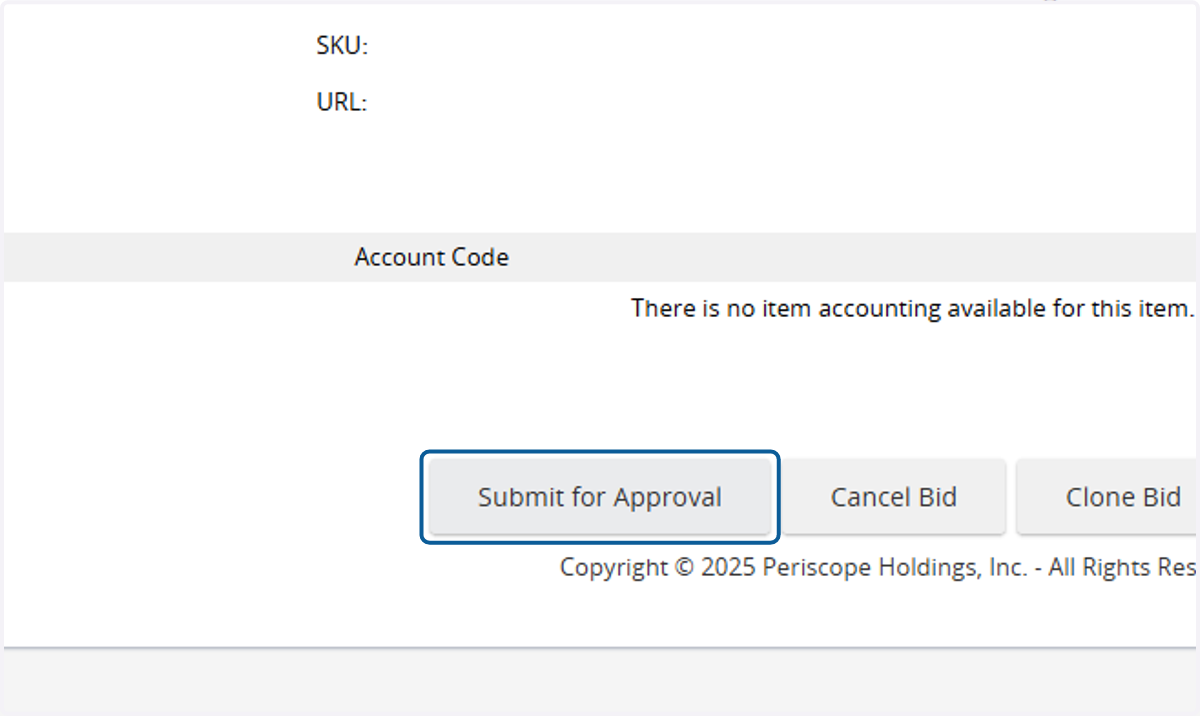
  31. 31. Click on Submit for Approval

    Click on Submit for Approval
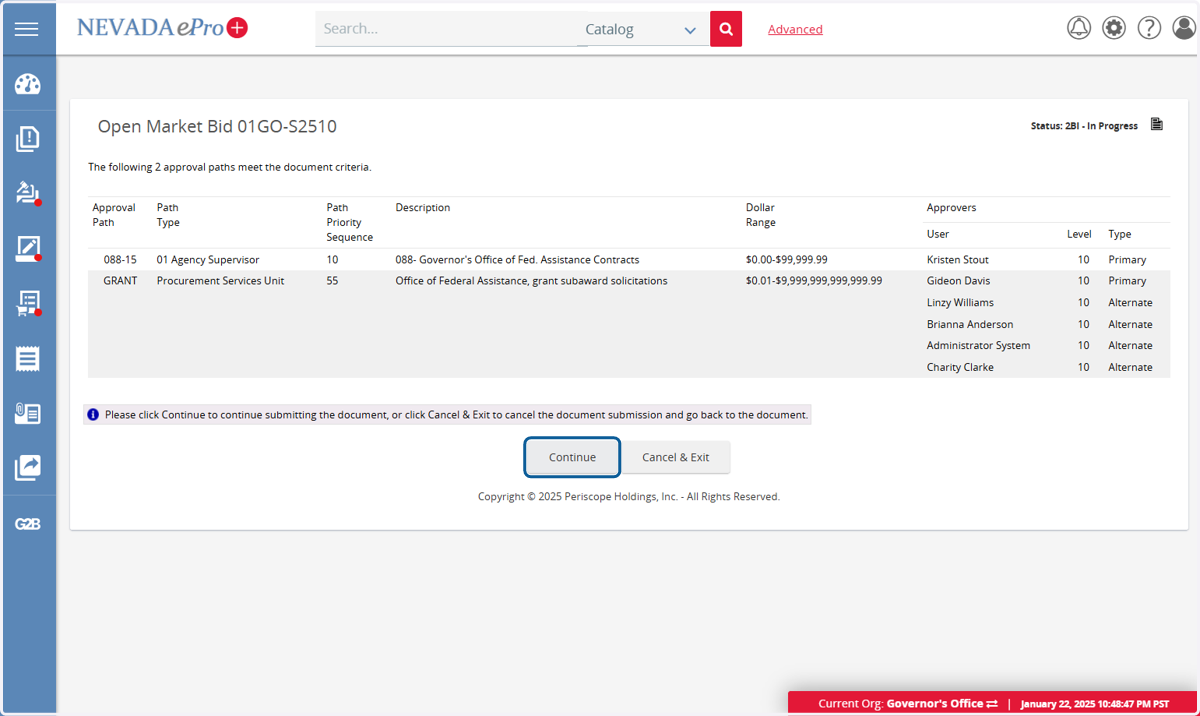
  32. 32. Click on Continue

    Click on Continue